Chapter 6
Hand Tools, Sewing Machines, and the Parachute Loft
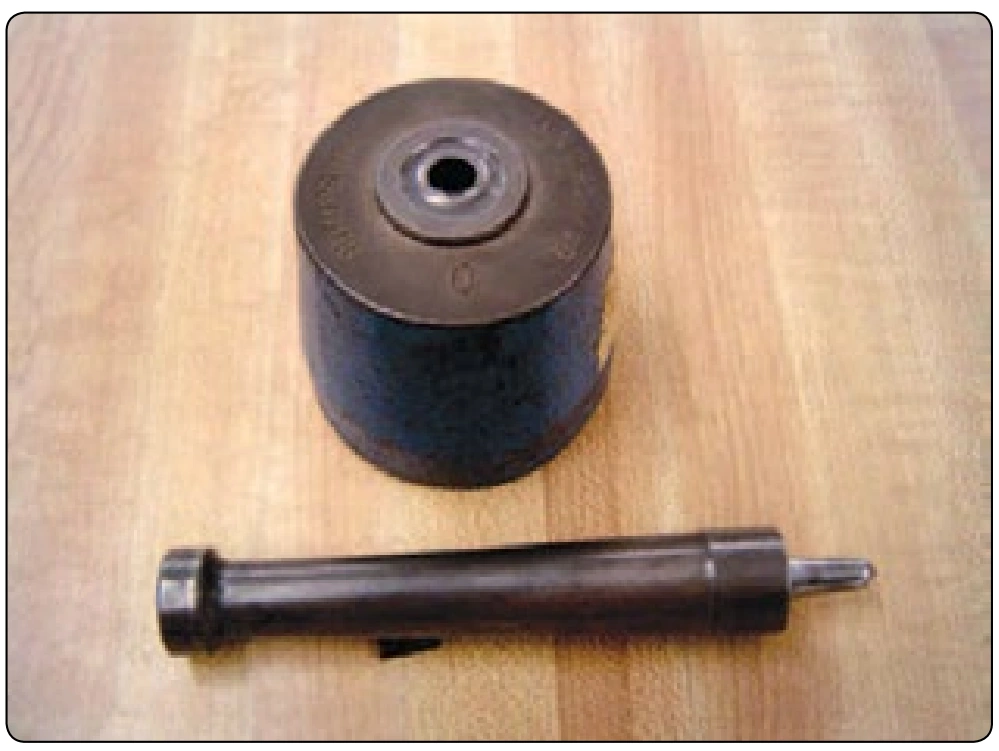
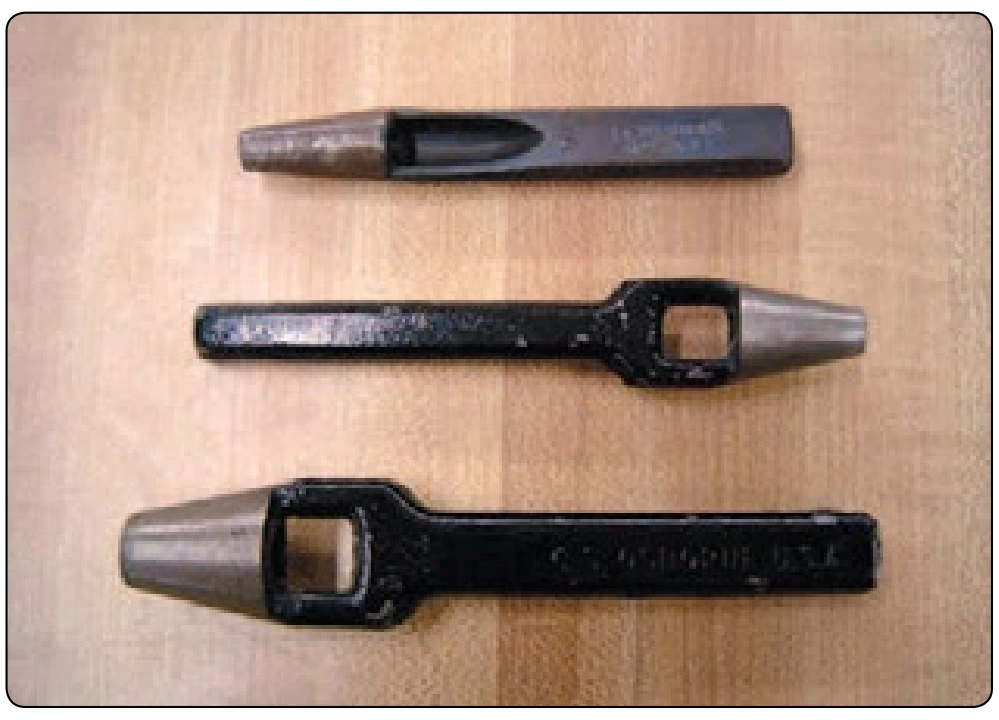
Hole punches—used for punching holes for grommets that come in various-sizes. Most often sizes used would be 0, 3, and 5. [Figure 6-53]
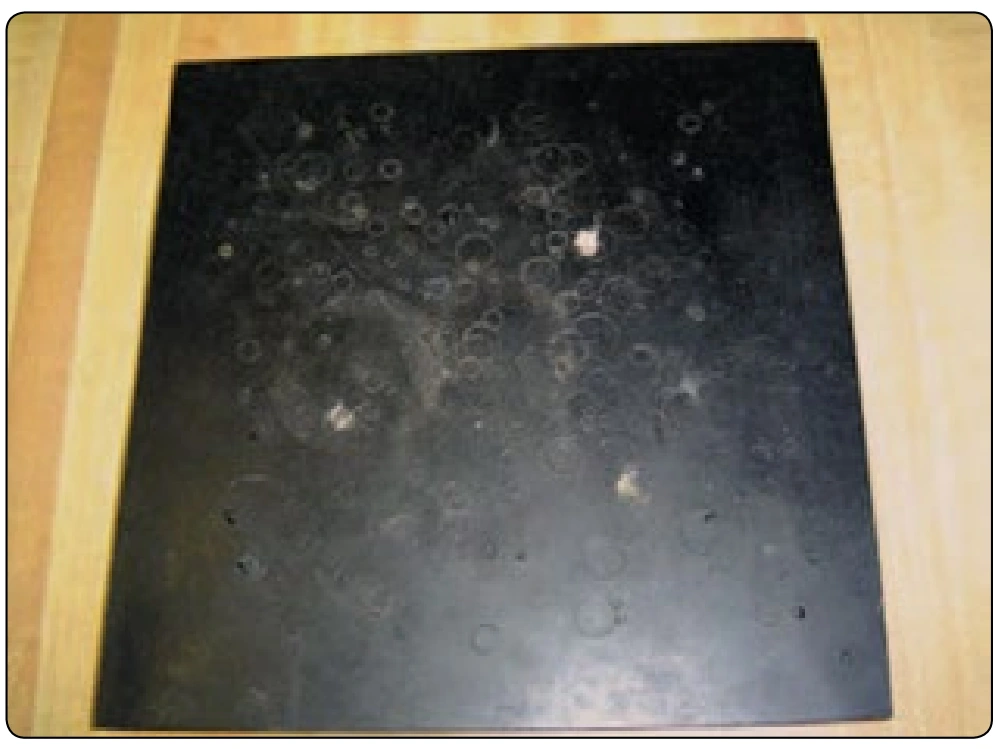
Cutting pad—used with hole punches. The best are plastic as these do not damage the punch. [Figure 6-54]
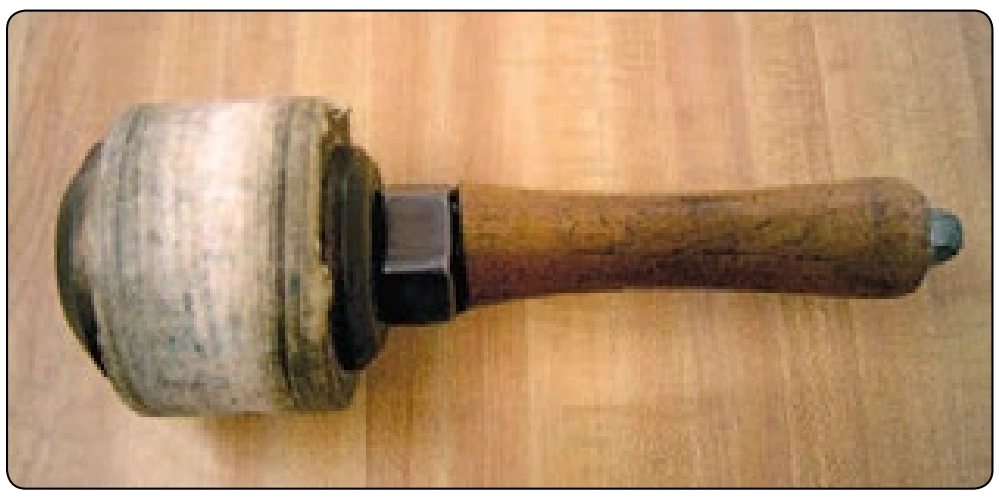
Rawhide mallet—used when punching holes and using grommet handsets. This is a preferred tool to use as the rawhide does not damage the other tools, and the weight makes the job easier and more consistent. The number 2 size at 4 pounds is the most common. A quality rubber dead blow hammer works well also. [Figure 6-55]
Binding tool—used for turning corners when binding material, such as para-pak or Cordura®. The model shown in Figure 6-56 is a soldering tool from an electronics repair store. The plastic handle has been replaced with a metal one.
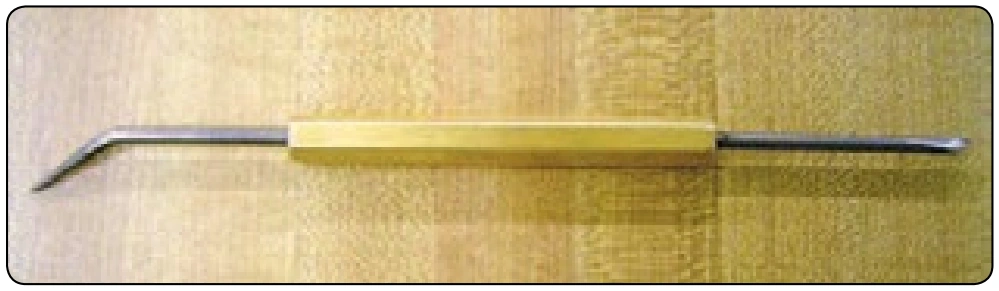
This is almost the perfect configuration for its use.
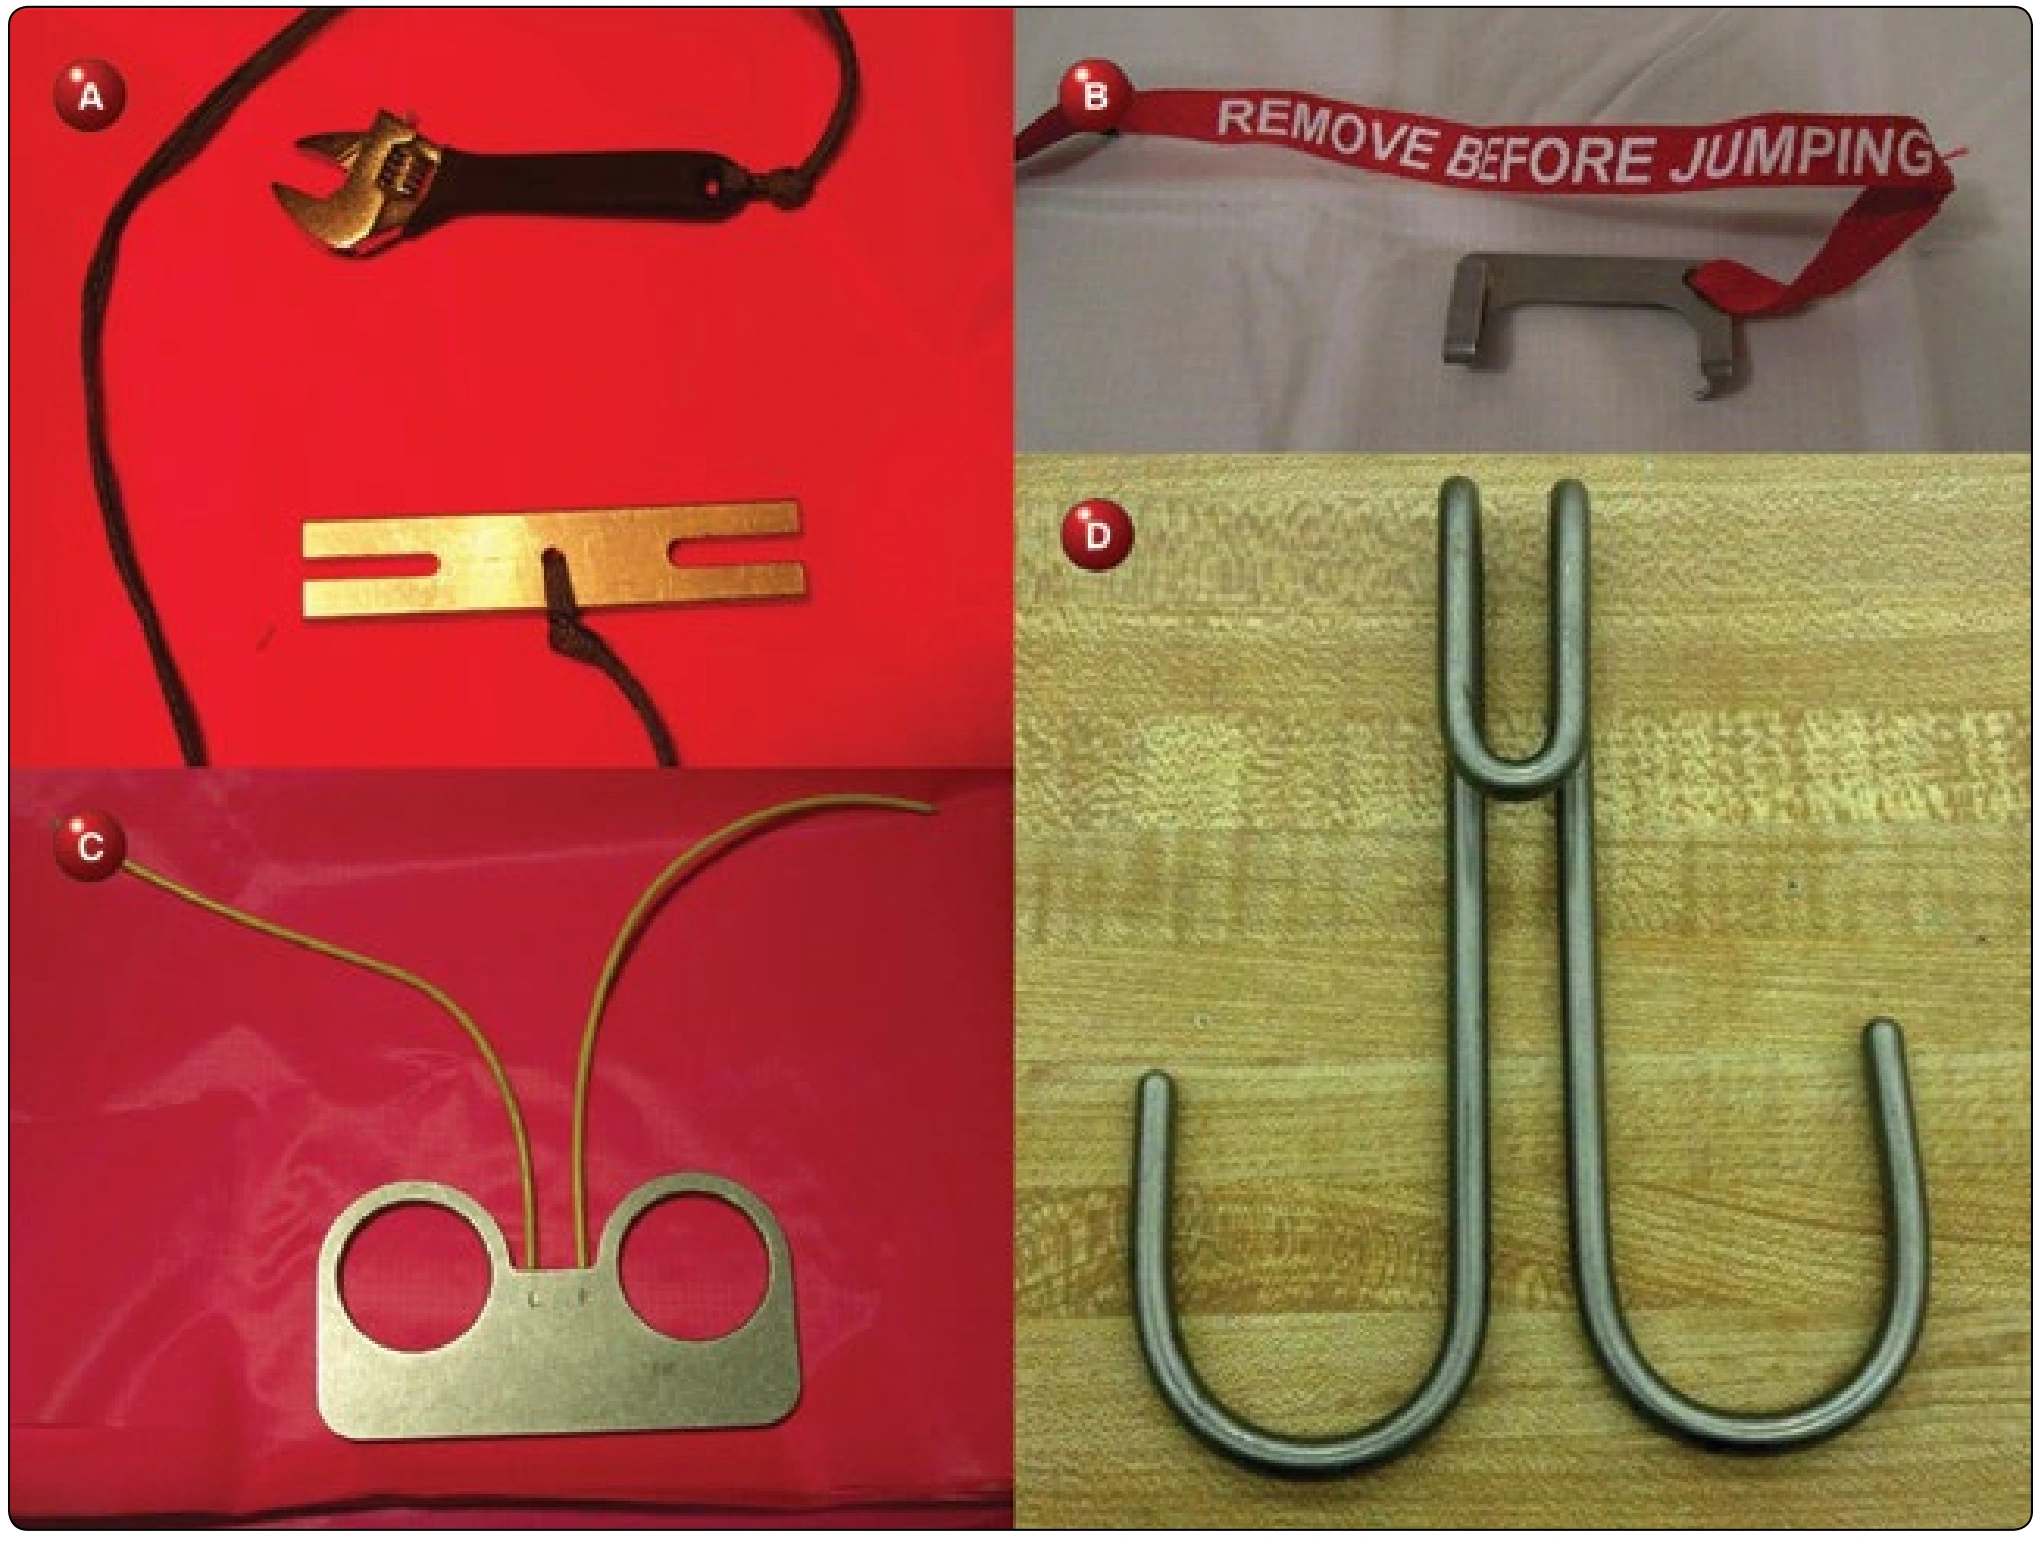
The above tools provide the rigger with the means to pack and maintain most of the common parachutes in use today. There are numerous other tools, both old and new, that individuals may wish to acquire for specialized parachutes shown in Figure 6-57. In particular, there are older style parachutes and military parachutes that cannot be packed without specialized tools designed specifically for them. At the same time, the profession is constantly developing new tools to make the job easier.
Sewing Machines
After the senior rigger has put together a personal tool kit, the next step is to acquire a selection of sewing machines in order to do minor repairs of defects found during inspection prior to packing. For example, if you find a small hole in the canopy, a sewing machine is necessary to make the correct repair. For this, a lightweight single needle machine is the perfect beginning. As your sewing skills progress, additional specialized machines can be added as space and finances allow. Always remember, only those repairs allowed under your certificate may be performed.
When purchasing a new sewing machine, if money allows, buy the best and newest machines affordable. Do not avoid old machines because if they are not worn out and parts are available, they can be a good buy. If worn out, they are counterproductive. Buy self-lubricating machines as opposed to ones you need to oil manually. It is preferable to get machines with a reverse mechanism. Get an adjustable “K leg” stand and table. This allows you to set the height of the table to best fit your physical needs. Large people bending over a short table for any length of time understand the need for this feature. If the rigger is buying a new machine, it is possible to order an oversize table top in place of the standard 20" × 48" size. This allows better control over harness and containers so they do not overlap the table.
When buying any machine, particularly from a sewing machine dealer, get the operator’s manual and the parts manual for the machine. The operator’s manual tells you how to set up and operate the machine and is indispensable when the need to order parts arises. Manuals for older machines can be found online, along with parts manuals. When shopping for used or older machines, seek out reputable companies or individuals that used the machine for business, such as retiring parachute riggers, or upholstery shops, leather shops, etc. Whenever possible, it is always best to try the machine before you buy it.
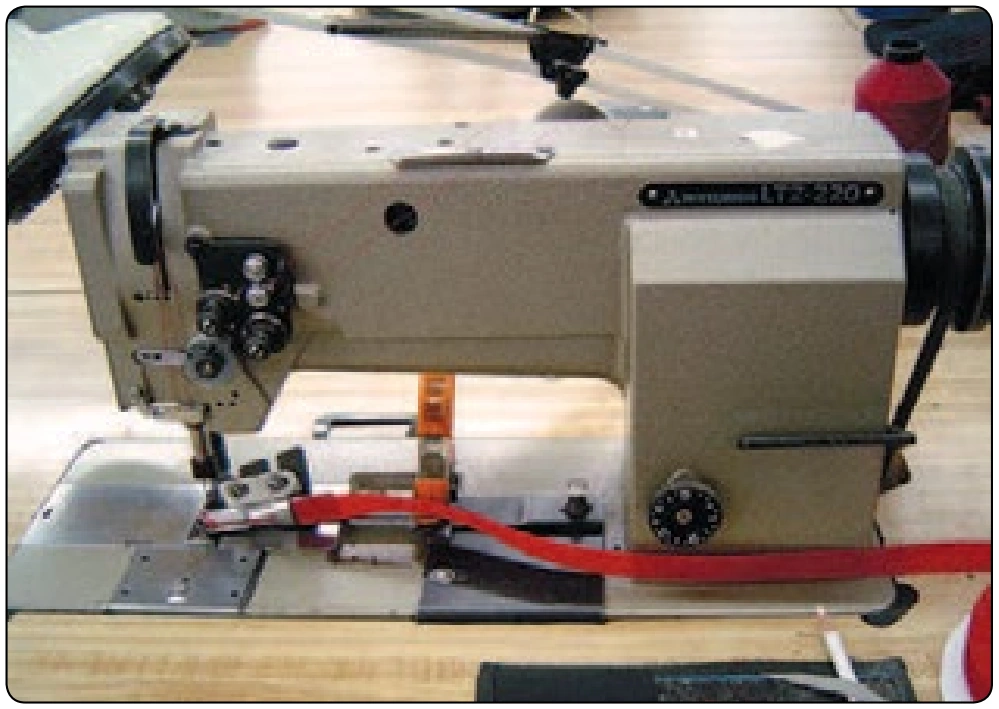
Experience has shown that the average rigger who wishes to set up a loft needs three initial machines: a lightweight single needle, such as a Singer 31-15 or Mitsubishi DB-130, for canopy repair and lightweight maintenance; a double needle, such as a Singer 212W140 or Mitsubishi LT2-220, with a binder or taping attachment for binding material and light manufacture; and a medium-duty double throw (308) zigzag machine, such as a Bernina Model 217, for suspension line repair and replacement. [Figures 6-58, 6-59, and 6-60]
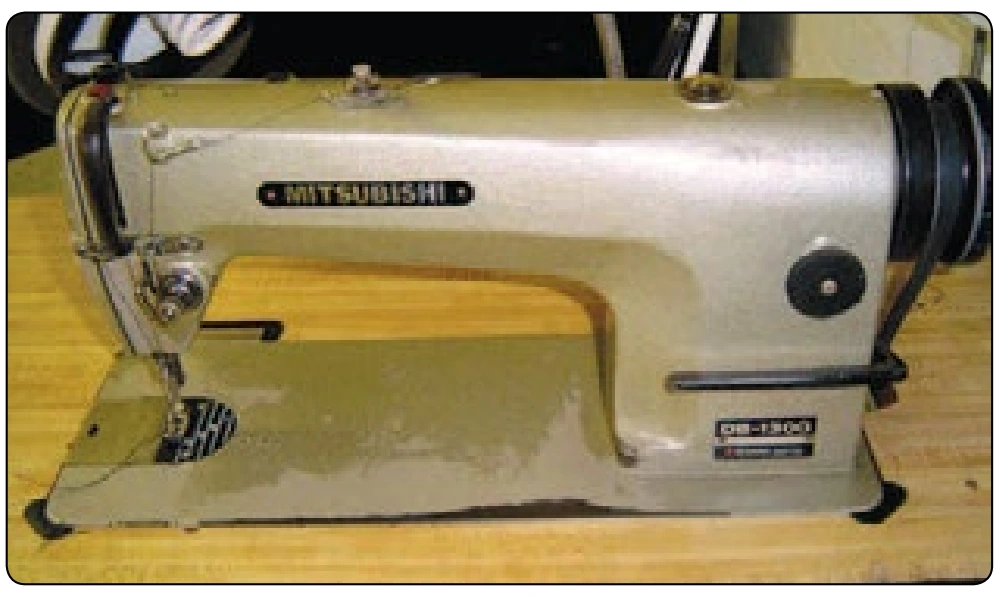
For individuals on a tight budget or with space constraints, a good idea is to buy a double-needle machine first. By removing one needle and bobbin, the machine performs excellently as a single-needle machine. Replace the needle and bobbin, and the machine again is a double needle. This gives the rigger two machines for the price and space of one. A good zigzag machine also does multiple-duty. Its primary purpose is for zigzag sewing. However, adjusting the stitch regulator allows the rigger to do an acceptable job sewing bar tacks. By changing the stitch length and adjusting the width to the narrowest setting, some machines do good straight stitching, such as the Pfaff model 138.