
Chapter 7
Advanced Composite Materials
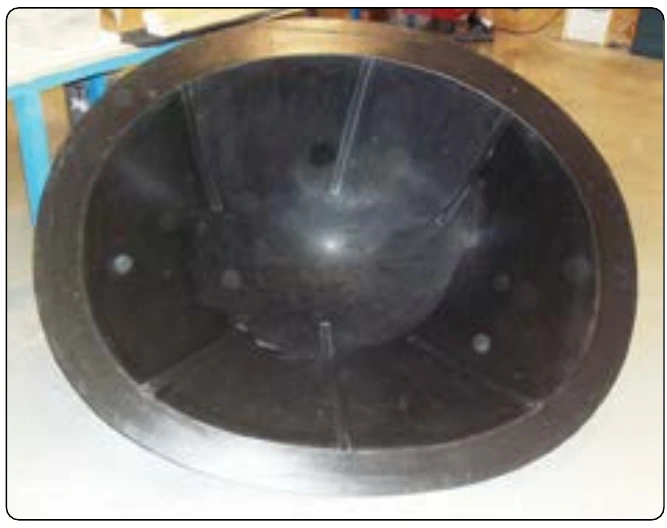
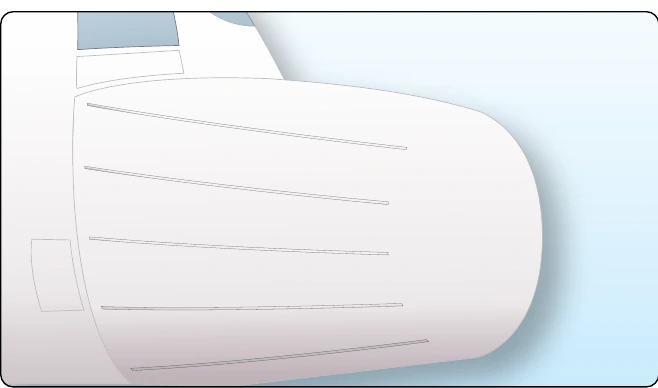
Transmissivity testing after radome repair ensures that the radar signal is transmitted properly through the radome. Radomes have lightning protections strips bonded to the outside of the radome to dissipate the energy of a lightning strike. It is important that these lightning protection strips are in good condition to avoid damage to the radome structure. Typical failures of lightning protection strips that are found during inspection are high resistance caused by shorts in the strips or attaching hardware and disbonding of the strips from the radome surface. [Figures 7-69]
External Bonded Patch Repairs
Repairs to damaged composite structures can be made with an external patch. The external patch repair could be made with prepreg, a wet layup, or a precured patch. External patches are usually stepped to reduce the stress concentration at the edge of the patch. The disadvantages of the external patch are the eccentricity of the loading that causes peel stresses and the protrusion of the patch in the air stream. The advantage of the external patch is that it is easier to accomplish than a flush scarf-type repair.
External Bonded Repair With Prepreg Plies
The repair methods for carbon, fiberglass, and Kevlar® are similar. Fiberglass is sometimes used to repair Kevlar® material. The main steps in repairing damage with an external patch are investigating and mapping the damage, removal of the damage, layup of the repair plies, vacuum bagging, curing, and finish coating.
Step 1: Investigating & Mapping the Damage
Use the tap test or ultrasonic test to map out the damage.
Step 2: Damage Removal
Trim out the damage to a smooth round or oval shape. Use scotch or sand paper to rough up the parent surface at least 1 inch larger than the patch size. Clean the surface with an approved solvent and cheese cloth.
Step 3: Layup of the Repair Plies
Use the SRM to determine the number, size, and orientation of the repair plies. The repair ply material and orientation must be the same as the orientation of the parent structure.
The repair can be stepped to reduce peel stresses at the edges.
Step 4: Vacuum Bagging
A film adhesive is placed over the damaged area and the repair layup is placed on top of the repair. The vacuum bagging materials are placed on top of the repair (see Prepreg Layup and Controlled Bleed Out) and a vacuum is applied.
Step 5: Curing the Repair
The prepreg patch can be cured with a heater blanket that is placed inside the vacuum bag, oven, or autoclave when the part can be removed from the aircraft. Most prepregs and film adhesives cure at either 250 °F or 350 °F. Consult the SRM for the correct cure cycle.
Step 6: Applying Top Coat
Remove the vacuum bag from the repair after the cure and inspect the repair, remove the patch if the repair is not satisfactory. Lightly sand the repair and apply a protective topcoating.