
Chapter 8
Aircraft Painting & Finishing
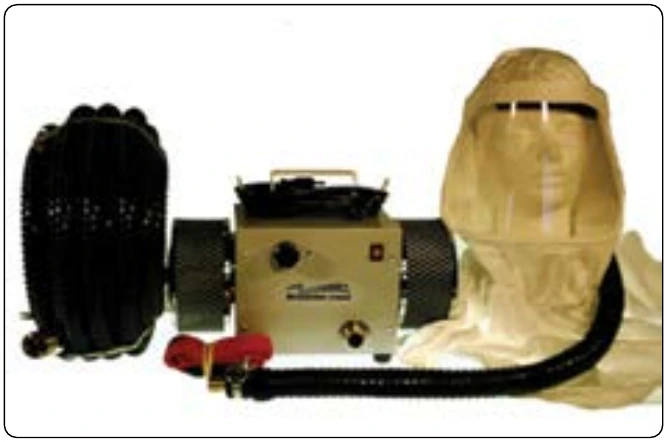
Fresh air breathing systems should be used whenever coatings are being sprayed that contain isocyanides. This includes all polyurethane coatings. The system incorporates a high-capacity electric air turbine that provides a constant source of fresh air to the mask. The use of fresh air breathing systems is also highly recommended when spraying chromate primers and chemical stripping aircraft. The system provides cool filtered breathing air with up to 200 feet of hose, which allows the air pump intake to be placed in an area of fresh air, well outside of the spraying area. [Figure 8-8]
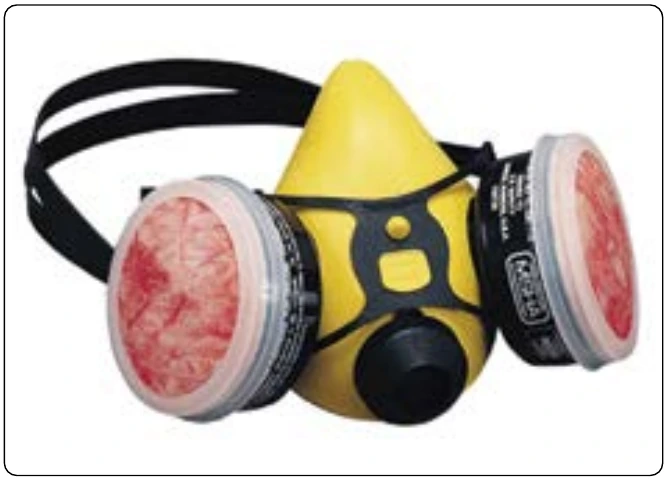
A charcoal-filtered respirator should be used for all other spraying and sanding operations to protect the lungs and respiratory tract. The respirator should be a double-cartridge, organic vapor type that provides a tight seal around the nose and mouth. The cartridges can be changed separately, and should be changed when detecting odor or experiencing nose or throat irritation. The outer prefilters should be changed if experiencing increased resistance to breathing. [Figure 8-9]
Viscosity Measuring Cup
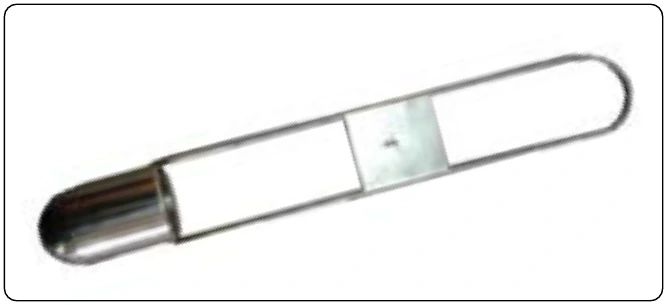
This is a small cup with a long handle and a calibrated orifice in the bottom that allows the liquid in the cup to drain out at a specific timed rate. Coating manufacturers recommend spraying their product at a specific pressure and viscosity. That viscosity is determined by measuring the efflux (drain) time of the liquid coating through the cup orifice. The time (in seconds) is listed on most paint manufacturers’ product/technical data pages. The measurement determines if the mixed coating meets the recommended viscosity for spraying.
There are different manufacturers of the viscosity measuring devices, but the most common one listed and used for spray painting is known as a Zahn cup. The orifice number must correspond to the one listed on the product/technical data sheet. For most primers and topcoats, the #2 or #3 Zahn cup is the one recommended. [Figure 8-10]
To perform an accurate viscosity measurement, it is very important that the temperature of the sample material be
- Thoroughly mix the sample with minimum bubbles.
- Dip the Zahn cup vertically into the sample being tested, totally immersing the cup below the surface.
- With a stopwatch in one hand, briskly lift the cup out of the sample. As the top edge of the cup breaks the surface, start the stopwatch.
- Stop the stopwatch when the first break in the flow of the liquid is observed at the orifice exit. The number in seconds is referred to as the efflux time.
- Record the time on the stopwatch and compare it to the coating manufacturer’s recommendation. Adjust the viscosity, if necessary, but be aware not to thin the coating below recommendations that could result in the release of VOCs into the atmosphere above the regulated limitations.
Mixing Equipment
Use a paint shaker for all coatings within 5 days of application to ensure the material is thoroughly mixed. Use a mechanical paint stirrer to mix larger quantities of material. If a mechanical stirrer is driven by a drill, the drill should be pneumatic, instead of electric. The sparks from an electric drill can cause an explosion from the paint vapors.
Preparation
Surfaces
The most important part of any painting project is the preparation of the substrate surface. It takes the most work and time, but with the surface properly prepared, the results are a long-lasting, corrosion-free finish. Repainting an older aircraft requires more preparation time than a new paint job because of the additional steps required to strip the old paint, and then clean the surface and crevices of paint remover. Paint stripping is discussed in another section of this chapter.
It is recommended that all the following procedures be performed using protective clothing, rubber gloves, and goggles, in a well-ventilated area, at temperatures between 68 °F and 100 °F.
Aluminum surfaces are the most common on a typical aircraft. The surface should be scrubbed with Scotch-Brite® pads using an alkaline aviation cleaner. The work area should be kept wet and rinsed with clean water until the surface is water break free. This means that there are no beads or breaks in the water surface as it flows over the aluminum surface.
The next step is to apply an acid etch solution to the surface. Following manufacturers’ suggestions, this is applied like a wash using a new sponge and covering a small area while keeping it wet and allowing it to contact the surface for between 1 and 2 minutes. It is then rinsed with clean water without allowing the solution to dry on the surface. Continue this process until all the aluminum surfaces are washed and rinsed. Extra care must be taken to thoroughly rinse this solution from all the hidden areas that it may penetrate. It provides a source for corrosion to form if not completely removed.