Chapter 12
Fundamentals of Electricity & Electronics
The rotation of generators is termed either clockwise or counterclockwise, as viewed from the driven end. Usually, the direction of rotation is stamped on the data plate. If no direction is stamped on the plate, the rotation may be marked by an arrow on the cover plate of the brush housing. It is important that a generator with the correct direction of rotation be used; otherwise, the voltage is reversed.
The speed of an aircraft engine varies from idle rpm to takeoff rpm; however, during the major portion of a flight, it is at a constant cruising speed. The generator drive is usually geared to revolve the generator between 11⁄8 and 11⁄2 times the engine crankshaft speed. Most aircraft generators have a speed at
Generator Terminals
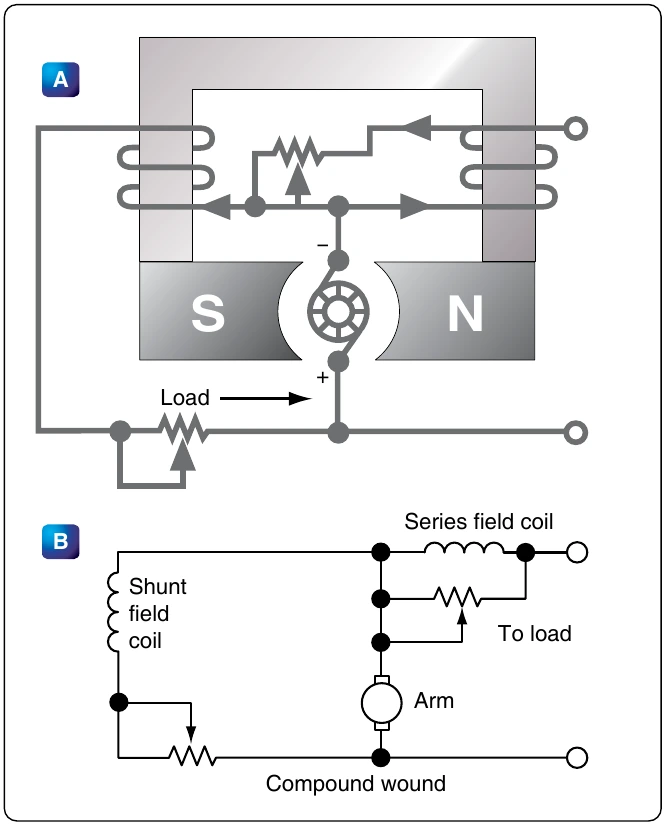
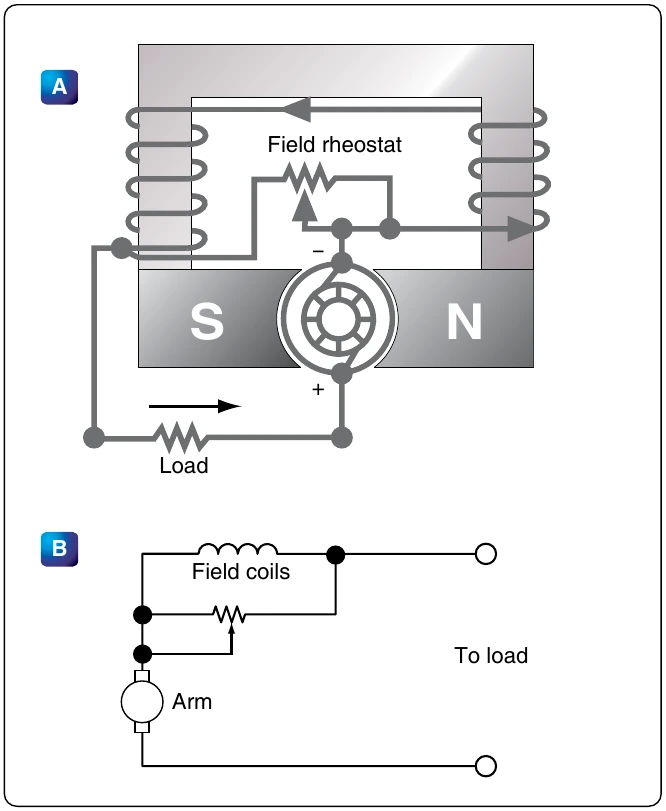
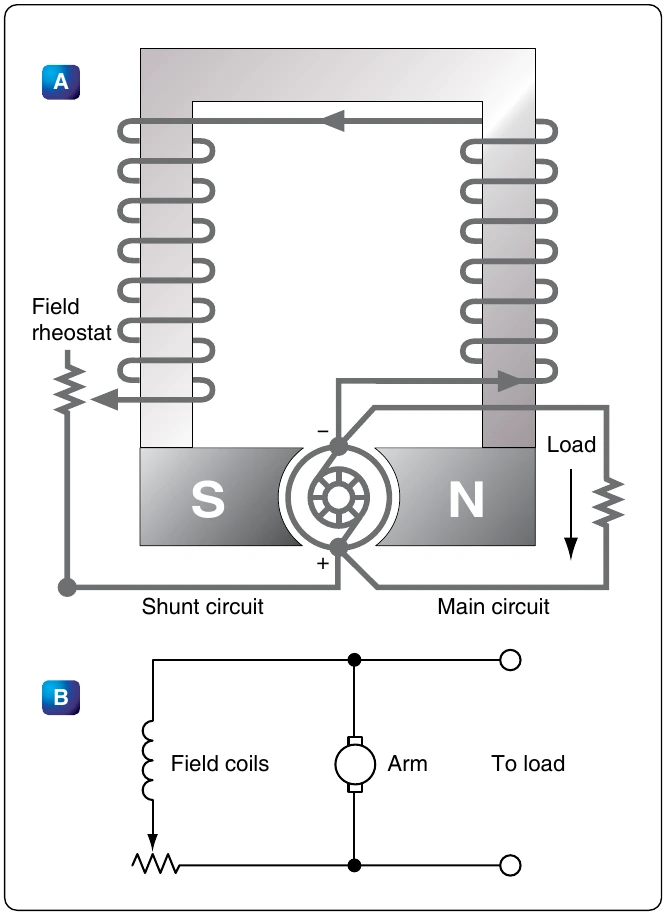
On most large 24-volt generators, electrical connections are made to terminals marked B, A, and E. The positive armature lead in the generator connects to the B terminal. The negative armature lead connects to the E terminal. The positive end of the shunt field winding connects to terminal A, and the opposite end connects to the negative terminal brush. Terminal A receives current from the negative generator brush through the shunt field winding. This current passes through the voltage regulator and back to the armature through the positive brush. Load current, which leaves the armature through the negative brushes, comes out of the E lead and passes through the load before returning to the armature through the positive brushes.
DC Generator Maintenance
Inspection
The following information about the inspection and maintenance of DC generator systems is general in nature because of the large number of differing aircraft generator systems. These procedures are for familiarization only. Always follow the applicable manufacturer’s instructions for a given generator system.
- Security of generator mounting
- Condition of electrical connections
- Dirt and oil in the generator—if oil is present, check engine oil seal. Blow out dirt with compressed air.
- Condition of generator brushes
- Generator operation
- Voltage regulator operation
Condition of Generator Brushes
Sparking of brushes quickly reduces the effective brush area in contact with the commutator bars. The degree of such sparking should be determined. Excessive wear warrants a detailed inspection.
The following information pertains to brush seating, brush pressure, high mica condition, and brush wear. Manufacturers usually recommend the following procedures to seat brushes that do not make good contact with slip rings or commutators.
Lift the brush sufficiently to permit the insertion of a strip of No. 000, or finer, sandpaper under the brush, rough side out. [Figure 12-289] Pull the sandpaper in the direction of armature rotation, being careful to keep the ends of the sandpaper as close to the slip ring or commutator surface as possible in order to avoid rounding the edges of the brush.
When pulling the sandpaper back to the starting point, raise the brush so it does not ride on the sandpaper. Sand the brush only in the direction of rotation.
After the generator has run for a short period, brushes should be inspected to make sure that pieces of sand have not become embedded in the brush and are collecting copper.
Under no circumstances should emery cloth or similar abrasives be used for seating brushes (or smoothing commutators), since they contain conductive materials that cause arcing between brushes and commutator bars.
Excessive pressure causes rapid wear of brushes. Too little pressure, however, allows “bouncing” of the brushes, resulting in burned and pitted surfaces.
A carbon, graphite, or light metalized brush should exert a pressure of 11⁄2 to 21⁄2 psi on the commutator. The pressure recommended by the manufacturer should be checked by the use of a spring scale graduated in ounces. Brush spring tension is usually adjusted between 32 to 36 ounces; however, the tension may differ slightly for each specific generator.