
Chapter 7
Aircraft Materials, Hardware, & Processes
When driving a Deutsch rivet, an ordinary hammer or a pneumatic rivet gun and a flathead set are used. The rivet is seated in the previously drilled hole, and then the pin is driven into the sleeve. The driving action causes the pin to exert pressure against the sleeve and forces the sides of the sleeve out. This stretching forms a shop head on the end of the rivet and provides positive fastening. The ridge on the top of the rivet head locks the pin into the rivet as the last few blows are struck.
Sealing Nut Plates
When securing nut plates in pressurized aircraft and in fuel cells, a sealing nut plate is used instead of the open-ended variety previously described. Care must be taken to use exactly the correct length of bolt or screw. If a bolt or screw is too short, there is not enough threads to hold the device in place. If the bolt or screw is too long, it penetrates the back side of the nut plate and compromises the seal. Normally, a sealant is also used to ensure complete sealing of the nut plate. Check the manufacturer’s specifications for the acceptable sealant to be used for sealing nut plates.
Hole Repair & Hole Repair Hardware
Many of the blind fasteners are manufactured in oversized diameters to accommodate slightly enlarged holes resulting from drilling out the original fastener. When using rivets To reduce the chances of an incorrectly drilled rivet or bolt hole, use a slightly smaller drill bit first, then enlarge to the correct diameter. The last step to prepare the hole for the fastener is to deburr the hole using either a very large drill bit or a special deburring tool. This practice also works well when drilling out a previously attached fastener. If the drill bit does not exactly find the center of the rivet, bolt, or screw, the hole can easily be elongated, but when using a smaller drill bit, drill the head only off the fastener. Then the ring and stem that is left can be pushed out with a pin punch of the appropriate diameter. If an incorrectly drilled hole is found, the options are to re-drill the hole to the next larger diameter for an acceptable fastener or repair the hole using an Acres fastener sleeve.
Repair of Damaged Holes with Acres Fastener Sleeves
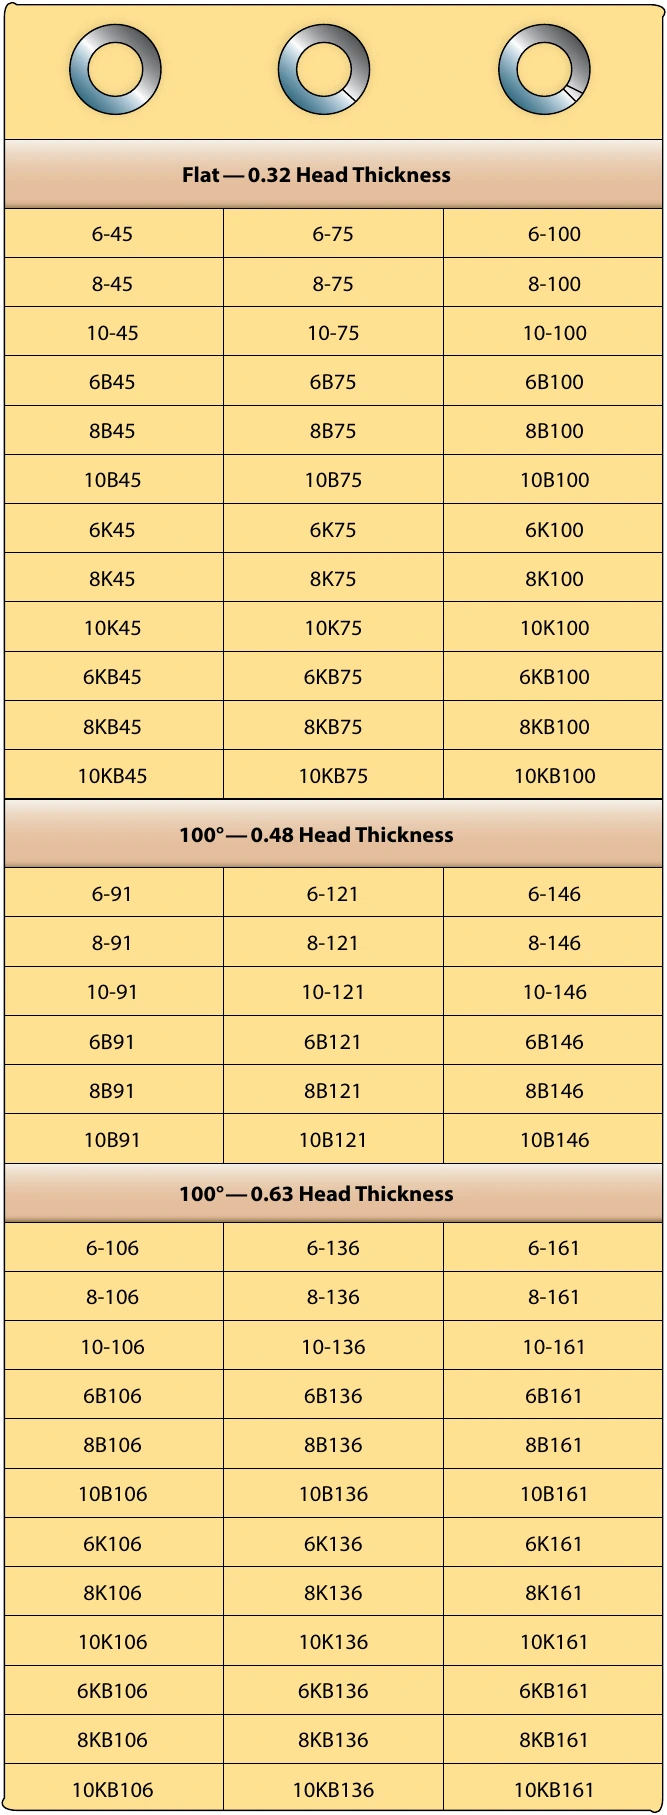
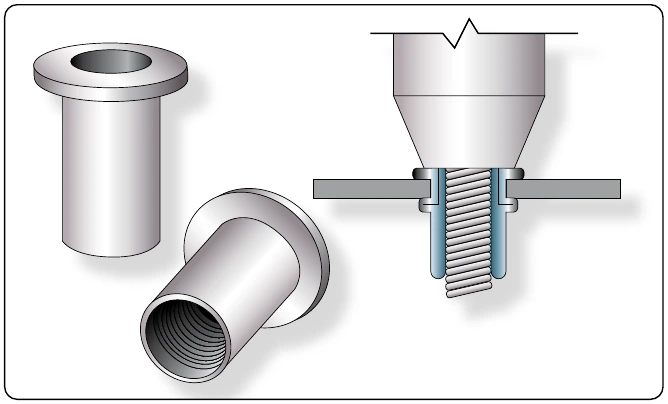
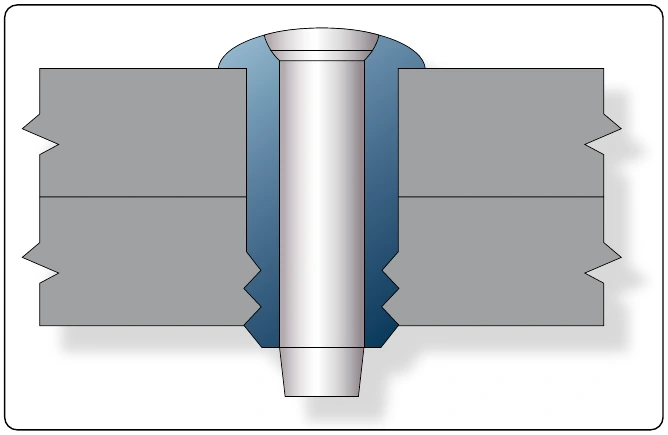
Acres fastener sleeves are thin-wall tubular elements with a flared end. The sleeves are installed in holes to accept standard bolts and rivet-type fasteners. The existing fastener holes are drilled 1⁄64 inch oversize for installation of the sleeves. The sleeves are manufactured in 1-inch increments. Along their length, grooves provide a place to break or cut off excess length to match fastener grip range. The grooves also provide a place to hold adhesive or sealing agents when bonding the sleeve into the hole.
Advantages & Limitations
The sleeves are used in holes that must be drilled 1⁄64 inch oversize to clean up corrosion or other damage. The oversize hole with the sleeve installed allows the use of the original diameter fastener in the repaired hole. The sleeves can be used in areas of high galvanic corrosion where the corrosion must be confined to a readily replaceable part. Oversizing of holes reduces the net cross-sectional area of a part and should not be done unless absolutely required.
Consult the manufacturer of the aircraft, aircraft engine, or aircraft component prior to repair have damaged holes with Acres sleeves.
Identification
The sleeve is identified by a standard code number that represents the type and style of sleeve, a material code, the fastener shank diameter, and surface finish code letter, and grip tang for the sleeve. [Figure 7-66] The basic code number represents the type and material of the sleeve. The first dash number represents the diameter of the sleeve for the fastener installed, and the second dash represents the grip length of the sleeve. The required length of the sleeve is determined on installation and the excess is broken off the sleeve. A JK5512A-05N-10 is a 100° low profile head sleeve of aluminum alloy. The diameter is for a 5⁄32-inch fastener with no surface finish and is 5⁄8 inch in length.
Hole Preparation
Refer to Figure 7-67 for drill number for standard or close fit holes. Inspect hole after drilling to assure all corrosion is removed before installing the sleeve. The hole must also be the correct shape and free from burrs. The countersink must be enlarged to receive the flare of the sleeve, so the sleeve is flush with the surrounding surface.
Installation
After selecting the correct type and diameter sleeve, use the 6501 sleeve breakoff tool for final installation length. Refer to Figure 7-67 for the sleeve breakoff procedure. The sleeve may be installed with or without being bonded in the hole. When bonding the sleeve in a hole, use MIL-S-8802A 1⁄2 sealant. Reinstall original size fastener and torque as required.