Again, it should be emphasized that the reason for opening the container every 180 days is to inspect and recertify the canopy and container system for another 180 days. Recent language published by the FAA clarifies what the service life of a parachute is by stating that the rigger may extend the life of the system 180 days at a time, so effectively the service life of any parachute TSO’d under C23b, C23c, and C23d is 180 days.
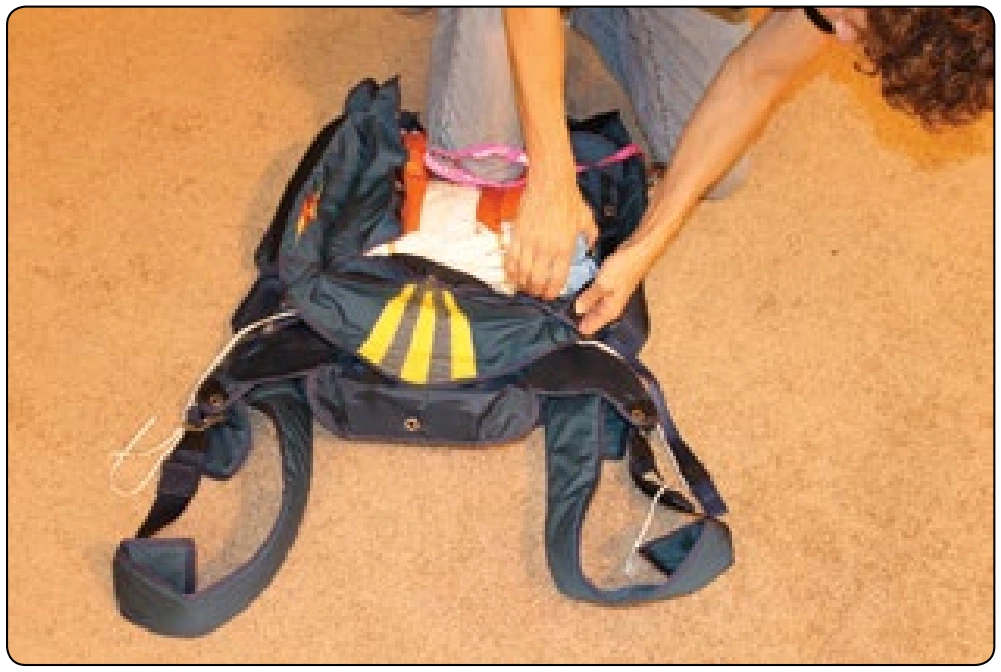
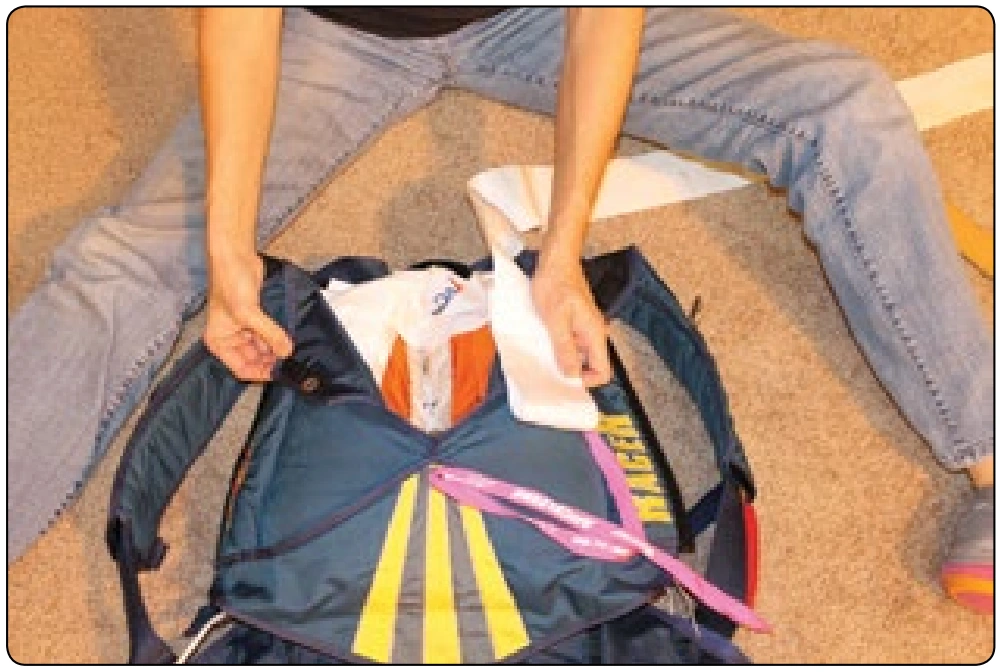
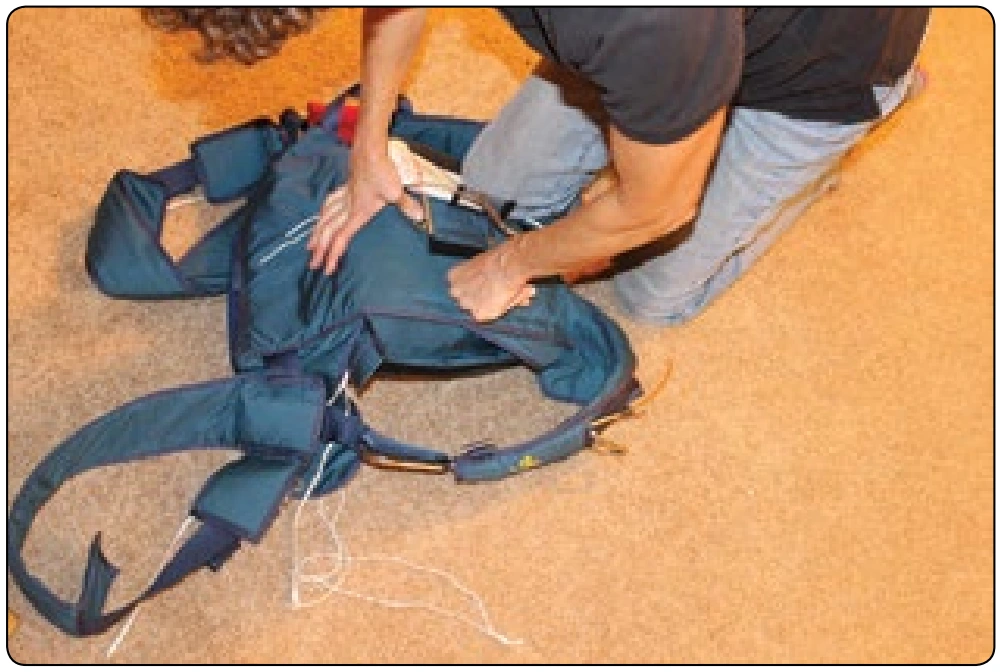
Figure 5-147. Carefully tuck the corners of the bag into the bottom of the container.
Figure 5-148. Close bottom sub flap.
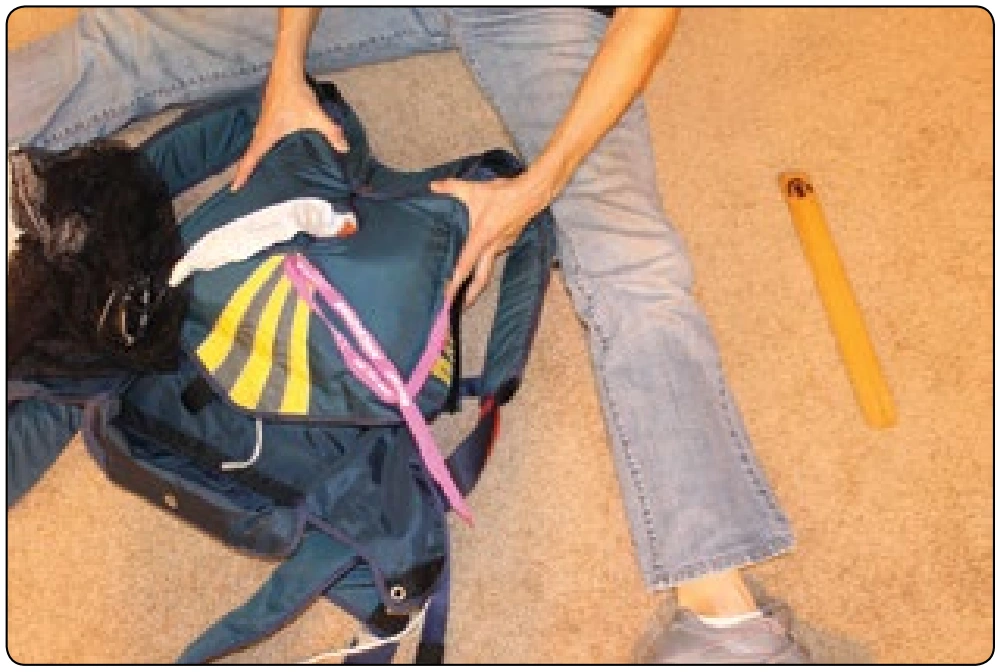
Figure 5-149. Close either side flap (not side-sensitive).
Figure 5-150. Close opposite side flap.
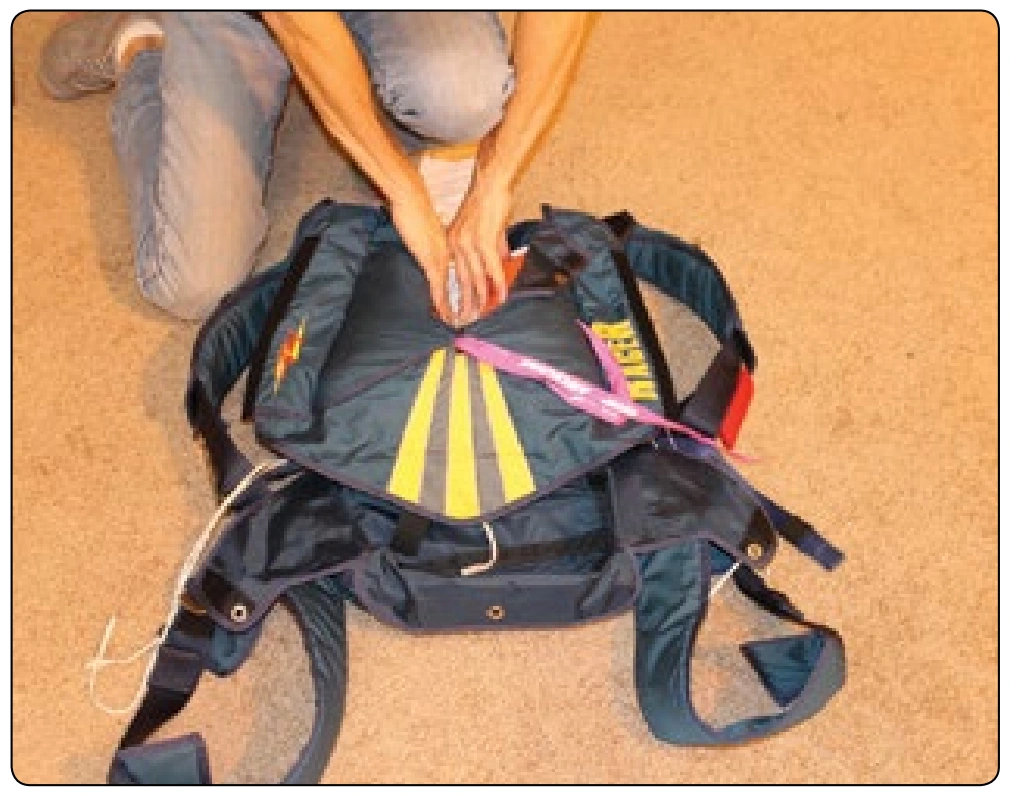
Figure 5-151. Maintain the division of the canopy by pushing the ears down and outward. This is where the pilot chute spring will nest.
Figure 5-152. S-fold bridle and evenly distribute on both sides of container.
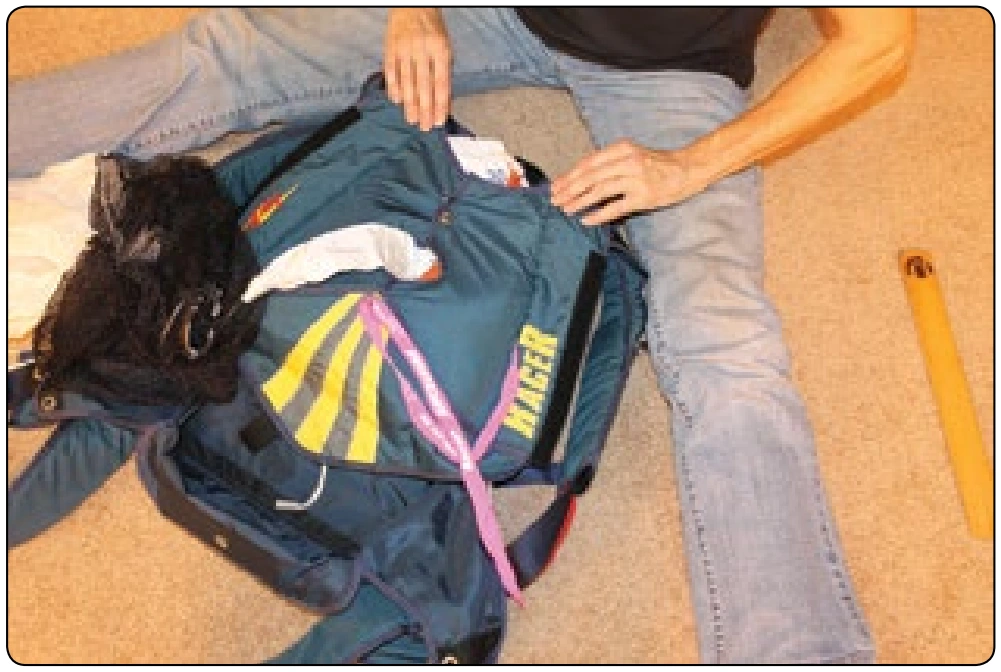
Figure 5-155. Close top (yoke) flap.
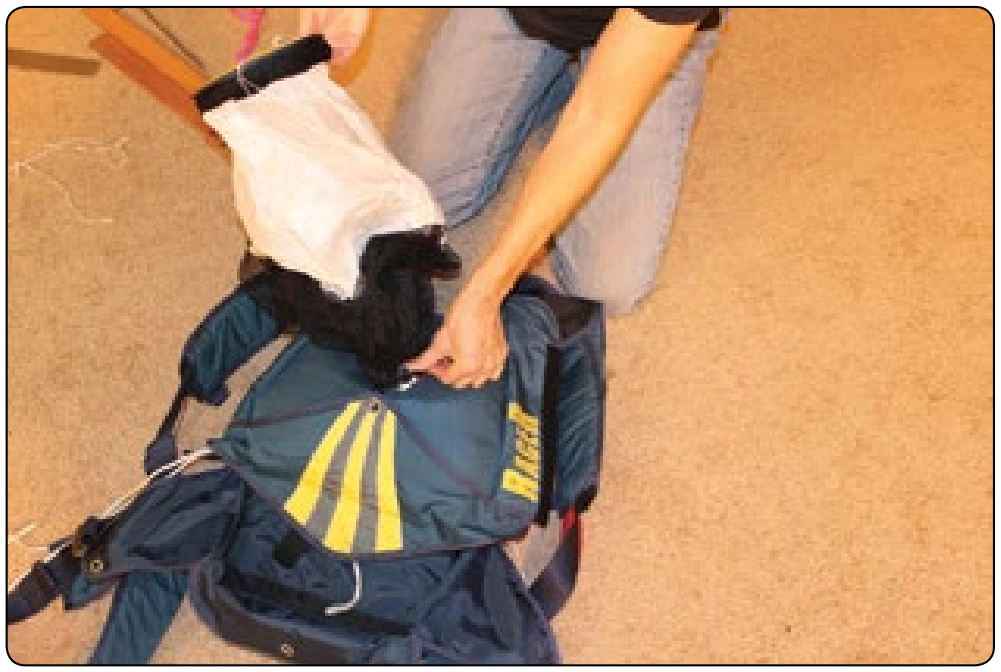
Figure 5-156. Place pilot chute in depression formed in the center of the pack.
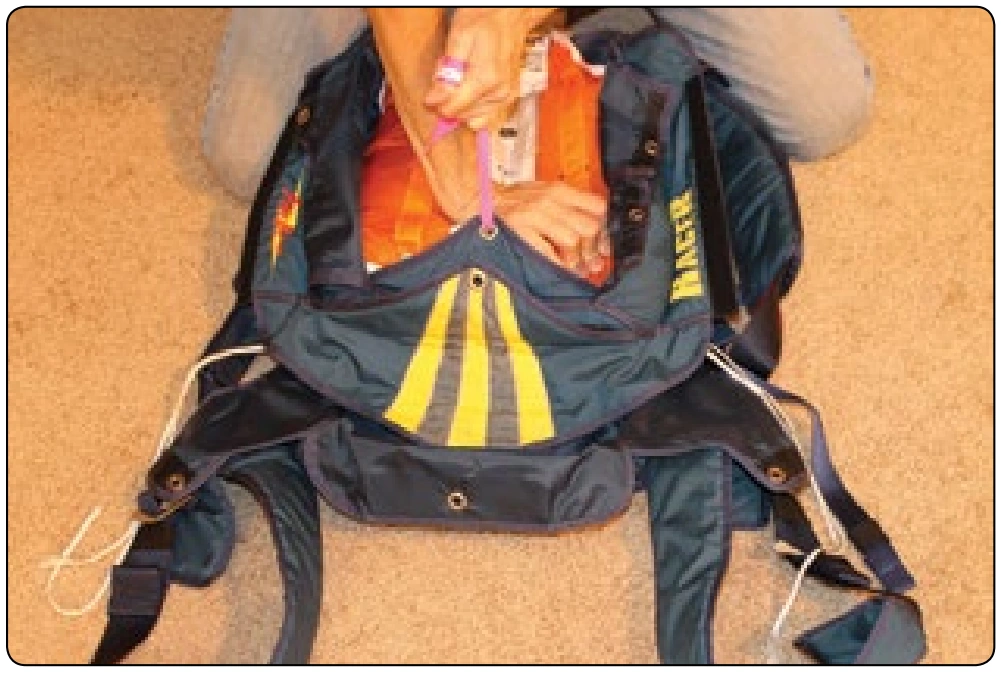
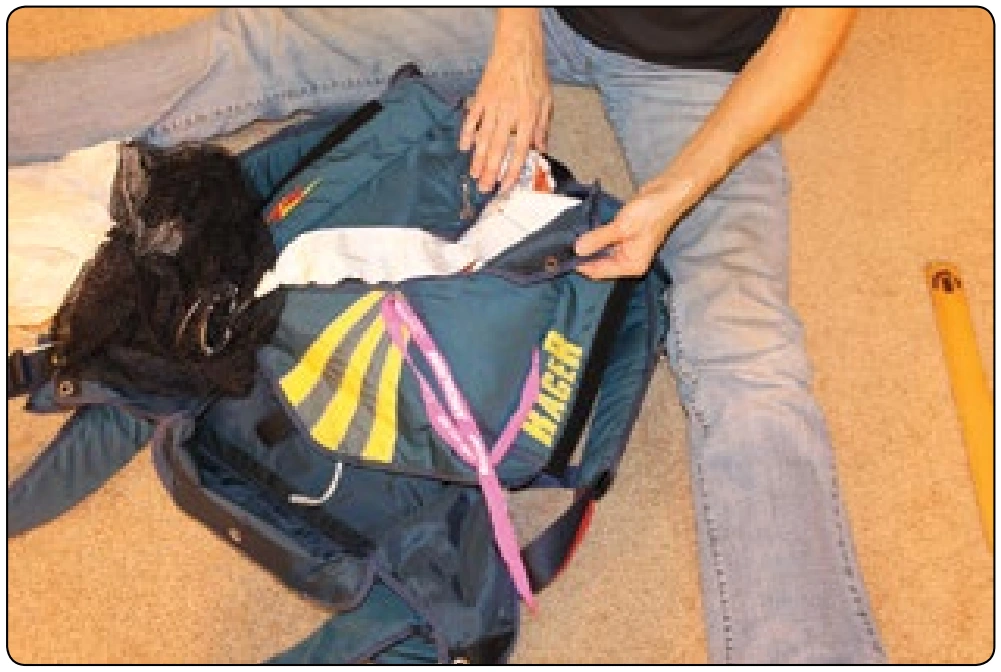
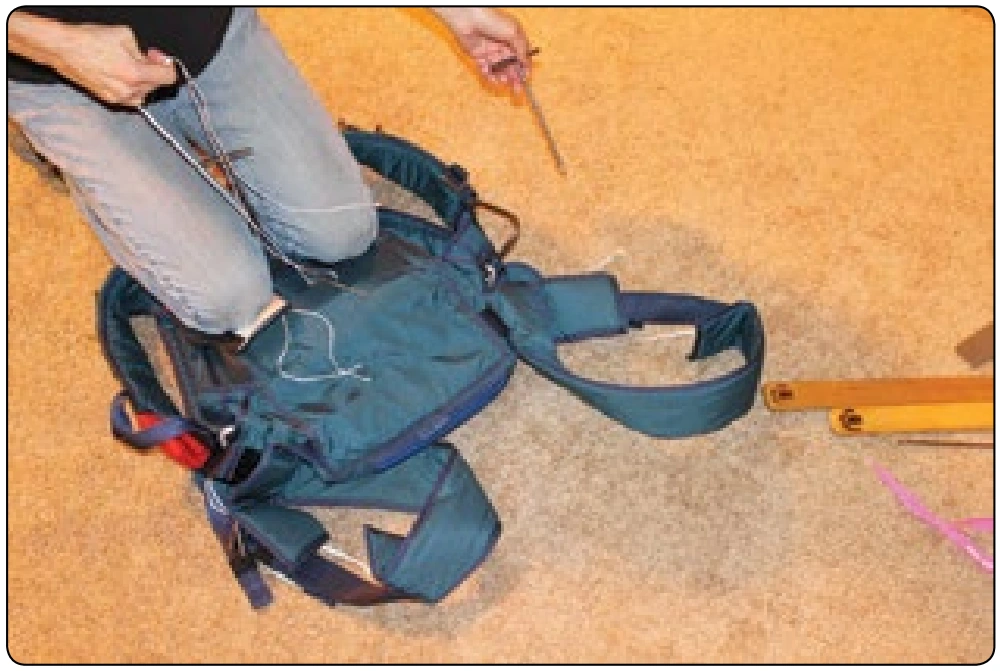
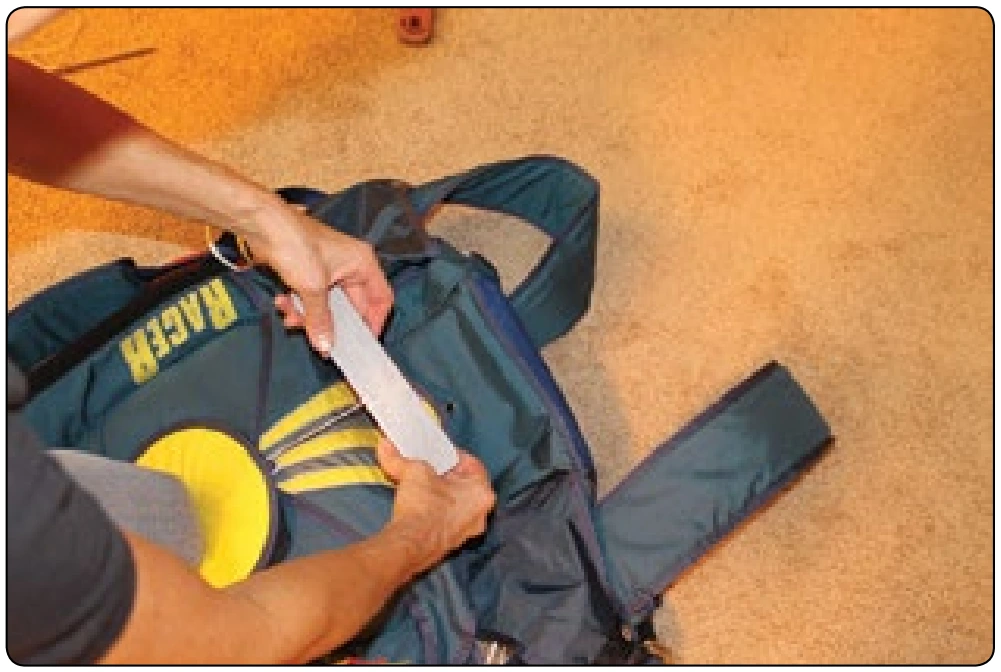
Figure 5-153. Insert bodkin through the top grommets of the backpad and bag and close upper side flap. There should be little or no canopy fabric in this upper area if good division of the ears has been maintained.
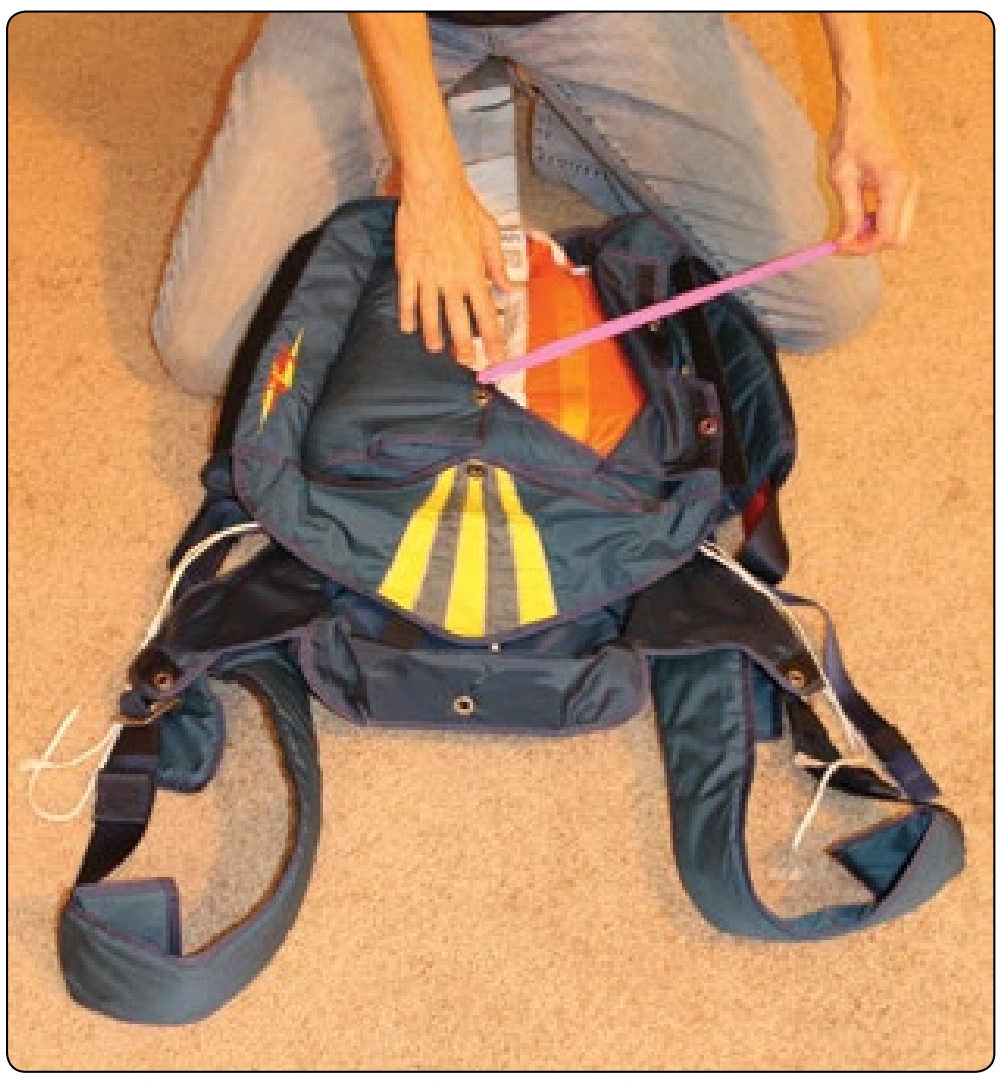
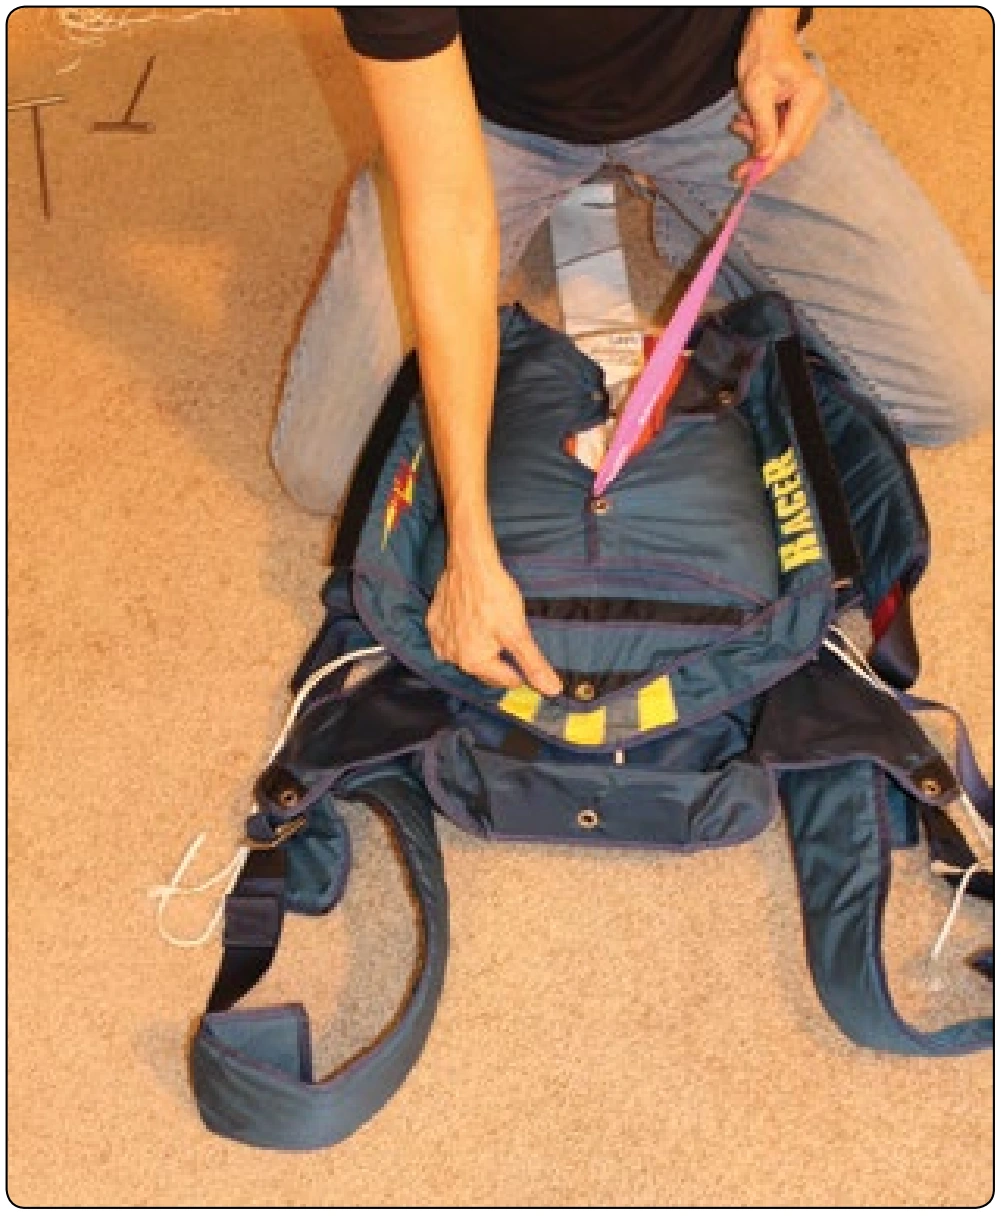
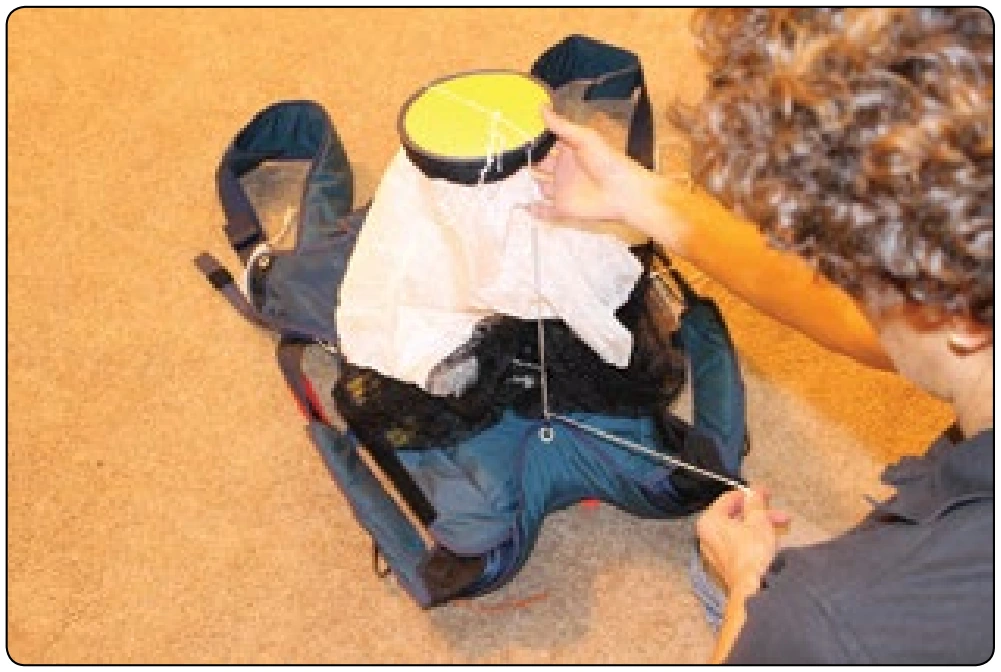
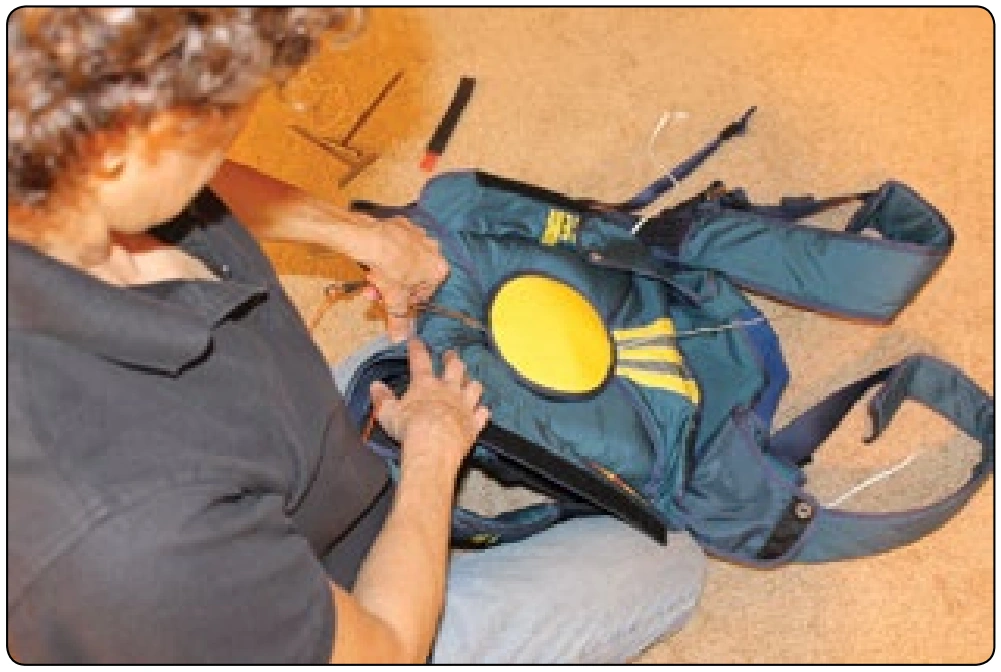
Figure 5-157. Thread pull-up cords through each closing loop and through bodkin eyes.
Figure 5-154. Close other side flap leaving a short section of bridle below the pilot chute.
Figure 5-158. Compress pilot chute tucking fabric and mesh between the coils of the spring.
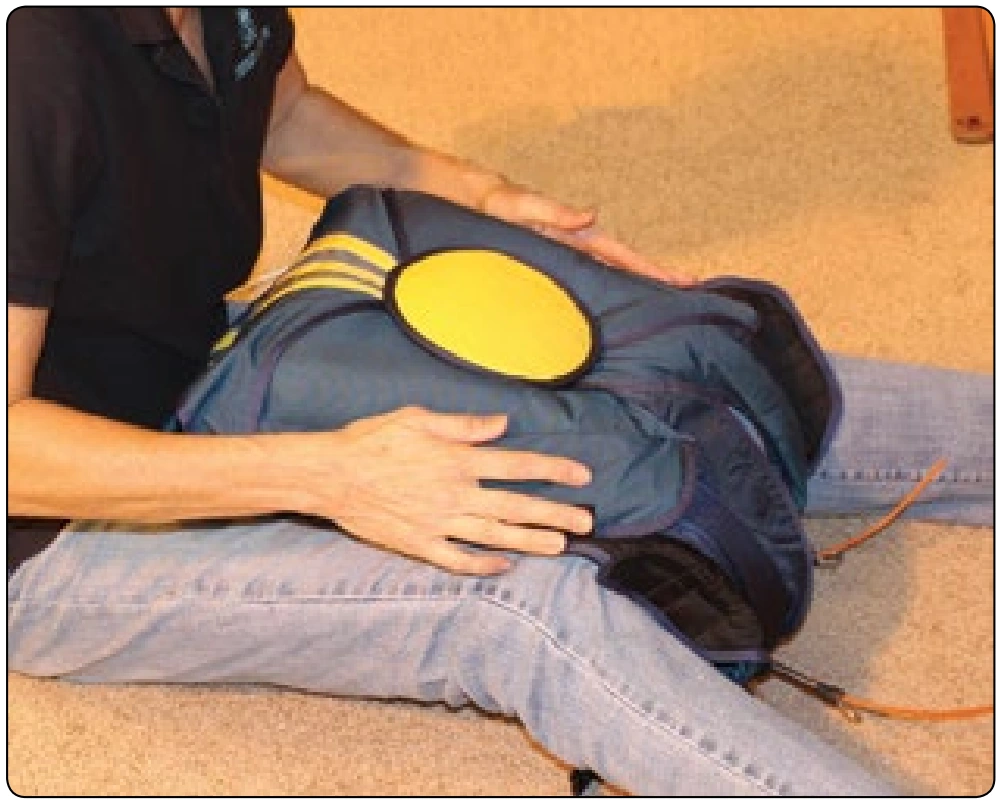
Figure 5-159. Flip the container over and kneel on it to control the spring.
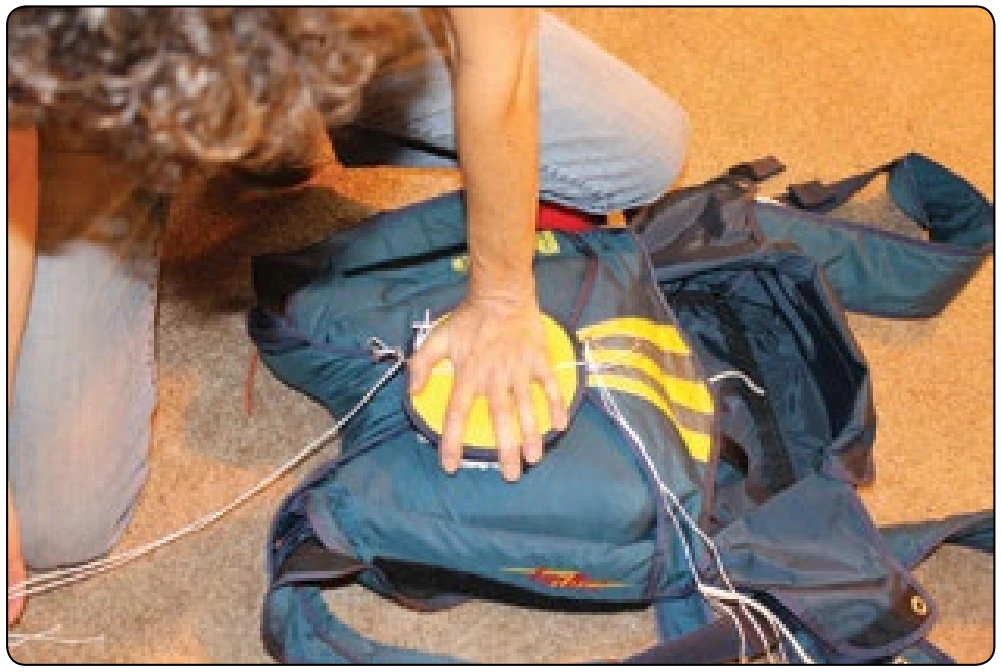
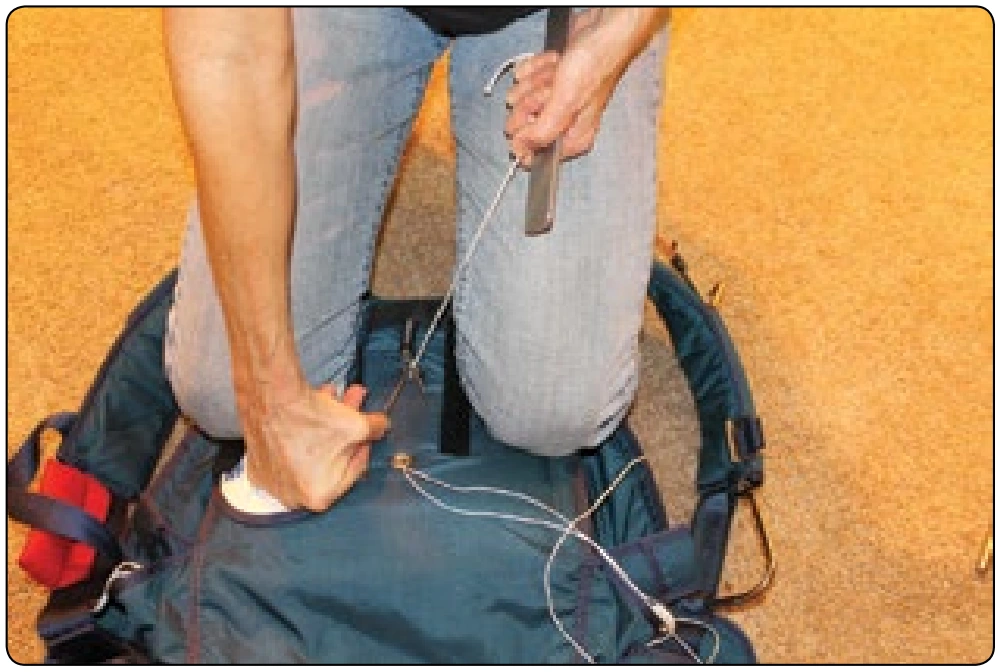
Figure 5-160. Pull the bodkins with their respective pull up cords through the pack.
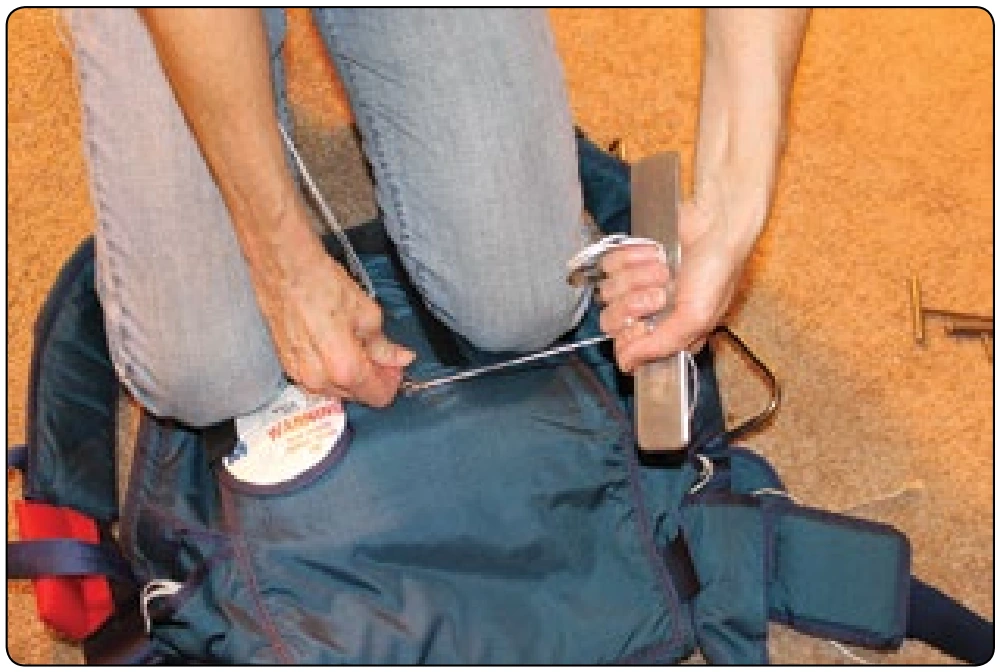
Figure 5-161. Pull top closing loop through the grommet and insert pin.
Figure 5-162. Pull bottom closing loop through the grommet and insert pin.
Figure 5-163. Pull on running ends of adjustable closing loop to shorten the opposite loop until pilot chute is sufficiently seated.
Figure 5-164. Insert running ends into the isolated space between pilot chute “Hat” and top of the spring, using a hemostat or tweezers.
Figure 5-165. Dress per manufacturer’s instructions and attach seal to the last pin.
Cookie Preferences
We use cookies to operate this website, improve performance, understand site traffic, and personalize your experience. Essential cookies are always active because they are required for the website to function.
Required for basic site functionality and security.
Help us understand how visitors use the website so we can improve it.
May be used for advertising, remarketing, or social media features.
You can update your choices anytime using Cookie Settings. View Privacy Policy