Aviation Training Experts™

handbook

Parachute Rigger Handbook

FAA-H-8083-17A Version 2015 (Change 1)

Chapter 5

Inspection and Packing
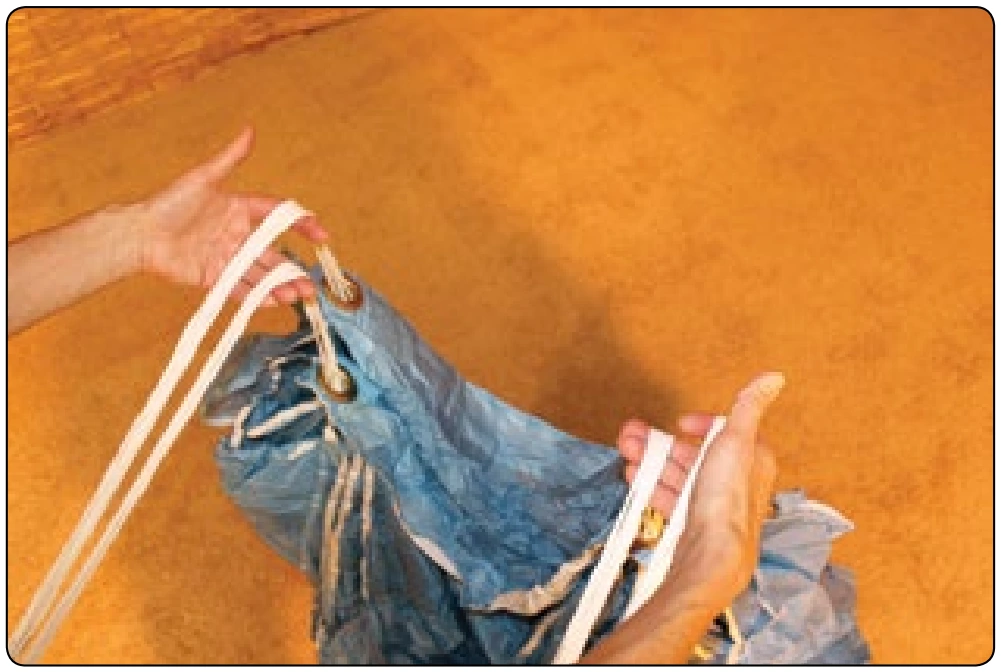
Figure 5-117. Push the slider up to the slider stops.
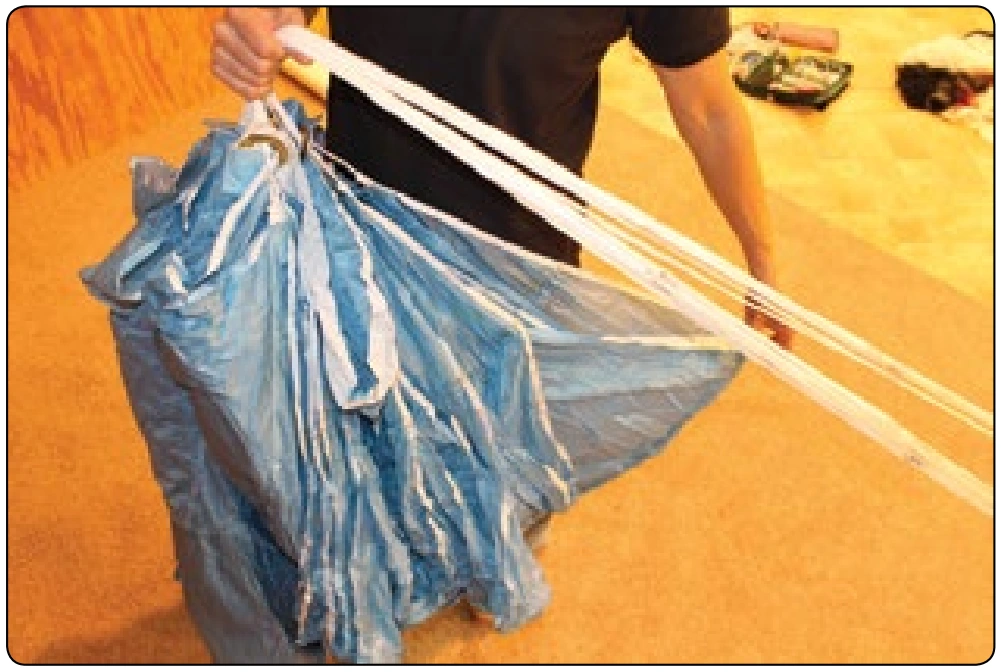
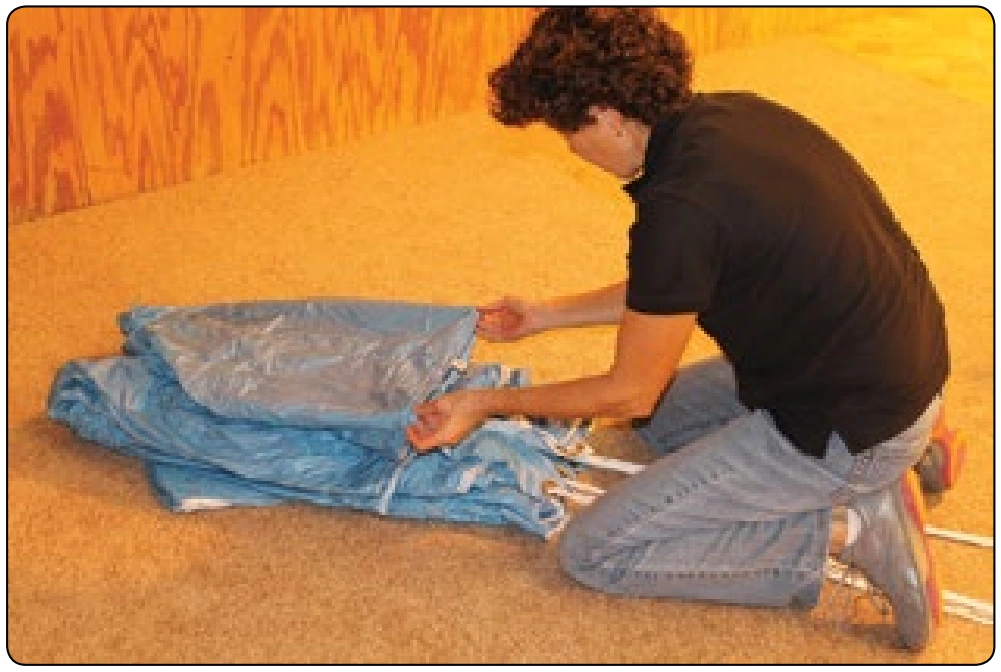
Figure 5-118. Flake the nose cells of the canopy.
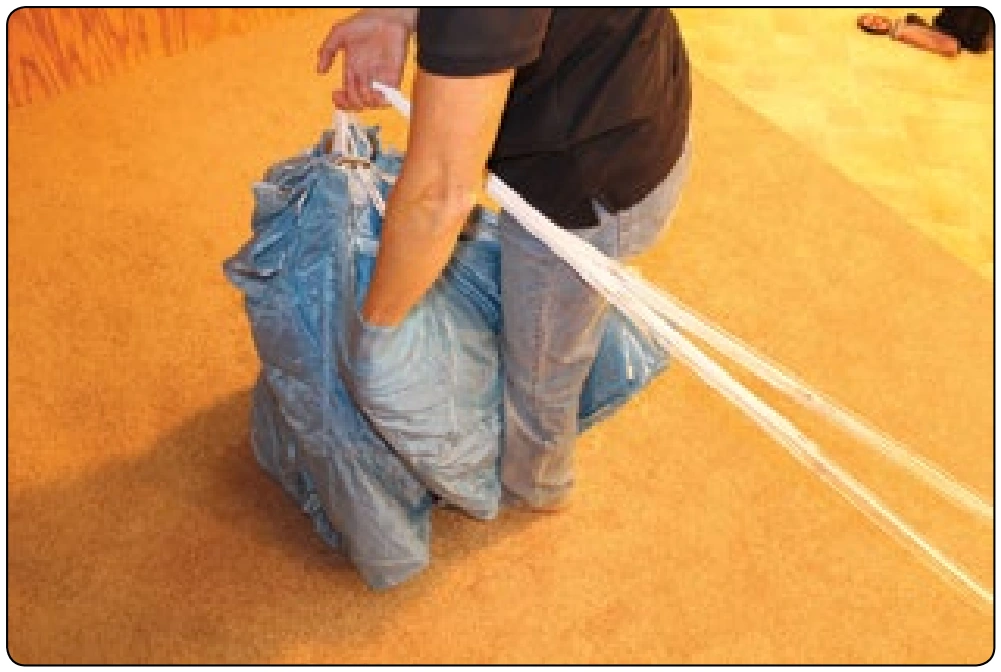
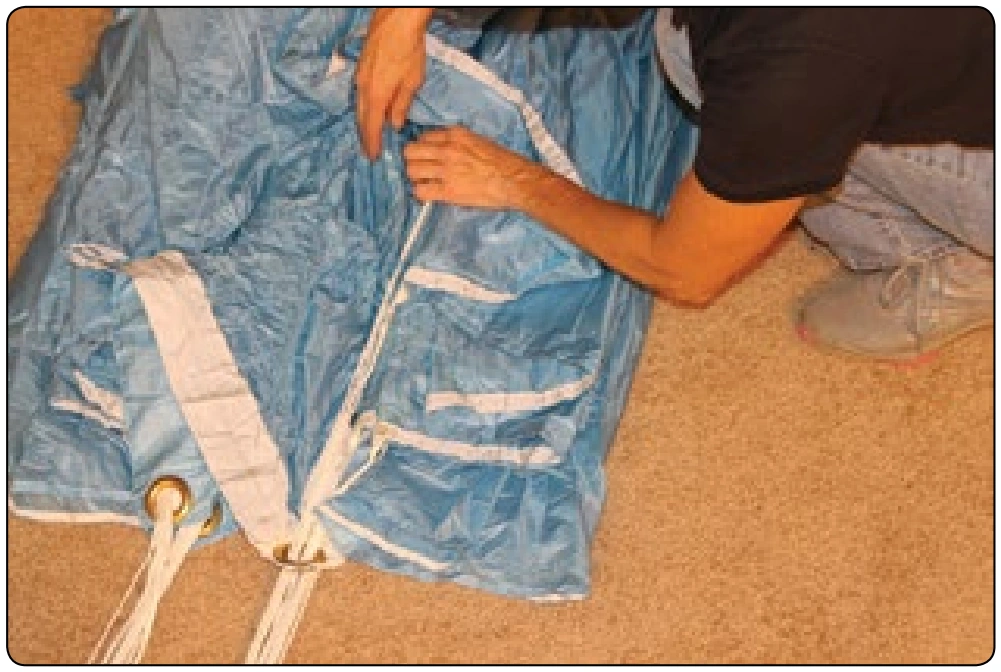
Figure 5-119. Hold all flaked nose cells between the knees. Reach down and flake out material between A/B, B/C, and C/D lines.

Documentation

One of the most important parts of the packing process is the requirement to keep proper records. 14 CFR part 65, section 65.131, specifies the information the rigger is required to document. There are two forms of required records. The first is the rigger’s logbook. While the exact format is up to the rigger, there are commercially-produced logbooks available that provide space for the required notations. The second required record is the parachute data card. Both of these items have been addressed in Chapter 1, Introduction to Parachute Rigging.
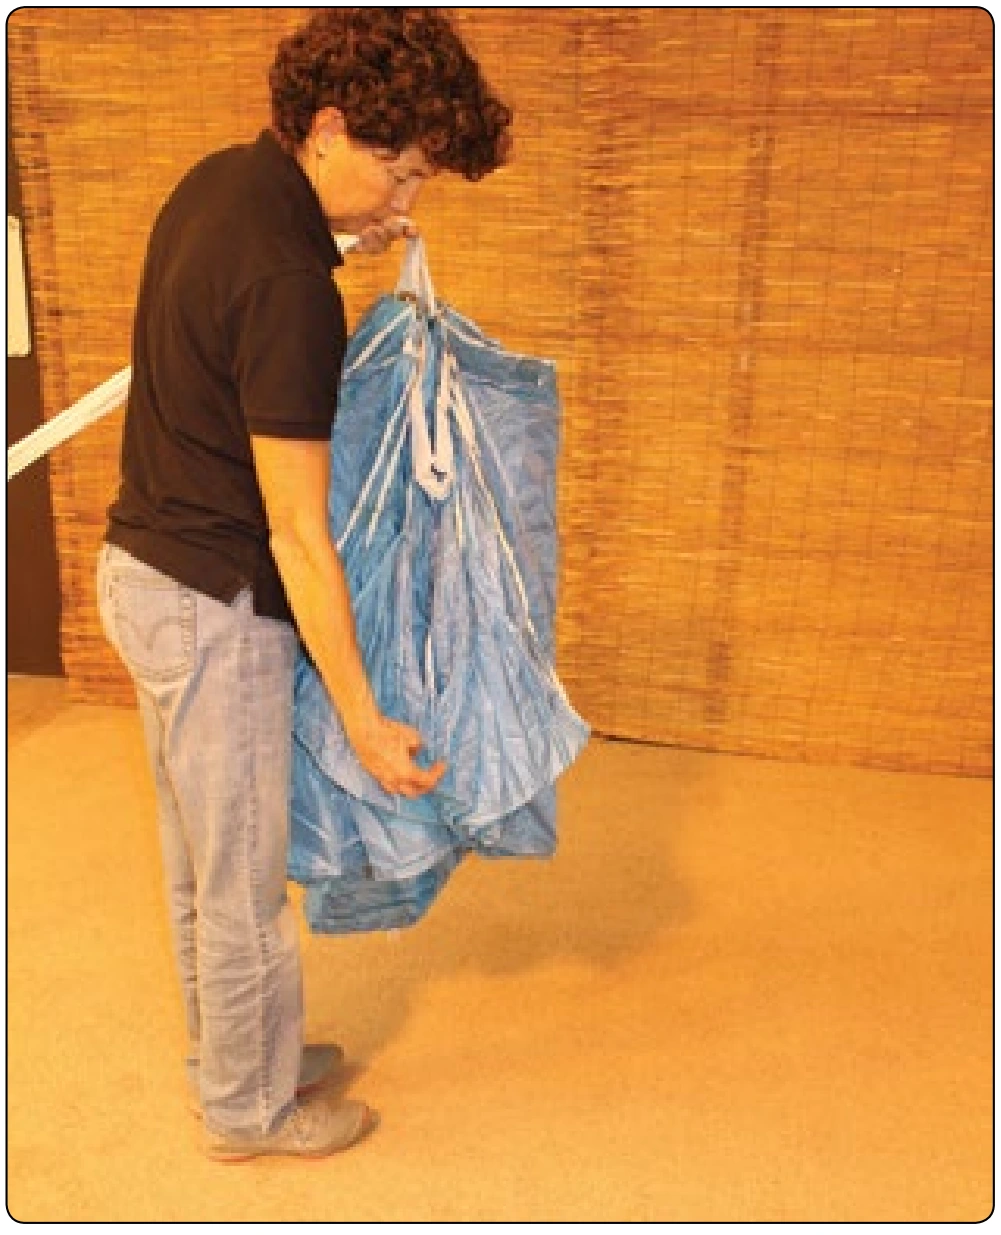
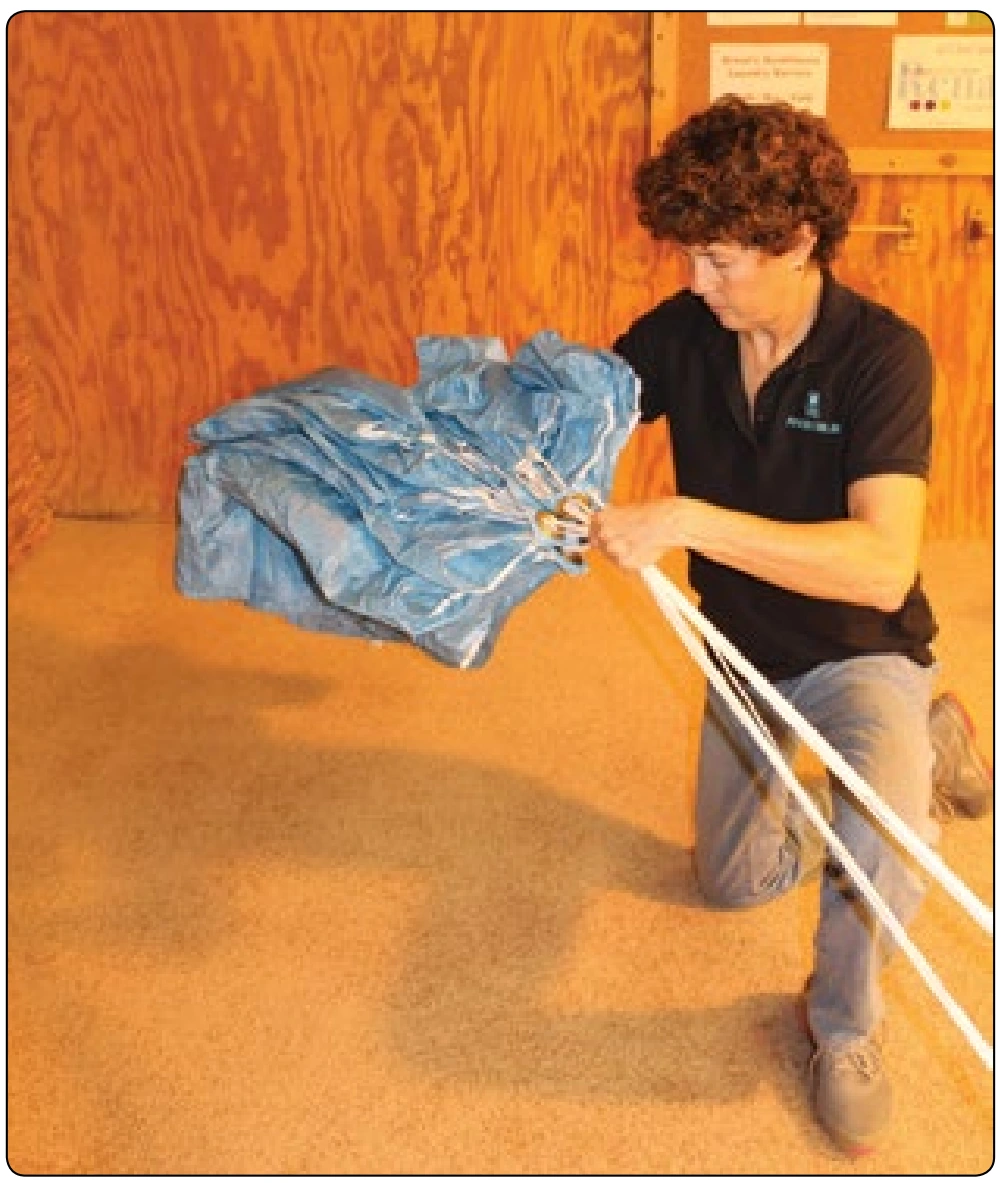
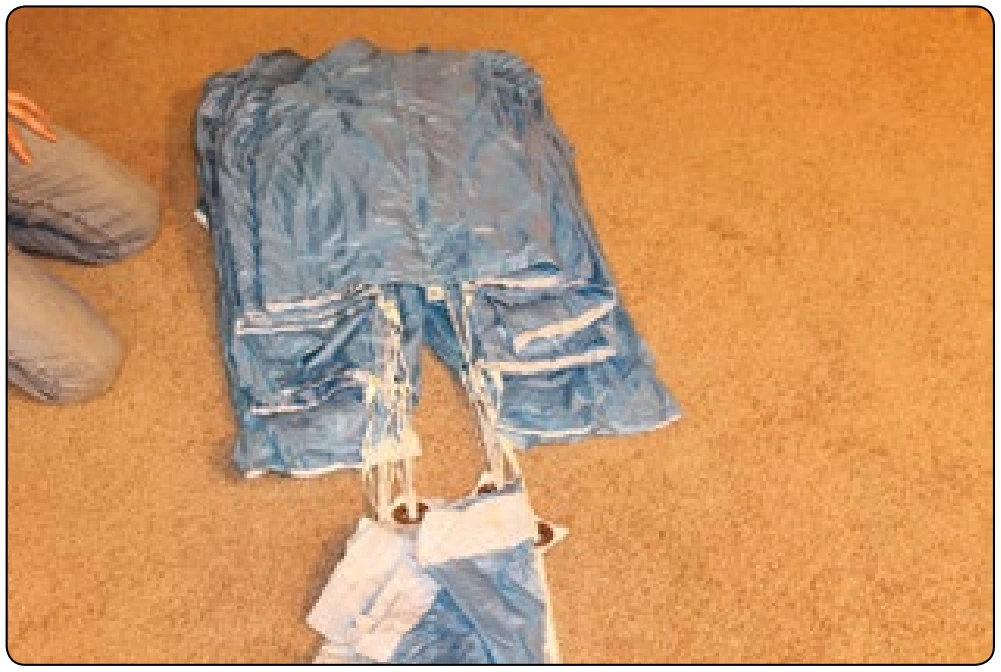
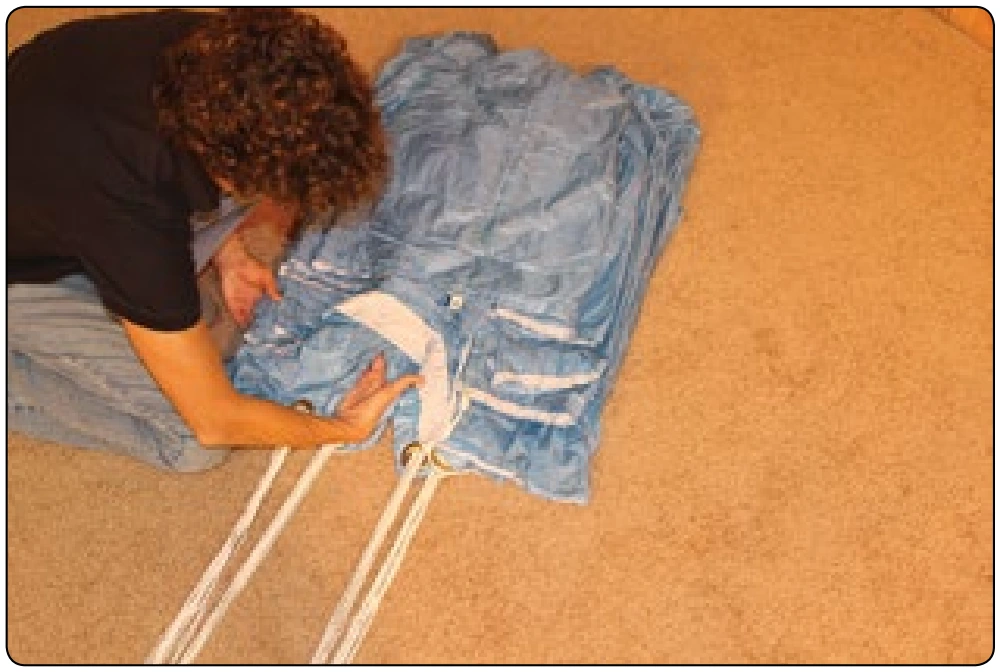
Figure 5-120. Split nose of canopy; three cells to each side, exposing center cell.
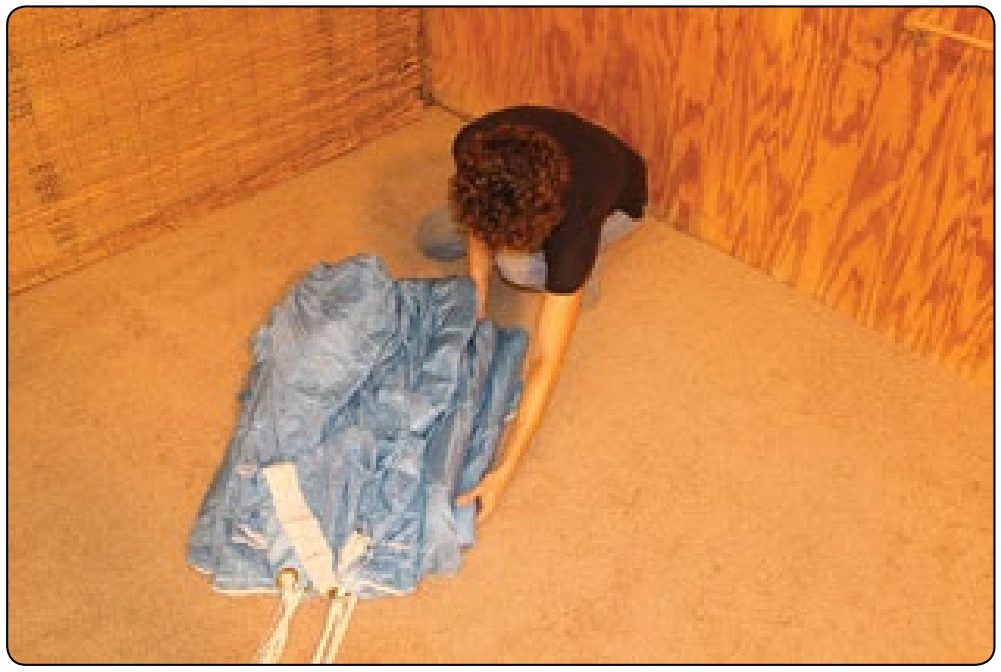
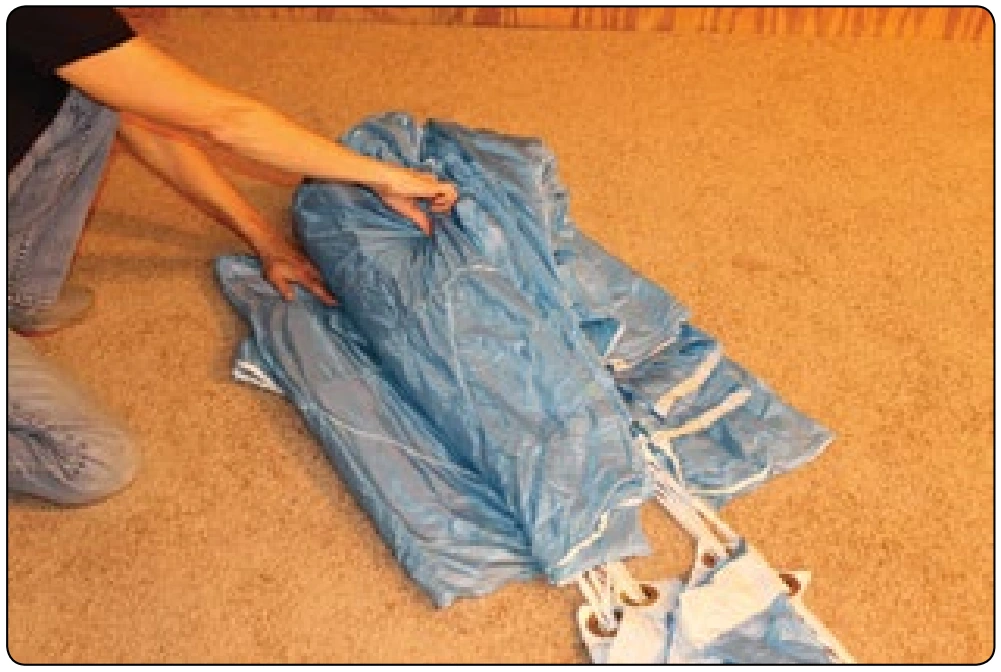
Figure 5-121. Sweep arm underneath flaked canopy and gently lay it on the floor.
Figure 5-122. Pull up and smooth out the top skins of the canopy, cleaning up between the folds.
Figure 5-125. It is important to equally divide the canopy and maintain that division throughout the pack job.
Figure 5-123. Pull the lines taught and to the center.
Figure 5-126. Tuck the slider up between A/B and C/D line groups. Some manufacturers recommend stowing the apex of the slider with a rubber band to the center B or C line attachment tab (whichever one it best aligns with).
Figure 5-124. If the PRO packed canopy was laid down carefully, it will be essentially flaked. Only minor straightening is necessary.
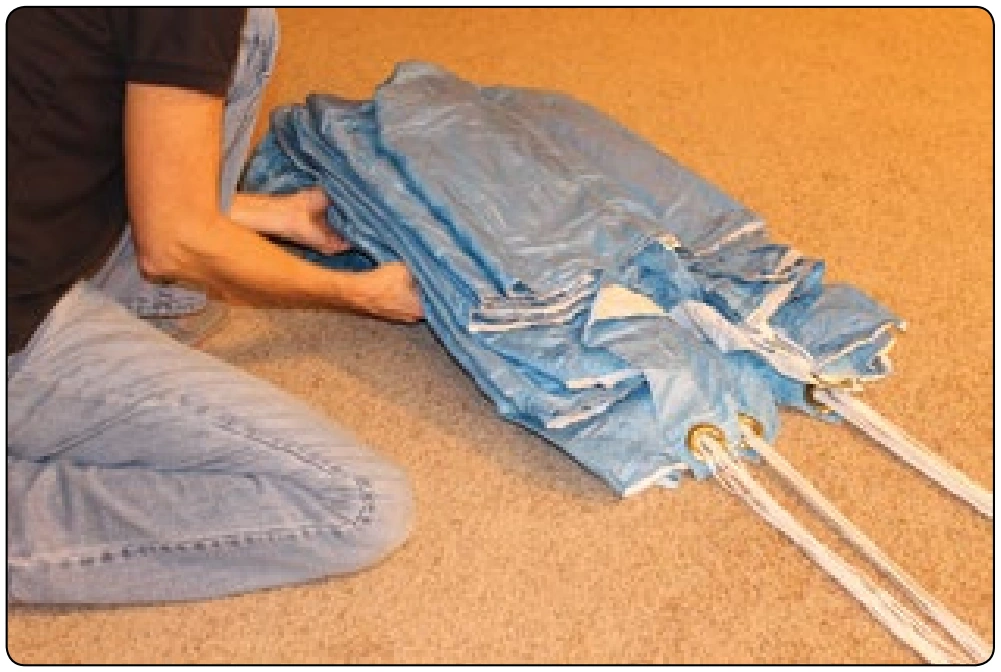
Figure 5-127. Narrow the pack job by folding the divided sections in half. The sections can be folded under or up.
Figure 5-128. Without disturbing the rest of the folds, pull the center tail section down to the slider grommets.
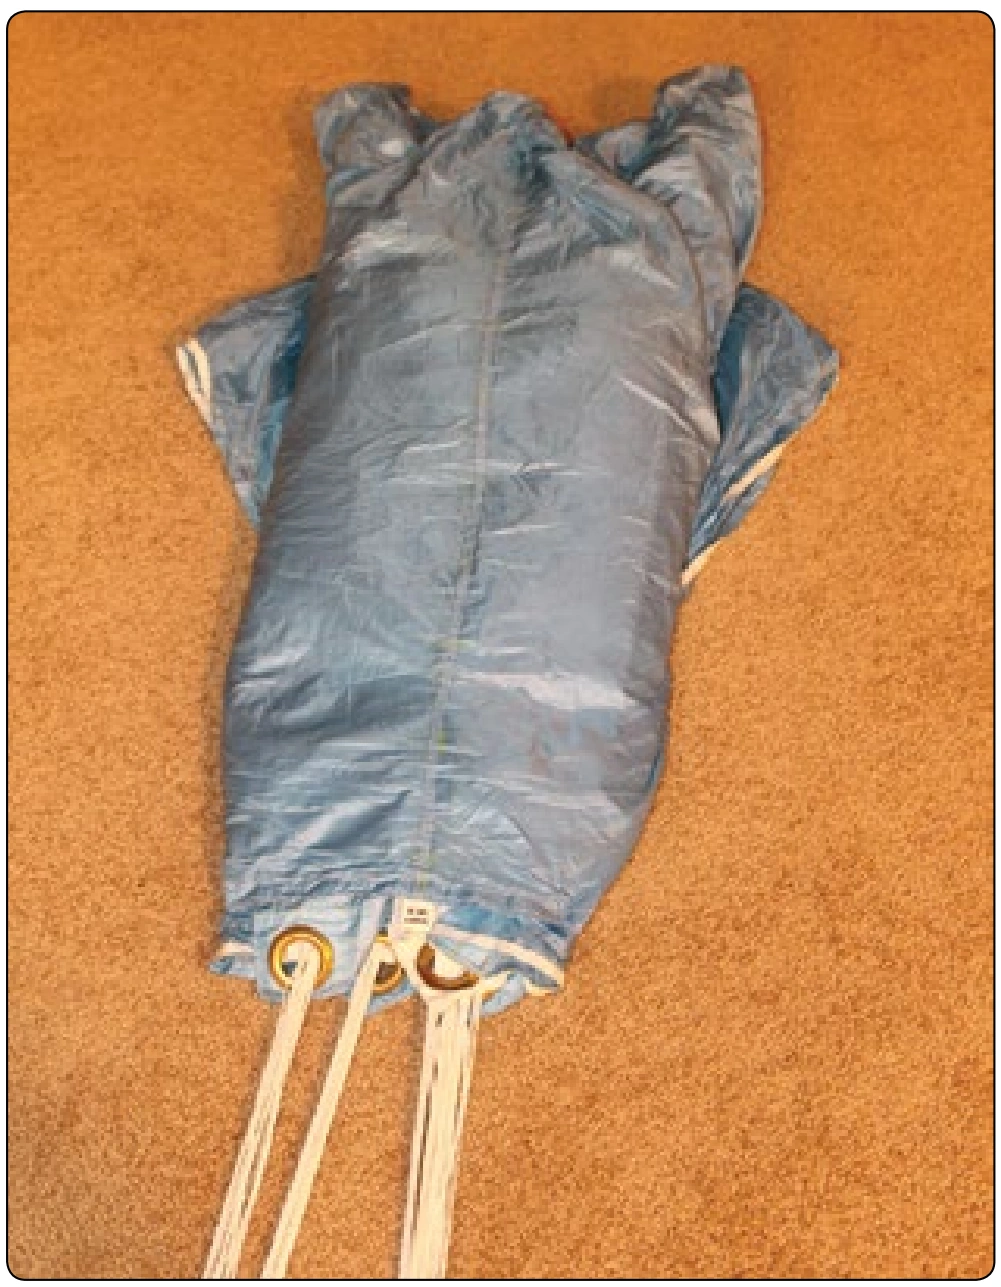
Figure 5-129. Cocoon the canopy by wrapping the tail around and under. The nose is splayed out with three cells to the right, three cells to the left, and the center cell in the middle.

There are several items of interest regarding the parachute data card. In the past, the data cards usually had information only for the identity of the parachute canopy, which is the primary component of the assembly. In recent years, with the growth of sport parachuting, this configuration is no longer standard. With the proliferation of many makes and models of canopies, harness, and containers, and the ability to interchange components, it is necessary to document the harness and container as well. The data card shown in Chapter
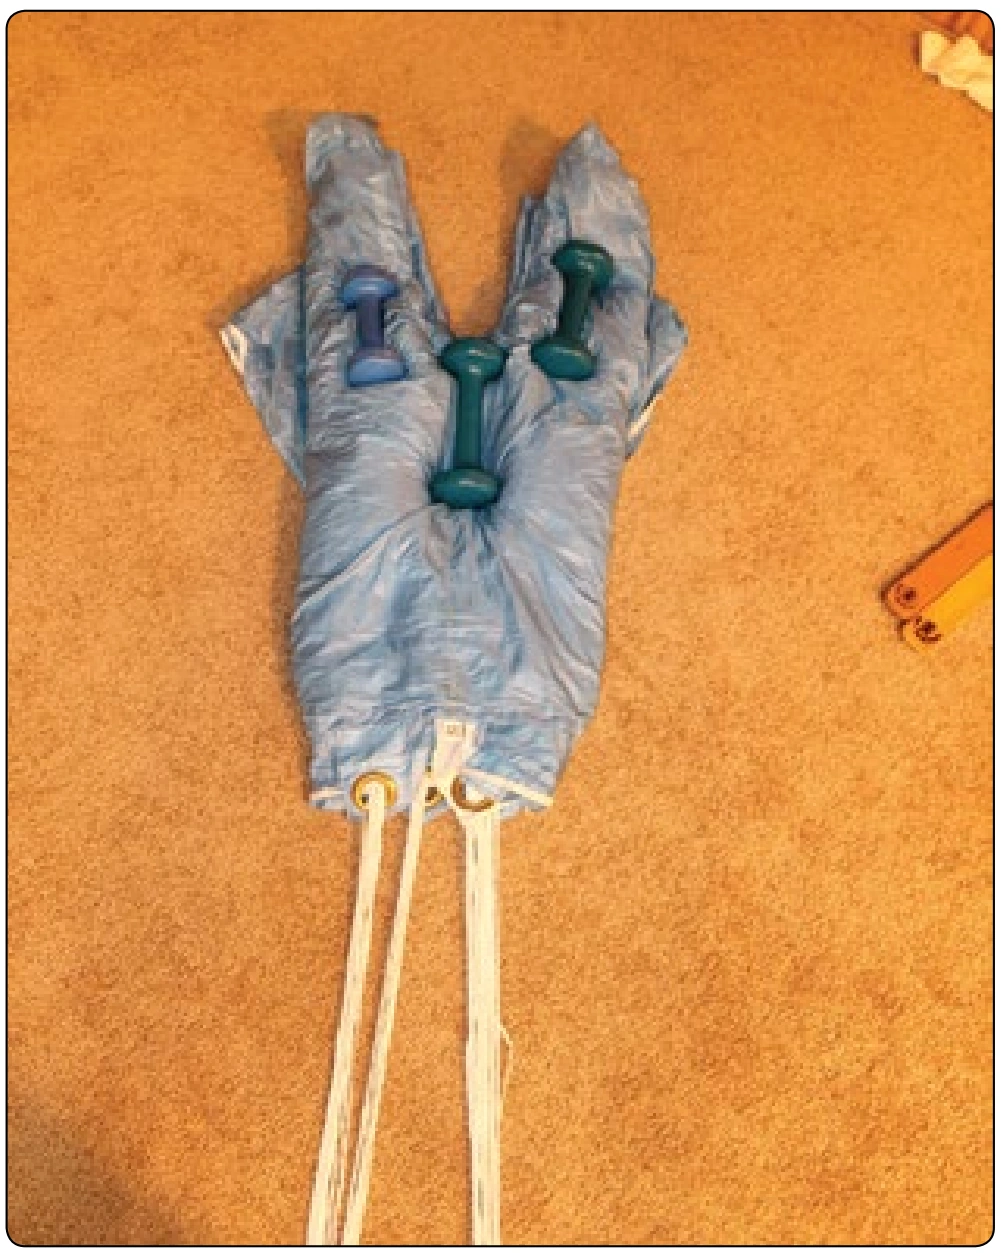
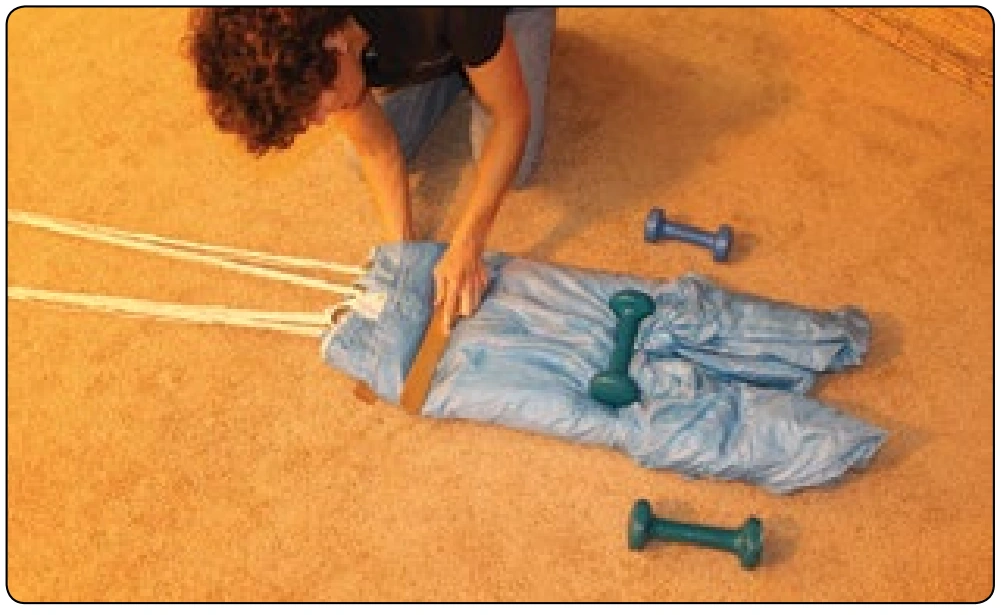
Figure 5-130. Accordion the center cell, dividing the canopy in half. Weights can be used to control the pack job.
Figure 5-131. Two packing paddles can be used to make a neat S-fold.

1, Figure 1-8 has multiple identification spaces. With the widespread use of AADs, it has now become necessary to document the information required by the manufacturer such as the service cycle and battery life. The newest cards have provisions for this information.

With the ability to interchange components, what does the rigger do when a reserve canopy is removed from an assembly? Where does the data card go? This is a somewhat gray area, but the common practice is for the card to remain with the canopy. If the harness and container have had work done that requires documentation, it may be necessary for the rigger to fill out a duplicate card with the appropriate notations as to the work done on the harness. Riggers should make sure that they note that this card is a copy of the original.