
Chapter 5
Preflight and Ground Operations
Aircraft logbooks are not required to be on board the powered parachute when it is operated. However, you should inspect the aircraft logbooks prior to flight to confirm the PPC has had all required tests and inspections. The owner/operator must keep maintenance records for the airframe and powerplant.
At a minimum, there must be an annual inspection within the preceding 12-calendar months. In addition, the powered parachute may also need a 100-hour inspection in accordance with 14 CFR part 91 if it is used for hire (for example, for training operations). If a transponder or a transponder/encoder with a pitot-static system is used, it must be inspected within each preceding 24-calendar months.
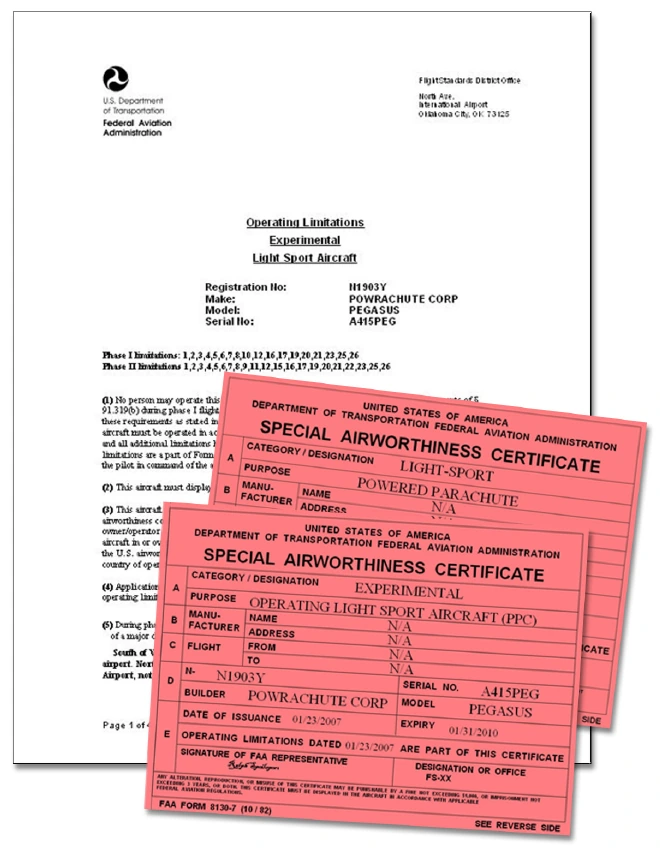
The pilot must have in his or her possession a valid U.S. driver’s license, or a valid medical certificate accompanied by a photo identification and pilot certificate. Sport pilots must also carry a copy of the endorsements issued from their logbook indicating they are qualified for the powered parachute category/class for the aircraft they are flying. The wing shape (rectangular or elliptical) and the landing system (land or sea) will be specified in this endorsement.
Visual Inspection
The accomplishment of a safe flight begins with a careful visual inspection, regardless of the category/class of aircraft you will be flying. The purpose of the routine preflight inspection is twofold: to determine the powered parachute is legally airworthy, and that it is in condition for safe flight. You determine whether the PPC is in a condition for safe flight by a thorough and systematic preflight inspection of the aircraft and its components. The preflight inspection should be performed in accordance with a printed checklist provided by the powered parachute manufacturer for the specific make and model of aircraft. However, the following general areas are applicable to all powered parachutes.
The preflight inspection should begin as soon as you approach the aircraft. Since the powered parachute can be transported by trailer, the unloading of the aircraft allows you extra opportunity to look the cart over from front to back and top to bottom. First and foremost, you need to look for any damage that may have occurred during transit. Make note of the general appearance of the aircraft, looking for obvious discrepancies such as tires with low air pressure, structural distortion, wear points, cart damage, and dripping fuel or oil leaks. All tie-downs, control locks, and chocks should be removed during the unloading process.
It is absolutely necessary you are thoroughly familiar with the locations and functions of the aircraft systems, switches, and controls. Use the preflight inspection as an orientation when operating a make/model for the first time.
The actual “walk around” is a routine preflight inspection and has been used for years from the smallest general aviation airplane to the largest commercial jet. The walk around is thorough and systematic, and should be done the same way each and every time an aircraft will be flown. In addition to “seeing” what you’re looking at, it requires you take the appropriate action whenever a discrepancy is discovered. A powered parachute walk around will cover five main tasks:
- Cart inspection
- Powerplant inspection
- Equipment check
- Engine warm-up and check
- Wing and suspension line inspection
Each PPC should have a specific routine preflight inspection checklist, but the following can be used as a guideline for most PPCs.
Cart Inspection
Check the front nosewheel for proper play, tire inflation, and secure axle bolt. Test the ground steering bar connection points and ensure there is smooth steering range of motion from the steering bar. Check and secure the connections between the front fork and the front axle and the front fork and the gooseneck. [Figure 5-5]
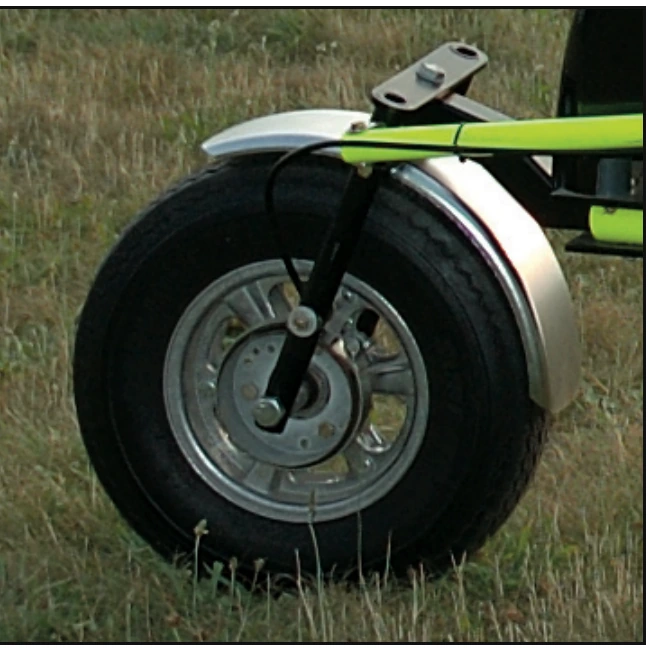
When brakes are installed, it is common for them to be on the front nosewheel. Typically, they are drum or disk style operated by a cable; it is important to inspect the cable lock, assuring it is tight. The brakes may be hydraulic disk brakes that also incorporate a cable; in this case, inspect both components. Check brakes and brake systems for rust and corrosion, loose nuts/bolts, alignment, brake pad wear/cracks, signs of hydraulic fluid leakage, and hydraulic line security/abrasion.
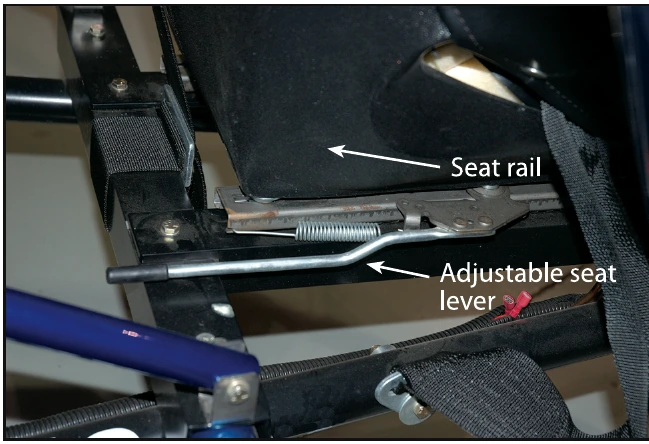
Inside the cart where the pilot sits, check the seats, seat rails, and seat belt attachment points for wear, cracks, and serviceability. A few manufacturers offer powered parachutes with adjustable front seats. The lever moves the pin in and out of the seat rail holes and the seat then moves forward and back along the rail. The seat rail holes should be checked for wear; they should be round and not oval so there is no play in the fixed position of the pilot seat. Inspect where the seat lock pins fit; check the pin and seat rail grips for wear and serviceability. [Figure 5-6]
The battery and ignition switches need to be in the OFF position at the beginning of the preflight inspection. They will be turned on and then off again to check the different components operated by the power source during the preflight. While checking the ignition switches, check that the strobe is operational if one is installed. Exercise the primer or primer bulb, if the PPC is so equipped; you should feel resistance when exercised. Faulty primers can interfere with proper engine operation.
Manipulate the engine throttle control by slowly moving through its full range of motion to check for binding or stiffness. On two-stroke engines with oil injection, it is important to check that the oil injection mechanism is moving freely. [Figure 5-7]
Set the altimeter to the field elevation or set in the barometric pressure, if equipped. Turn on the ignition or engine instrument system master and make note of the fuel quantity gauge indications, if applicable, for comparison with an actual visual inspection of the fuel tank(s) during the exterior inspection.