
Chapter 5
Preflight and Ground Operations
With the wing centered behind the cart, it is time to start checking the suspension lines. At first glance it may look difficult to sort out all of the lines from the cart to the wing. Most of the time, the lines will straighten out with just a light flick of the wrist. Make sure you have no twists or line-overs and your lines are straight. As long as the wing has not been physically removed, or disconnected from the cart, there should not be any permanent knots in the lines. In the event that you detect pressure knots during the line inspection they are easily removed with minimal manipulation.
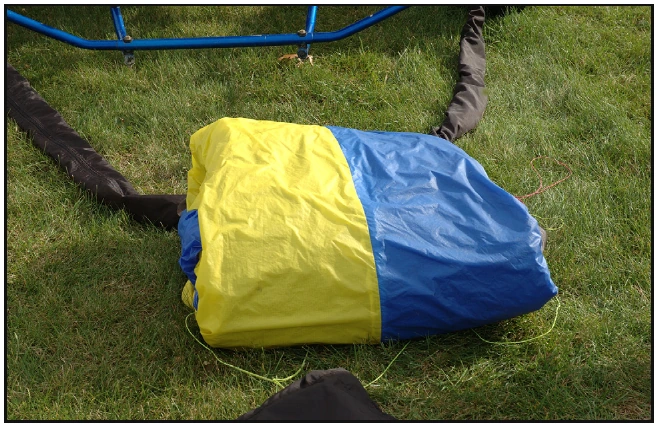
Small twigs, stems from weeds, and other debris can get caught in the lines to form pressure knots. Pressure knots are a concern because they are only “knots” when there is tension on the lines. That means they are only a problem when your wing is inflated. As soon as you land, the foreign object often shakes free and there is no knot. However, while you are flying, that pressure knot can cause the powered parachute to go into a steep turn. Make sure there is nothing around to catch into your line sets. The more organized the suspension lines are laid out during this preflight check, the more likely that the wing will kite evenly and without mishap. It may take a great deal of space to get all the cells open during the inflation of the wing. Aborting the takeoff to re-kite the wing is always an option, but it is not desirable. Preflight the wing correctly the first time.
If you put your wing away correctly and took it out as described, it should not have any twists in it. However, you still need to check. Start where the risers attach to the cart. Make sure they are not twisted around anything and trace each one back to the point where the wing risers are attached to the cart.
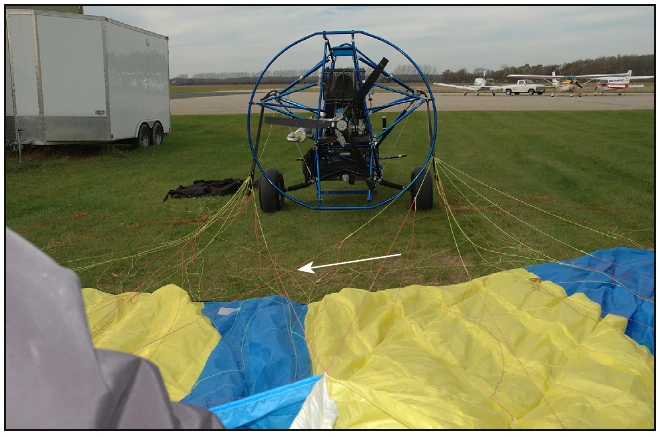
Check the steering lines on both sides of the cart; make sure the anchor point knots are secure and the lines flow freely through all guides and pulleys. Make sure the links on both sides of the aircraft are secure; it is recommended that the links are finger tight plus one-quarter turn. Continue by checking that the riser cables are not twisted or damaged and they are free from tangles. At this time pull slack from the steering lines so the steering bars are fully retracted. Physically separating the steering lines from the suspension lines, pulling them out and away to the outer edge of the wingtips, enables you to visually see the steering lines are free from being tangled with the rest of the lines. [Figure 5-16]
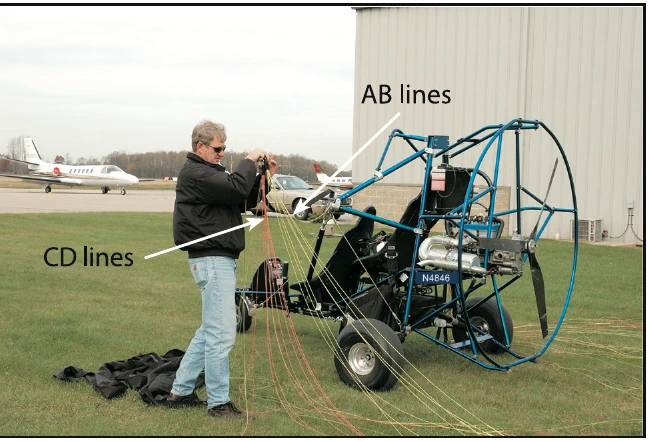
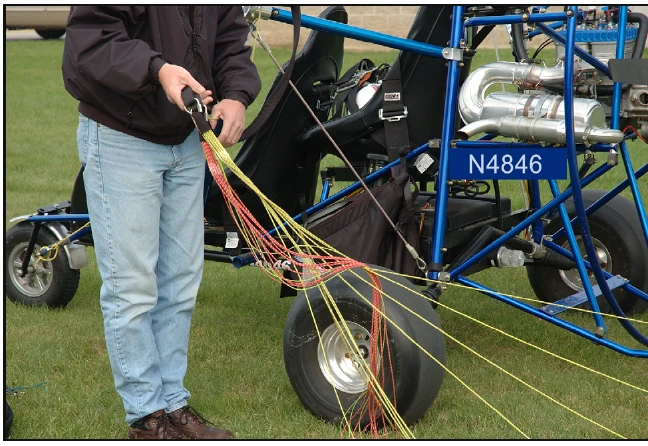
Continue to check the suspension lines for tangles, knots and wear and the attachment points for security and lack of fraying. [Figure 5-17] The A lines should be visually and physically separated from the B lines at the point where the lines are connected to the risers. Most newer wing lines are color-coded to make this process visually easier; the older wing styles will still be separated and configured the same way as the newer wings, however all the lines will be the same color. The A lines will travel toward the leading edge of the wing and subdivide into the C lines. The B lines will travel toward the trailing edge of the wing and subdivide into the D lines. Make sure that the lines are all separated and not tangled. The A/C lines will be on top of the B/D lines when the lines are returned to the ground after the preflight of each section. Make sure there is no debris around to catch in the line sets during wing inflation; when the length of the line is altered it changes how the line holds the wing. The length of the lines are clearly defined by the manufacturers and should not be changed. The more organized the suspension lines are laid out during this preflight check, the more likely that the wing will kite evenly and without mishap; a lot of runway can be used up trying to get all the cells open during inflation of the wing. Aborting the takeoff to re-kite the wing is always an option, but it is not desirable. Preflight the wing correctly the first time; taking your time will pay off in the end.
Line Tangles, Twists, and Line-Overs
Line tangles and twists can be frustrating if you do not understand how to solve them. The good news is that wing line problems are simple to understand, few in type, and easy to solve. They break down into line twists and line-overs. A definite advantage for the pilot is that both ends of the suspension lines are attached to either the risers or the wing. That means there are no loose ends to get twisted in and around each other. Any loops in the lines readily pull out if shaken a little; gently shaking all of the lines loose is an important step to get the wing laid out properly in preparation for flight.
Line Twists
A line twist is when all of the lines on both sides of the wing are spiraled together. Sometimes it will seem that all of the lines on one side are twisted around the steering line. That is actually the case. [Figure 5-18] Trying to fly the powered parachute with the suspension lines twisted is unsafe and the pilot should consider the wing unairworthy until the line twist is removed. Line twists most often occur because the pilot inadvertently flips, or turns, the wing over while moving it from the stowed position. This is why it is so important to put your wing away and take it out the same way each time. The suspension lines can also get twisted if the wing flies over the cart accidentally, or if the wing is incorrectly repositioned behind the cart when the wing settles to one side of the cart during an aborted takeoff or during landing.
Unless someone has mistakenly twisted a single set of suspension lines while rigging the PPC wing to the cart at the attachment points, a line twist will happen to both sets of lines on both sides of the powered parachute at the same time. This stands to reason if you think of the entire configuration of cart and attached wing as a continuous structure or a complete circle.
To get rid of a line twist, you do not have to pack the wing back into the wing bag and flip the whole bag in reverse, although this is an option. You can actually flip the wing while it is out of the bag.
With the wing laid out behind the cart, determine if the twist is clockwise or counterclockwise in configuration. If the twist in the line is traveling clockwise as you face the chute, the wing edge you are working with will have to travel counterclockwise back through the center of the two sets of lines (or through the center of the circle created by the cart/wing configuration) and under the twisted group of lines you are holding. A counterclockwise twist will require just the opposite movement. The wing edge will need to travel clockwise under the line set and then up and over the twist via the center of the circle. Remember to maintain the clockwise motion for the counterclockwise twist, and the counterclockwise motion for the clockwise twist.
Disconnecting the wing from the risers or the wing from the cart is not a safe practice; the flight instructor needs to explain this to the PPC student in detail. The risers are specific to each cart. Refer to the PPC manufacturer and the operating manual for information.
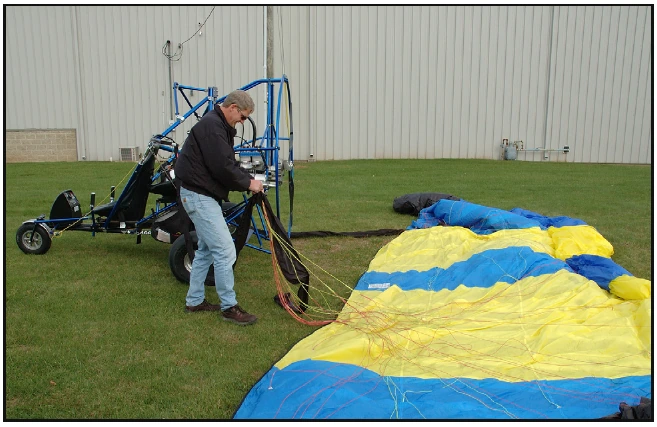
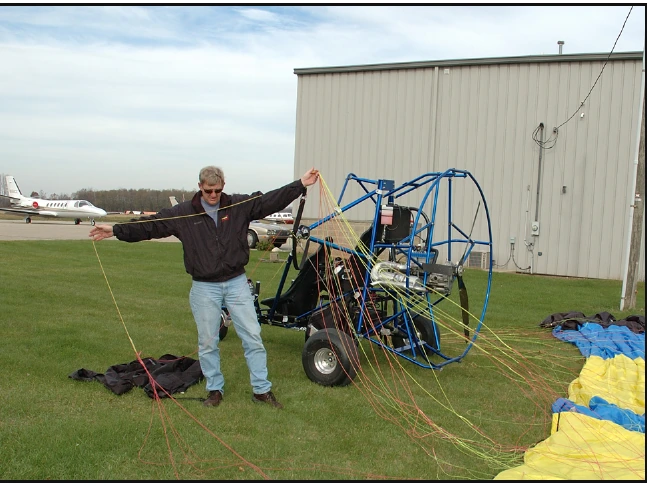
Starting at the riser cables, gather all the lines in the group and walk toward the wing keeping the lines gathered as you go. Once close to the wing, you can easily manipulate the edge of the wing and not tangle the lines any further. The key is to remember that the lines are twisted as a group—not tangled individually—therefore they must be untwisted as a group to prevent them from becoming tangled. [Figures 5-19 and 5-20] Lay out the half of the wing you just worked on. If that side looks good, it means you can do the same thing to the other side of the chute. The same sequence of checking for twist direction, gathering the lines and then twisting the wing edge in the opposite direction of the twisted lines is completed on the second set of lines. It stands to reason that the twist will be in the opposite direction than the twist on the other set of lines you just cleared.