Chapter 12
Fundamentals of Electricity & Electronics
Each branch current should be determined in a similar manner. For the first branch, the current is:
ES is the source voltage across the parallel branch R1 is the resistance of the first branch
Because the other two branches are of the same resistive
also. Adding up the amperes in each branch confirms the
Tracing an Open with an Ammeter
If the technician now places an ammeter in the circuit, the total current would be indicated as 2 amperes as shown in Figure 12-183 instead of the calculated 3 amperes. Since 1 ampere of current should be flowing through each branch, it is obvious that one branch is open. If the ammeter is then connected into the branches, one after another, the open branch is eventually located by a zero ammeter reading.
Tracing an Open with an Ohmmeter
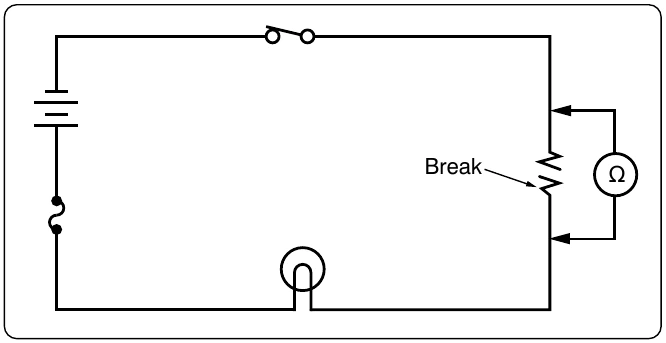
A modified use of the ohmmeter can also locate this type of open. If the ohmmeter is connected across the open resistor, as shown in Figure 12-184, an erroneous reading of continuity would be obtained. Even though the circuit switch is open, the open resistor is still in parallel with R1 and R2, and the ohmmeter would indicate the open resistor had a resistance of 15 ohms, the equivalent resistance of the parallel combination of R1 and R2.
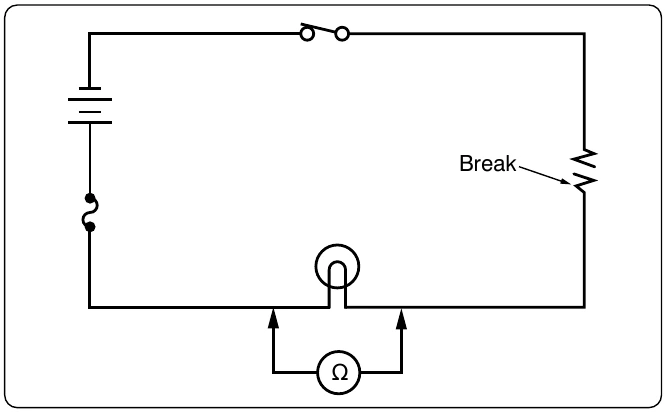
Therefore, it is necessary to open the circuit as shown in Figure 12-185 in order to check the resistance of R3. In this way, the resistor is not shunted (paralleled) by R1 and R2. The reading on the ohmmeter now indicates infinite resistance, which means the open component has been isolated.
Troubleshooting Shorting Faults in Parallel Circuits
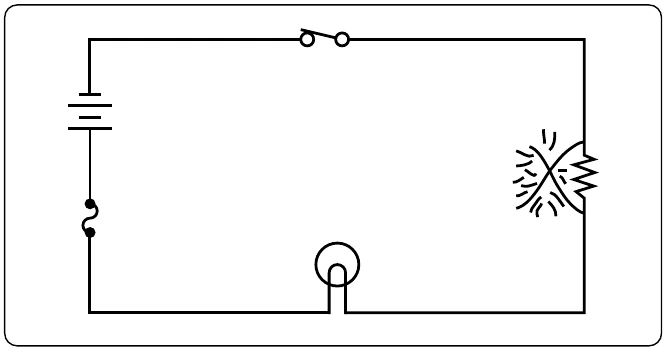
As in a series circuit, a short in a parallel circuit usually causes an open circuit by blowing the fuse. But, unlike a series circuit, one shorted component in a parallel circuit stops current flow by causing the fuse to open. Refer to the circuit in Figure 12-186. If resistor R3 is shorted, a path of almost zero resistance is offered the current, and all the circuit current flows through the branch containing the shorted resistor. Since this is practically the same as connecting a wire between the terminals of the battery, the current rises to an excessive value, and the fuse opens. Since the fuse opens almost as soon as a resistor shorts out, there is no time to perform a current or voltage check. Thus, troubleshooting a parallel DC circuit for a shorted component should be accomplished with an ohmmeter. But, as in the case of checking for an open resistor in a parallel circuit, a shorted resistor can be detected with an ohmmeter only if one end of the shorted resistor is disconnected and isolated from the rest of the circuit.
Troubleshooting Shorting Faults in Series-Parallel Circuits
Logic in Tracing an Open
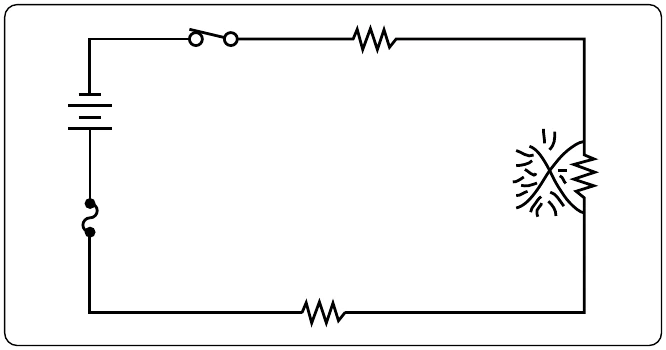
Troubleshooting a series-parallel resistive circuit involves generalized effects.