
Chapter 7
Airplane Basic Flight Maneuvers
Trim control is one of the most important flight habits to cultivate. Trimming refers to relieving any control pressures that need to be applied by the pilot to the control surfaces to maintain a desired flight attitude. The desired result is for the pilot to be able to take his or her hands off the control surfaces and have the aircraft remain in the current attitude. Once the aircraft is trimmed for hands-off flight, the pilot is able to devote more time to monitoring the flight instruments and other aircraft systems.
In order to trim the aircraft, apply pressure to the control surface that needs trimming and roll the trim wheel in the direction pressure is being held. Relax the pressure that is being applied to the control surface and monitor the primary instrument for that attitude. If the desired performance is achieved, fly hands off. If additional trimming is required, redo the trimming steps.
An aircraft is trimmed for a specific airspeed, not pitch attitude or altitude. Any time an aircraft changes airspeed, there is a need to re-trim. For example, an aircraft is flying at 100 knots straight-and-level. An increase of 50 rpm causes the airspeed to increase. As the airspeed increases, additional lift is generated and the aircraft climbs. Once the additional thrust has stabilized at some higher altitude, the airspeed will again stabilize at 100 knots.
This demonstrates how trim is associated with airspeed and not altitude. If the initial altitude is to be maintained, forward pressure would need to be applied to the control wheel while the trim wheel needs to be rolled forward to eliminate any control pressures. Rolling forward on the trim wheel is equal to increasing for a trimmed airspeed. Any time the airspeed is changed, re-trimming is required. Trimming can be accomplished during any transitional period; however, prior to final trimming, the airspeed must be held constant. If the airspeed is allowed to change, the trim is not adjusted properly and the altitude varies until the airspeed for which the aircraft is trimmed is achieved.
Common Errors in Straight-and-Level Flight
Pitch
Pitch errors usually result from the following errors:
- Improper adjustment of the yellow chevron (aircraft symbol) on the attitude indicator. Corrective Action: Once the aircraft has leveled off and the airspeed has stabilized, make small corrections to the pitch attitude to achieve the desired performance. Cross-check the supporting instruments for validation.
- Insufficient cross-check and interpretation of pitch instruments. [Figure 7-61]
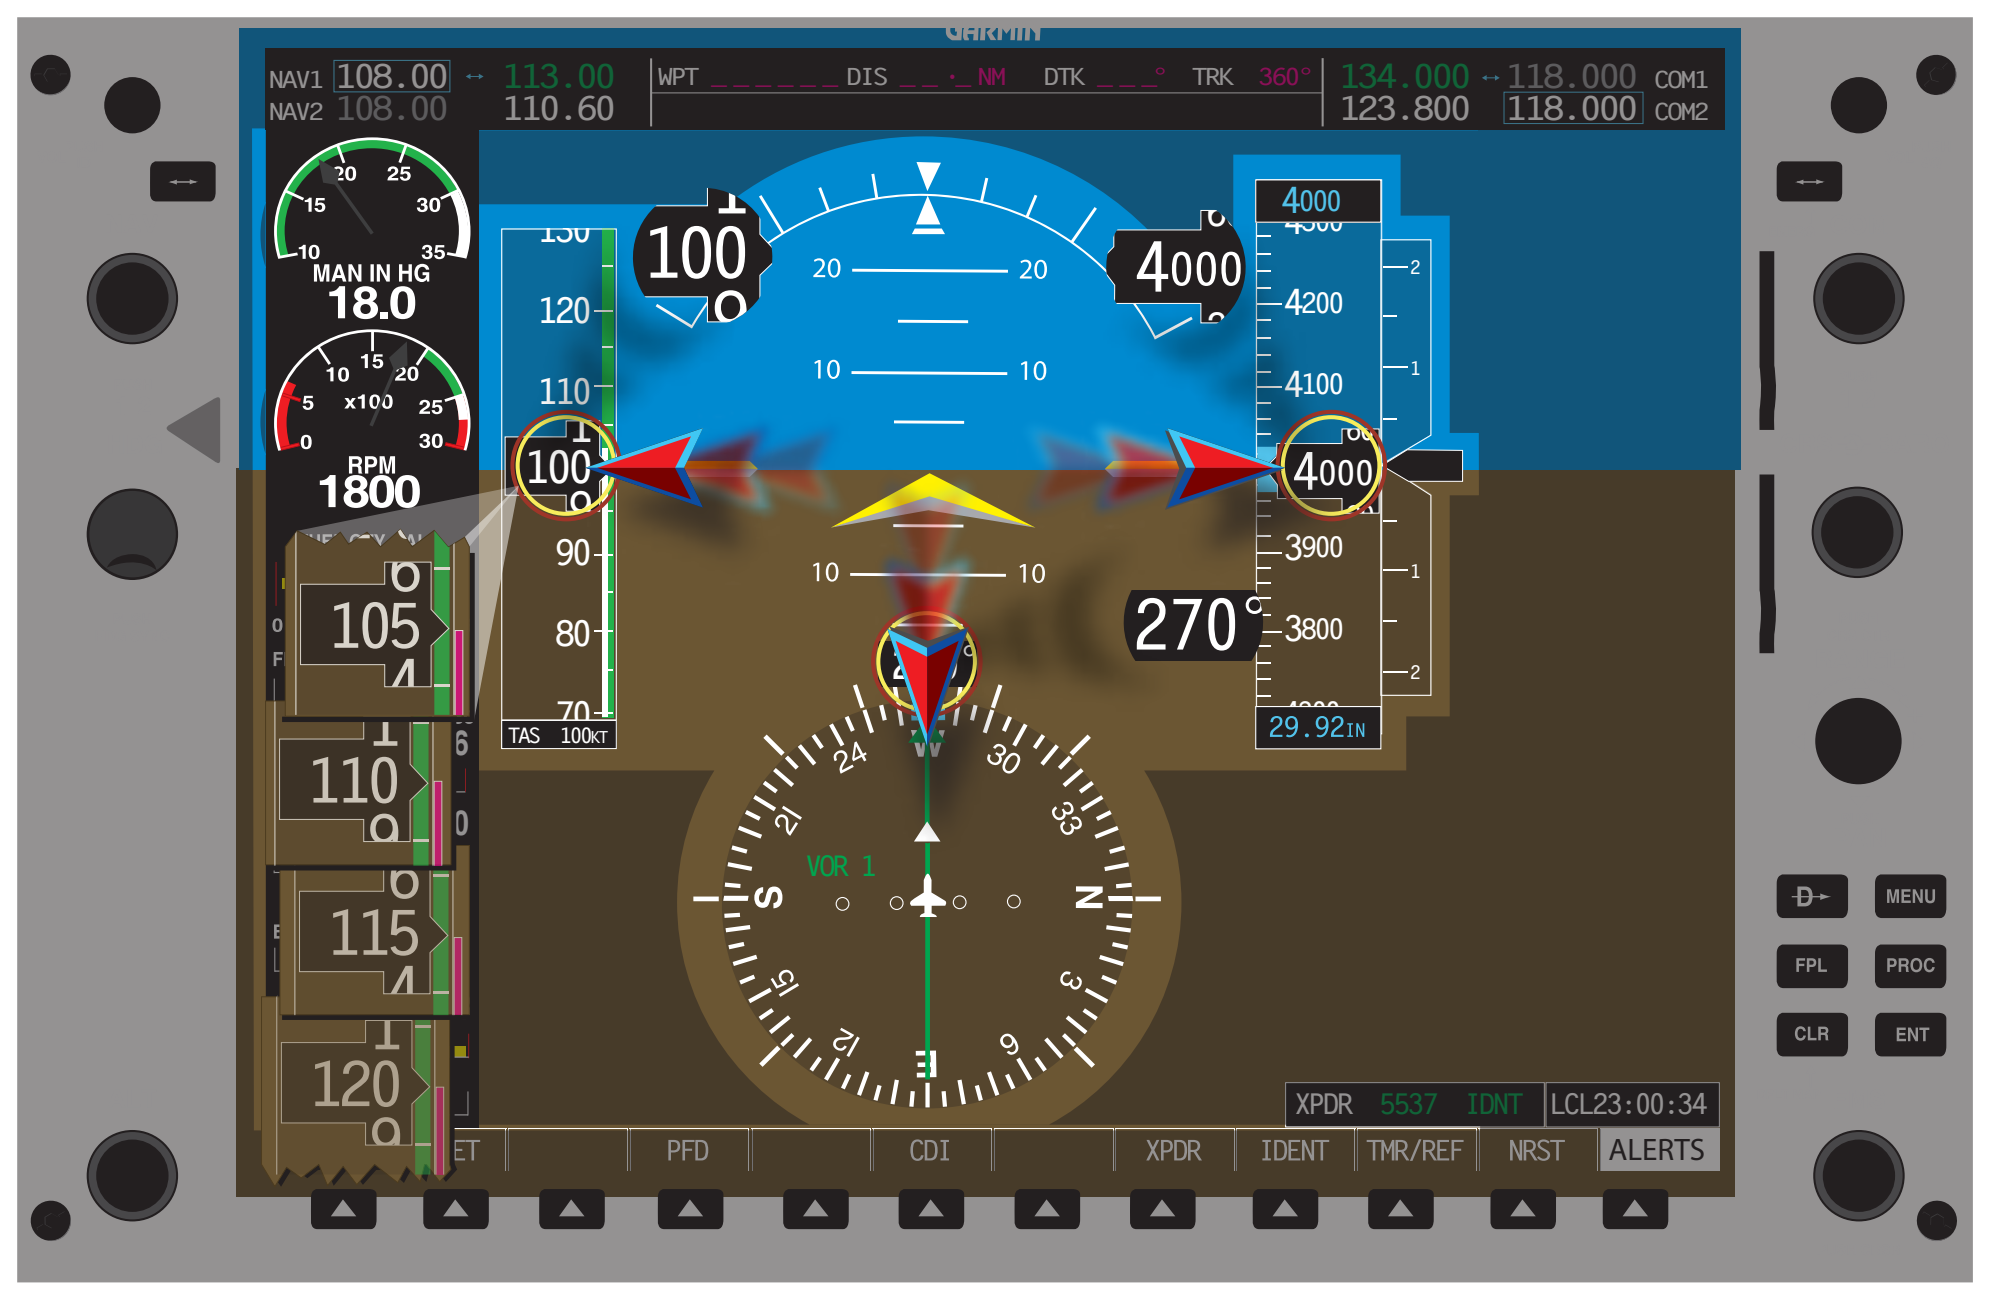
Example: The airspeed indication is low. The pilot, believing a nose-high pitch attitude exists, applies forward pressure without noting that a low power setting is the cause of the airspeed discrepancy.
Corrective Action: Increase the rate of cross-check of all the supporting flight instruments. Airspeed and altitude should be stabilized before making a control input.
- Acceptance of deviations. Example: A pilot has an altitude range of ±100 feet according to the practical test standards for straight-and level-flight. When the pilot notices that the altitude has deviated by 60 feet, no correction is made because the altitude is holding steady and is within the standards. Corrective Action: The pilot should cross-check the instruments and, when a deviation is noted, prompt corrective actions should be taken in order to bring the aircraft back to the desired altitude. Deviations from altitude should be expected but not accepted.
- Overcontrolling—excessive pitch changes. Example: A pilot notices a deviation in altitude. In an attempt to quickly return to altitude, the pilot makes a large pitch change. The large pitch change destabilizes the attitude and compounds the error. Corrective Action: Small, smooth corrections should be made in order to recover to the desired altitude (0.5° to 2° depending on the severity of the deviation). Instrument flying is comprised of small corrections to maintain the aircraft attitude. When flying in IMC, a pilot should avoid making large attitude changes in order to avoid loss of aircraft control and spatial disorientation.
- Failure to maintain pitch corrections. Pitch changes need to be made promptly and held for validation. Many times pilots make corrections and allow the pitch attitude to change due to not trimming the aircraft. It is imperative that any time a pitch change is made; the trim is readjusted in order to eliminate any control pressures that are being held. A rapid cross-check aids in avoiding any deviations from the desired pitch attitude. Example: A pilot notices a deviation in altitude. A change in the pitch attitude is accomplished but no adjustment to the trim is made. Distractions cause the pilot to slow the cross-check and an inadvertent reduction in the pressure to the control column commences. The pitch attitude then changes, thus complicating recovery to the desired altitude.
Corrective Action: The pilot should initiate a pitch change and then immediately trim the aircraft to relieve any control pressures. A rapid cross-check should be established in order to validate the desired performance is being achieved.
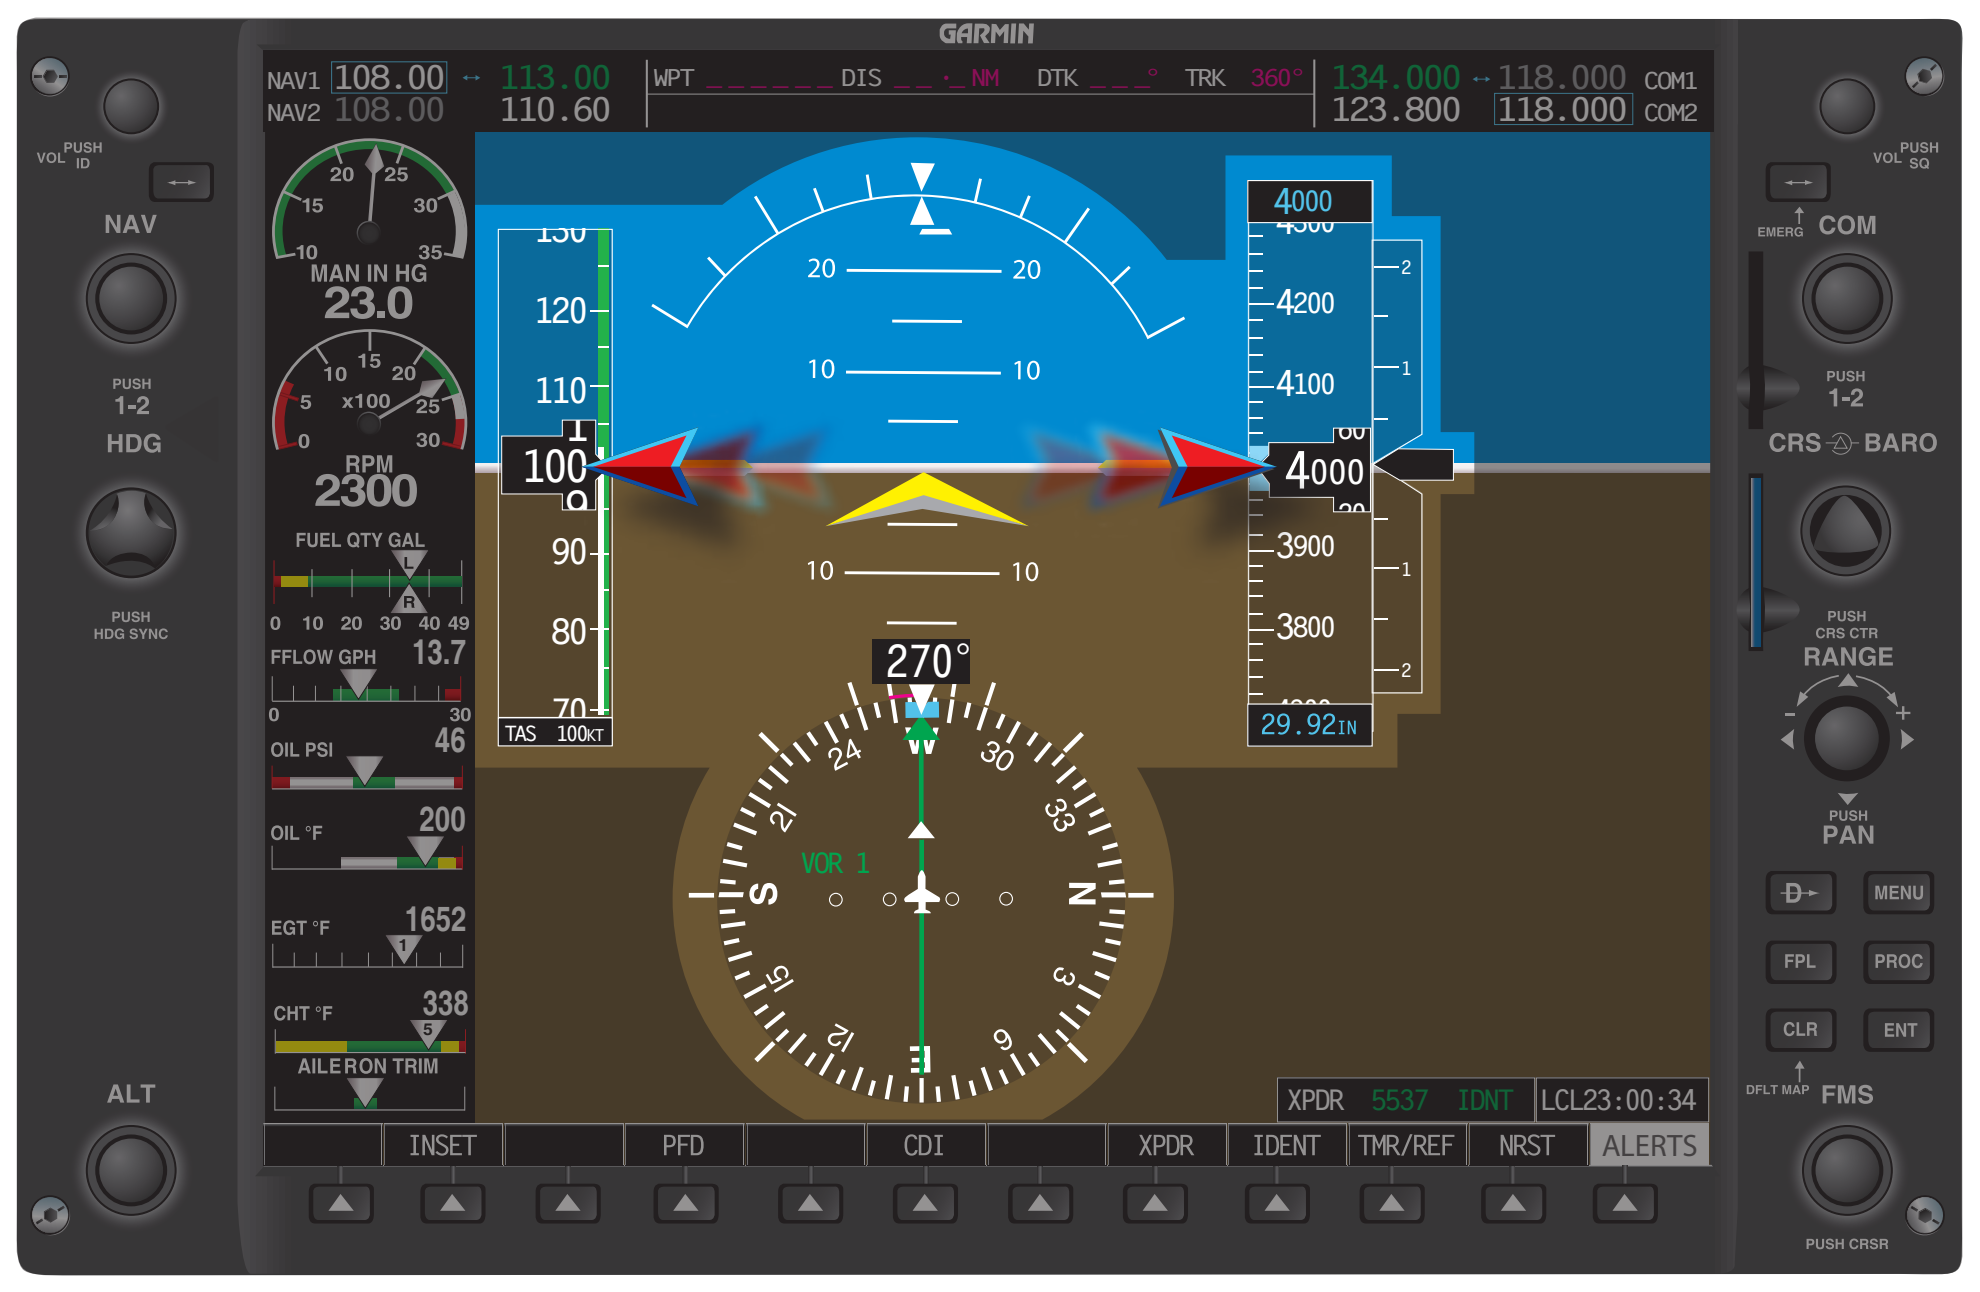
- Fixation during cross-check. Devoting an unequal amount of time to one instrument either for interpretation or assigning too much importance to an instrument. Equal amounts of time should be spent during the cross-check to avoid an unnoticed deviation in one of the aircraft attitudes. Example: A pilot makes a correction to the pitch attitude and then devotes all of the attention to the altimeter to determine if the pitch correction is valid. During this time, no attention is paid to the heading indicator, which shows a turn to the left. [Figure 7-62] Corrective Action: The pilot should monitor all instrumentation during the cross-check. Do not fixate on one instrument waiting for validation. Continue to scan all instruments to avoid allowing the aircraft to begin a deviation in another attitude.
Heading
Heading errors usually result from but are not limited to the following errors:
- Failure to cross-check the heading indicator, especially during changes in power or pitch attitude.
- Misinterpretation of changes in heading, with resulting corrections in the wrong direction.
- Failure to note and remember a preselected heading.
- Failure to observe the rate of heading change and its relation to bank attitude.
- Overcontrolling in response to heading changes, especially during changes in power settings.
- Anticipating heading changes with premature application of rudder pressure.
- Failure to correct small heading deviations. Unless zero error in heading is the goal, a pilot will tolerate larger and larger deviations. Correction of a 1 degree error takes far less time and concentration than correction of a 20° error.
- Correcting with improper bank attitude. If correcting a 10° heading error with a 20° bank correction, the aircraft will roll past the desired heading before the bank is established, requiring another correction in the opposite direction. Do not multiply existing errors with errors in corrective technique.
- Failure to note the cause of a previous heading error and thus repeating the same error. For example, the airplane is out of trim with a left wing low tendency. Repeated corrections for a slight left turn are made, yet trim is ignored.