Chapter 4
Operations
Introduction
Certificated parachute riggers represent a professional cadre within the parachute community. According to Title 14 of the Code of Federal Regulations (14 CFR) part 65, section 65.129(f)(1), “No certificated parachute rigger may exercise the privileges of his certificate and type rating unless he understands the current manufacturer’s instructions for the operation involved and has performed duties under his certificate for at least 90 days within the preceding 12 months.”
Manufacturers of main parachutes have packing techniques that they have developed for their products. Most of them follow established methods in common use. Experience has shown that if the packing techniques required for a specific main are too complex, the market may not receive them favorably.
Throughout the chapter, each component of the parachute is discussed along with its function and how it applies to the entire assembly. One component can have a significant effect on the performance of another. For example, a pilot chute that is too large may result in too fast of an opening; and a pilot chute that is too small may not be able to overcome a bag lock.
Sport Parachute Main Packing Techniques
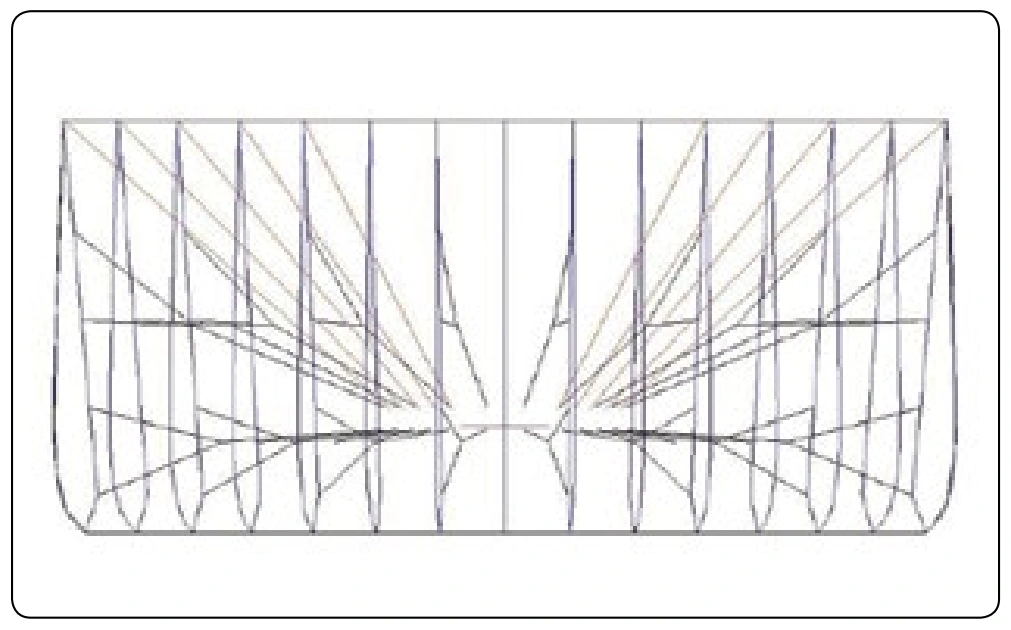
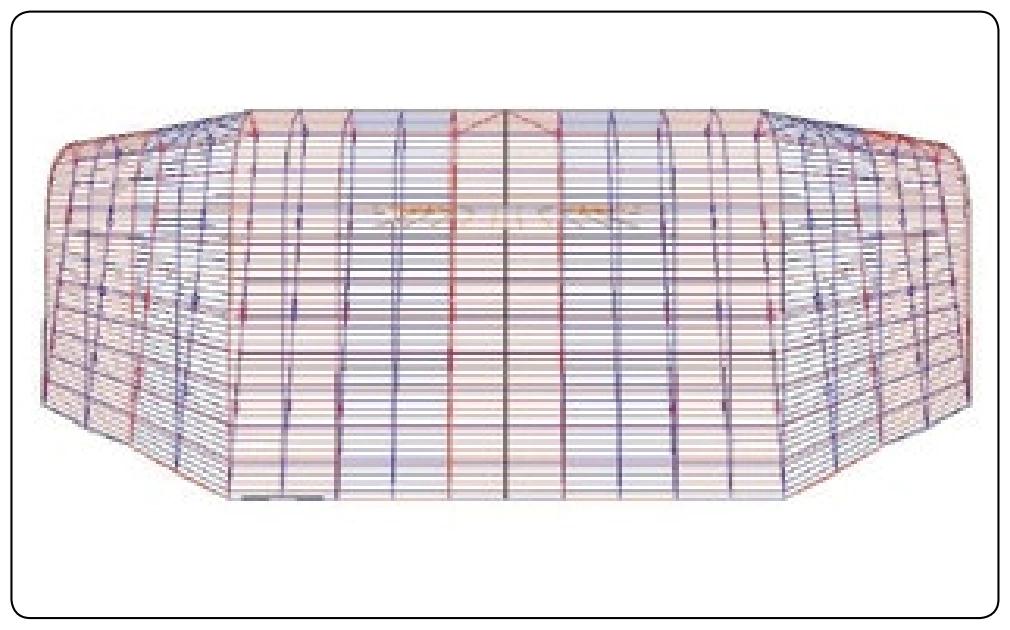
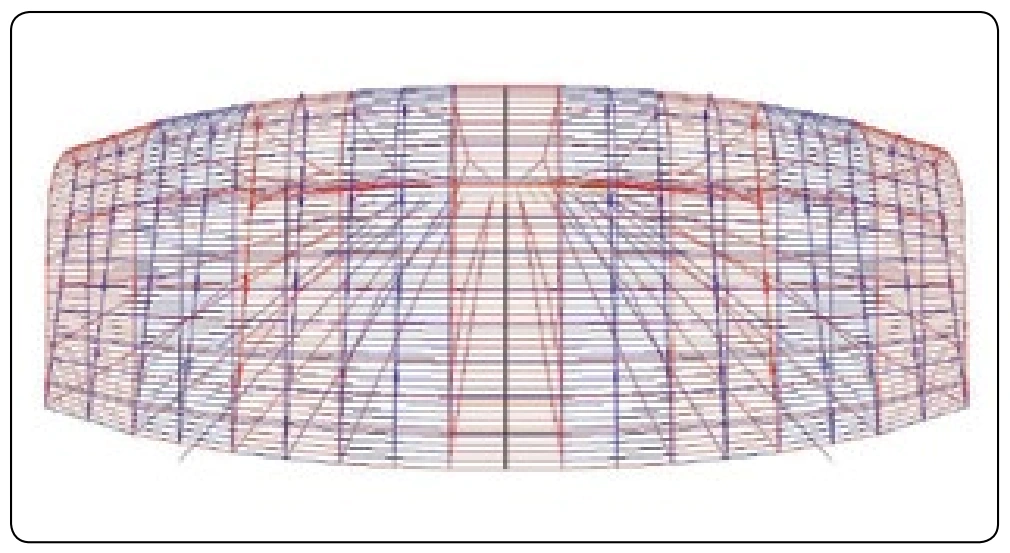
When we talk about “square” parachutes, what we really mean is rectangular plan form, semi-elliptical, or elliptical plan form. [Figures 4-1 through 4-3] Plan form refers to the shape of the canopy from a “birds eye view.”
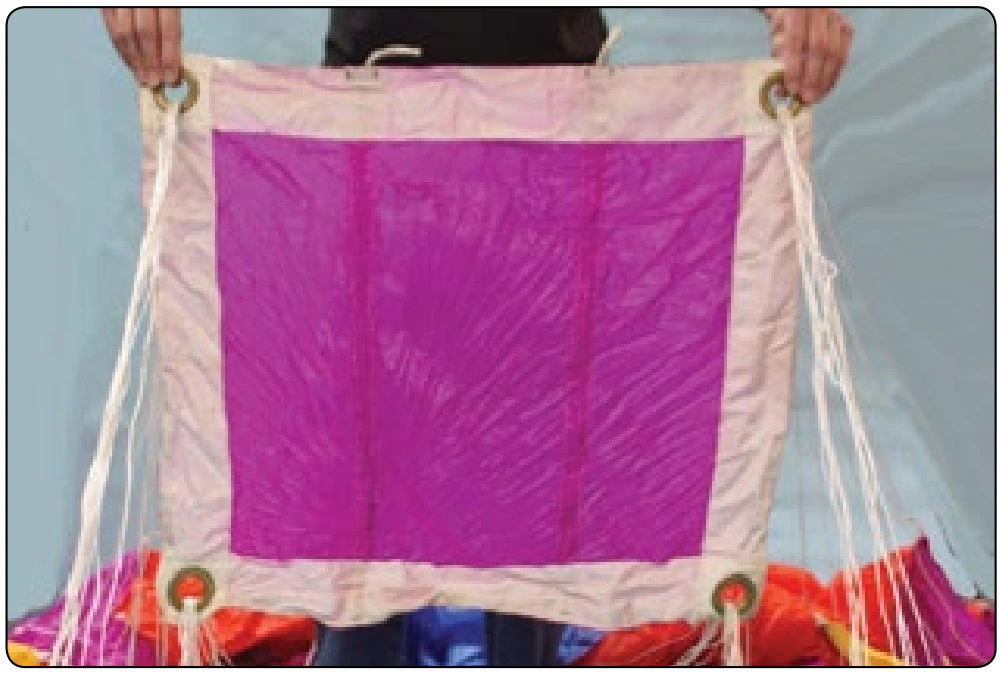
There are essentially two ways to pack a square parachute: flat packing or proper ram-air orientation (PRO) packing. When flat packing, the canopy is laid on its side so that you are viewing it in profile. The canopy is S-folded stacking the line groups on top of one another. Variations to this method include rolling the nose from the leading edge to the A line, toward the tail, or splitting the nose cells in half, rolling them inward, and tucking them into the center cell. The tail is then split and cocooned around the rest of the canopy.
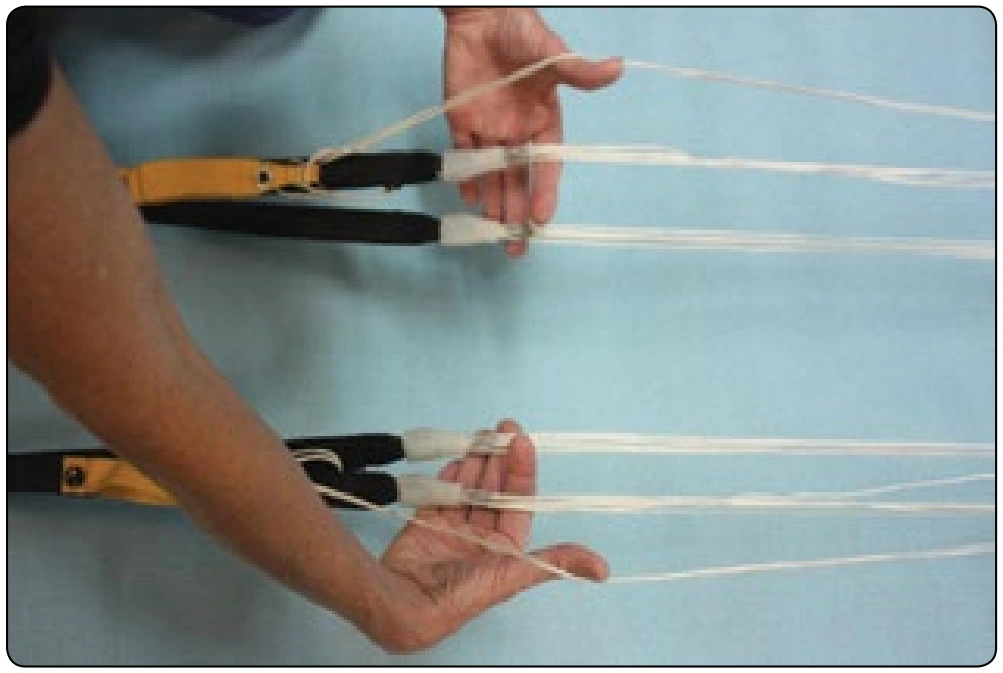
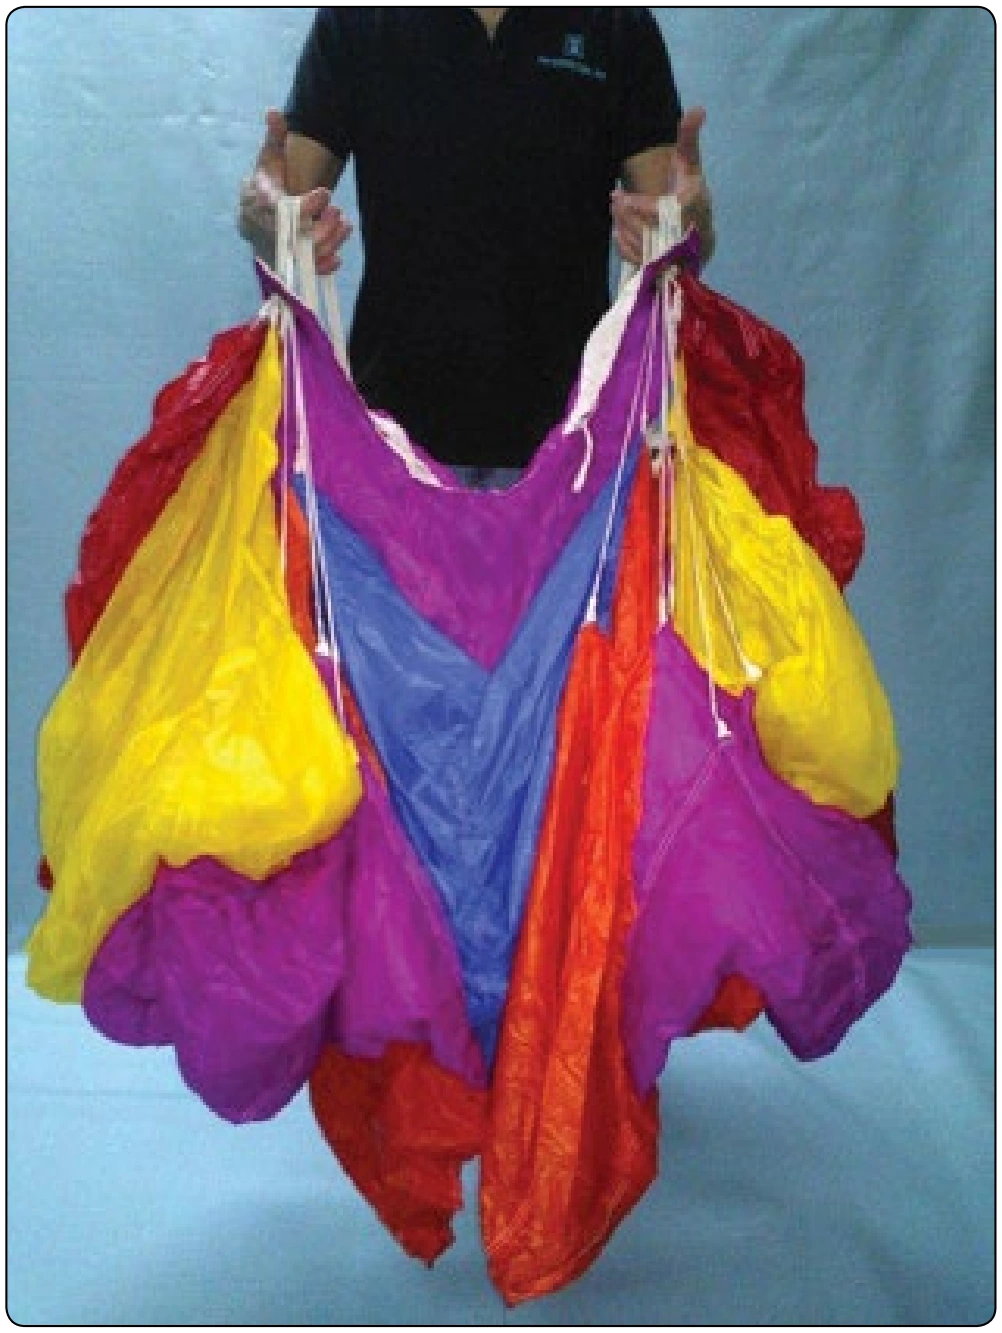
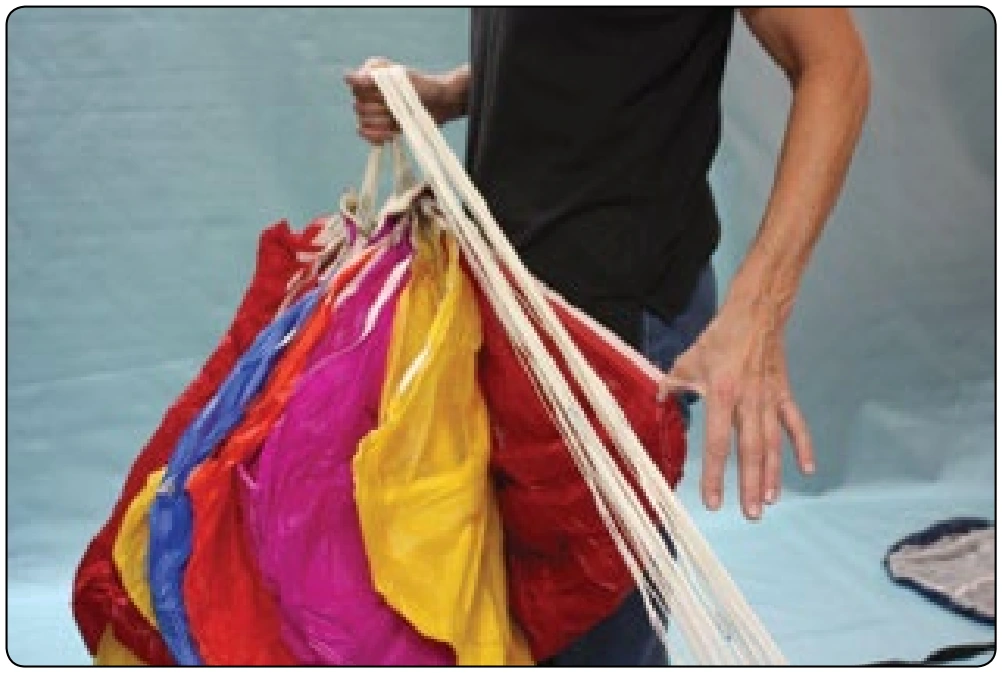
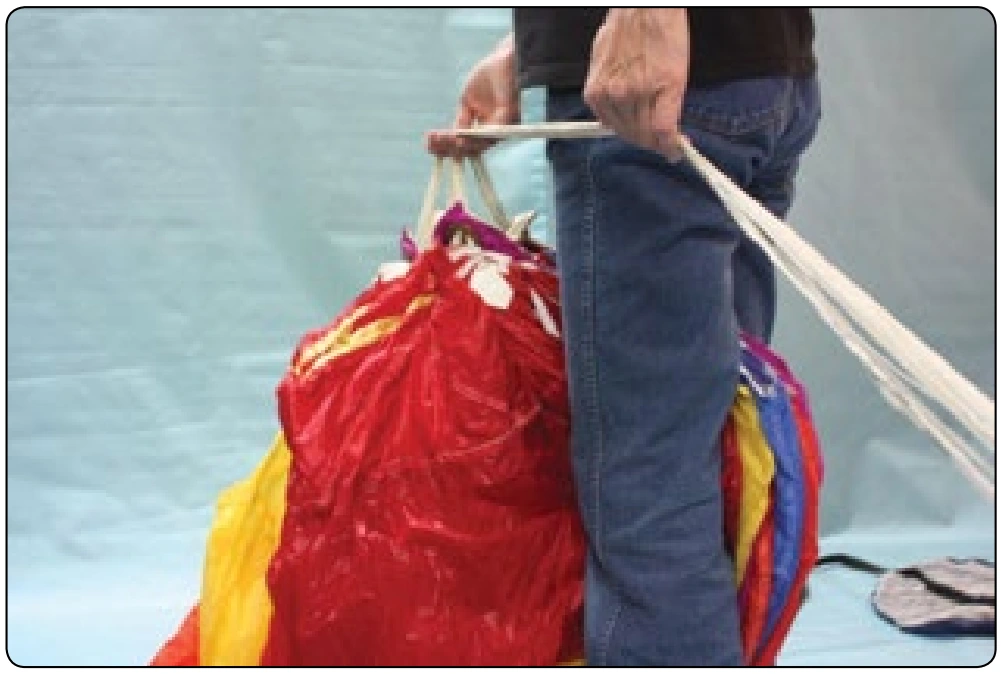
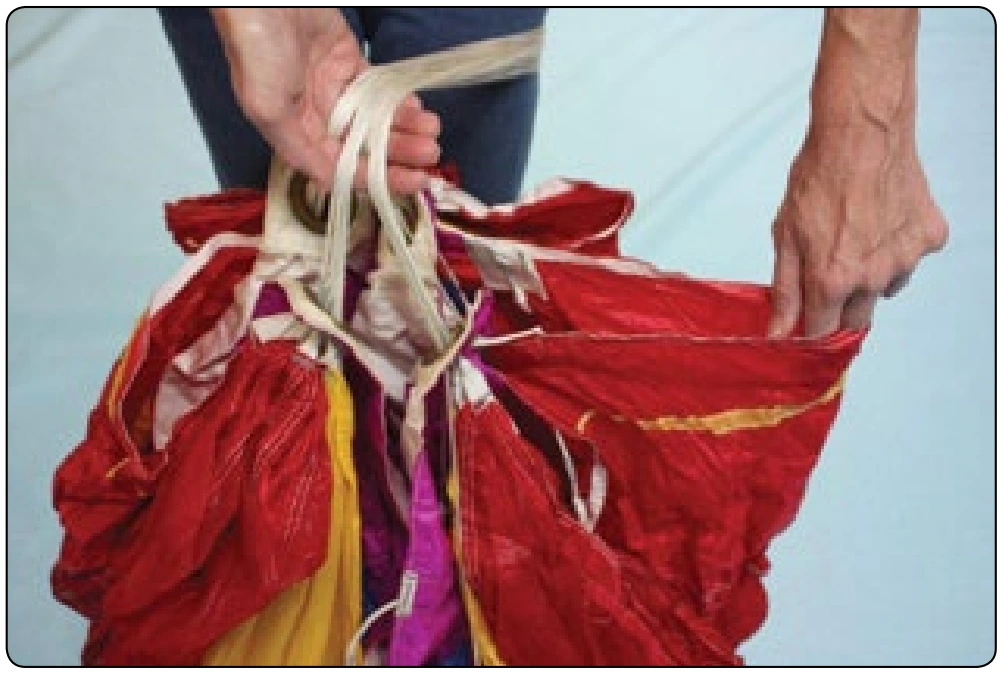
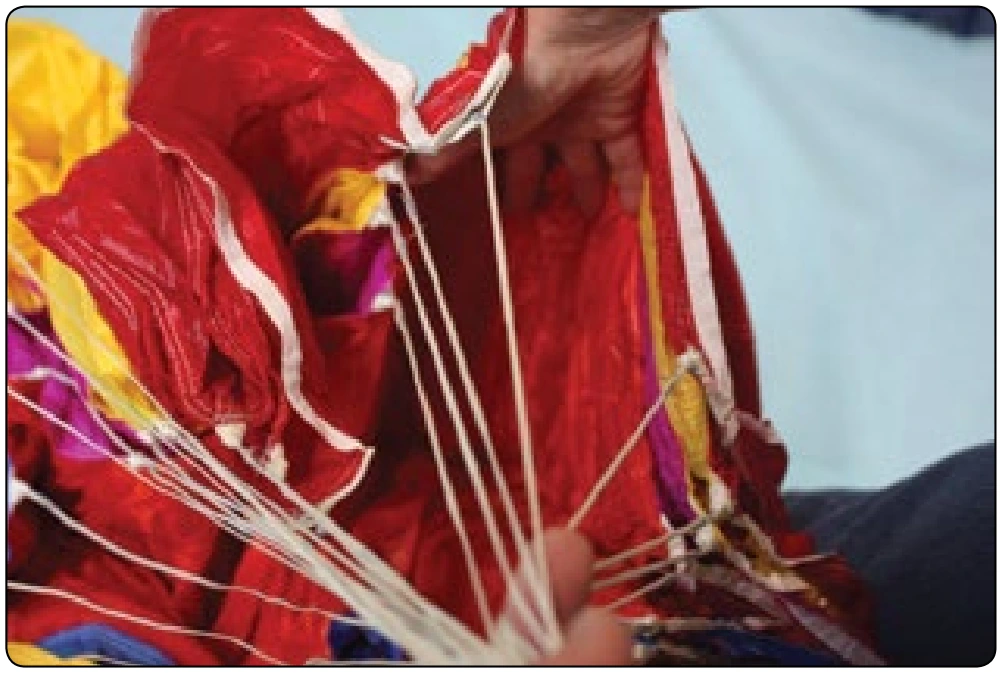
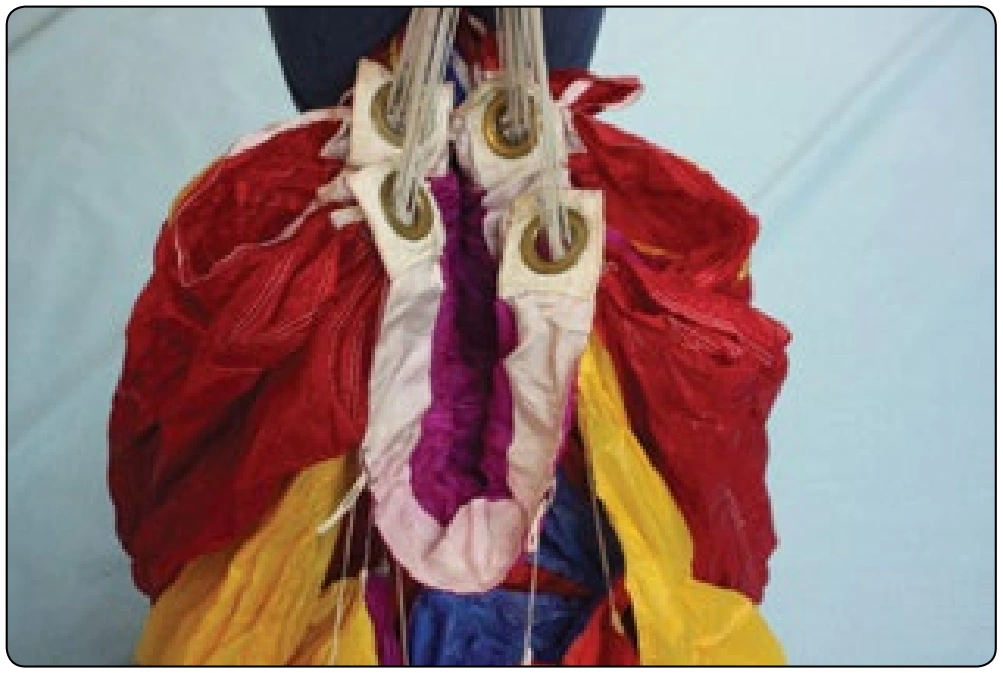
The most common method of packing “square” mains and reserves, however, is PRO packing. Developed by John Sherman in the early 1970s when “squares” were first being introduced, the premise was to pack them the same way one would pack a round parachute—that is, to separate the four line groups and flake the perimeter of the parachute with the nose facing forward and the tail of the canopy facing rearward. If one were tall enough to raise the round parachute off the floor, it could be PRO packed. The advantage of PRO packing is that it results in a more even distribution of forces during opening shock and on-heading openings. Figures 4-4 through 4-35 illustrate PRO packing. There are several variations to this technique designed for special purposes. Free fall cameramen may require a slower opening to reduce the opening shock. Canopy Relative Work (CRW) parachutists may want faster sub-terminal openings. The rigger should be able to provide guidance to the parachutist for the type of opening required.