Aviation Training Experts™

handbook

Parachute Rigger Handbook

FAA-H-8083-17A Version 2015 (Change 1)

Chapter 4

Operations
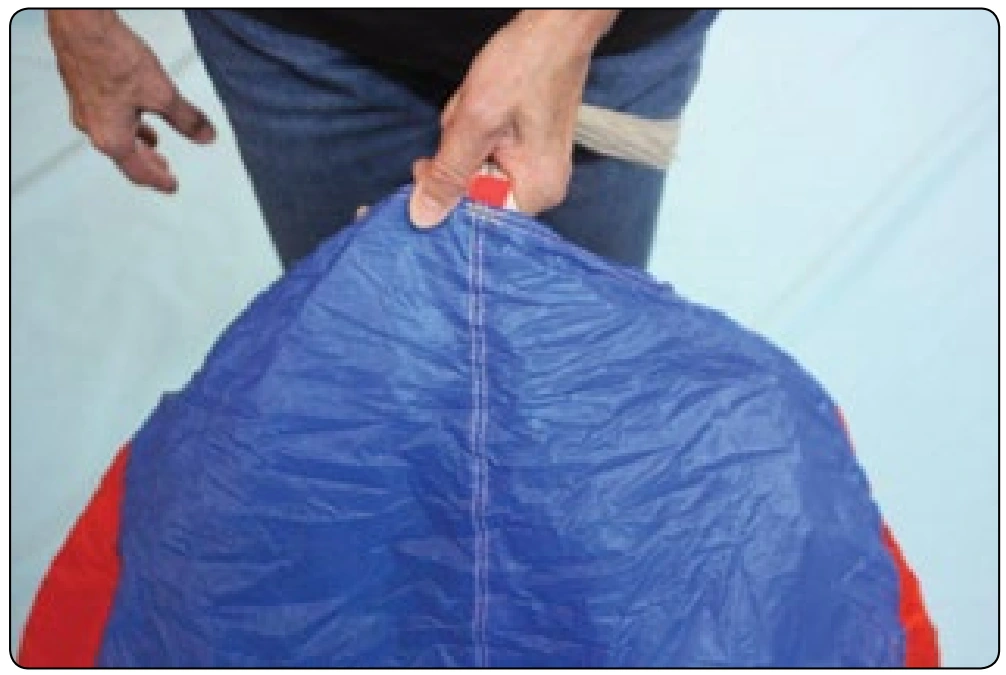
Figure 4-13. Pull the tail up over the canopy and hold it under your thumb.
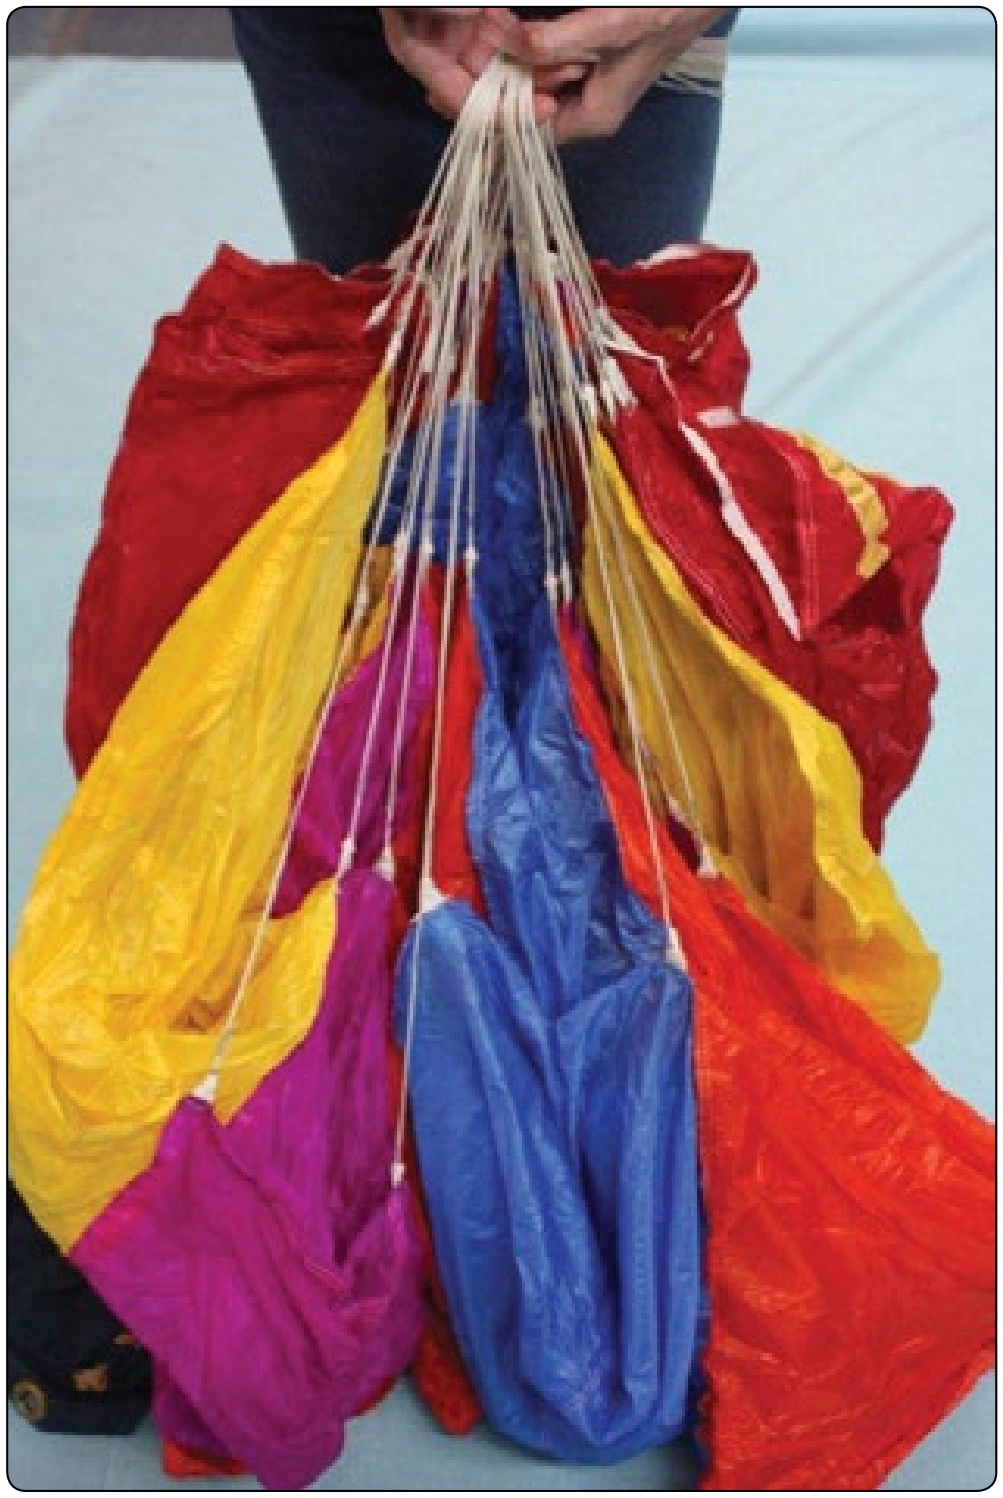
Figure 4-11. Note the staggered order of the line groups. The As are the highest; the Ds are the lowest except for the upper control lines at the very bottom of the picture.
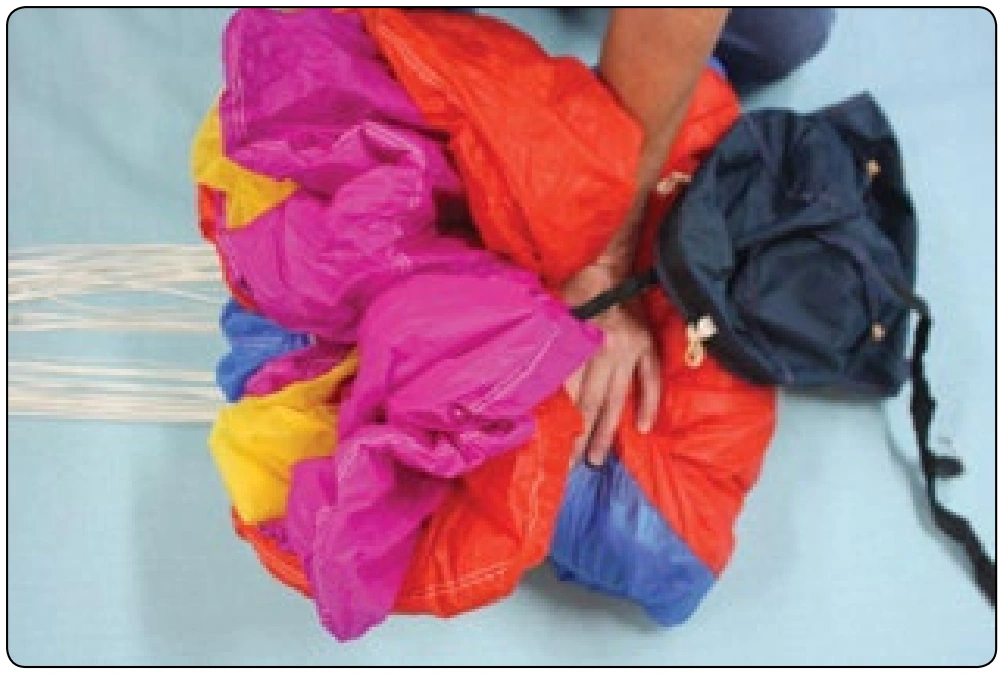
Figure 4-14. Roll the tail to prevent the canopy from splaying out when it is laid down on the ground. Be sure to prevent the upper control lines from coming around to the nose of the canopy. Keep them centered and back.
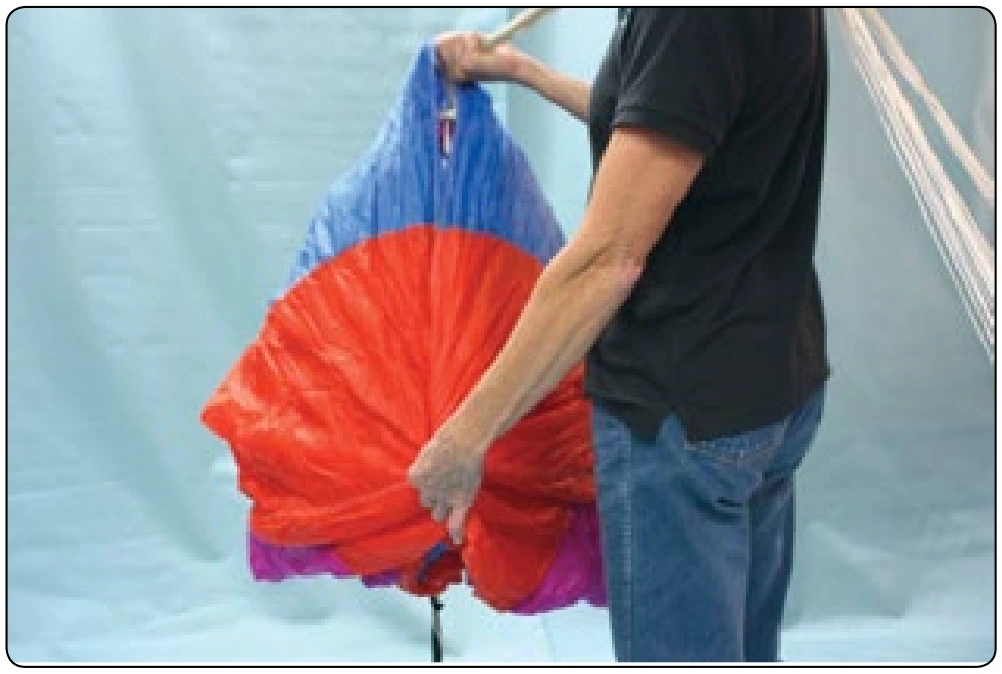
Figure 4-15. Press the air out of the canopy.
Figure 4-16. Lay the canopy down on the ground.
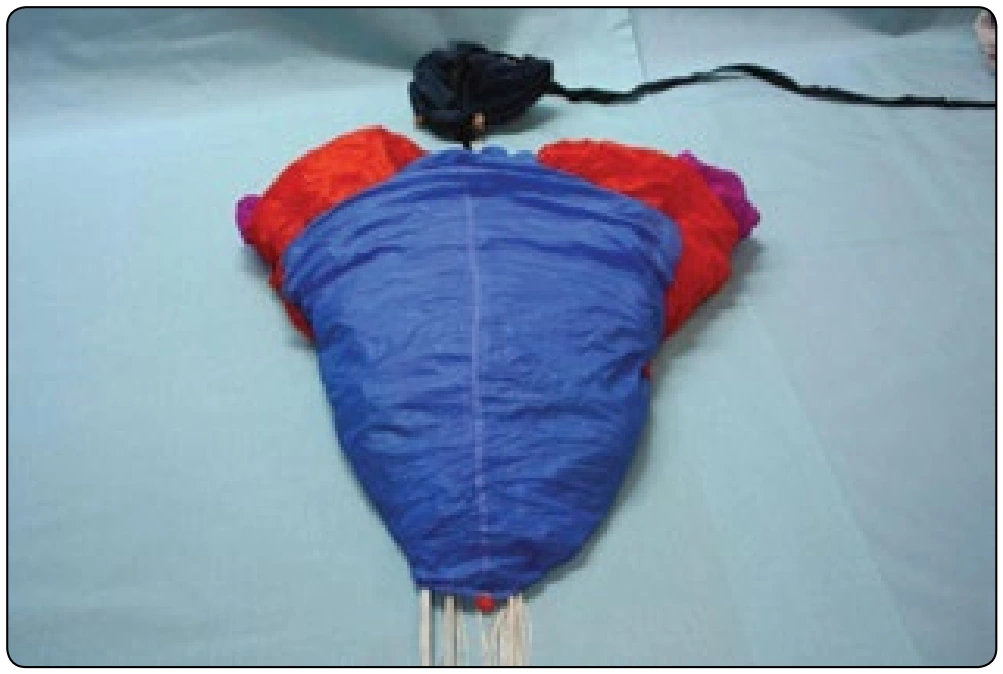
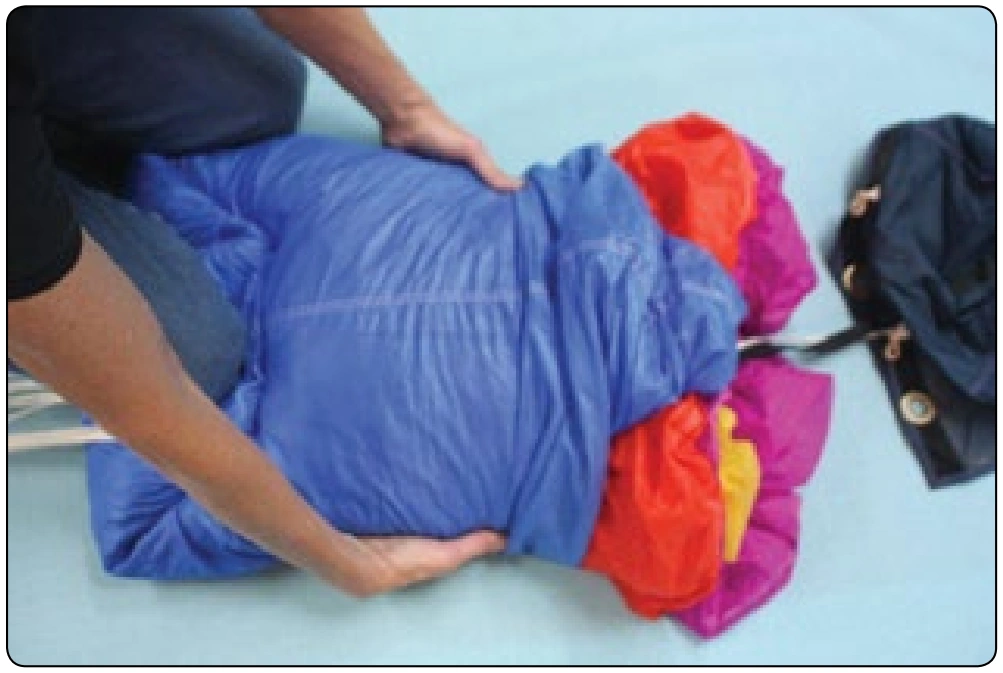
Figure 4-17. Cocoon the canopy making it a uniform width.
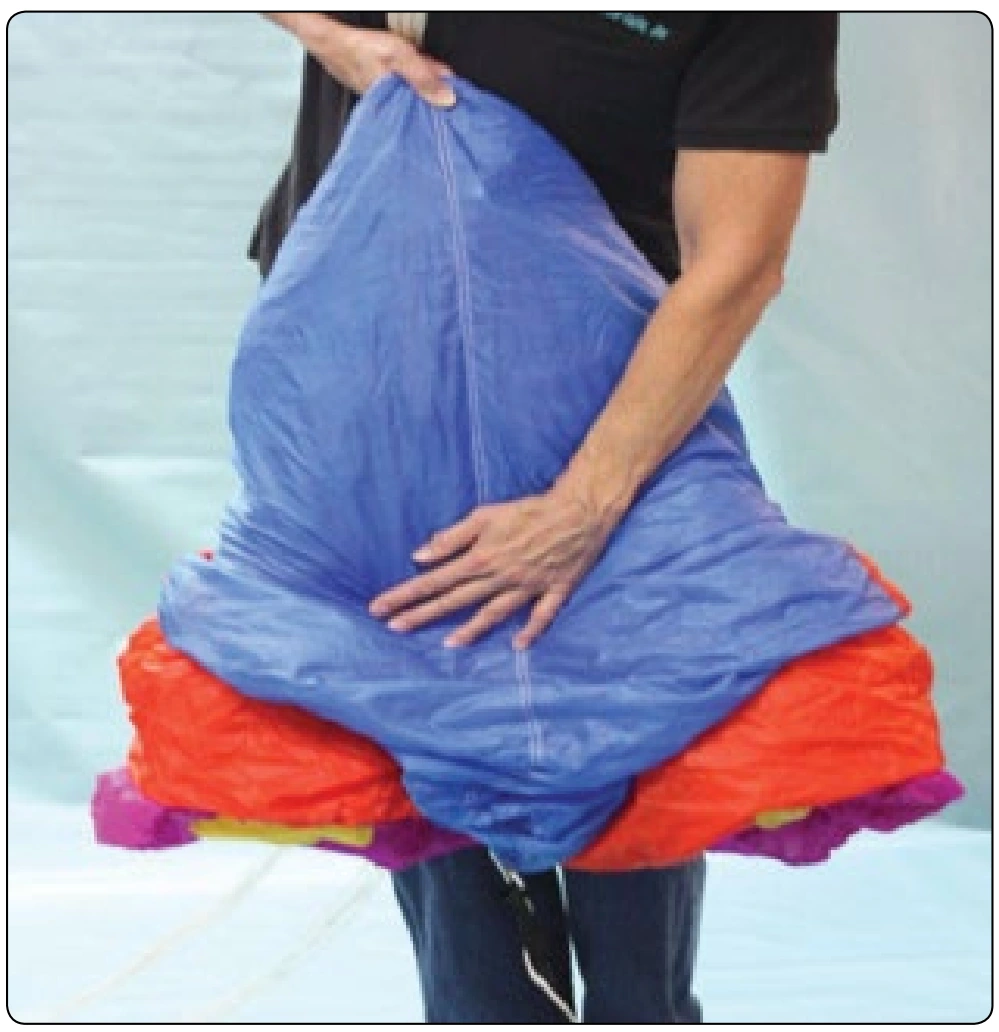
Figure 4-18. The “cocoon” should be slightly wider than the deployment bag.
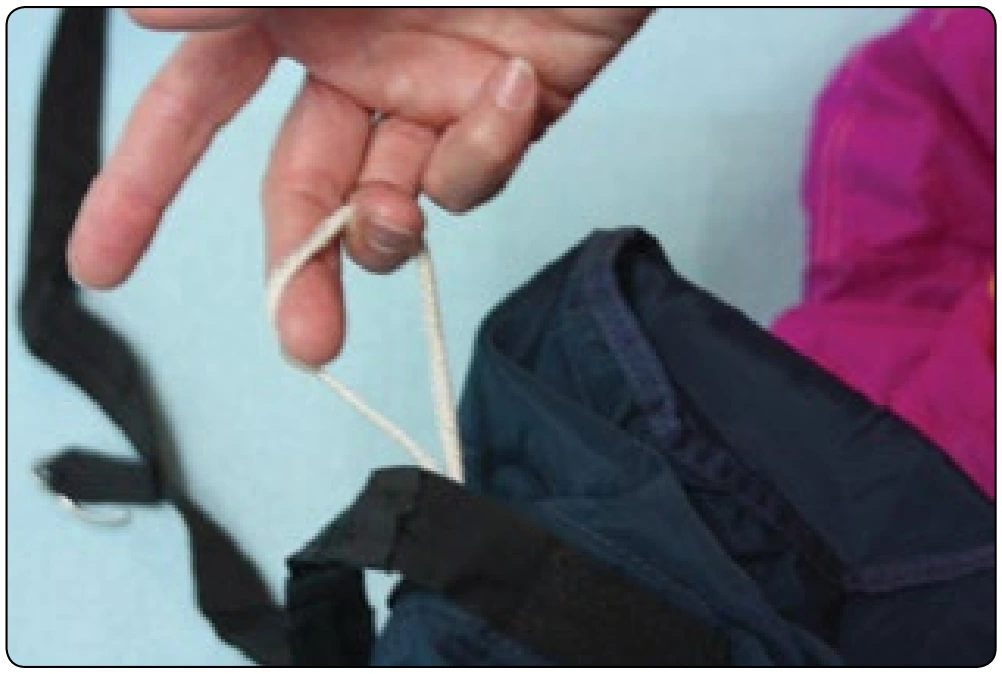
Figure 4-19. Pull the kill line out of the bag at this time.
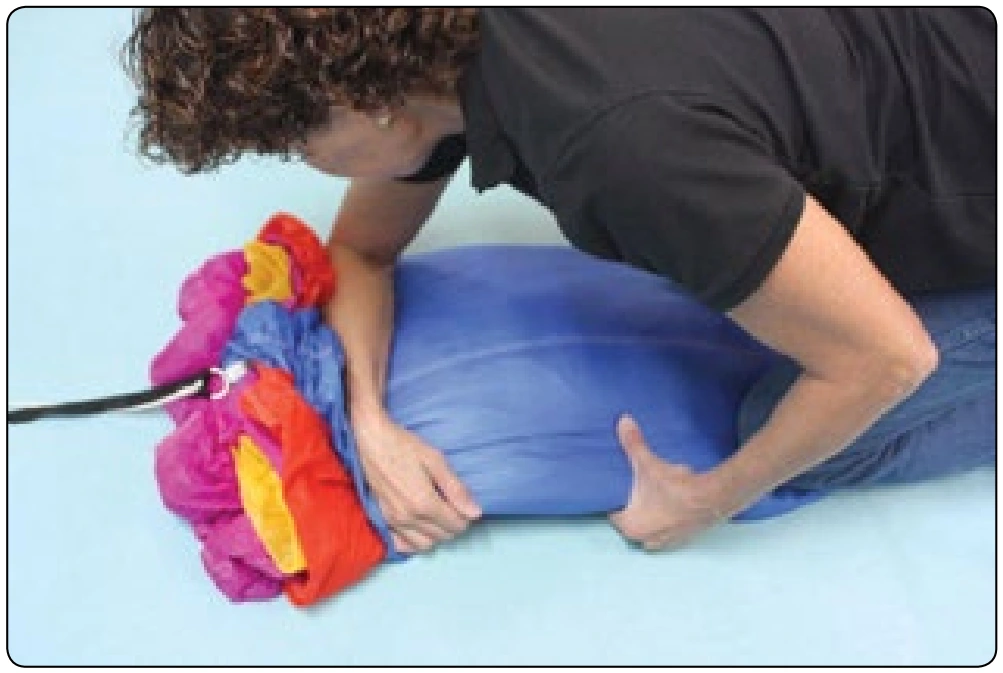
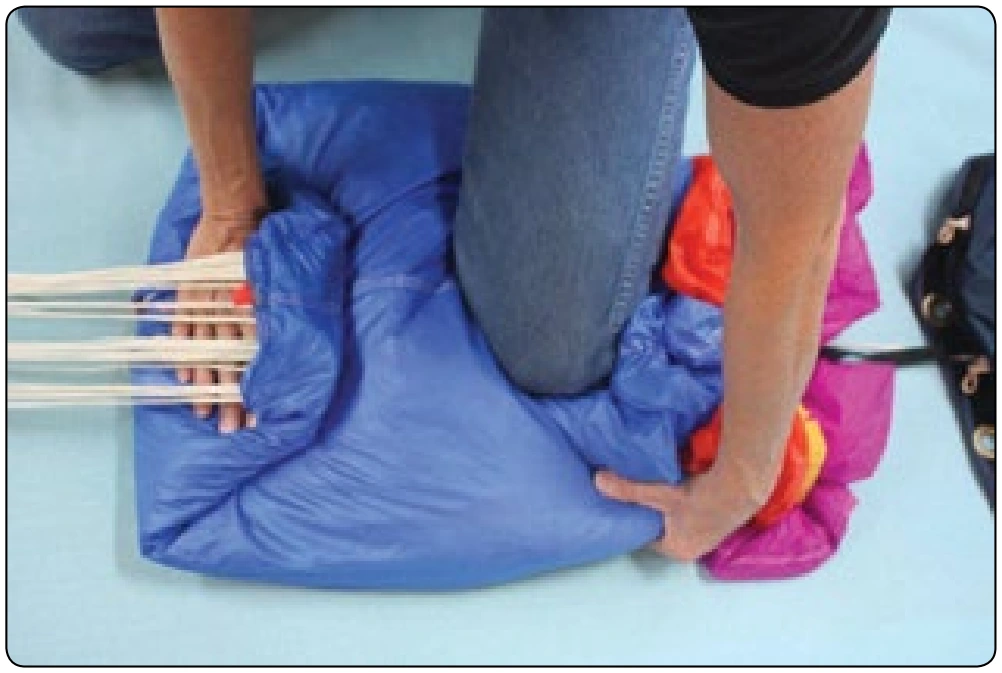
Figure 4-20. Use a knee to keep control of the top of the canopy.
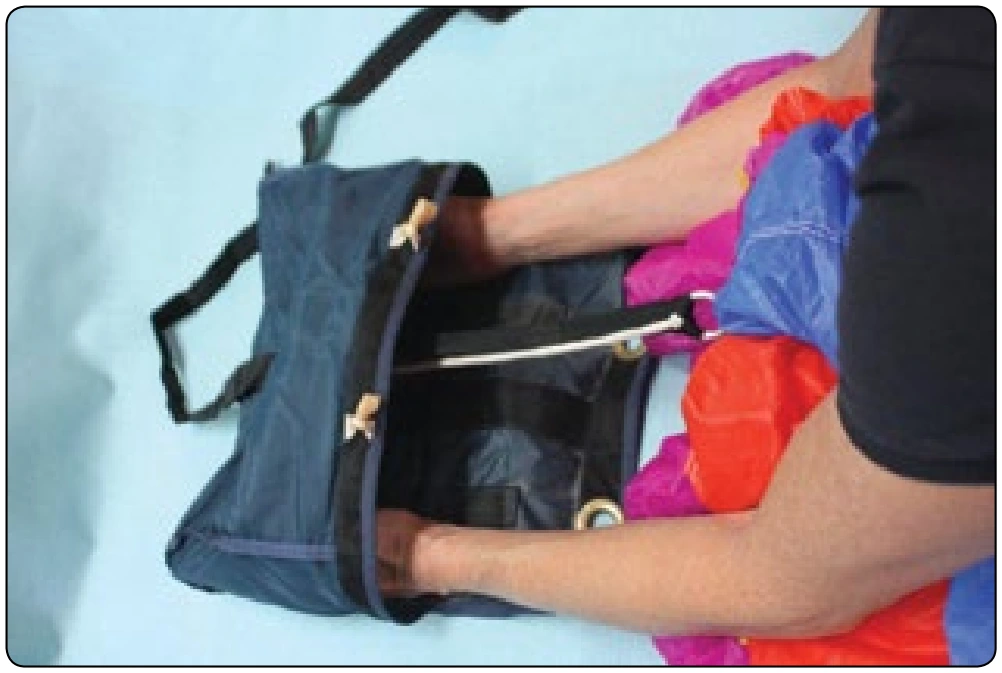
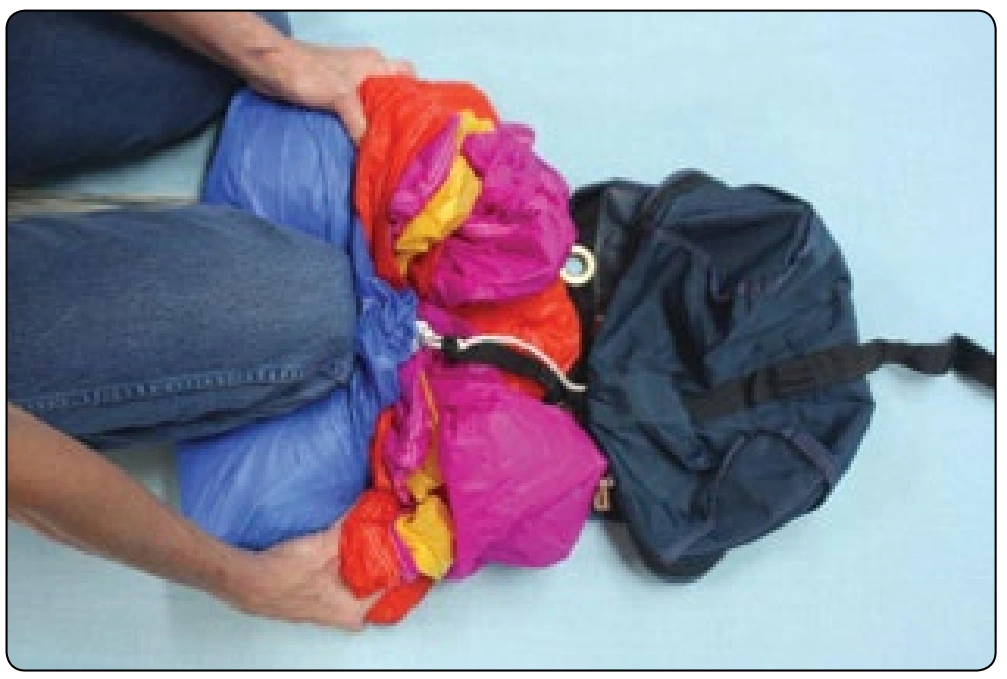
Figure 4-24. Most canopies take two S folds. Pull PCA ring outward so that it is up against the grommet inside the bag.
Figure 4-21. Make the first “S” fold.
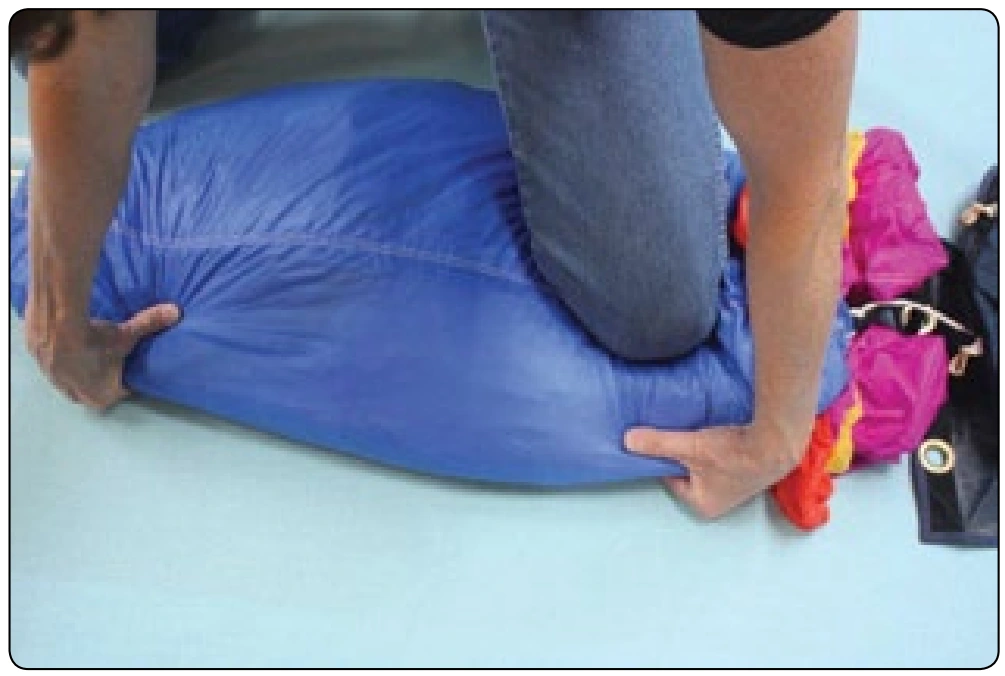
Figure 4-22. Use a knee to maintain control of the canopy.
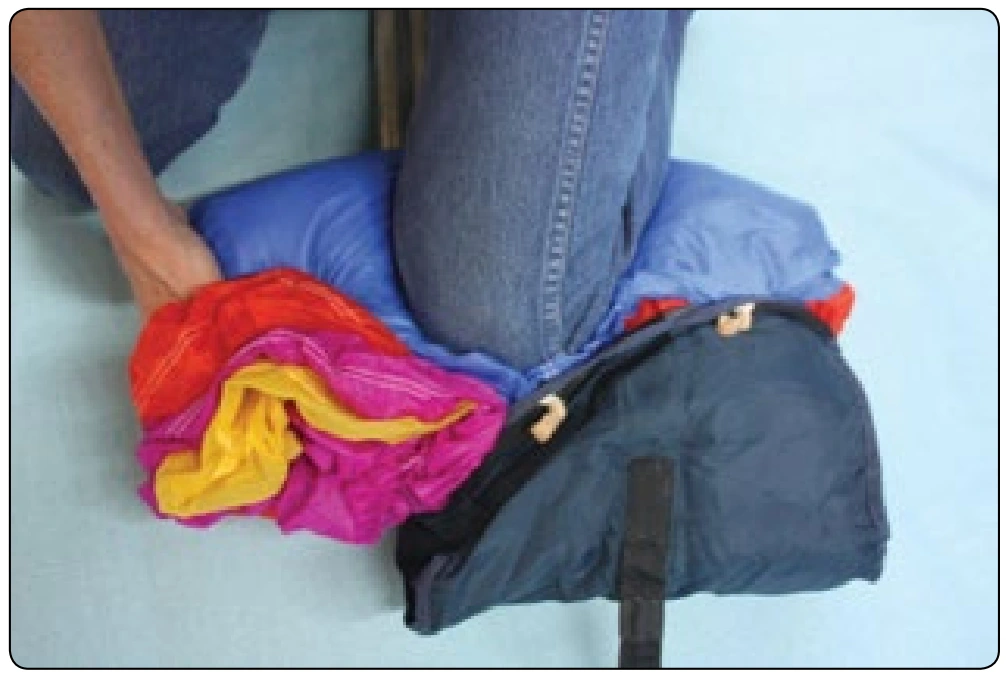
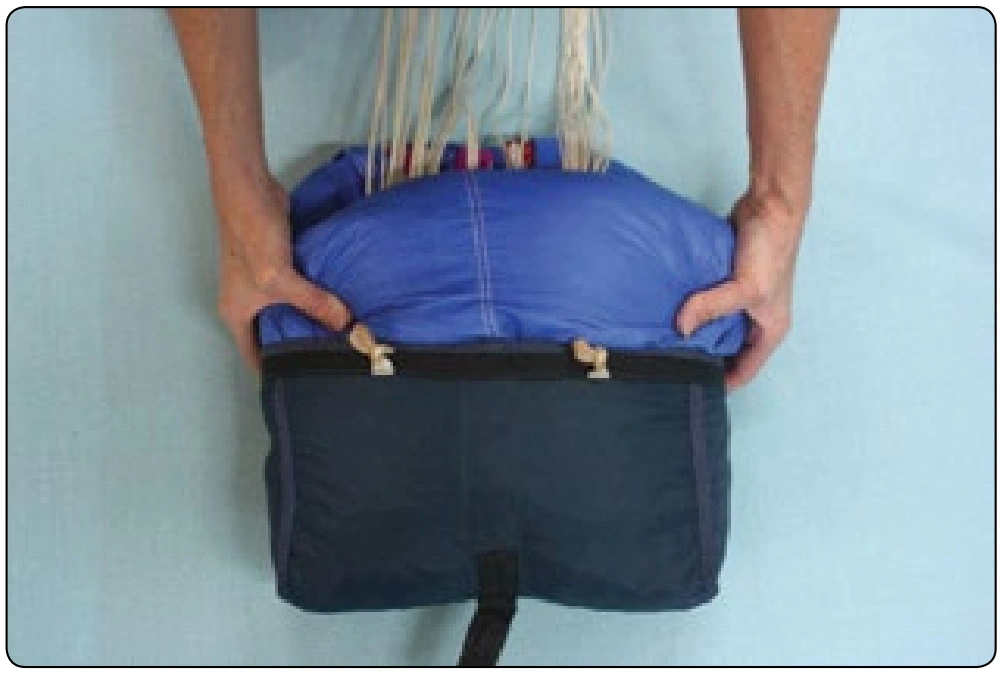
Figure 4-25. Insert the canopy into the bag one side at a time.
Figure 4-23. Make an additional “S” fold.
Figure 4-26. The objective is to fill the corners of the bag and keep the center of the pack job soft.
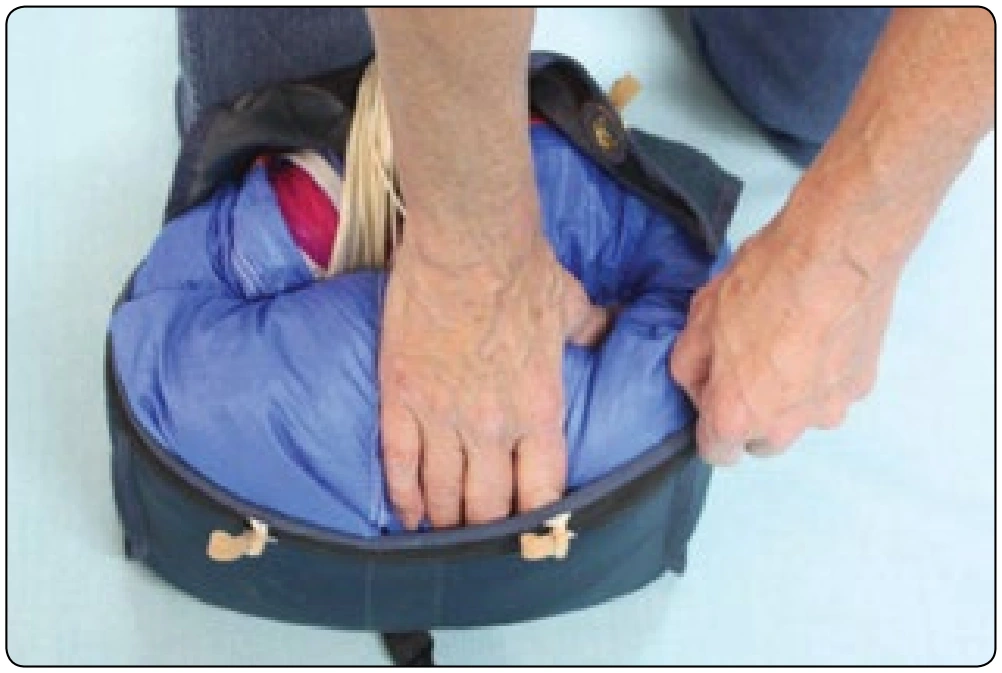
Figure 4-27. Shove the canopy down into the bag filling the corners.
Figure 4-28. Use the flap of the bag to help control the canopy.
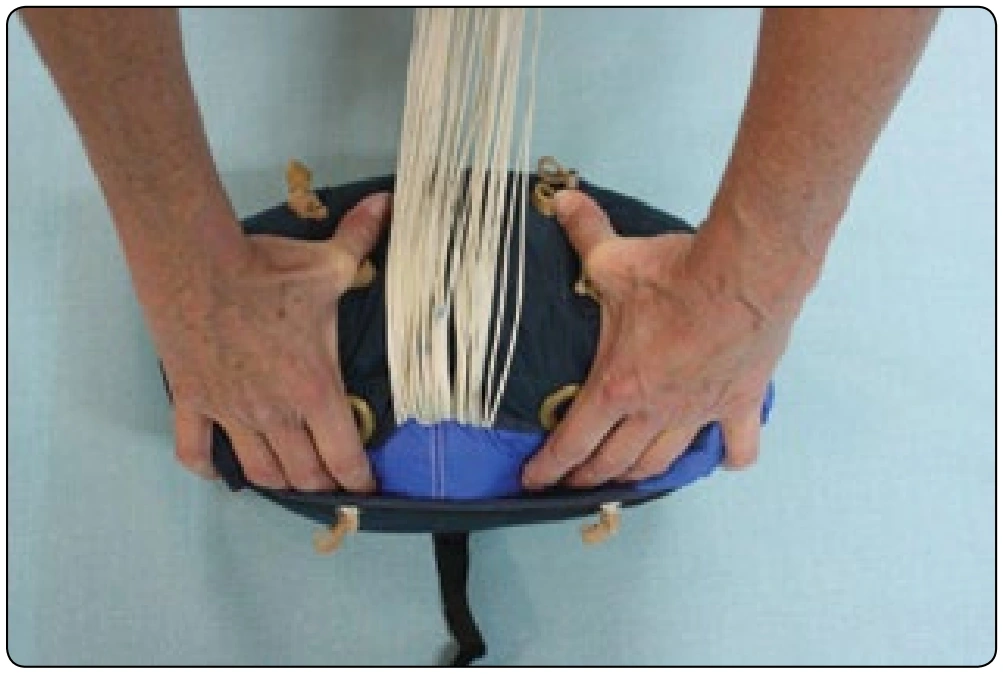
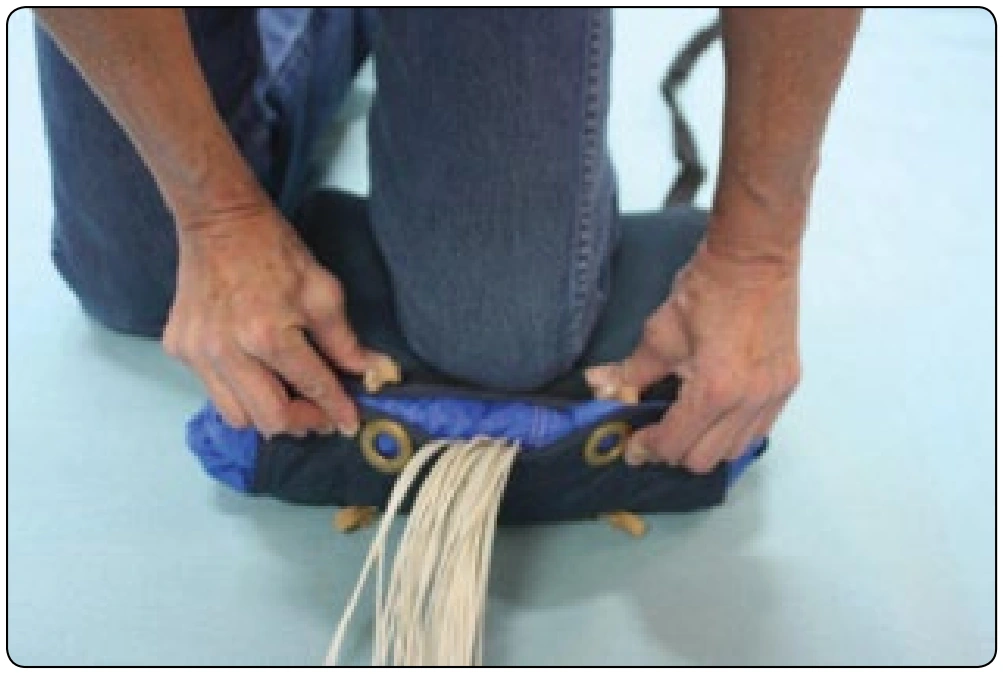
Figure 4-29. The closing flap of the bag is pulled so that the grommets meet the rubber bands. You should not have to stretch the rubber bands very far.
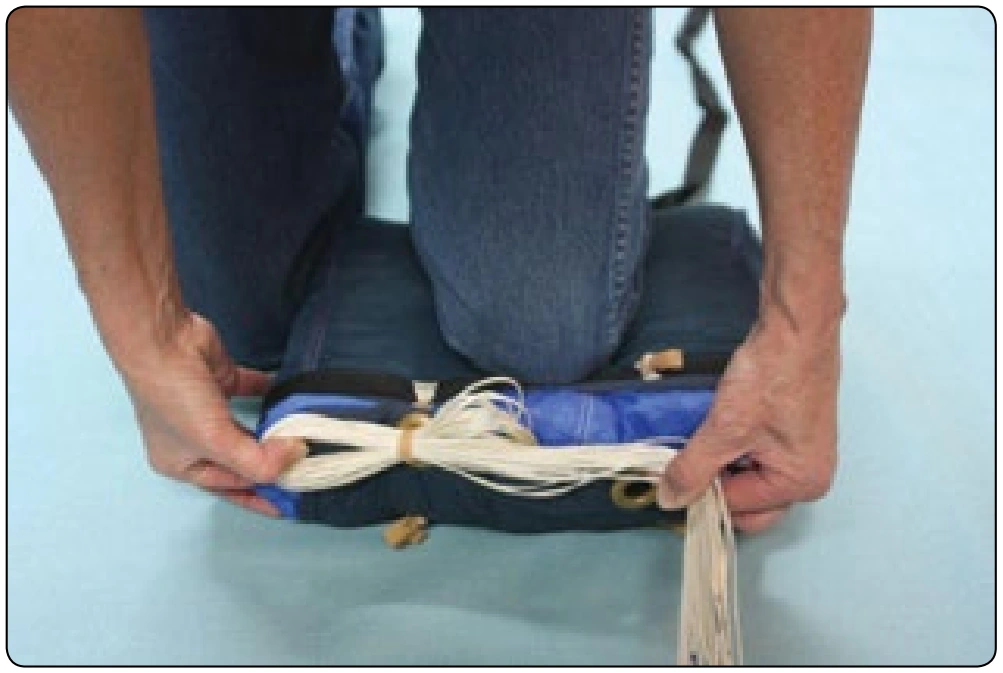
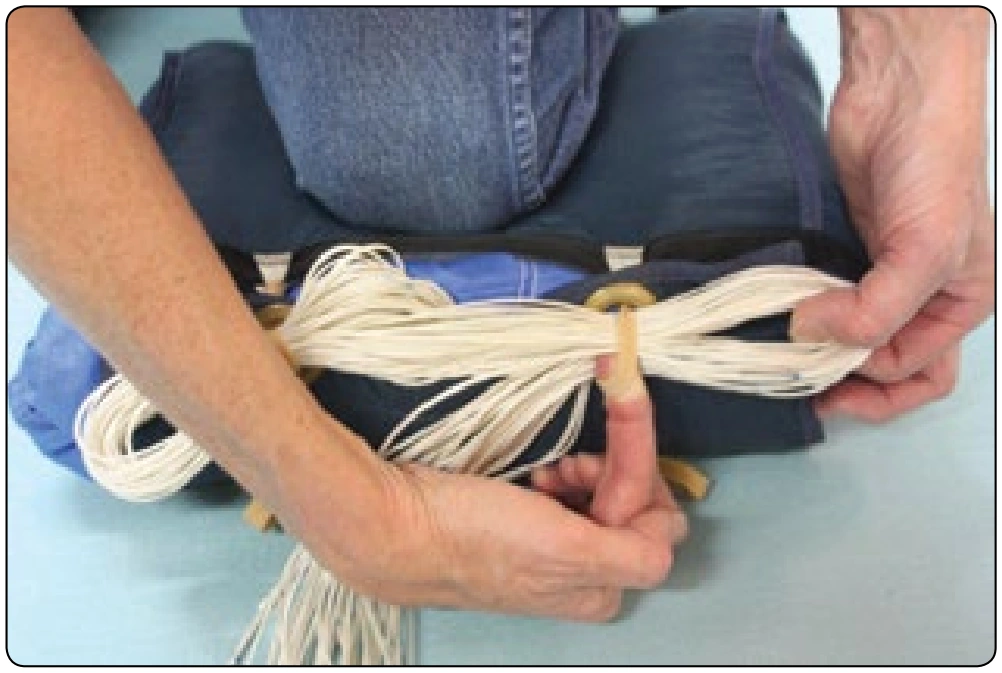
Figure 4-30. Make a locking stow.
Figure 4-31. The second locking stow. Note the generous size of the bight.