Chapter 5
Inspection and Packing
Straightening the Canopy
If a rigger finds lines out of sequence or the canopy is inside out, it becomes necessary to remove any twists, tangles, or turns. There are two things to remember when encountering this situation. First, if the parachute was originally straight and the entanglement occurred from handling, it is possible to untangle the parachute without disconnecting anything. Second, if the parachute was assembled incorrectly in the first place, it is virtually impossible to straighten it without disassembling it. These two scenarios become particularly acute when the rigger is brought a parachute for repacking and it was assembled incorrectly. At first, the rigger assumes it to be correct, but when a correct continuity cannot be done, it becomes very frustrating, and the rigger may spend an excessive amount of time trying to straighten the canopy.
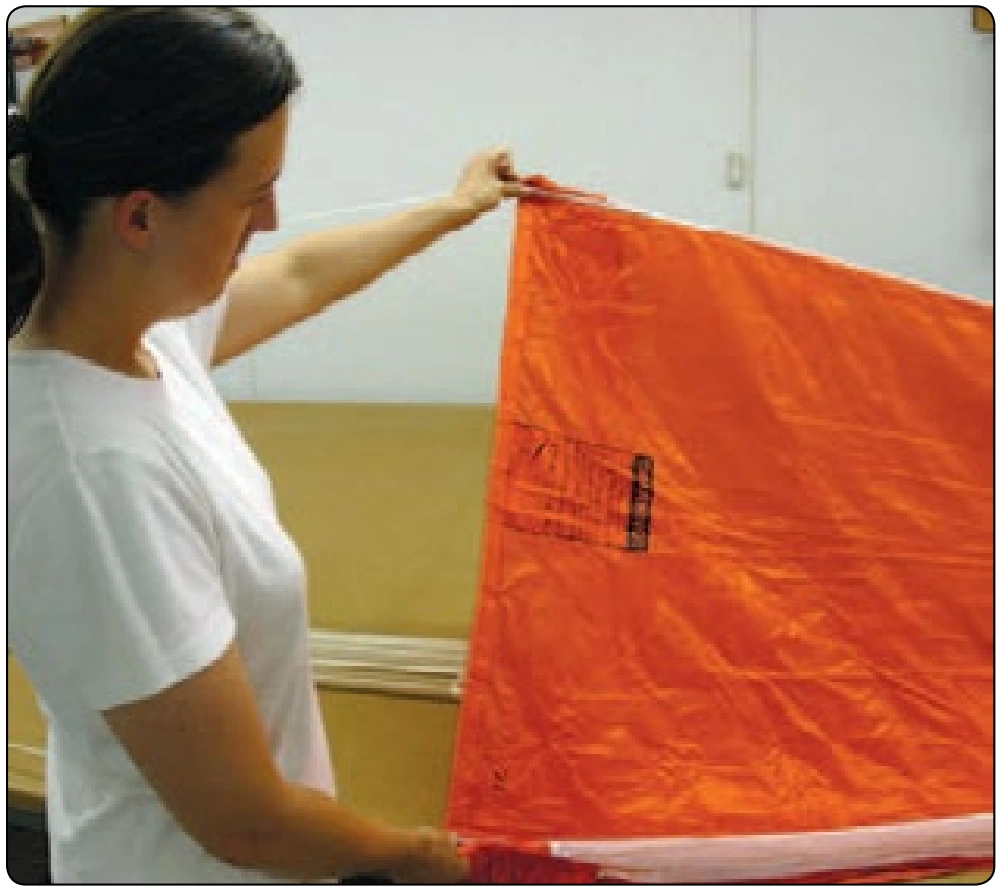
The rigger should always start at the top or apex end of the canopy. Make sure that the top gore with the data panel is facing up. Follow the gore to the apex so that the upper lateral band is on the outside. Attach the apex to the upper tension device. Next, flake the gores in sequence to see if the canopy is straight. Split the canopy so the left and right line groups are separate at the skirt of the canopy. [Figure 5-7] Pick up the two center gores and grasp the four lines. [Figure 5-8] These are line number 1 and the last line of the sequence.
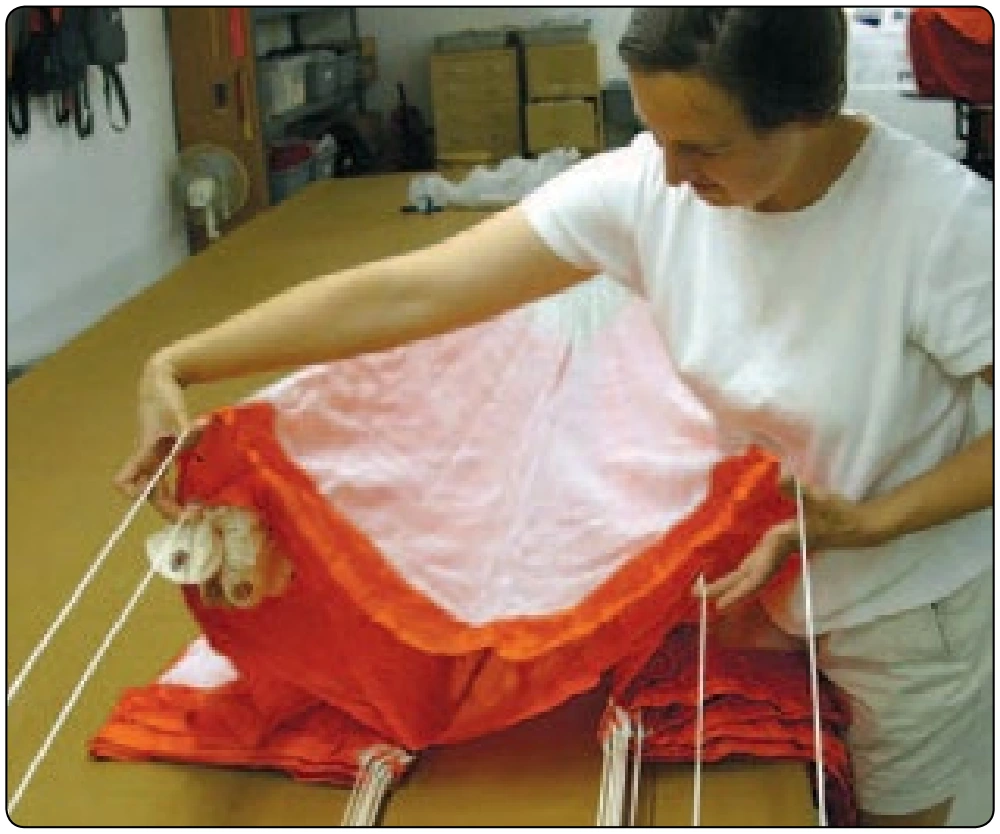
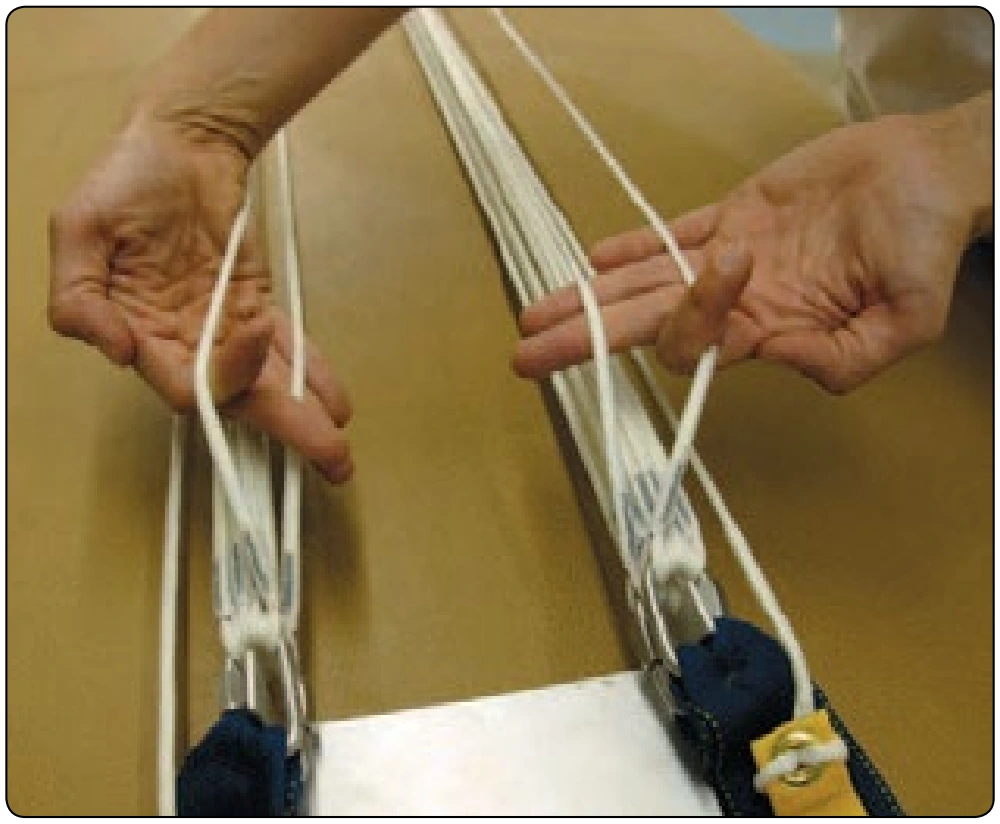
Run these lines down toward the risers and/or container. On most canopies, these lines run to the inside, top connector link of a four-link system or to the inside of a two-link system.
[Figure 5-9] If these lines are correct, continue the checking of the line continuity. If the lines are not straight, release the risers from the harness, if possible. If not, take one of the two top lines and untangle it until the line runs straight back to the canopy without going around any of the other lines.
Untangle the risers and harness/container until the rest of the lines are straight. Repeat with the other riser, if applicable.
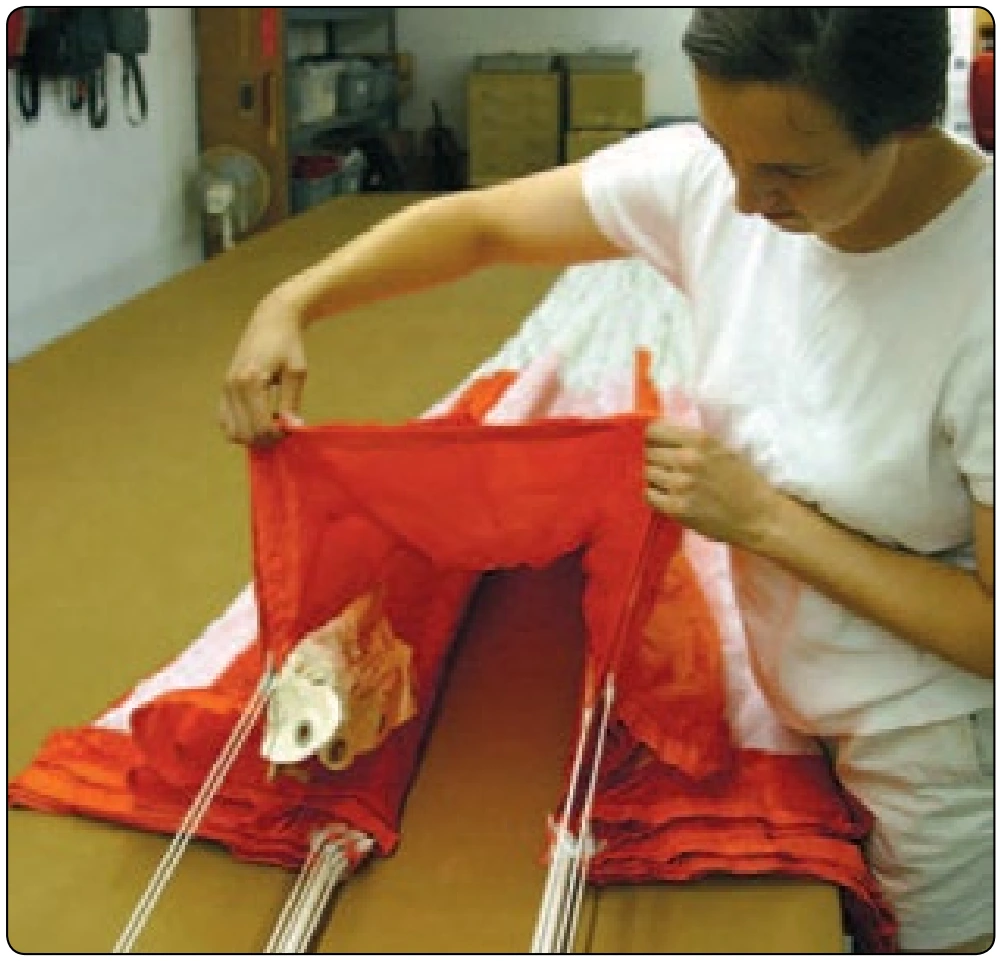
Attach the rest of the connector links to the tension device and do a thorough continuity check from the canopy to the connector links. If the lines were incorrectly assembled, disconnect the link from the riser, remove the lines, and reinstall them onto the connector link in the correct order.
Reinstall the connector link to the riser. Check the entire canopy for correct continuity. Make sure the connector link is tightened properly.
Damage Identification
During the inspection process, the rigger may identify various discrepancies in the materials and/or the assemblies. While the following inspection processes call out what to look for, the specific descriptions and treatment of the damage are provided in Chapter 7, Repairs, Alterations, and Manufacture.
Pilot Chute and Bridle
- Check the spring shape and tension; it should not have an excessive bend to the length of the spring. There should be no kinks in the wire or sharp edges or burrs. The swages should be smooth and tight. Check the tension of the spring against the manufacturer’s specifications. Most current springs have between 20–30 pounds of tension, but some run as high as 40–45 pounds. Too strong a spring is rarely an issue, but too weak often is a problem. Some manufacturers specify a testing method and frequency of testing.
- Check the canopy cap for security to the canopy portion along the stitching and seams. If it has a grommet in the cap or an alignment strap, check the grommets for tightness and smooth edges on the inside. Sharp edges can cut the locking loop. Check the alignment strap for centering and tacking.
- Check the canopy fabric for any holes, burns, stains, or other damage. Check the seams for loose stitching and look over the mesh portion, if used. Small holes may be allowed, but consult the manufacturer’s manual. Check the attachment loop at the base of the pilot chute for security. Check any hand tacking, if used, to secure the spring to the base of the pilot chute.
- If the parachute uses a sewn-on bridle, check the stitching. If it is a tied-on model, check the knots and any hand tacking called out in the instructions. Be sure to check the length against the parts list. Make sure the canopy end of the bridle is looped around the apex lines and not around a tension loop. If a floating loop is called out, make sure the locator tacking is secure.
Reserve Canopy
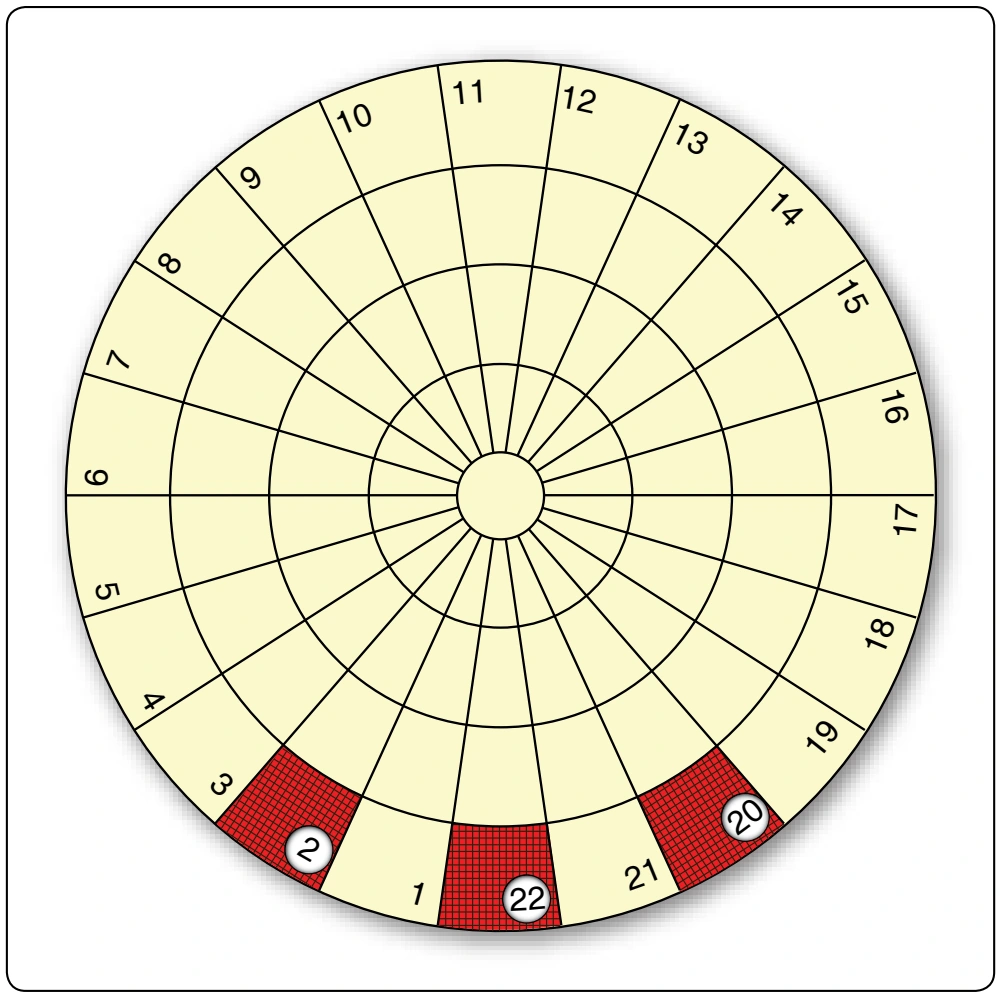
If available, use a canopy damage chart appropriate to the canopy for documenting your inspection for repair of any damage found. Figure 5-10 shows a typical chart for round canopies.
- Check the apex lines for damage and continuity, as well as the upper lateral band. If there is a tension loop, make sure it is secure. If there is a vent collar ring, check the elasticity of the material.
- Inspect gores and panel fabrics by starting at the top center gore of the canopy, working your way up one gore while inspecting the fabric, seams, tapes, and lines. When you reach the apex, pull the next radial seam toward you, stretching out the fabric, and work your way down the gore to the lower lateral band. [Figure 5-11] This method is the most efficient use of your time and physical efforts. Work your way around the canopy, inspecting each gore from top to bottom.