Chapter 5
Inspection and Packing
- If Velcro® is used on the main pin protector flap, be sure to inspect its condition. If a plastic closing flap or tongue is used, check for deformation or breakage. [Figure 5-29]
- If Velcro® is used on the main riser covers, be sure to check its condition. If plastic, check for breakage and deformation. If the plastic is excessively deformed, it is a sign that the covers do not fit properly and may open prematurely causing problems.
- For the container-closing loop, the same criteria applies as in the pilot emergency parachute. In addition, make sure the loop material is the same as specified in the owner’s manual, especially if an AAD is installed. With certain AADs, a particular type of knot and washer to be used is specified as well.
Ripcord
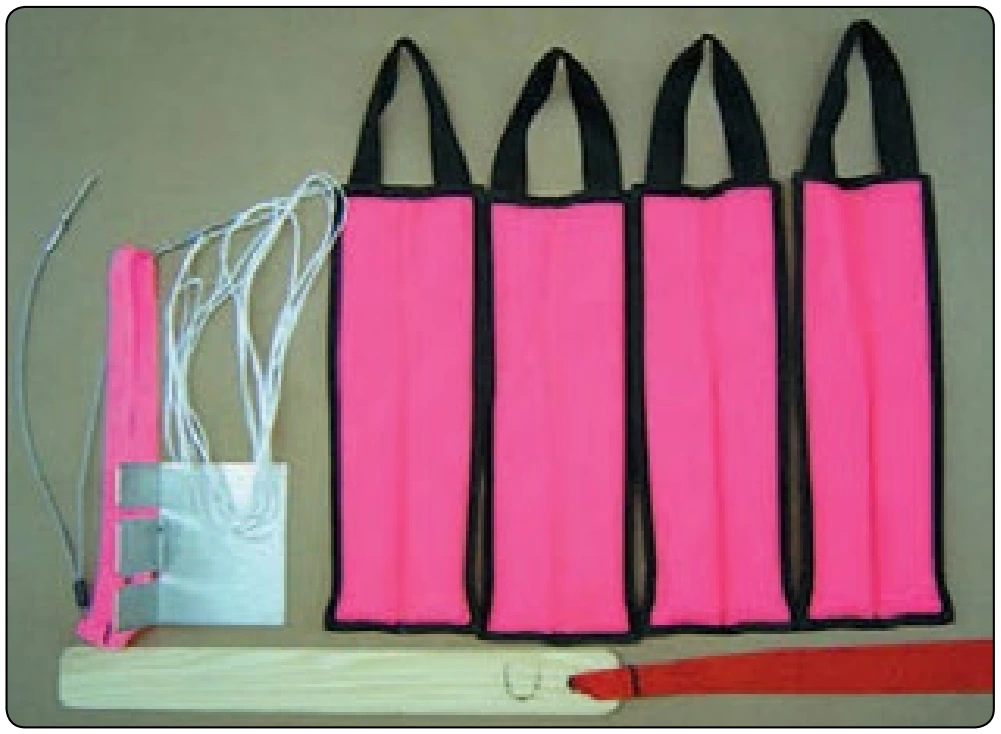
All the areas mentioned in the pilot emergency parachute section apply to the sport rig. In addition, some assemblies utilize a ripcord that has a webbing loop handle or a pillow-type handle similar to the 3-Ring® release handle.
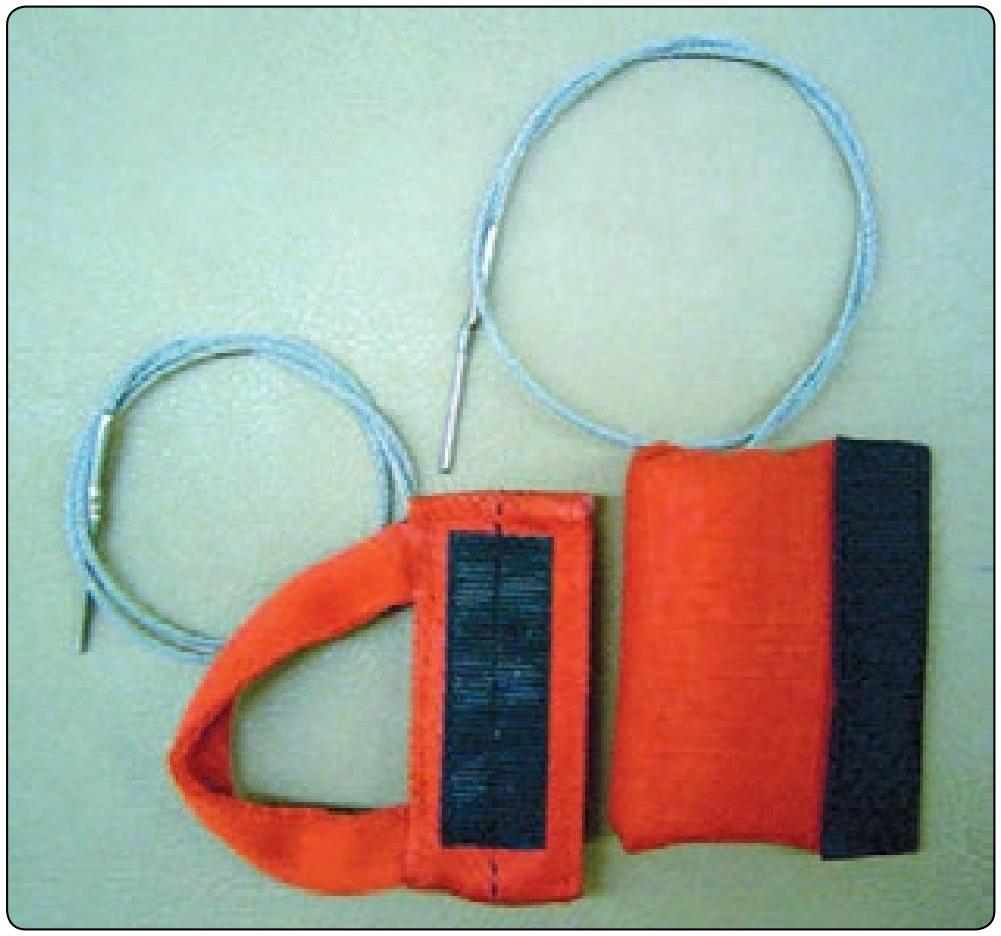
[Figure 5-30] It is important that the rigger check these handles for proper markings and fit to the assembly. Make sure that there is sufficient slack in the cable to allow no loading of the pin in any attitude or position that the wearer may conceivably get into. Most, if not all of these style handles, utilize Velcro® to secure them to the harness. Make sure the Velcro® is in good condition for holding ability but not so much as to inhibit the pull force.
Remember, while both the pilot emergency parachute and sport piggyback assemblies share many areas in common, each has peculiar requirements for its use. It is important for the rigger to recognize these and handle each system accordingly.
Rigging and Repairs
When the entire assembly inspection is complete, the rigger has a list of the discrepancies found during the procedure. At this point, a determination must be made on how to remedy these defects. For senior riggers, certain remedial action may be outside the scope of their certificate. If so, those riggers need to find an appropriately certificated and rated rigger to do the work or return the parachute to the manufacturer for repair. In the case of major canopy or harness work, this may be the best solution regardless.
Aside from the qualification limitations of the rigger, the manufacturer may be better equipped to perform major repair or overhaul. They have the original patterns, templates, and design data, as well as the certified materials. In addition, their labor rate is probably less than what the rigger may charge the customer, particularly if he or she has not done this repair before. The factory has the experience and practice that results in the repair looking just like new. While some riggers may look at any given project with anticipation, they also need to look at what is best for the customer.
Many times, the master rigger has a repair facility and stocks it with the necessary materials. In most cases, these materials come from sources with no traceability as to their origin. The manufacturer is required to use only those materials that have been tested, certified, and approved to meet the standards of their quality control system under the TSO system. During one recent routine inspection and repack, the rigger found severe failure of the harness stitching at the main lift web/leg strap junction. Upon further examination, it was determined that the thread used to sew the harness was not nylon. The harness was returned to the manufacturer, who then determined that the thread was indeed cotton and not the required nylon. The thread broke at approximately 10 pounds versus 45 pounds for 5-cord nylon. Further investigation revealed that the harness was originally manufactured with a harness size three inches shorter. There were telltale marks left from where the original harness was stitched. This modification was evidently performed by someone who either was not qualified to perform the work or had gotten a batch of the wrong thread by mistake and did not recognize the difference. Attempts to find out who did the alteration were unsuccessful. The manufacturer repaired the harness at no charge and returned it to the customer. To preclude this type of problem, many professional riggers and lofts establish good working relationships with the manufacturers and procure certain materials from them. They keep these marked and in a separate area and use them only on the appropriate projects.
Another area of concern is a master rigger who does major alterations without proper approval of the manufacturer. The rigger may do major repairs to return the assembly to its original condition without further authorization of the Administrator or manufacturer, but alterations are another story. Title 14 CFR part 65, section 65.129(e), states that “No certificated parachute rigger may pack, maintain, or alter a parachute in any manner that deviates from the procedures approved by the Administrator or the manufacturer of the parachute.” There are a number of common alterations seen in the field. Among them are: harness re-sizing, AAD installations, RSL retrofits, chest strap relocation, and others. The manufacturer’s approval can vary from a verbal message over the phone to a formal engineering procedure complete with drawings and specifications. If the work is done correctly, the truth probably lies somewhere in the middle. If riggers want to ensure they are following code, they should obtain some form of written approval from the manufacturer in whatever form they provide.
The bottom line is that the purpose of the system is to provide an infrastructure that ensures the safety of the public. Professional riggers strive to do the right thing both morally and legally.
Packing
Packing is the heart of the rigging profession. Once riggers satisfy all the necessary inspection requirements, they may then proceed with the packing process. This section describes a generic round parachute packing method into a modern back-type pilot emergency system. The steps for doing this are common to most parachutes of similar types. Once the basics are mastered, it is a simple matter of following the manufacturer’s instructions for other makes and models.
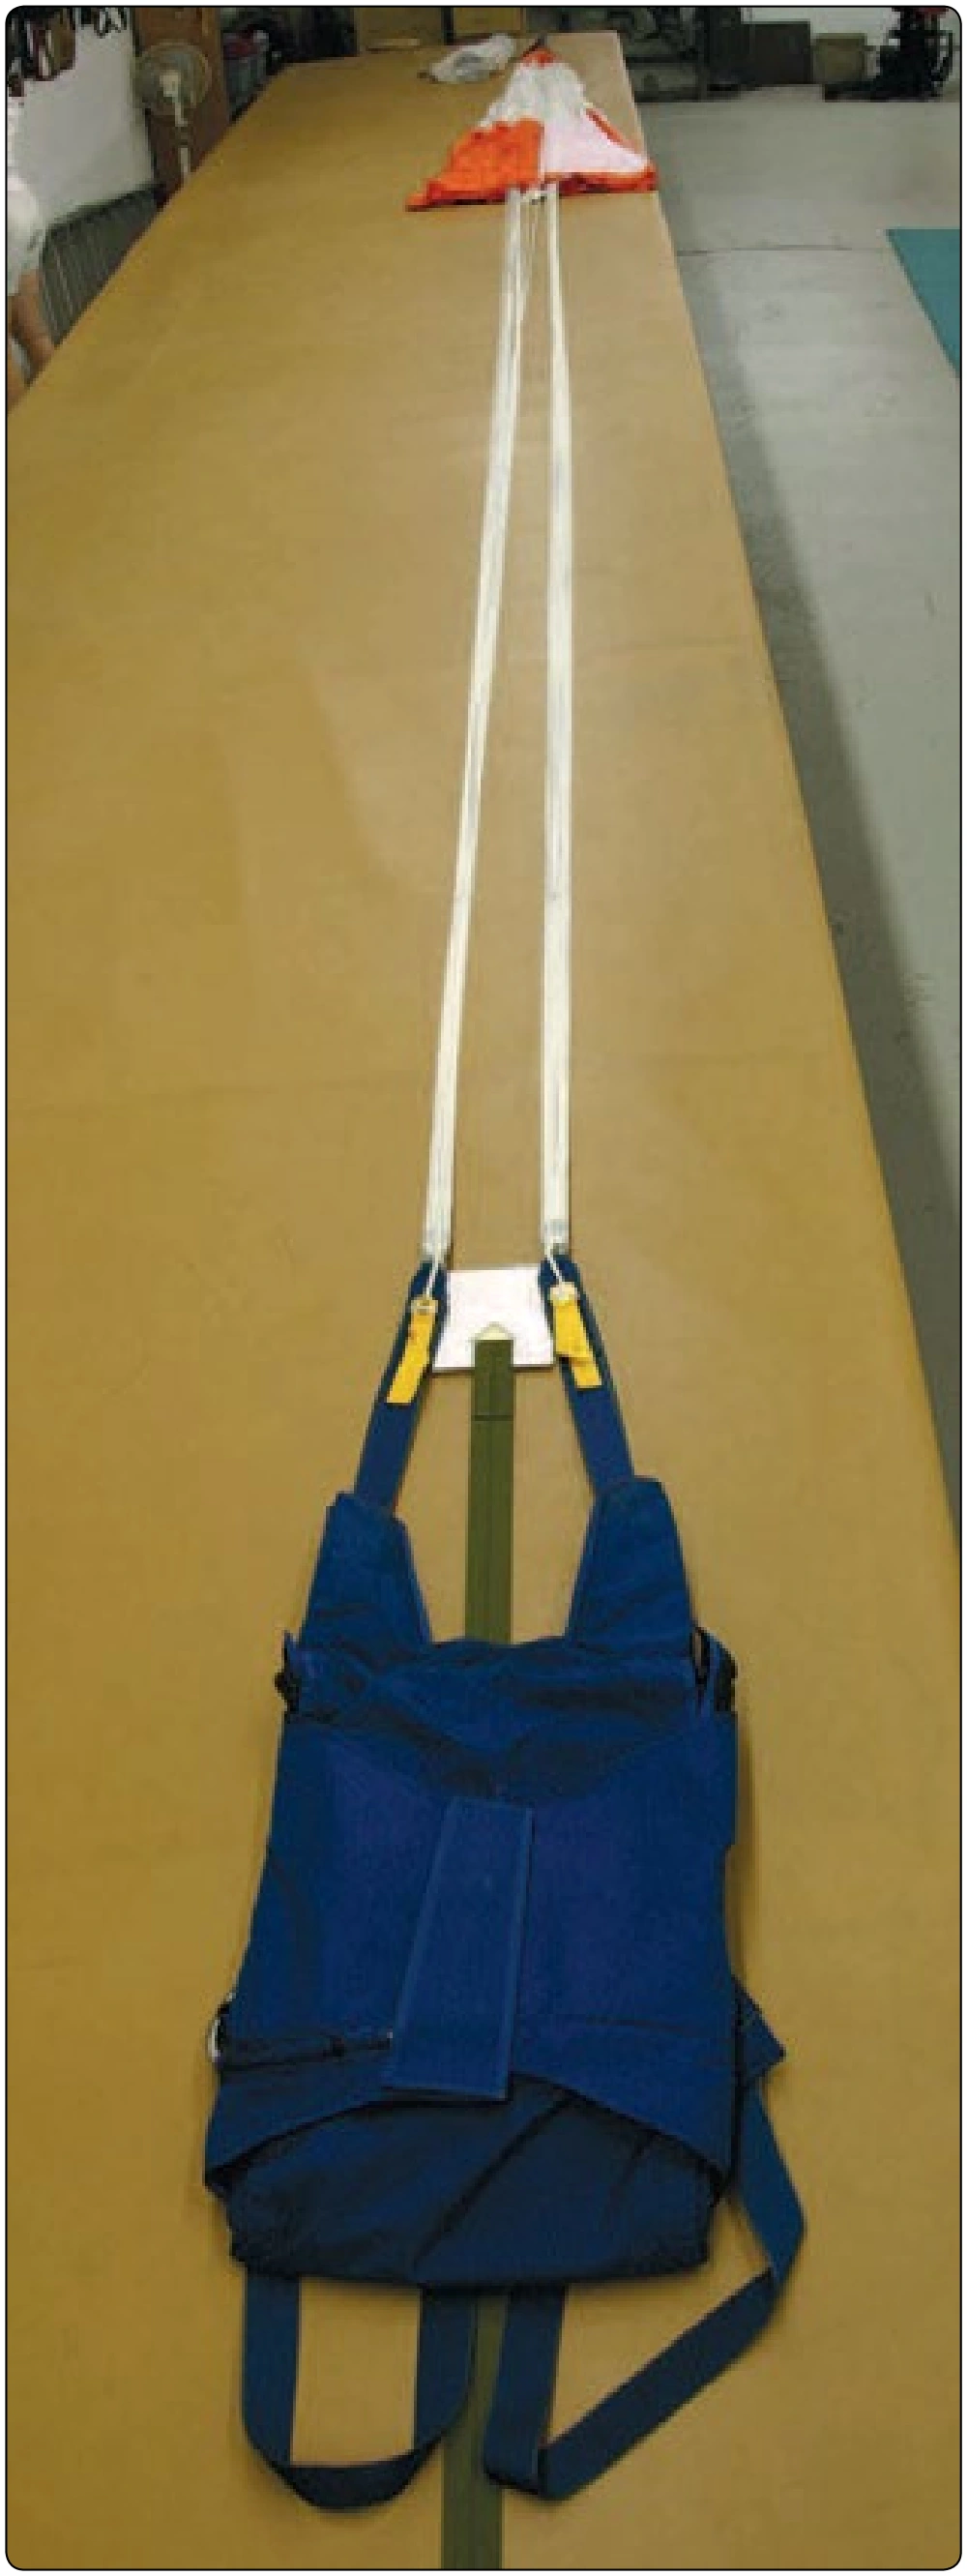
Round Canopy into a Pilot Emergency Parachute System
The steps for packing this type of parachute are broken down into the following sections:
- Layout
- Flaking and pleating the canopy
- Folding the skirt and the long fold
- Closing the diaper and stowing the lines
- Skirt or diaper placement
- Accordion fold of the canopy into the container
- Closing the container
Before beginning, the rigger must have the necessary tools to pack the parachute. The packing manual includes a list of tools necessary for the procedure. Figure 5-31 shows the recommended tools needed to pack the parachute described in this section. Do not forget to count your tools before beginning.