Chapter 5
Inspection and Packing
Layout
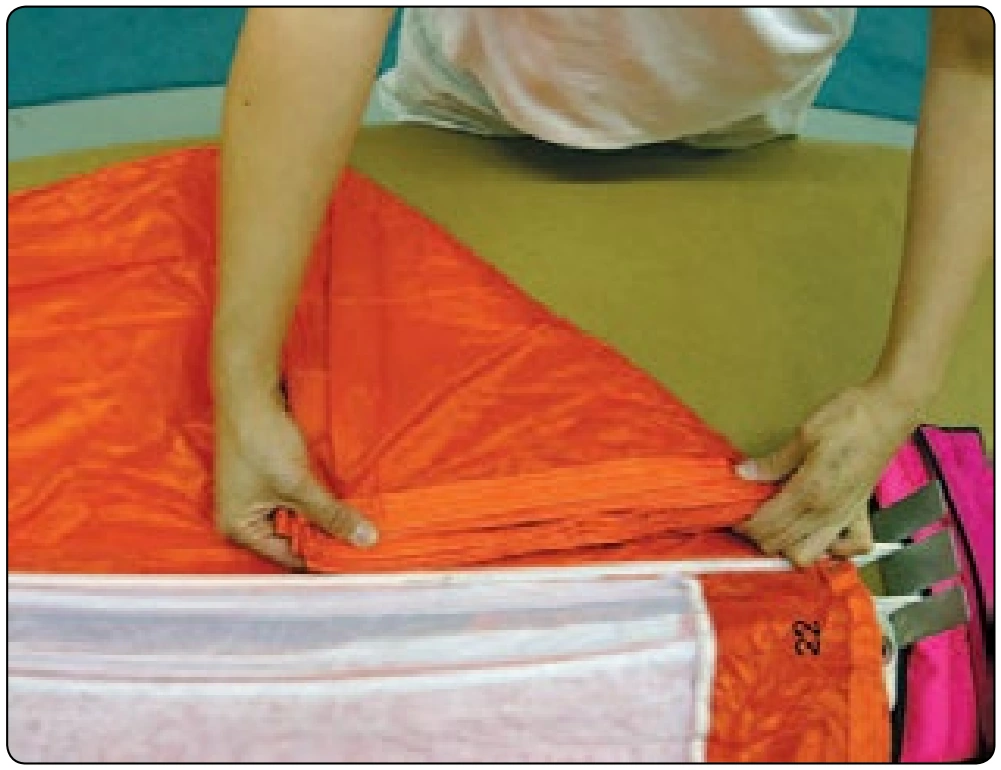
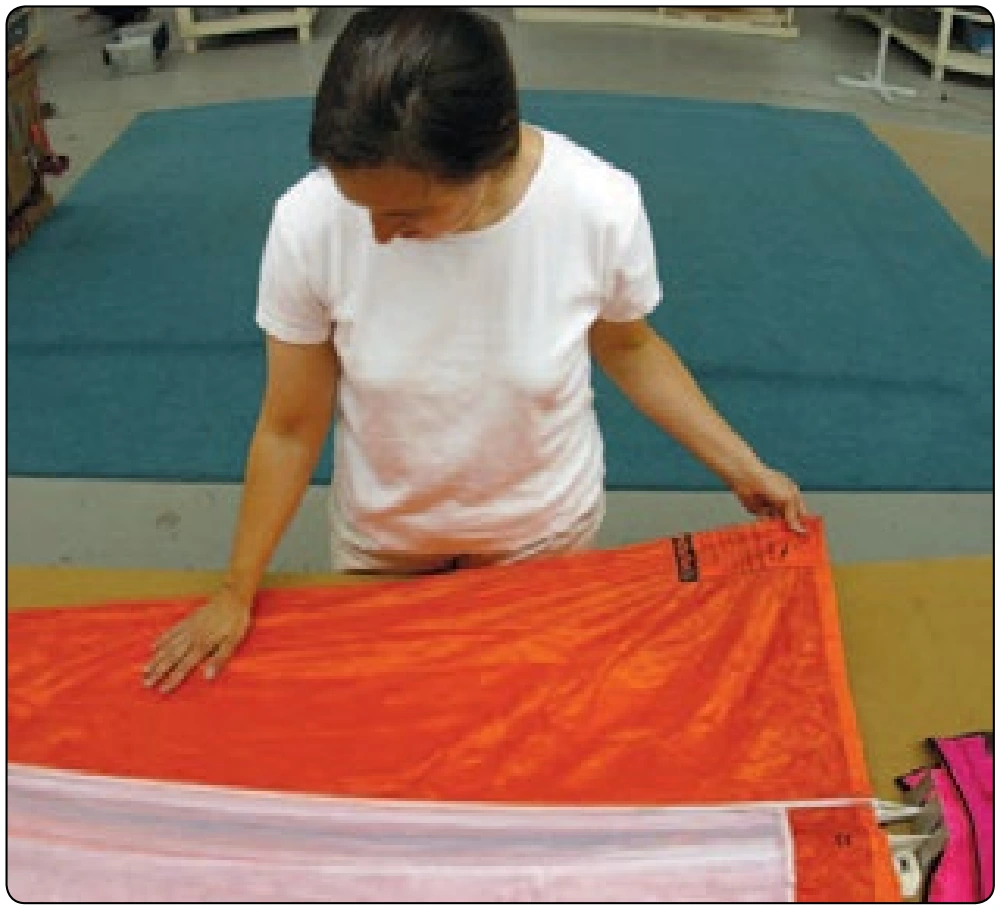
- The parachute must be positioned on the table face down with the wearer’s head toward the canopy. The rear of the canopy faces up. Normally the data panel is on the middle gore that faces up. [Figure 5-32]
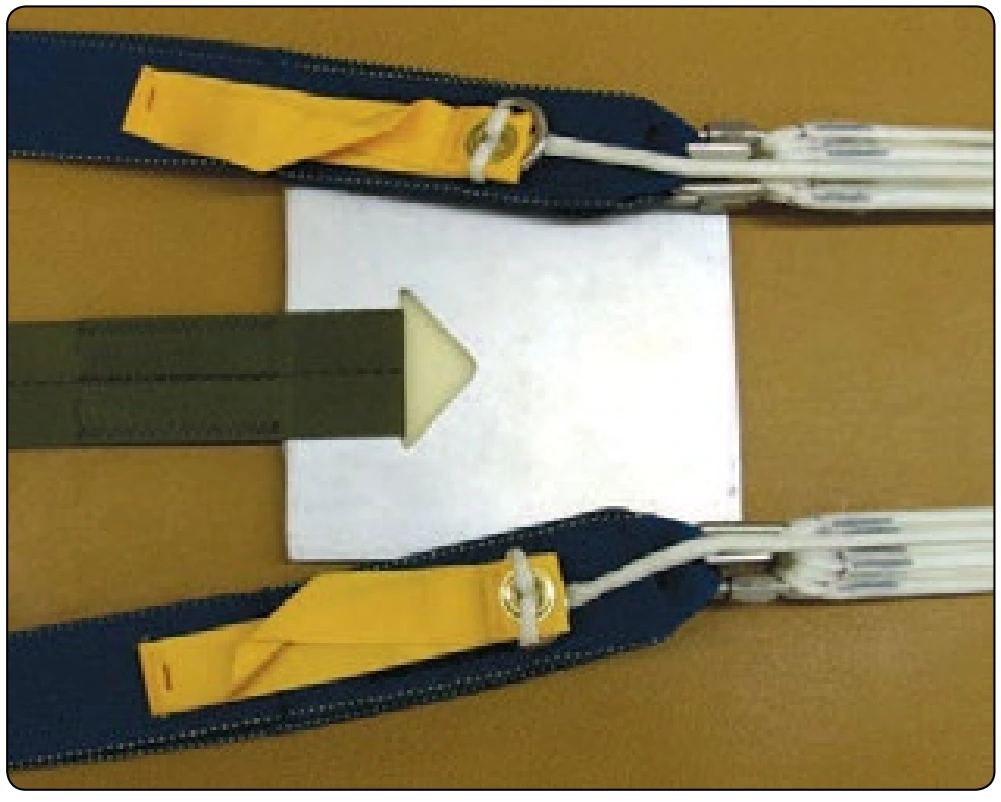
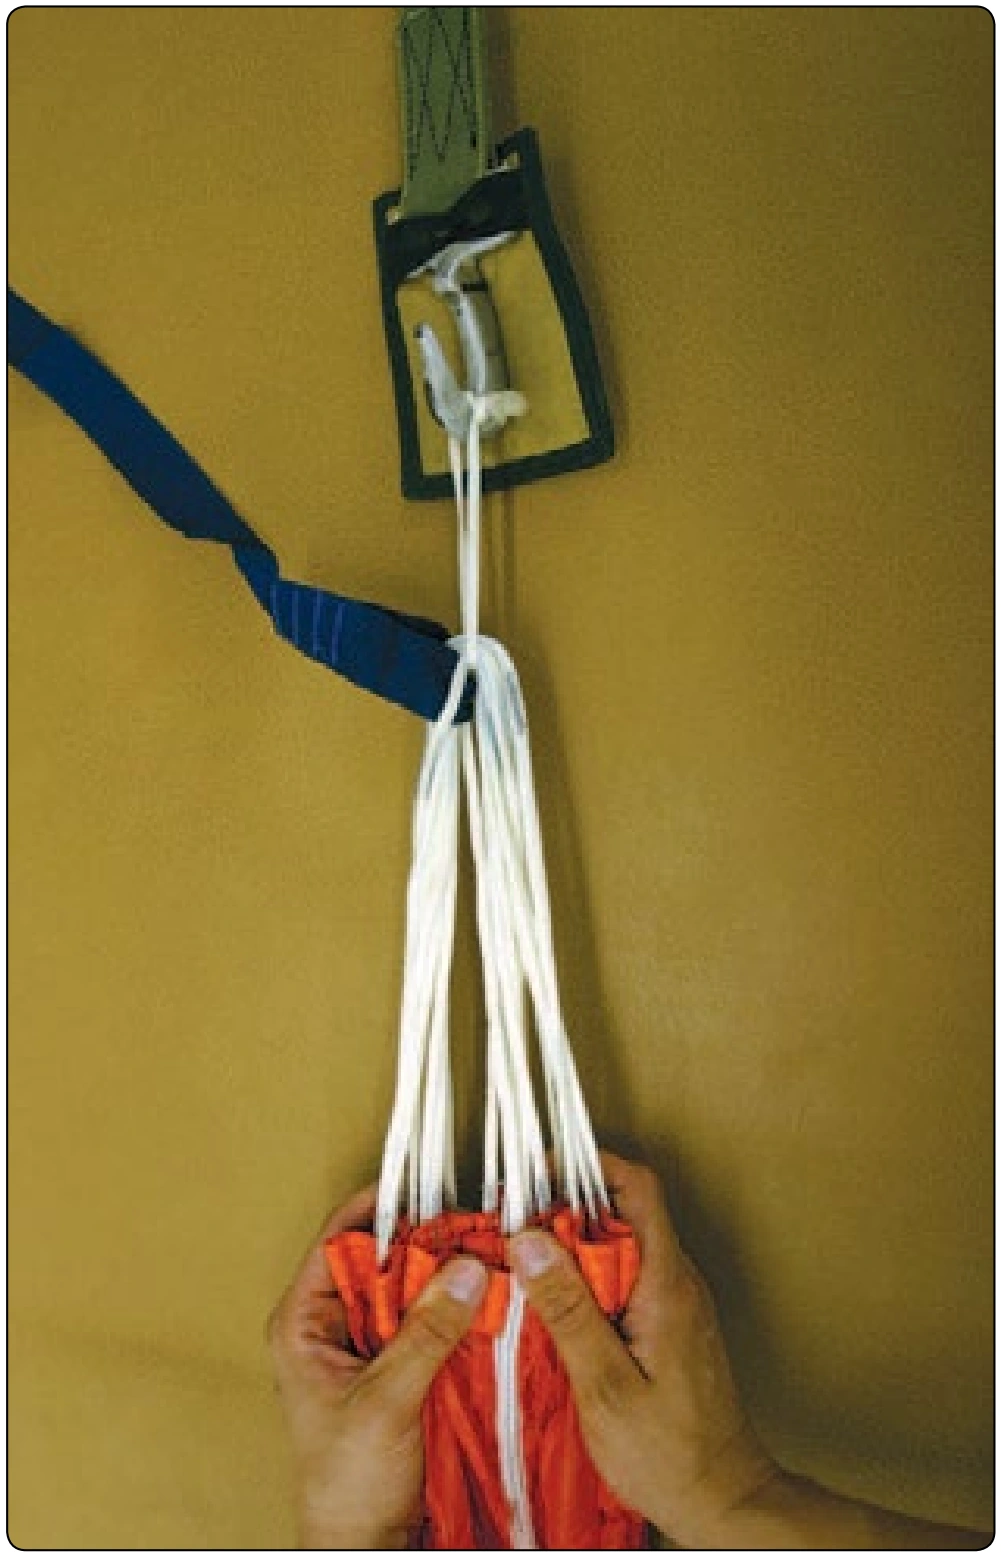
- Attach the canopy tension loop to the upper table tension device, then attach the connector links or risers to a tension board or similar device at the bottom of the table. [Figure 5-33] Be sure to apply light tension.
- Straighten the apex of the canopy making sure the lower lateral band or skirt is somewhat even. [Figure 5-34] Apply additional tension to the canopy and lines.
Pleating the Canopy
- Flake the canopy in the normal manner with an equal number of gores to each side. Figures 5-35 through 5-41 show the proper technique.
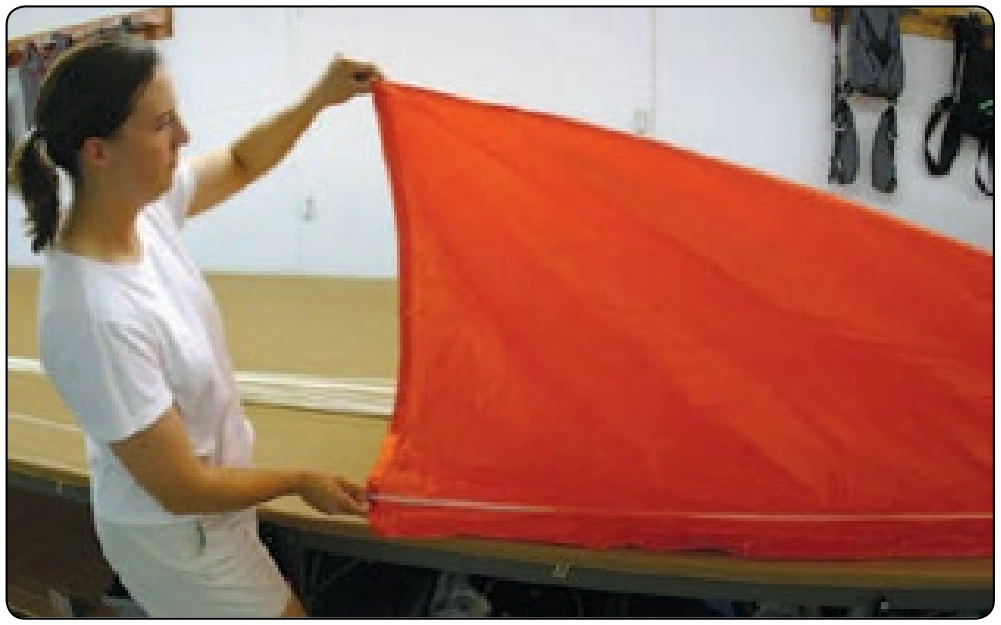
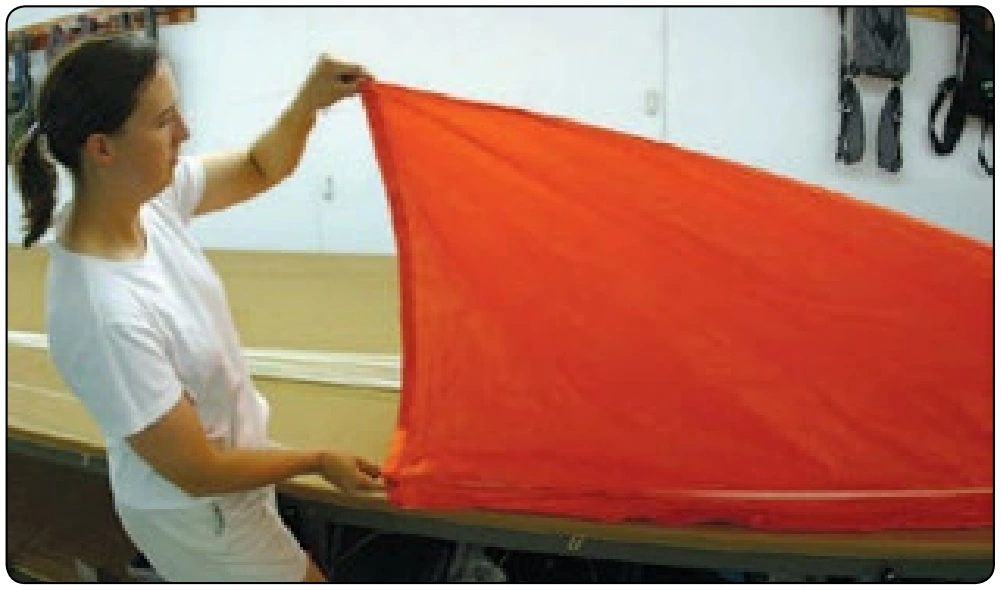
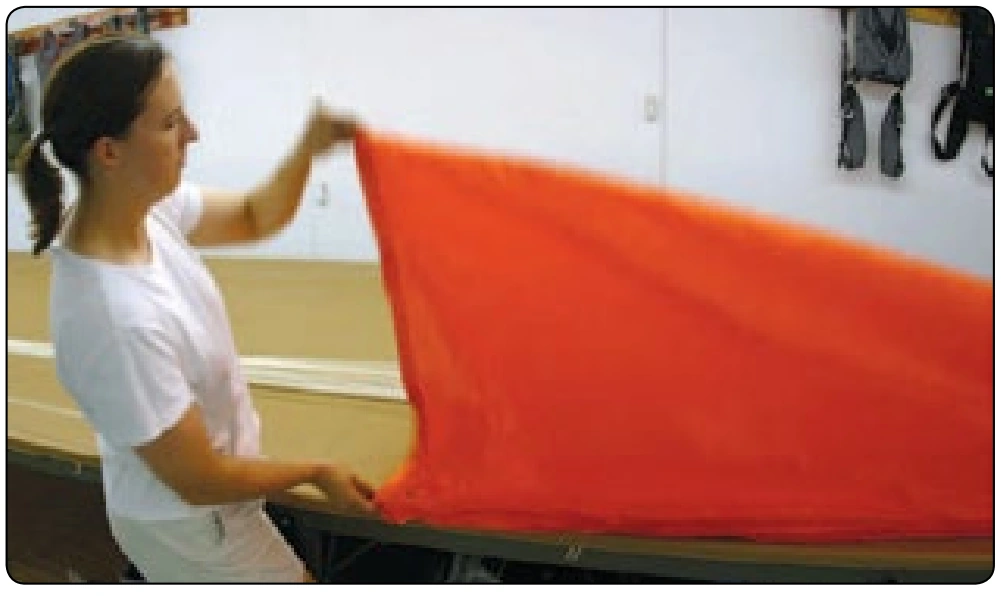
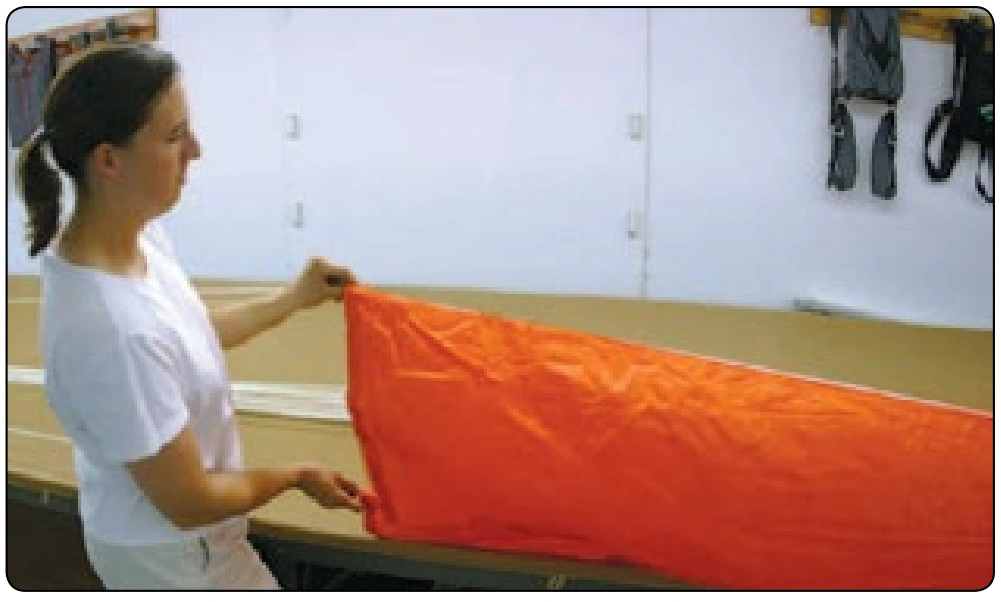
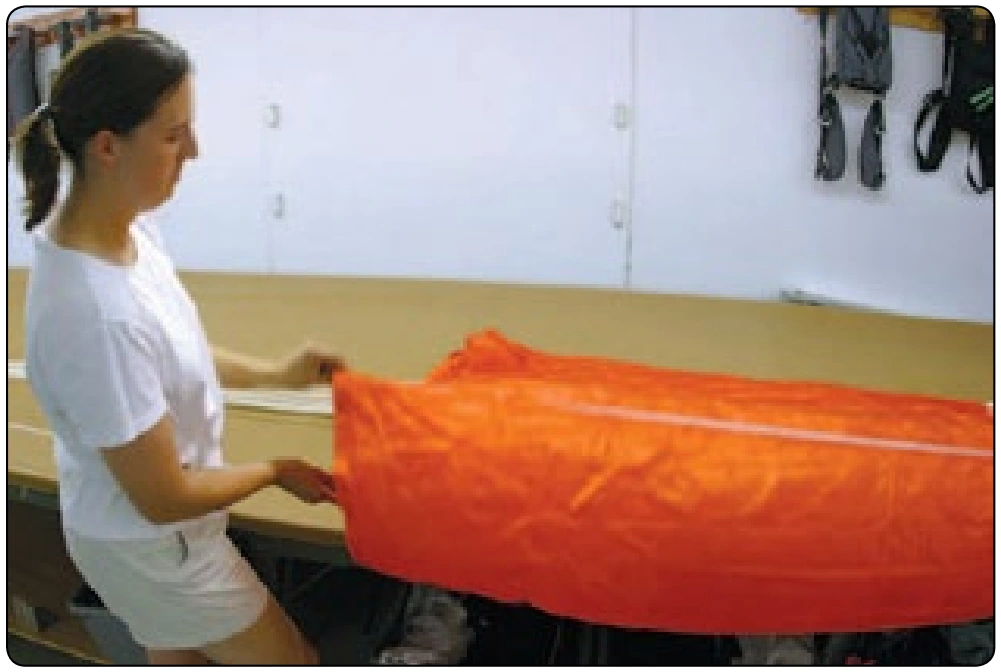
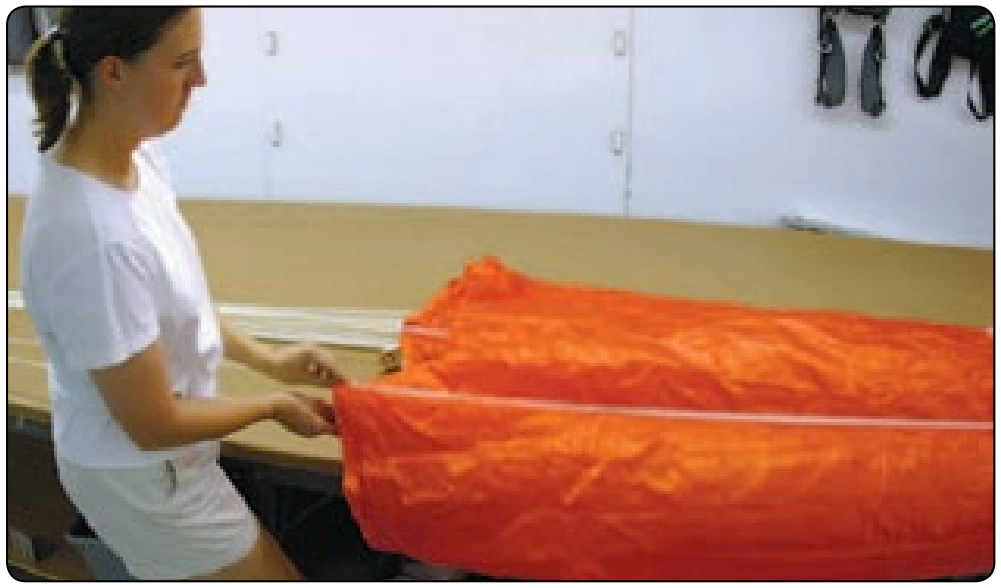
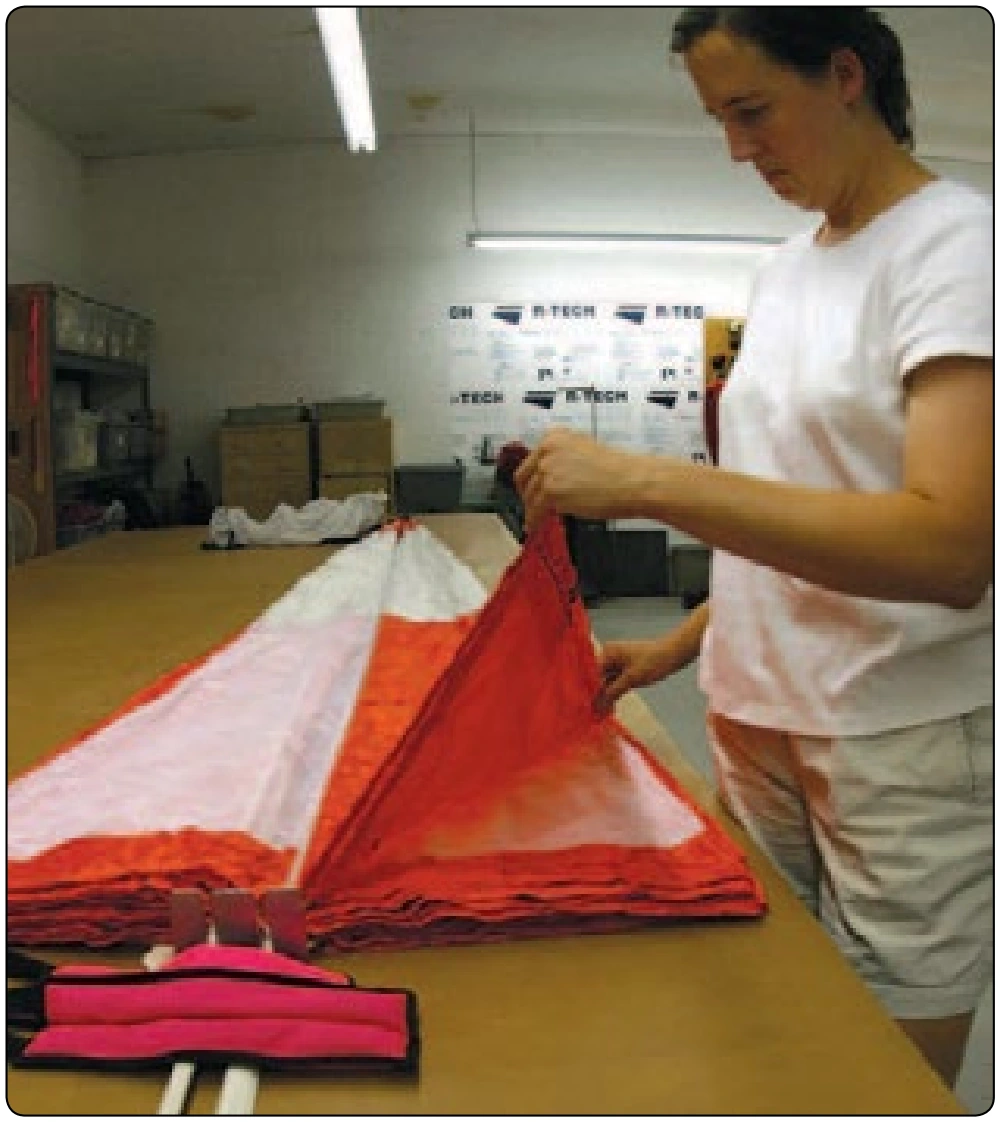
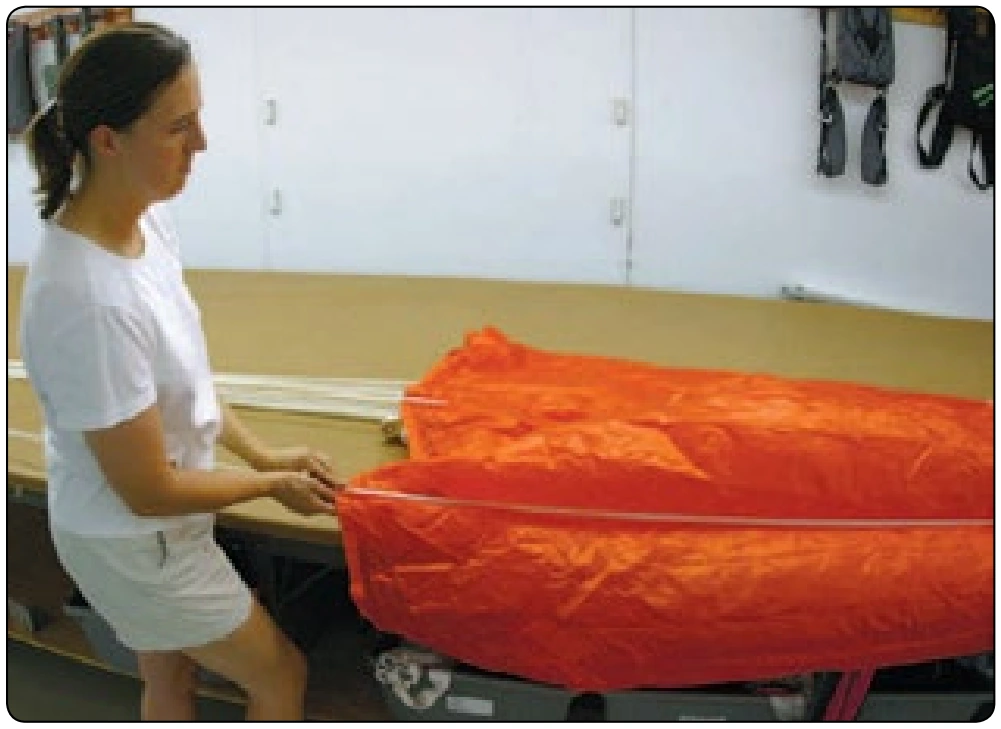
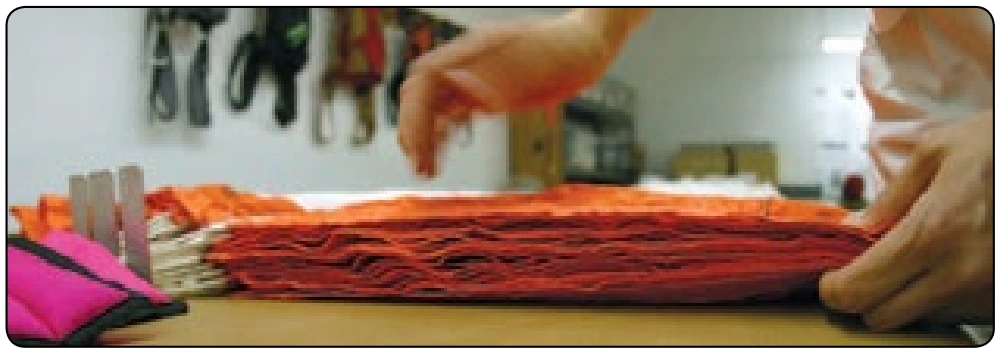
- Pleat the canopy with an equal number of gores to each side. Make sure the canopy skirt is even. [Figures 5-42 through 5-44]
Fold the Skirt
- Fold the skirt so it is parallel to the radial seams. [Figure 5-45]