
Chapter 13
Aircraft Landing Gear Systems
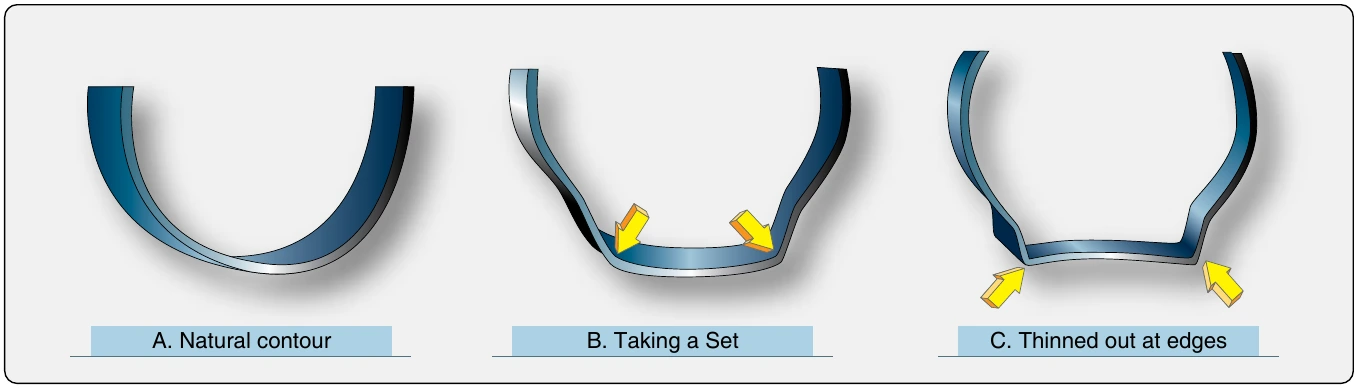
If an area of a tube experiences chafing to the point where the rubber is thinned, the tube should be discarded. The inside diameter of the tube should be inspected to ensure it has not been worn by contact with the toe of the tire bead. Tubes that have taken an unnatural set should be discarded. [Figure 13-153]
Tire Inspection
It is important to inspect the inside of a tube-type tire before installing a tube for service. Any protrusions or rough areas should be cause for concern, as these tend to abrade the tube and may cause early failure. Follow the tire, tube, and aircraft manufacturer’s inspection criterion when inspecting aircraft tires and tubes.
Tire Mounting
A licensed technician is often called upon to mount an aircraft tire onto the wheel rim in preparation for service. In the case of a tube-type tire, the tube must also be mounted. The following section presents general procedures for these operations using tube-type and tubeless tires. Be sure to have the proper equipment and training to perform the work according to manufacturer’s instructions.
Tubeless Tires
Aircraft tire and wheel assemblies are subject to enormous stress while in service. Proper mounting ensures tires perform to the limits of their design. Consult and follow all manufacturer’s service information including bolt torques, lubrication and balancing requirements, and inflation procedures.
As mentioned, a wheel assembly that is to have a tire mounted upon it must be thoroughly inspected to ensure it is serviceable. Pay close attention to the bead seat area, which should be smooth and free from defects. The wheel half mating surface should be in good condition. The O-ring should be lubricated and in good condition to ensure it seals the wheel for the entire life of the tire. Follow the manufacturer’s instructions when inspecting wheels and the tips provided earlier in this chapter. [Figure 13-154]
A final inspection of the tire to be mounted should be made. Most important is to check that the tire is specified for the aircraft application. It should say tubeless on the sidewall. The part number, size, ply rating, speed rating, and technical standard order (TSO) number should also be on the sidewall and be approved for the aircraft installation. Visually check the tire for damage from shipping and handling. There should be no permanent deformation of the tire. It should pass all inspections for cuts and other damage discussed in the previous sections of this chapter. Clean the tire bead area with a clean shop towel and soap and water or denatured alcohol. Inspect the inside of the tire for condition. There should be no debris inside the tire.
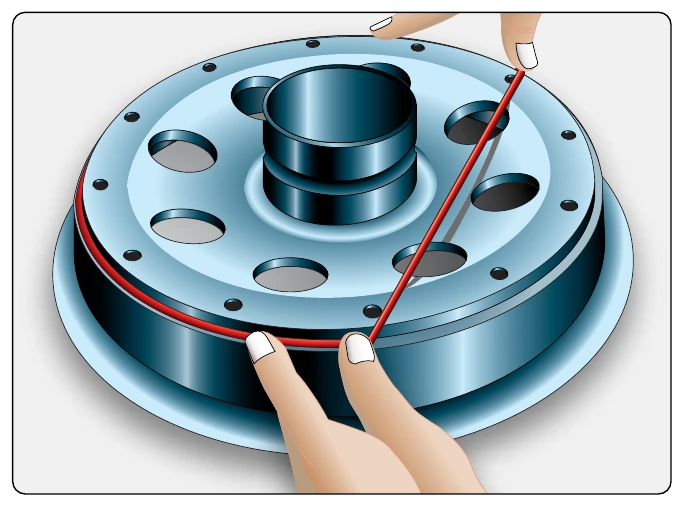
Tire beads are sometimes lubricated when mounted on aluminum wheels. Follow the manufacturer’s instructions and use only the non-hydrocarbon lubricant specified. Never lubricate any tire bead with grease. Do not use lubricants with magnesium alloy wheels. Most radial tires are mounted without lubricant. The airframe manufacturer may specify lubrication for a radial tire in a few cases.
When the wheel halves and tires are ready to be mounted, thought must be given to tire orientation and the balance marks on the wheel halves and tire. Typically, the tire serial number is mounted to the outboard side of the assembly. The marks indicating the light portion of each wheel half should be opposite each other. The mark indicating the heavy spot of the wheel assembly should be mounted aligned with the light spot on the tire, which is indicated by a red mark. If the wheel lacks a mark indicating the heavy spot, align the red spot on the tire (the light point) with the valve fitting location on the wheel. A properly balanced tire and wheel assembly improves the overall performance of the tire. It promotes smooth operation free from vibration, which results in uniform tread wear and extended tire life.
When assembling the wheel halves, follow manufacturer’s instructions for tie bolt tightening sequences and torque specification. Anti-seize lubricants and wet-torque values are common on wheel assemblies. Use a calibrated hand torque wrench. Never use an impact wrench on an aircraft tire assembly.
For the initial inflation of an aircraft tire and wheel assembly, the tire must be placed in a tire inflation safety cage and treated as though it may explode due to wheel or tire failure. The inflation hose should be attached to the tire valve stem, and inflation pressure should be regulated from a safe distance away. A minimum of 30 feet is recommended. Air or nitrogen should be introduced gradually as specified. Dry nitrogen keeps the introduction of water into the tire to a minimum, which helps prevent corrosion. Observe the tire seating progress on the wheel rim while it inflates. Depressurize the tire before approaching it to investigate any observed issue. [Figure 13-155]
Aircraft tires are typically inflated to their full specified operating pressure. Then, they are allowed to remain with no load applied for 12-hours. During this time, the tire stretches, and tire pressure decreases. A 5-10 percent reduction is normal. Upon bringing the tire up to full pressure again, less than 5 percent loss per day of pressure is allowable. More should be investigated.
Tube-Type Tires
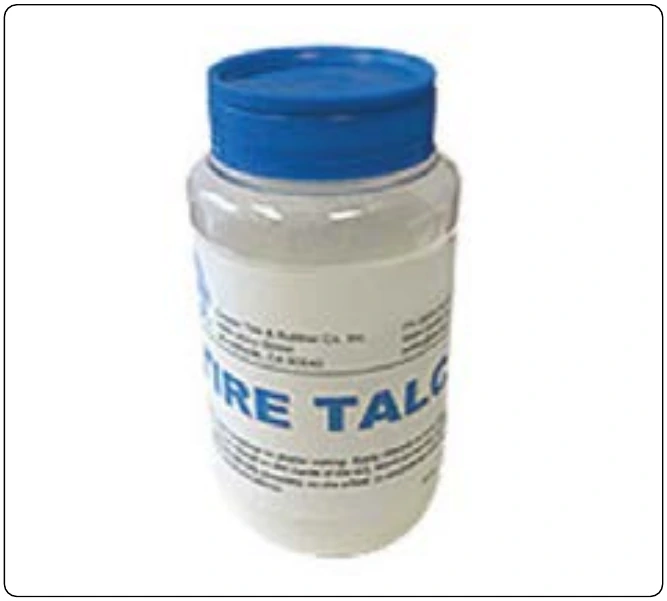
Wheel and tire inspection should precede the mounting of any tire, including tube-type tires. The tube to be installed must also pass inspection and must be the correct size for the tire and tire must be specified for the aircraft. Tire talc is commonly used when installing tube-type tires to ensure easy mounting and free movement between the tube and tire as they inflate. [Figure 13-156] The technician should lightly talc the inside of the tire and the outside of the tube. Some tubes come from the factory with a light talc coating over the outside of the tube. Inflate the tube so that it just takes shape with minimal pressure. Install the tube inside the tire. Tubes are typically produced with a mark at the heavy spot of the tube. In the absence of this balance mark, it is assumed that the valve is located at the heaviest part of the tube. For proper balance, align the heavy part of the tube with the red mark on the tire (the light spot on the tire). [Figure 13-157]
Once wheel balance is marked and the tube balance mark and the tire balance mark are all positioned correctly, install the outboard wheel half so the valve stem of the tube passes through the valve stem opening. [Figure 13-158] Mate the inboard wheel half to it, being careful not to pinch the tube between the wheel rims. Install the tie bolts, tighten, and torque as specified. Inflate the assembly in a tire inflation cage.