
Chapter 5
Inspection and Packing
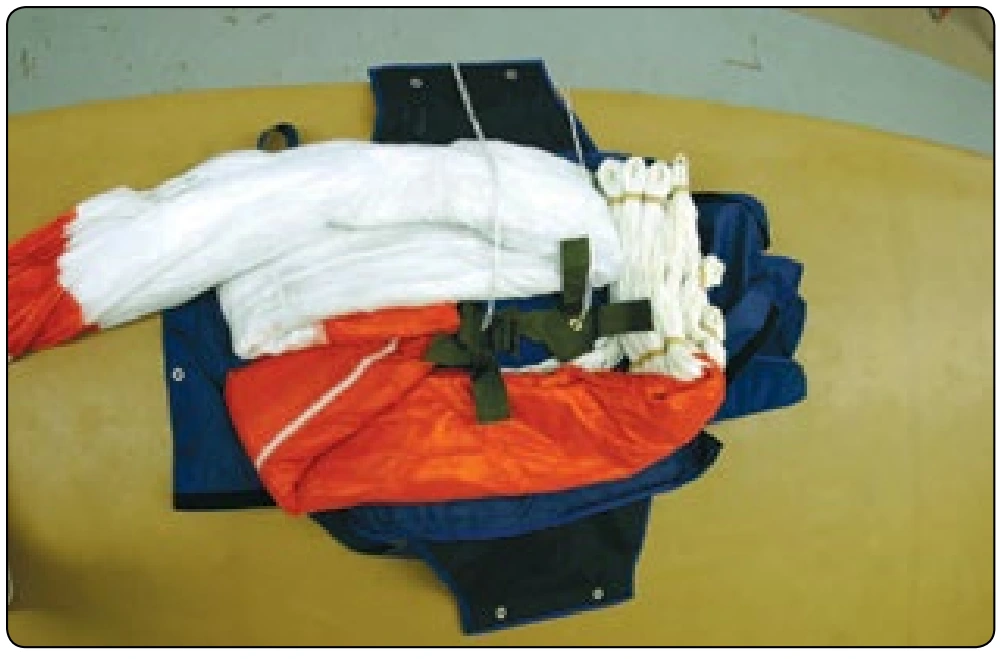
- Lay the remainder of the canopy and apex across the middle of the container and fold in an appropriate manner to fill the empty area of the container on the pack tray stiffener below the diaper. [Figure 5-58]
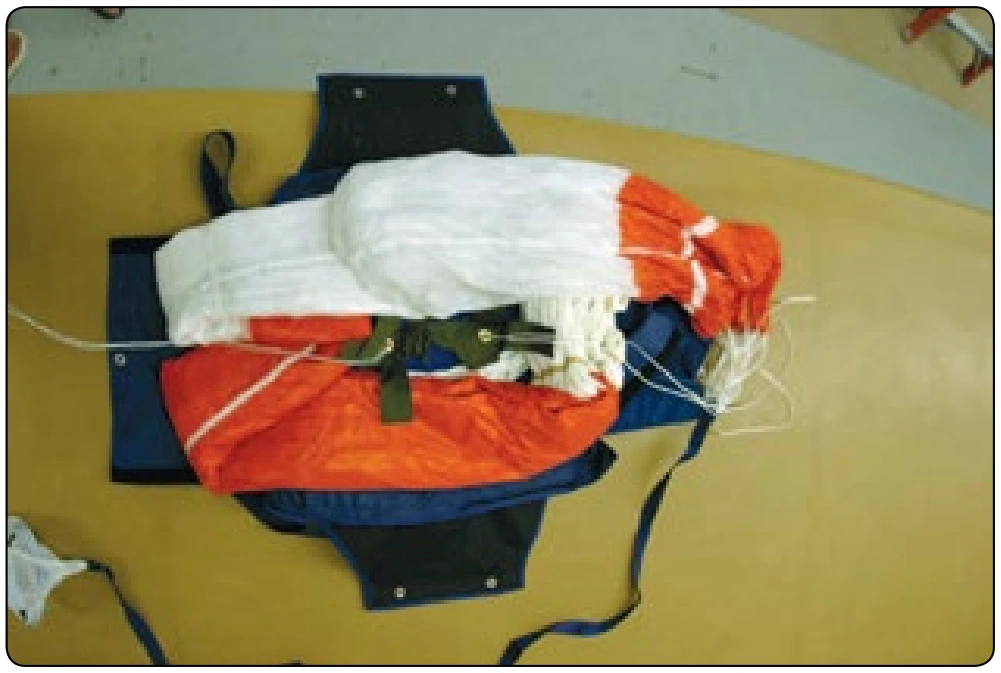
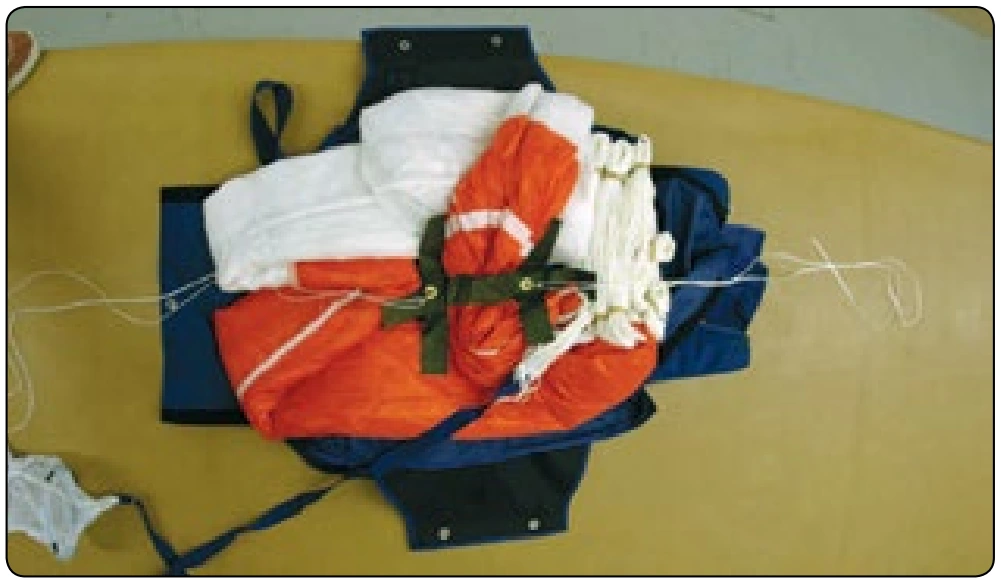
Closing the Container
- Close the bottom flap of the container first, threading the pull-up cord through the grommet at the upper end of the bottom flap. Place the canopy protector flaps into position as shown in Figure 5-59.
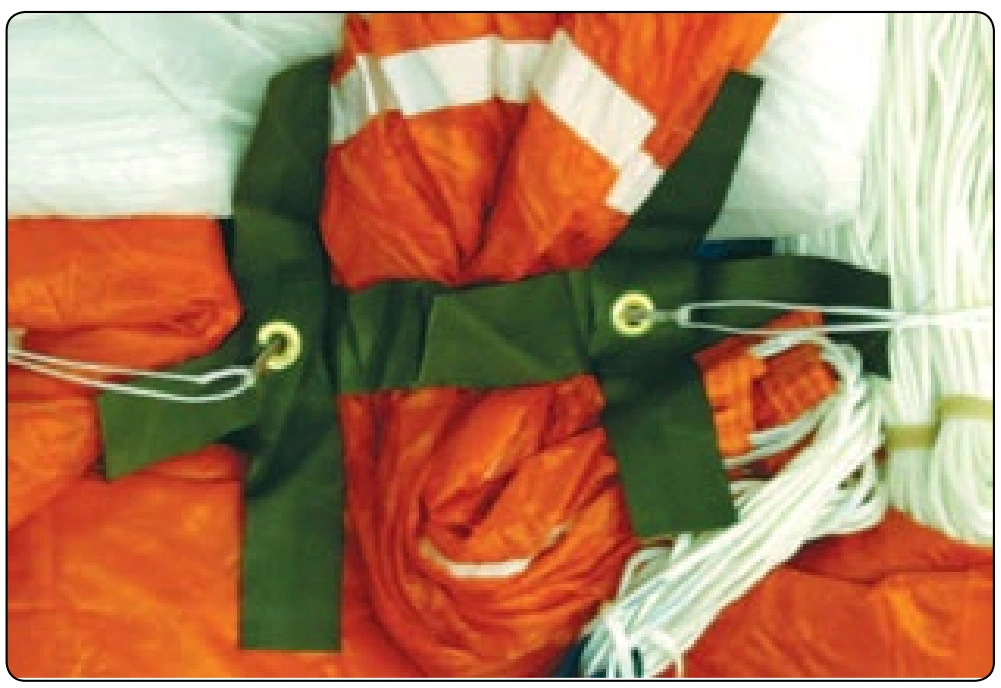
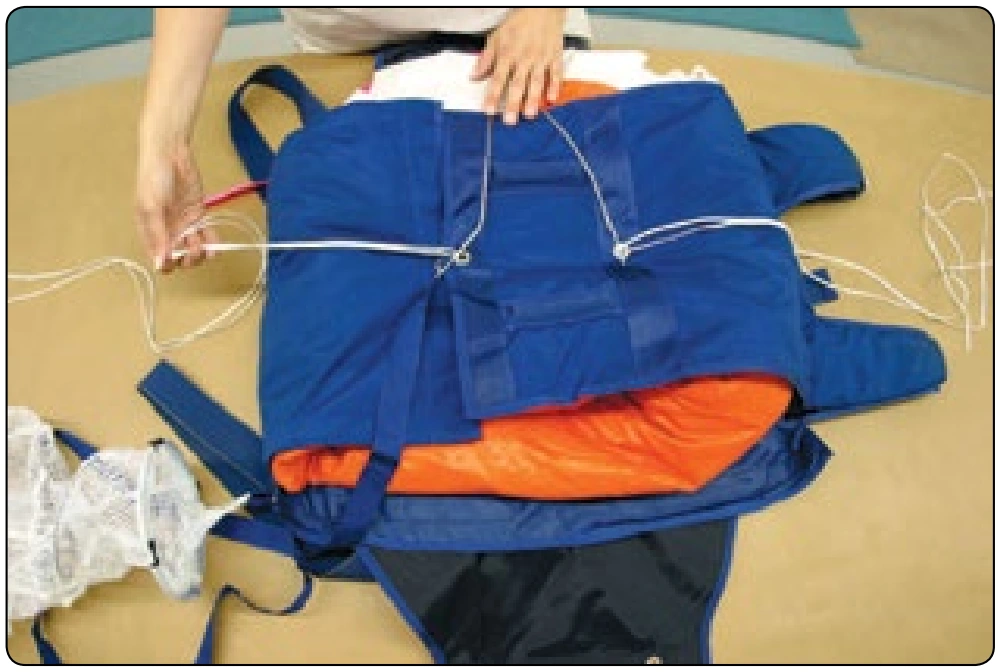
- Close the top flap, being sure to push the canopy and diaper into the corners of the container while closing. Thread the upper pull-up cord through the upper grommet on the top flap.
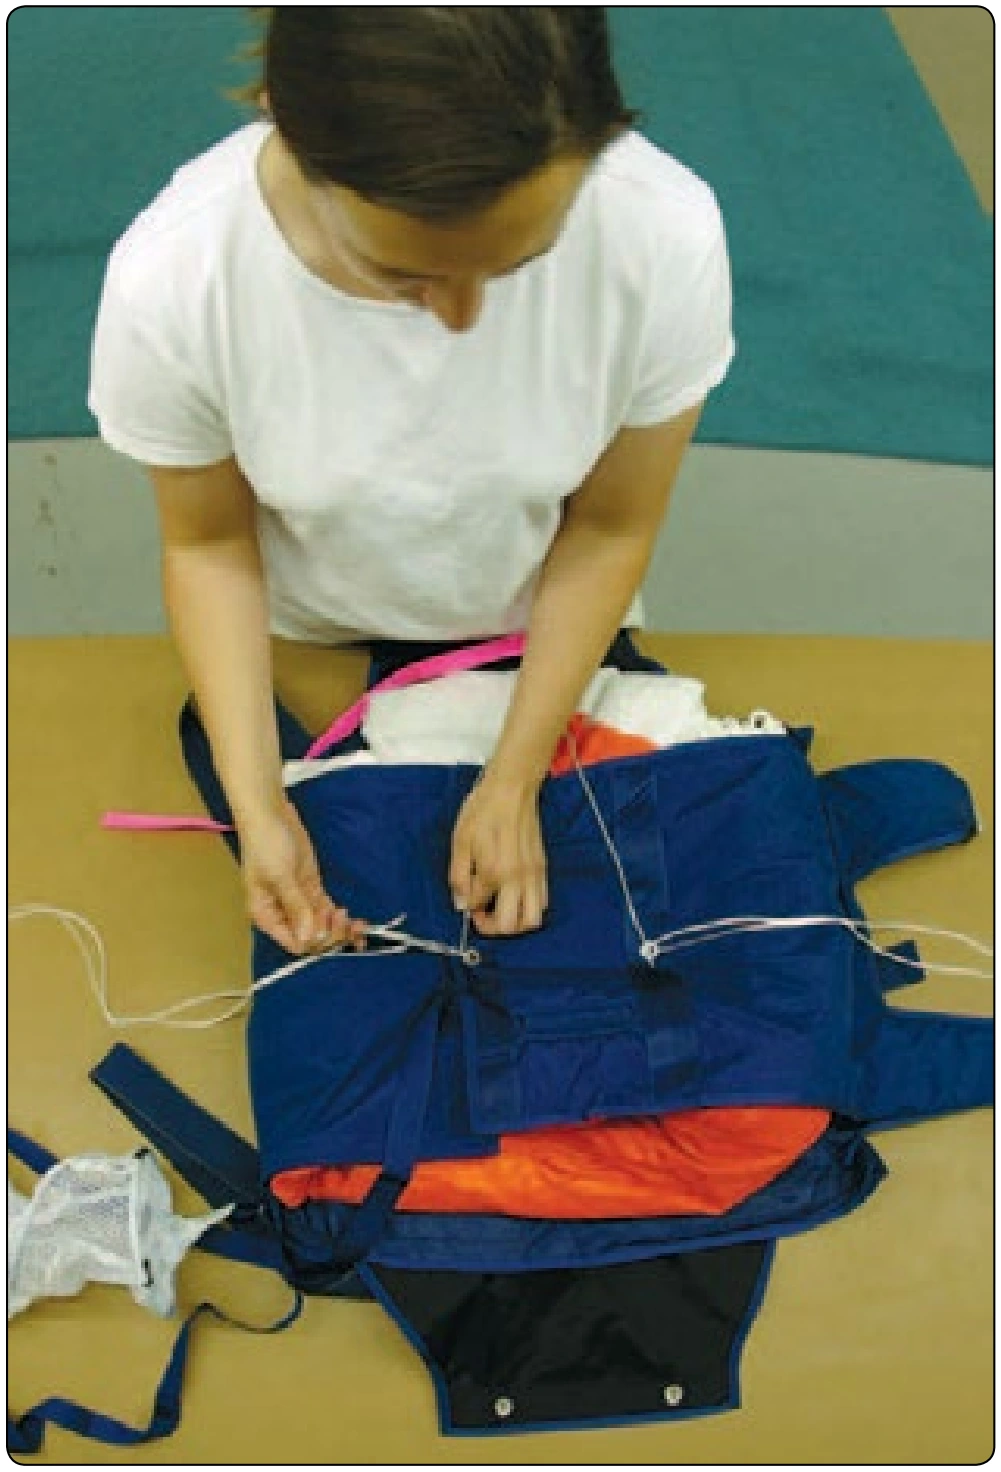
- Thread the lower pull-up cord through the lower grommet on the top flap making sure the canopy protector flaps are in position. [Figure 5-60] Pull the lower pull-up cord through both grommets until the closing loop appears and install a temporary pin.
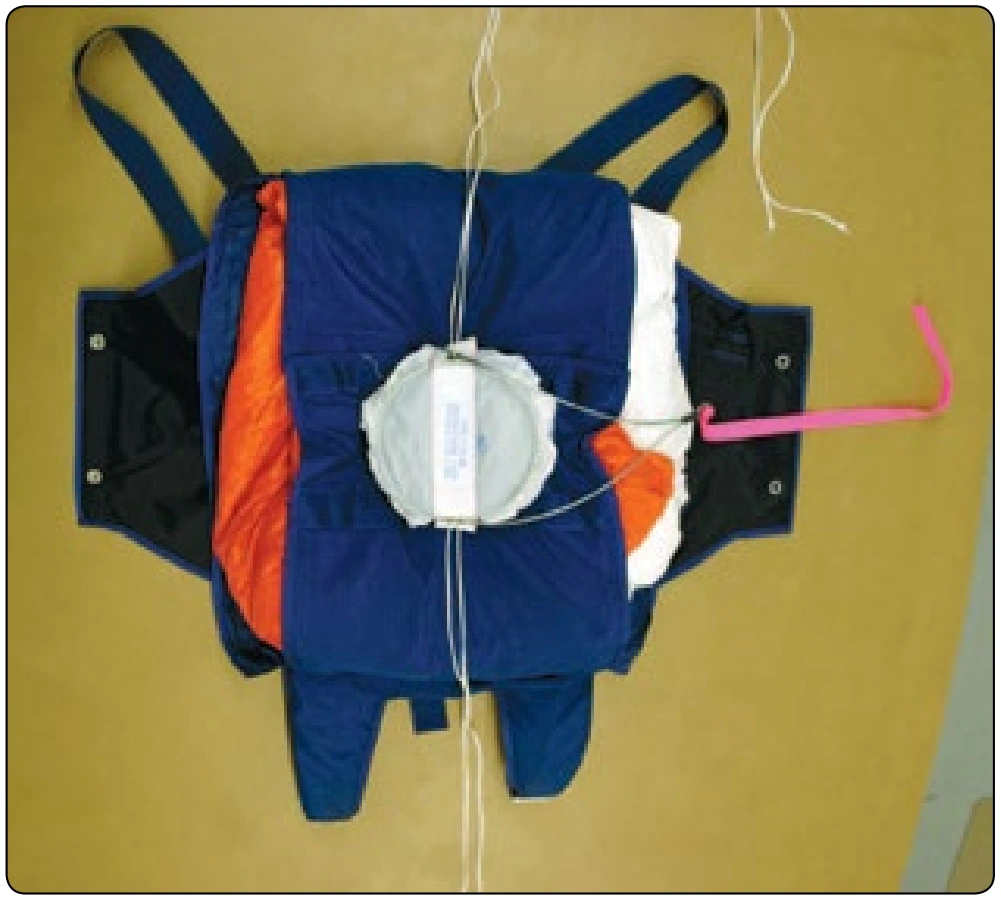
- Pull the upper pull-up cord through the grommet until the upper closing loop appears and install a temporary pin. [Figure 5-61]
- Compress the pilot chute between the rubber bumpers and make sure the pilot chute canopy fabric is tucked into the coils of the spring. Thread the pull-up cords through the grommets in the grommet strap. Removing one temporary pin at a time, pull up the closing loops and secure the pilot chute in place with two temporary pins. [Figure 5-62] Close the Velcro® on the top and bottom flaps.
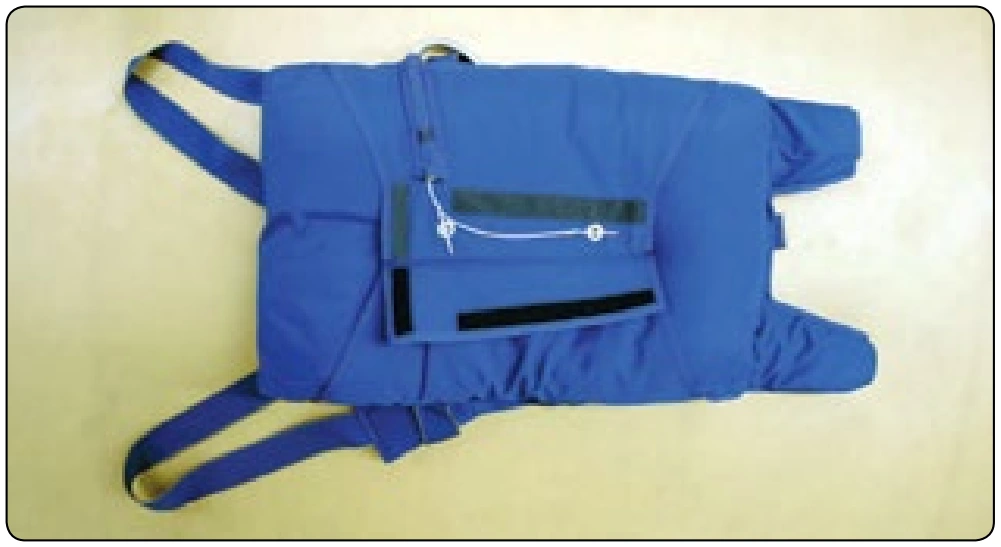
- Close the right side flap. Close the left side flap and install the ripcord pins. [Figure 5-63]
- Seal the last pin according to the manufacturer’s instructions or in an approved manner.
Ripcord Pull Force
The correct packing is the most important aspect of repacking a parachute, but the cosmetic appearance of the container is important as well. This is true both for a pilot emergency and a sport piggyback system. Pilots want their parachute as snug and as flat as possible to keep the parachute comfortable when in use. Skydivers want theirs as snug and streamlined as possible so it stays closed during free fall. The key to these requirements is to make sure the pilot chute is held down securely. To do that, the closing loop needs to be as short as the rigger can make it and still meet the requirements for the maximum pull force. Under the TSO system, the maximum allowable pull force for the ripcord is 22 pounds. Most riggers develop a feel for the closing of the container and the resultant force. However, new riggers need to check their packing technique to measure the pull force, which is done without a seal or thread.
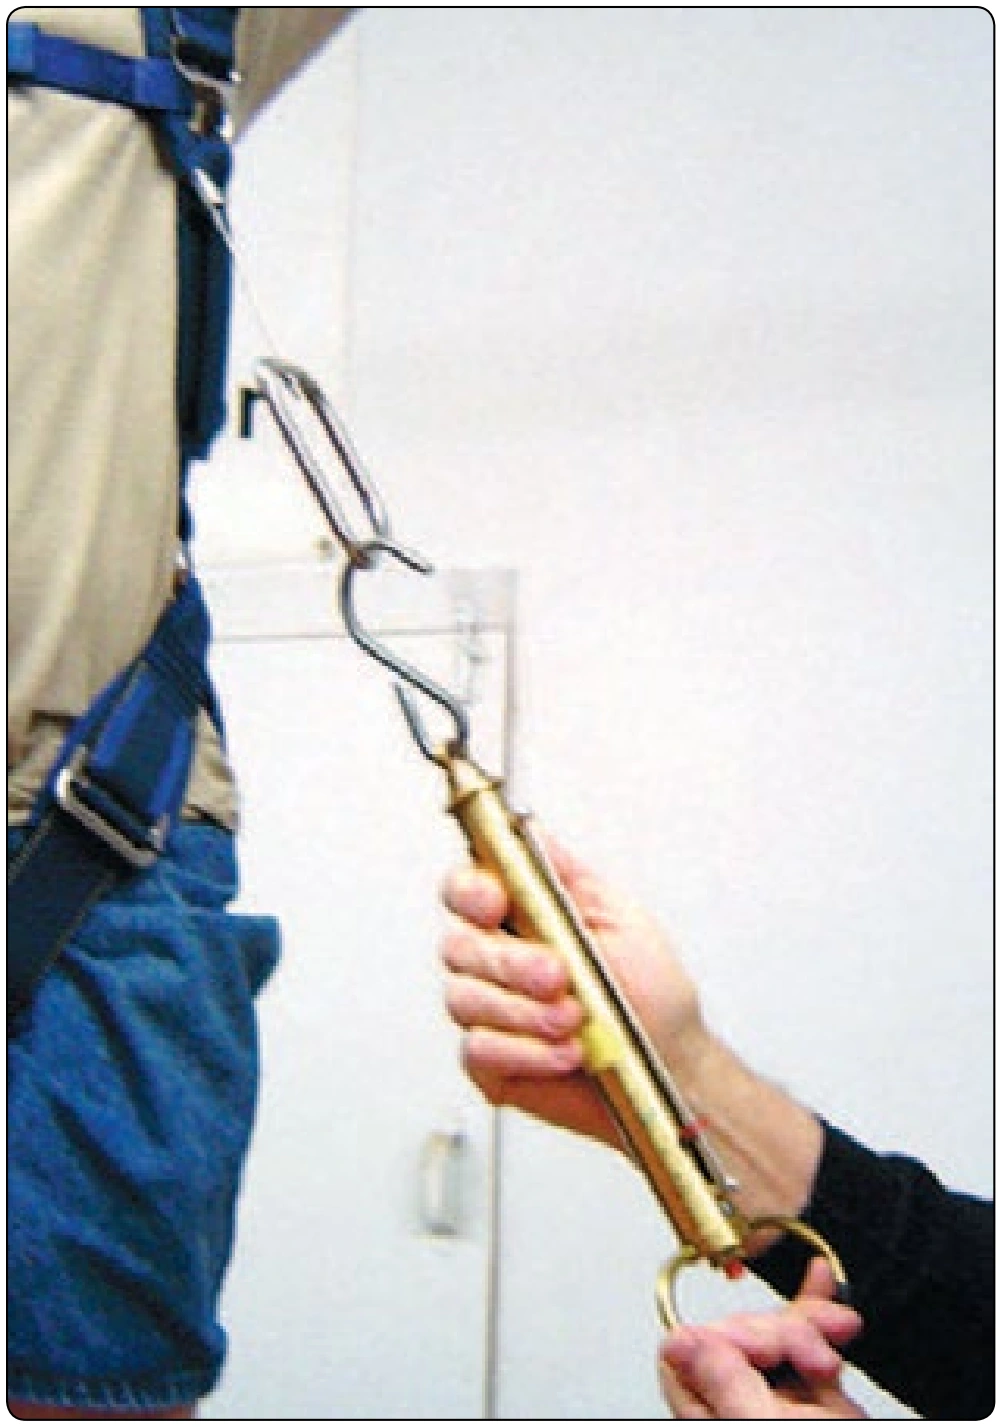
Start by having someone put on the parachute to replicate the real shape and conformity of the parachute system. To pull the ripcord while the parachute is lying on the table is not realistic. The rigger then takes the ripcord handle from the pocket and attaches a calibrated scale to it. [Figure 5-64] Ideally, a recording scale should be used to register the maximum force during the pull. Next, the rigger needs to pull the ripcord in a smooth, quick motion, duplicating the motion of the user and the test requirements of the TSO. Take note of the force required to pull the ripcord pin(s) clear of the locking loop(s) and activate the system. If the force is less than 22 pounds, the rigger can then re-close the container and seal the ripcord. If the force is over 22 pounds, the rigger must make whatever adjustments are needed, such as lengthening the locking loop or re-stowing the canopy, to achieve a pull force below 22 pounds.
Sealing the Parachute
As stated in 14 CFR part 65, section 65.133, “Each certificated parachute rigger must have a seal with an identifying mark prescribed by the Administrator, and a seal press. After packing a parachute, he shall seal the pack with his seal in accordance with the manufacturer’s recommendation for that type of parachute.” Most manuals simply say to “seal the parachute.” The following describes a commonly approved method.
Take a length of seal thread approximately 20 inches long. Fold in half and make two lark’s head knots around the ripcord cable adjacent to the shank of the ripcord pin. [Figure 5-65] Pass one end of the thread through the seal and then under the pin on the opposite side of the locking loop or cone. [Figure 5-66] Bring the end back through the second hole in the seal and tie a knot with the other end of the thread. [Figure 5-67] Leave enough slack in the thread to allow for movement of the pin without breaking the thread. However, make sure the pin cannot be extracted from the locking loop without breaking the thread. Slide the seal over the knot and compress the seal with the seal press. [Figure 5-68] Trim the excess thread.