
Chapter 5
Inspection and Packing
Count all of your tools. Fill in the appropriate information on the packing data card and the rigger’s logbook. Place the data card in the packing data card pocket.
Ram-Air Reserve into a Sport Piggyback System
In the preceding text, the discussion is centered on a parachute system that was already assembled. This next section focuses on the assembly of a ram-air parachute system, the component parts, and the process from the assembly stage through to packing. While this section provides guidance and an overview of packing a ram-air canopy into a sport piggyback system, it is imperative that the rigger receive proper training from a certificated and properly rated rigger who has been trained to pack ram-air reserves. Title 14 CFR part 65, section 65.129(f) states, “No certificated parachute rigger may exercise the privileges of his certificate and type rating unless he understands the current manufacturer’s instructions for the operation involved...”
The following procedure is typical of many current 1-pin container systems. While this configuration comprises the majority of those manufactured today, there are other designs still in use that require different techniques. The rigger must become thoroughly familiar with the other configurations before attempting to assemble and pack these systems.
Assembling the Reserve System
The following components are necessary to assemble the harness and container to the ram-air reserve:
- The harness, container, and associated parts to include the reserve pilot chute and free bag, reserve ripcord, reserve steering toggles, reserve closing loop, and RSL, if desired.
- Reserve canopy.
- AAD, if desired.
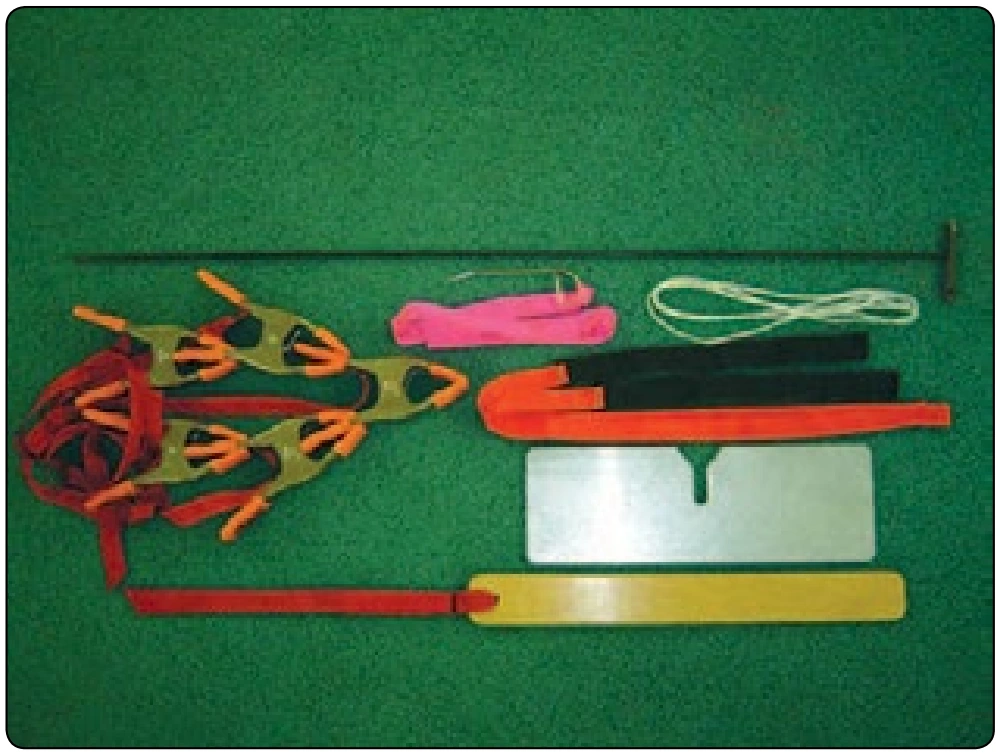
Before progressing, the necessary tools must be available. The packing manual should include a recommended tools list. However, based on the rigger’s experience and packing technique, the numbers and types of tools needed to pack this system may vary. Figure 5-69 shows the tools needed to pack the following ram-air parachute assembly using the technique described.
Before starting, always count your tools and then follow the assembly procedures listed below:
- Connect the canopy to the risers of the harness, ensuring line continuity is correct.
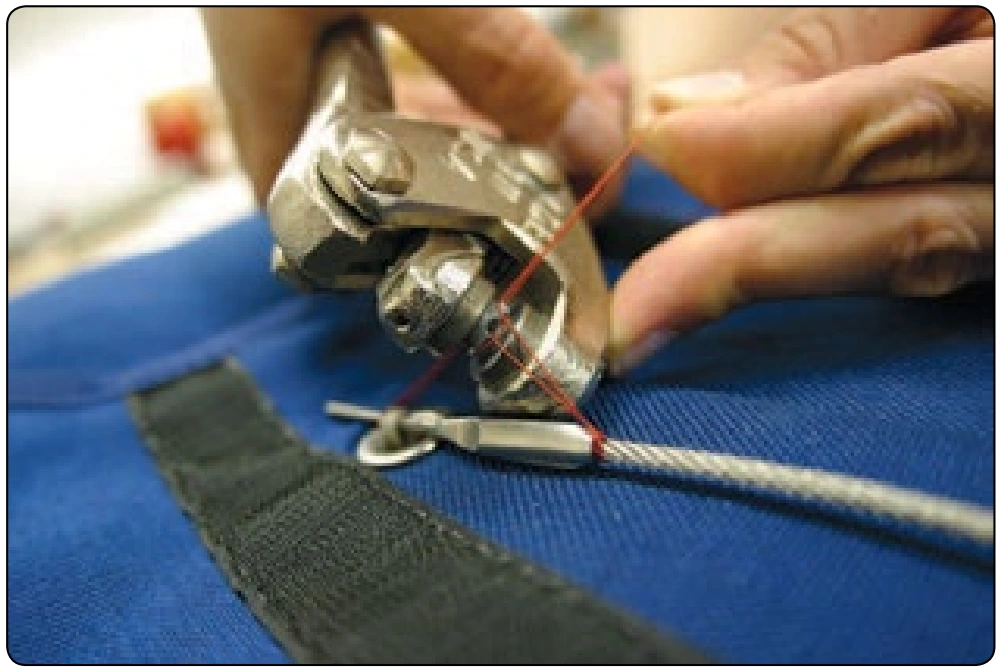
- Tighten the connector links and seal with a telltale mark.
- If used, install and secure the connector link bumpers per the canopy manufacturer’s instructions.
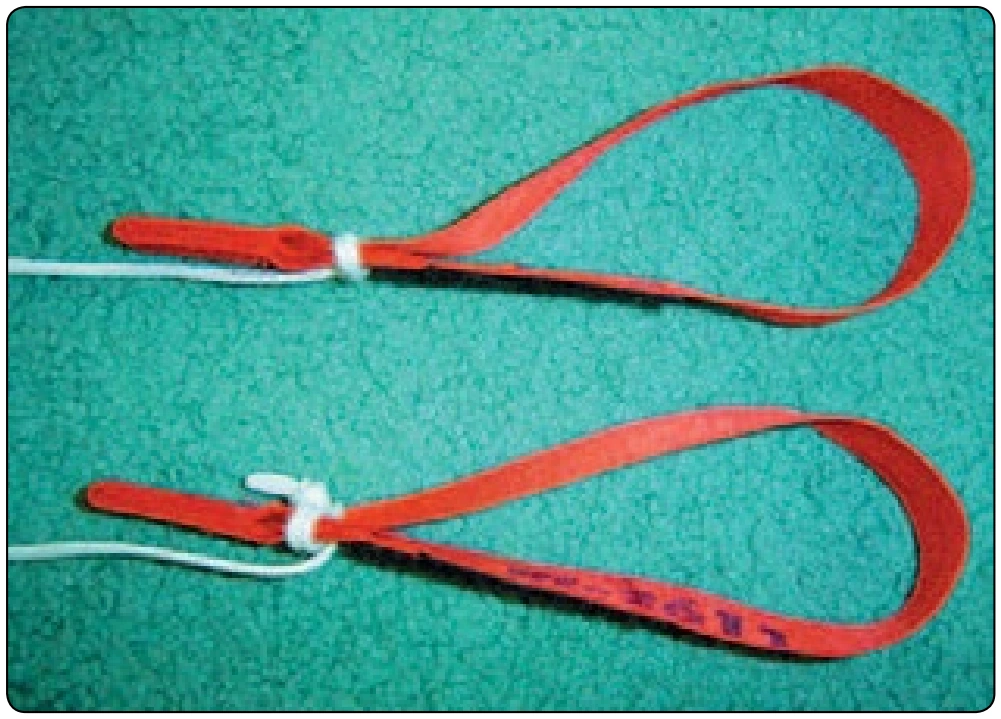
- Route the control lines through the slider grommets and guide rings on the rear of the riser. Fasten the steering toggles in the required manner. [Figure 5-70]
- Install the AAD, if desired, according to the manufacturer’s instructions.
- Install a closing loop of the correct type and length.
- Attach the reserve free bag to the reserve pilot chute.
The following steps should be used for packing this type of parachute:
- Layout and setting up packing clamps.
- Stacking and pleating the reserve canopy.
- Setting the deployment brakes.
- Folding the canopy.
- Placing the canopy into the deployment bag and stowing the lines.
- Placing the bag into the container and closing the container.