Chapter 5
Inspection and Packing
- Anchor the risers at the connector links including the steering lines. [Figure 5-71]
- Place packing weight on top of it.
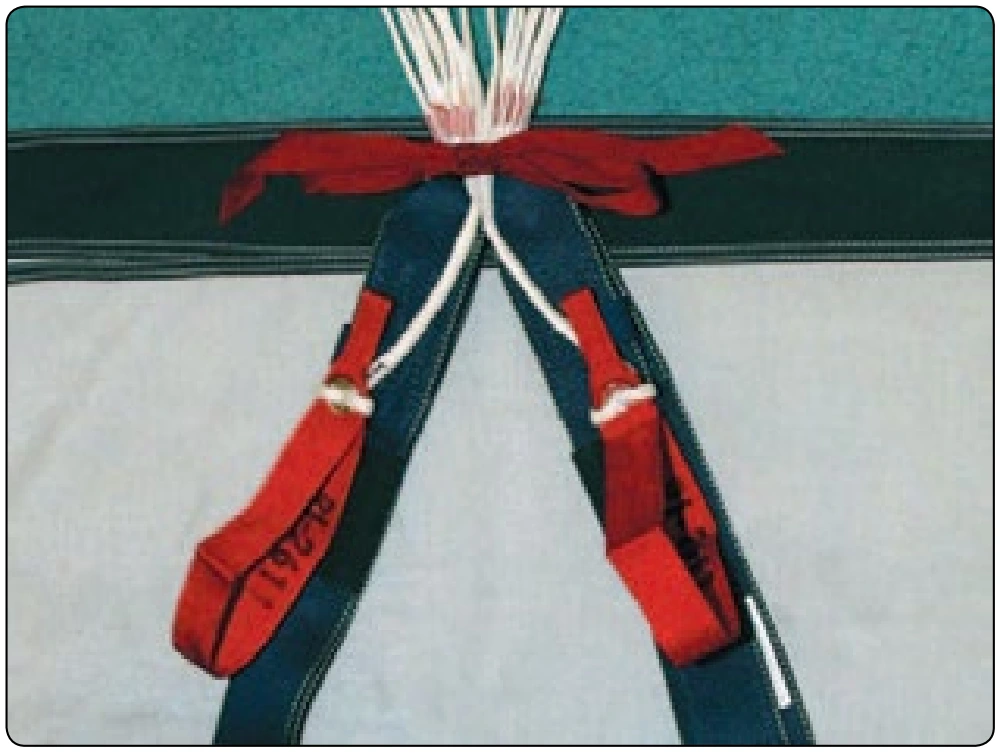
- Pull the slider down to the connector links. Make sure the tapes face upward toward the canopy. [Figure 5-72]
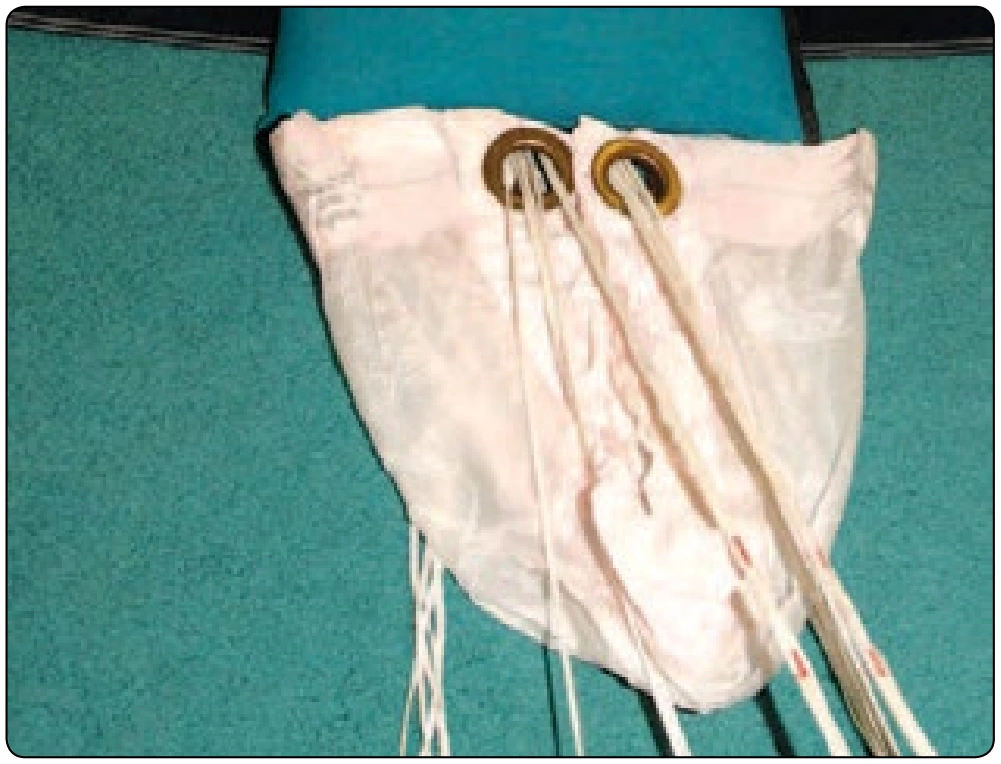
- Lay the canopy on its right side.
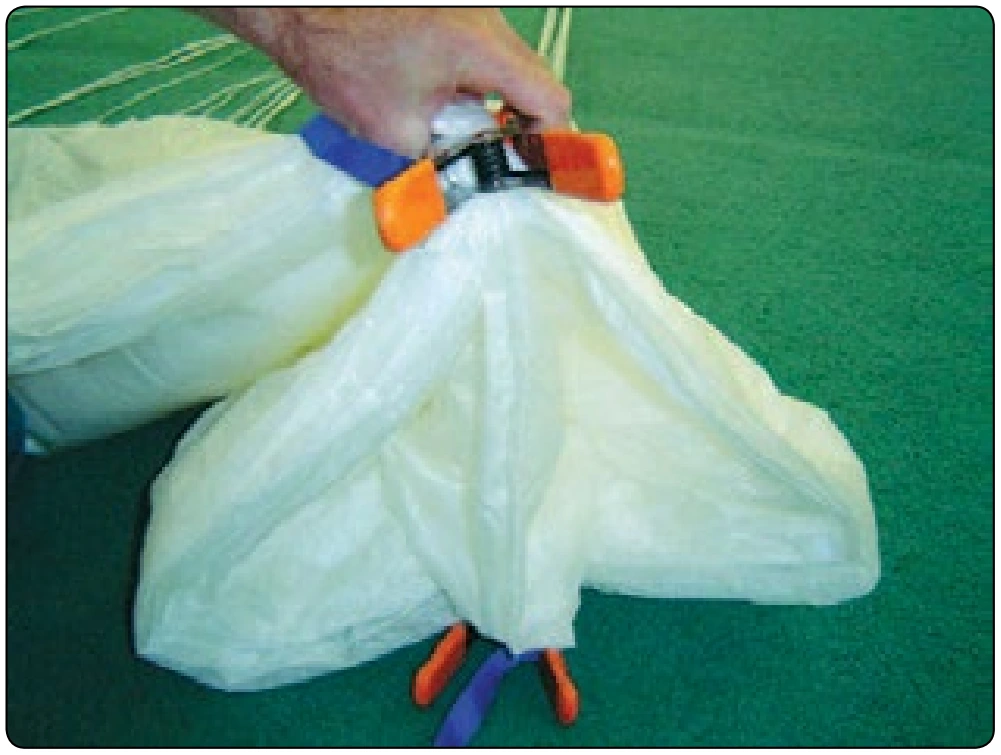
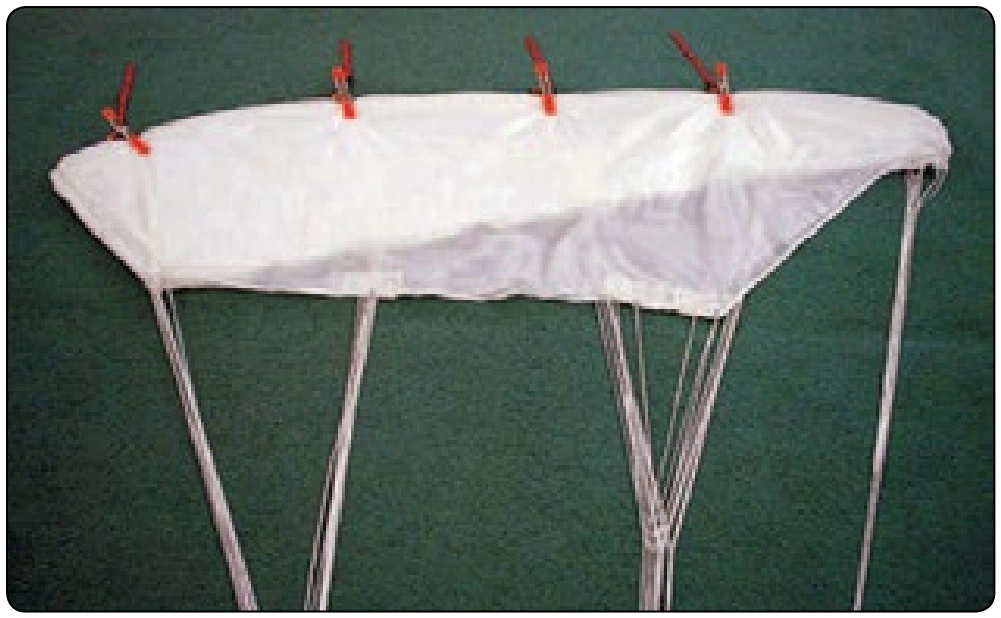
- Flake the canopy so the top seams are even. Place a clamp on the top of the canopy in line with each line attachment point as in Figure 5-73.
Step 2. Stacking and Pleating the Reserve Canopy
It is imperative that the rigger maintains control over the packing process at all times. In particular, it is important to keep the lines taut and straight and to keep the center wind channel of the canopy stack clear and the line attachment tabs stacked neatly.
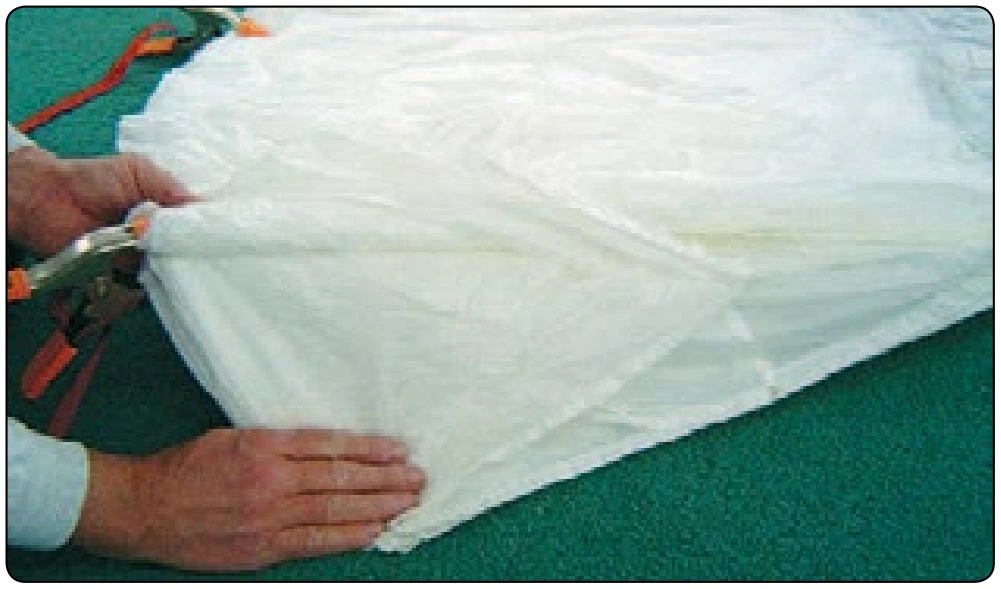
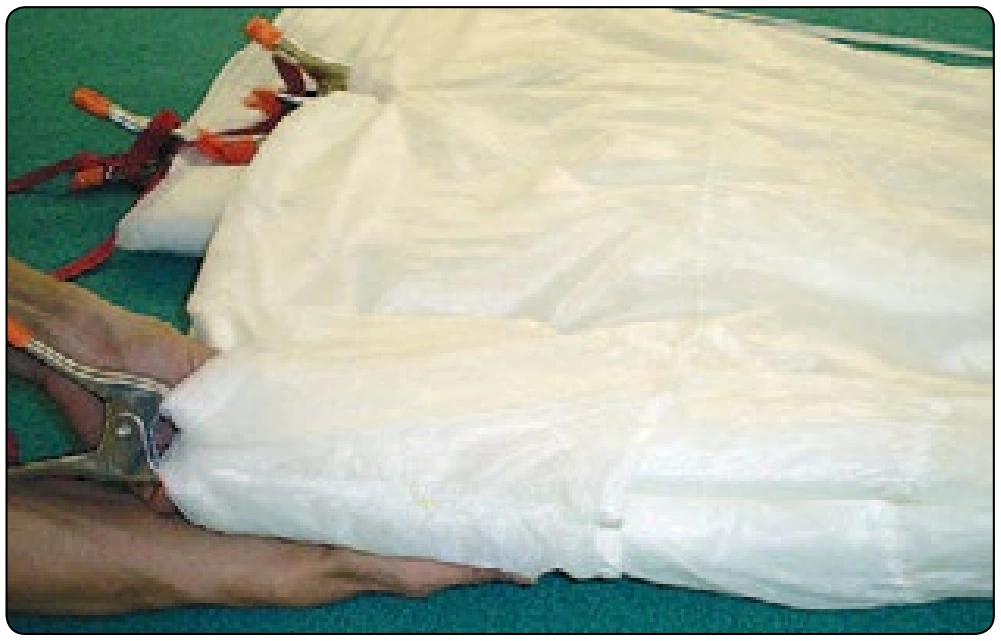
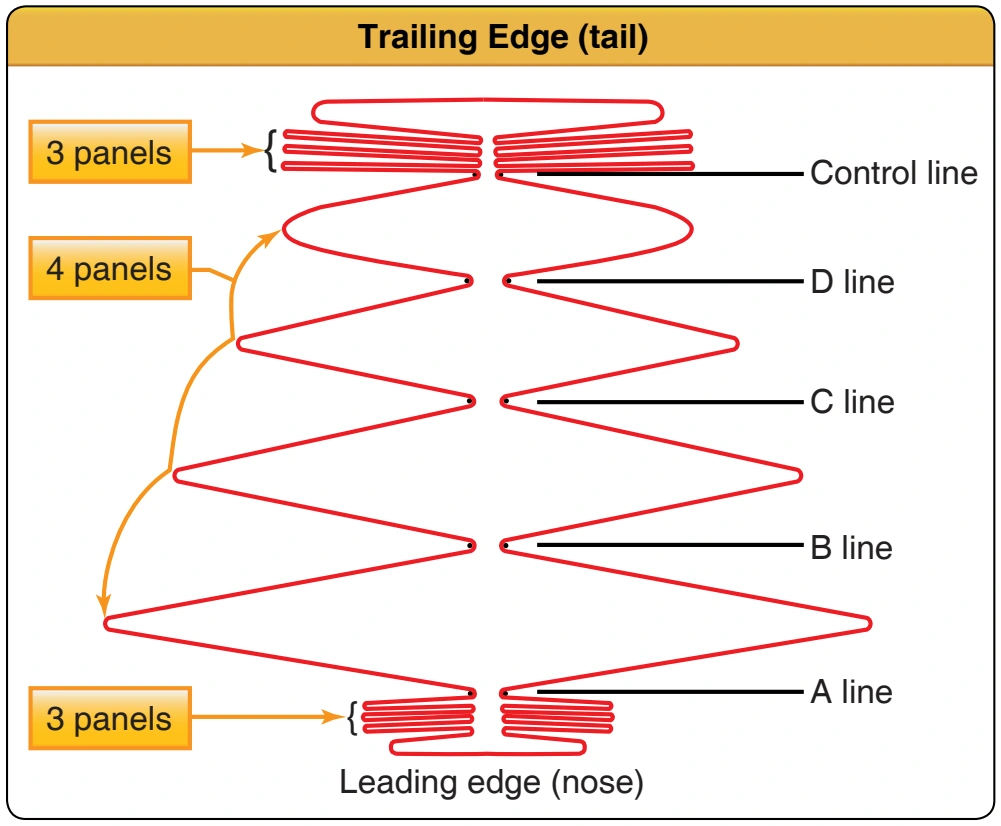
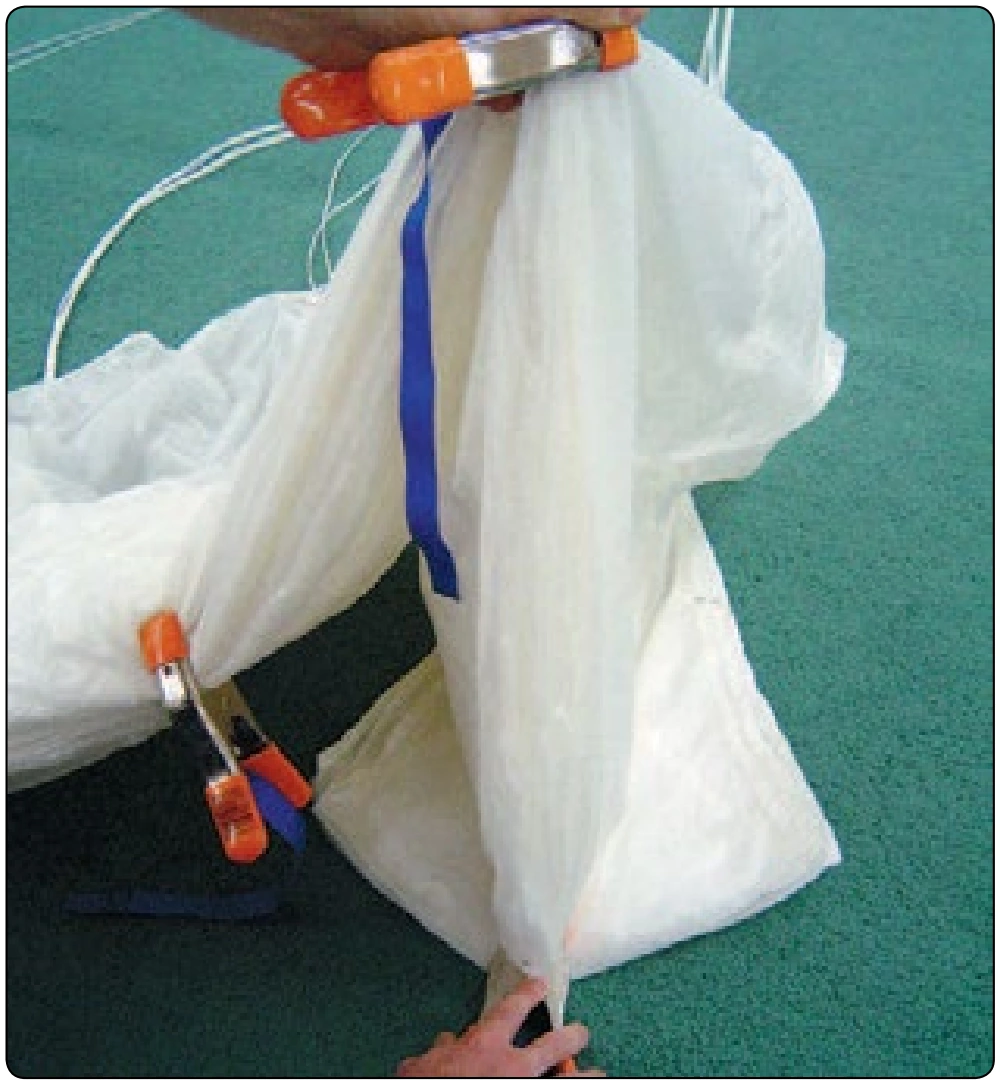
- Pull tension on the “A” lines. Split the leading edge in half. [Figure 5-75]
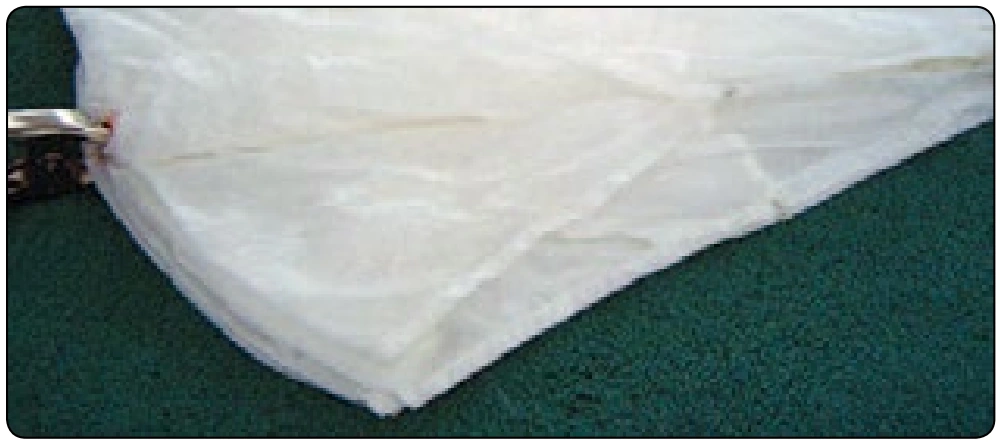
- Fold half under “A” lines. [Figures 5-76 and 5-77]
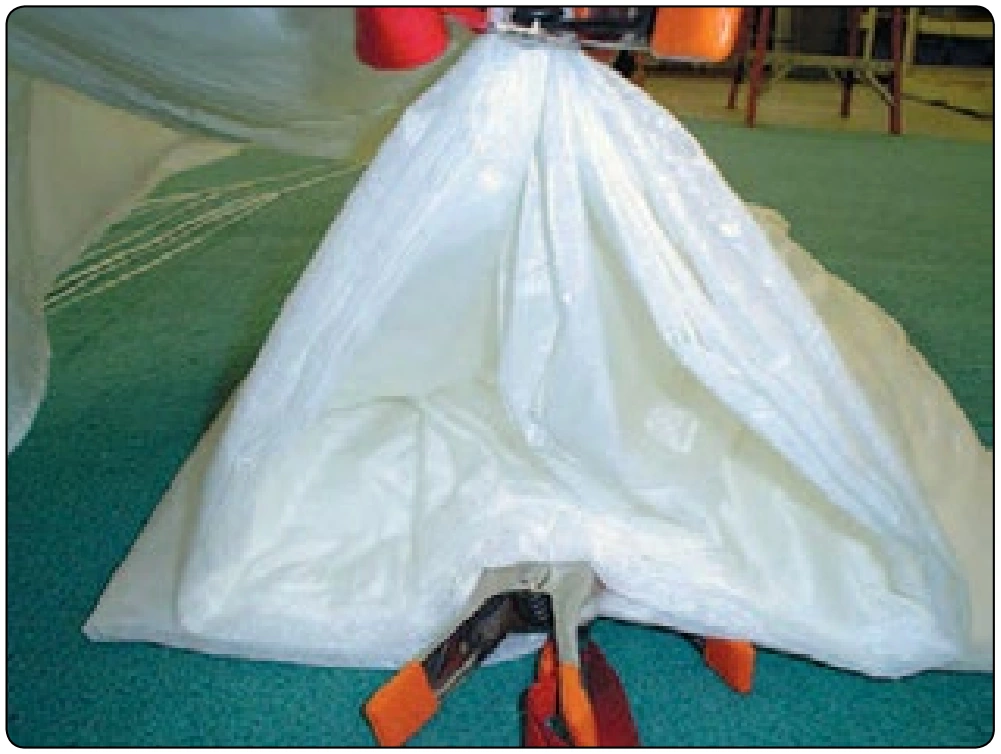
- Pick up the “B” lines by the clamp and hold vertically over the “A” clamp. [Figure 5-78] Note the spread of the leading edge panels.
- Lower the “B” clamp and material down to the “A” clamp. [Figure 5-79] Spread the cells equally to both sides. Keep the center cell in the middle.
- Repeat this step with the “C” and the “D” line groups. [Figures 5-80 and 5-81]