Chapter 5
Inspection and Packing
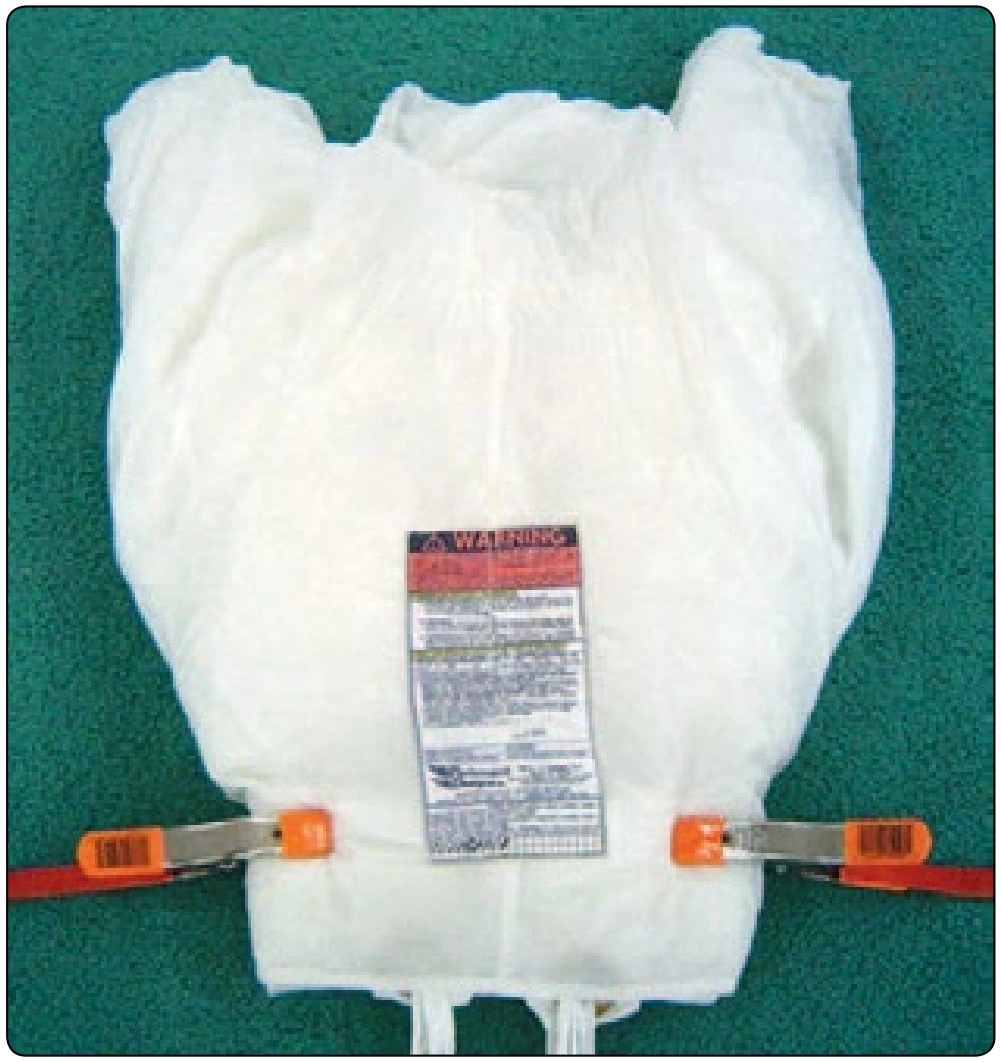
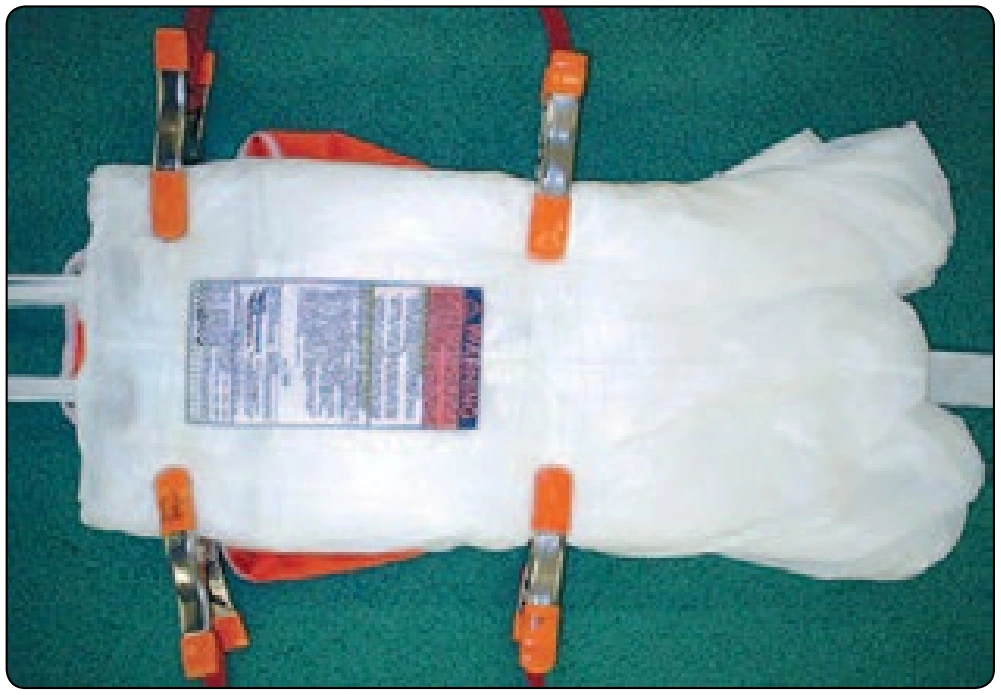
- Wrap the center cell around the folded canopy with the left and right about halfway to the center, then secure with clamps starting at the bottom. [Figure 5-93] The width of the folded canopy should be the width of the D-bag plus 2 inches (5cm).
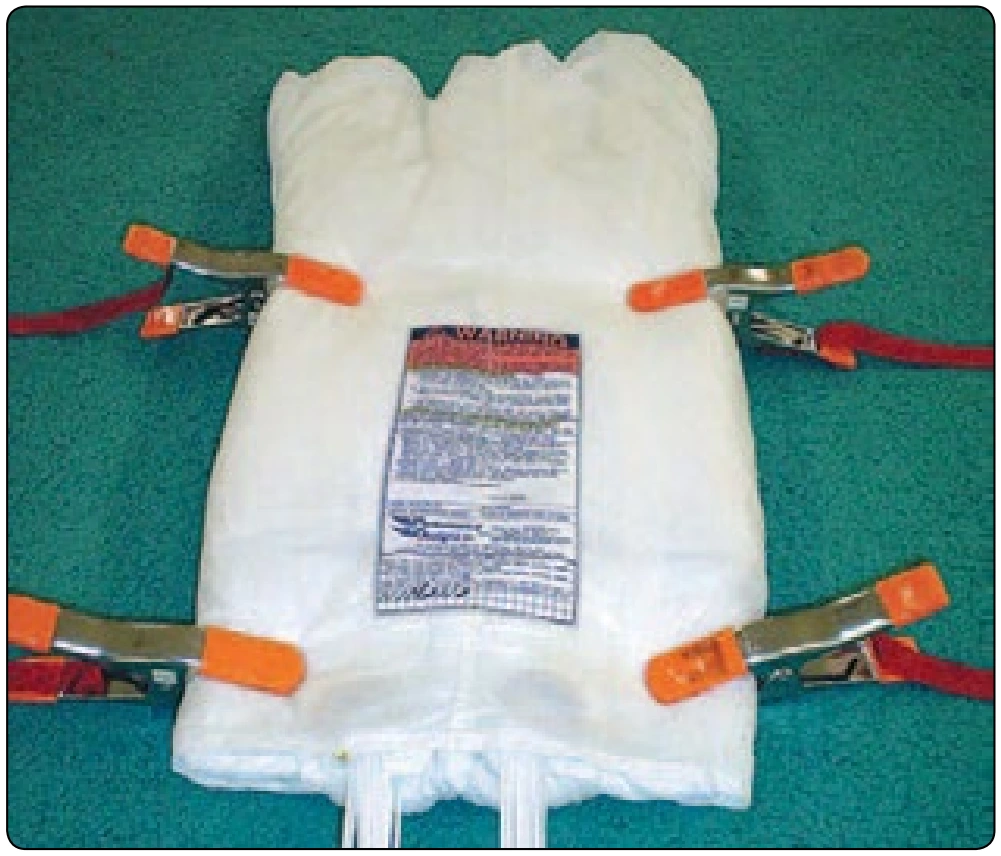
- Continue to wrap the center cell around the canopy stack and secure with additional clamps. [Figure 5-94]
Step 5. Placing the Canopy into the Deployment Bag and Stowing the Lines
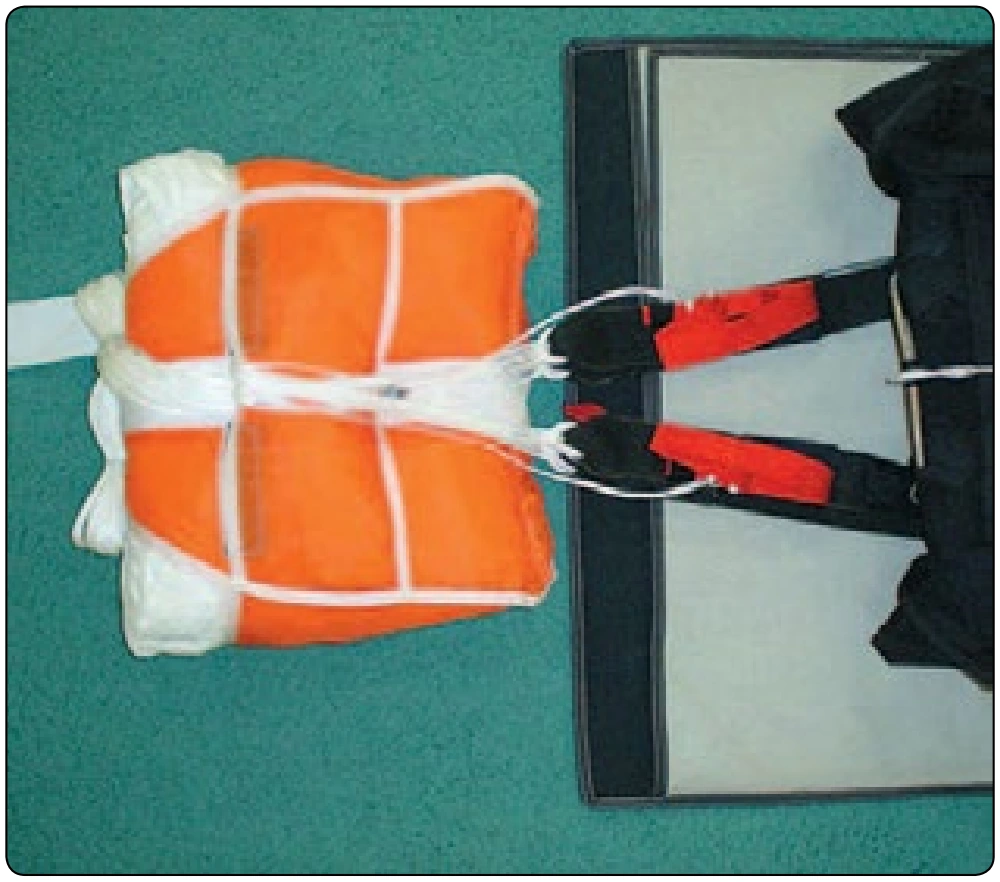
- Lift the base of the folded canopy and slide the reserve bag underneath. The grommets in the tongue of the bag should be even with the bottom of the stack. [Figure 5-95]
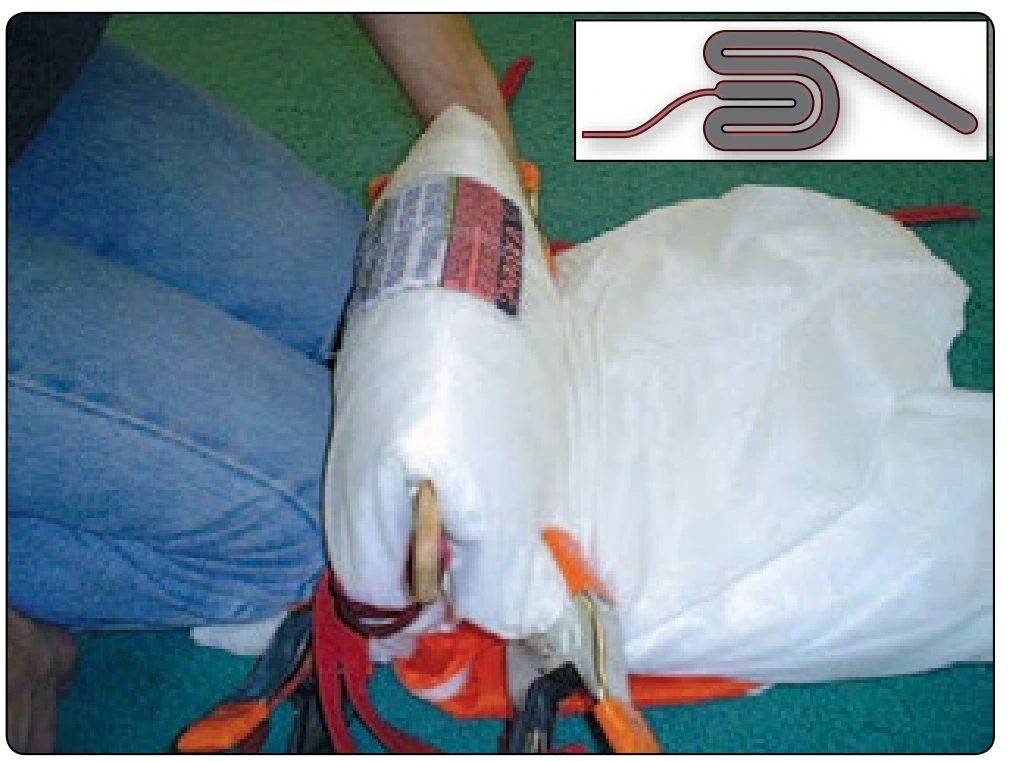
- Make a second “S” fold to match Figure 5-96.
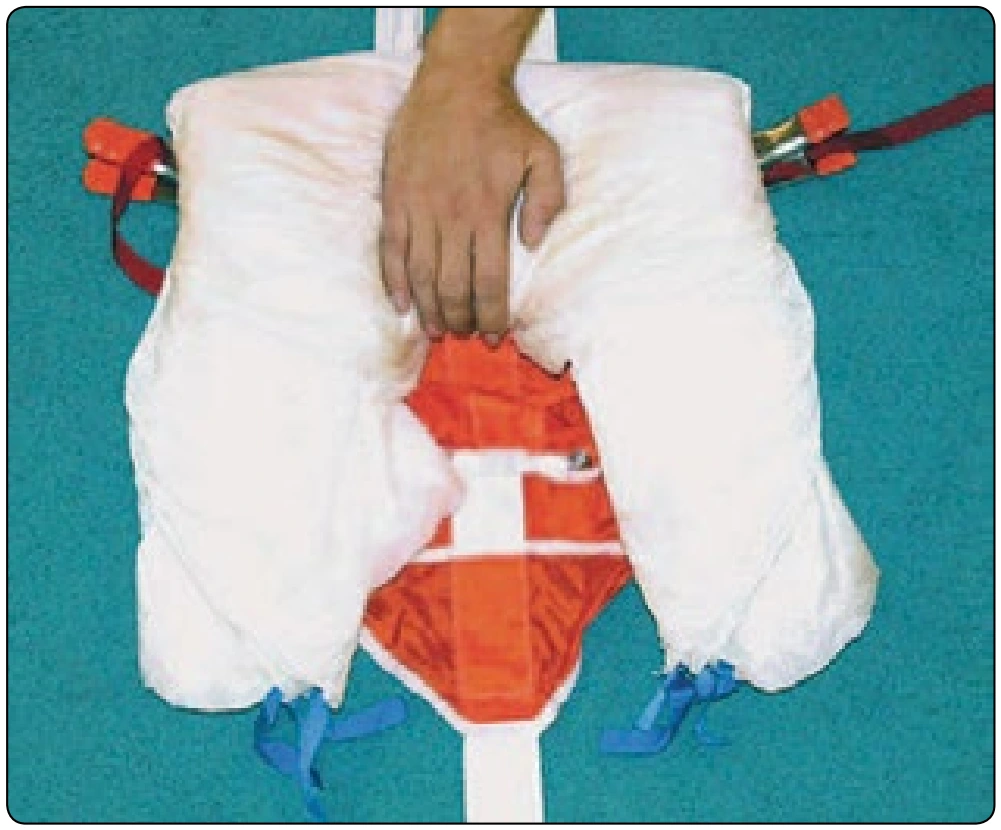
- Split the loose fabric at the top to form two “ears.” [Figure 5-97]
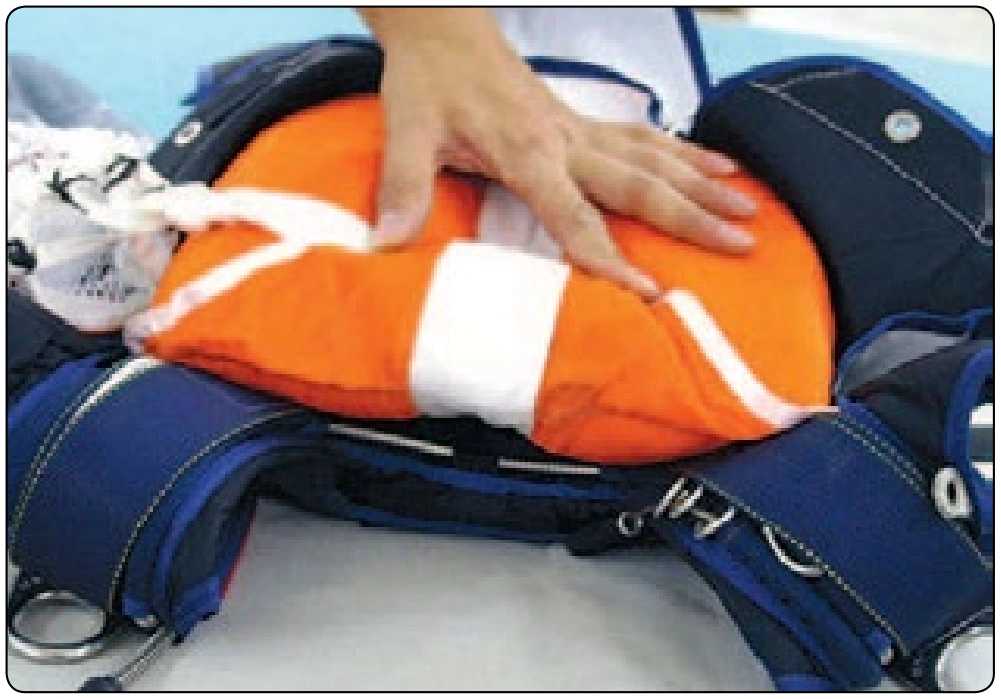
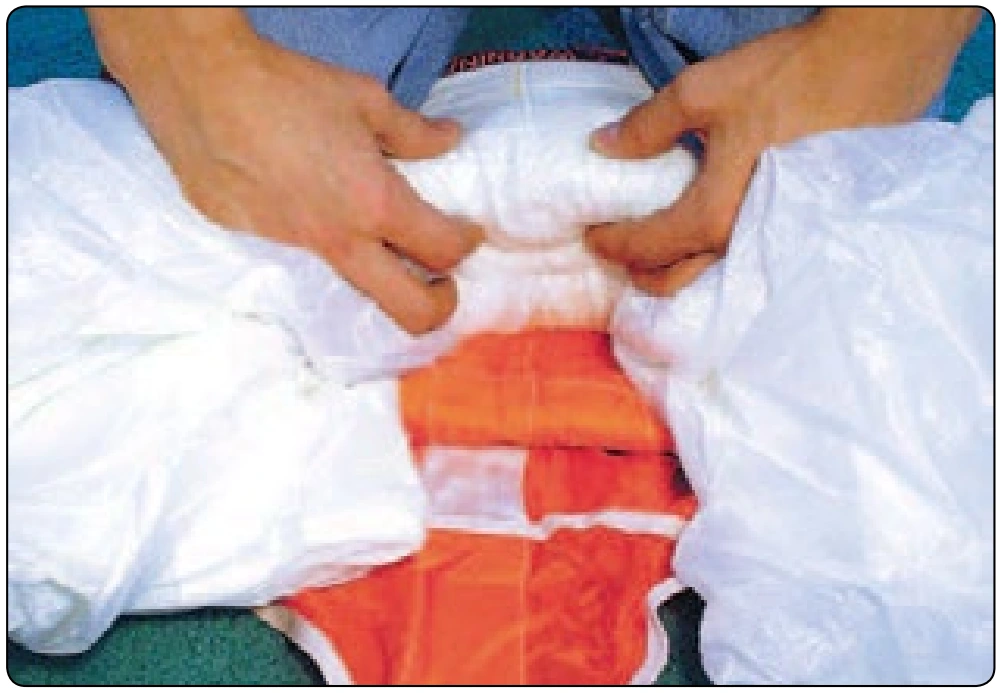
- Gather the center cell material along the middle seam until you reach the bottom. Roll the material under, but do not cover the center cell. [Figure 5-98]
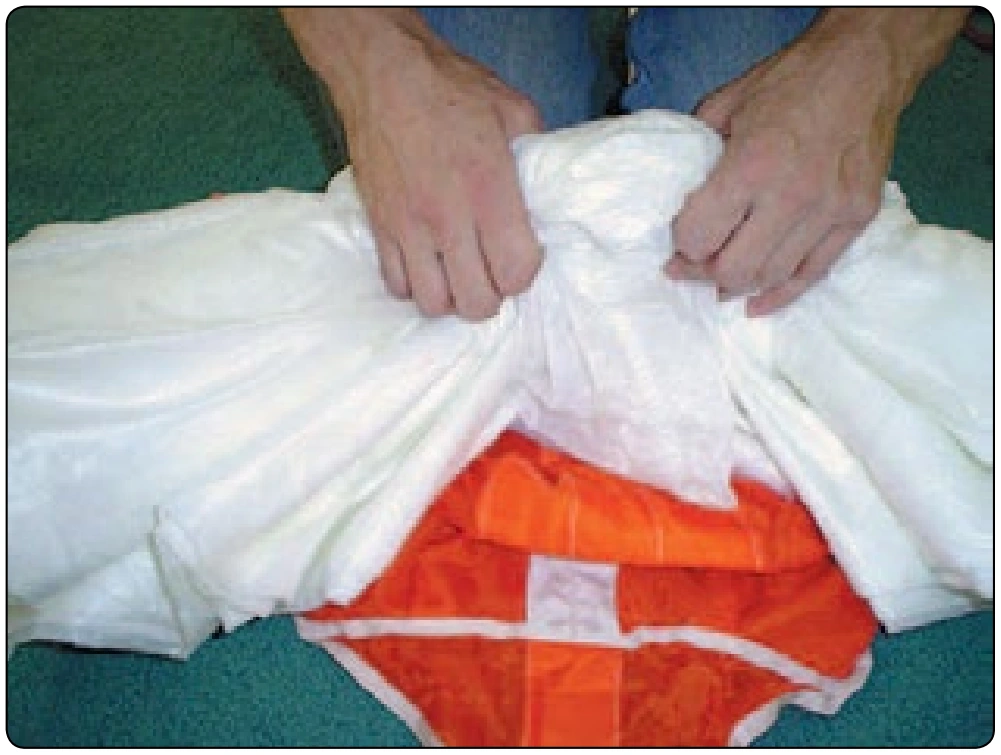
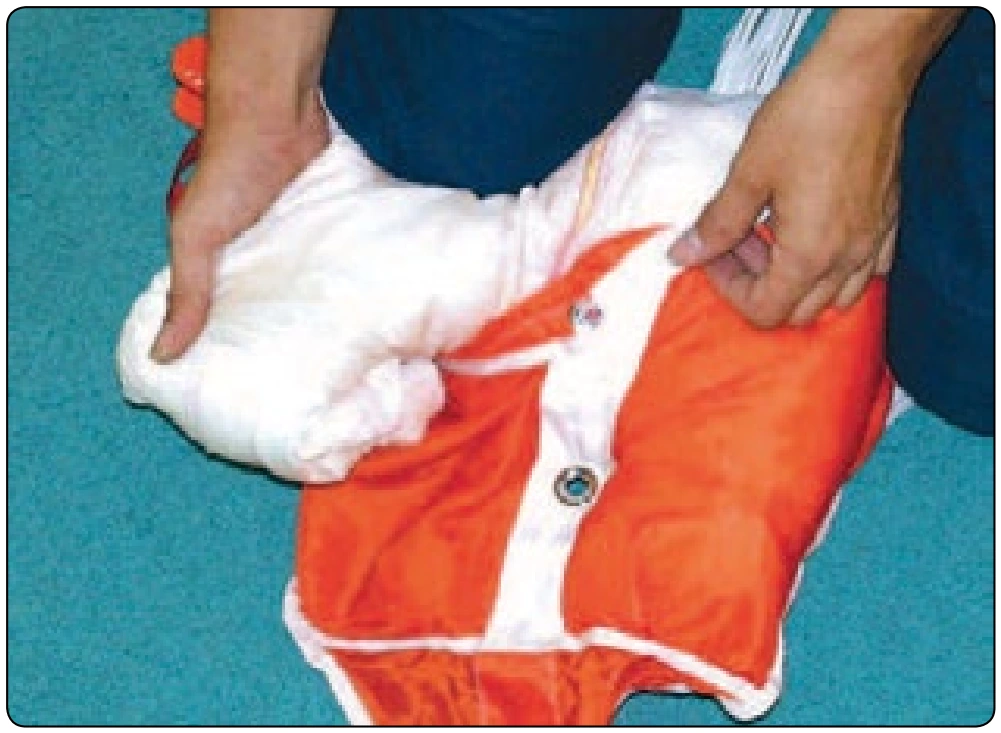
- Hold down the center cell material and then shape the molar folds. [Figure 5-99]
- Fold the ends of the molar folds under to create the bulk necessary to fill the top of the reserve bag. [Figure 5-100]
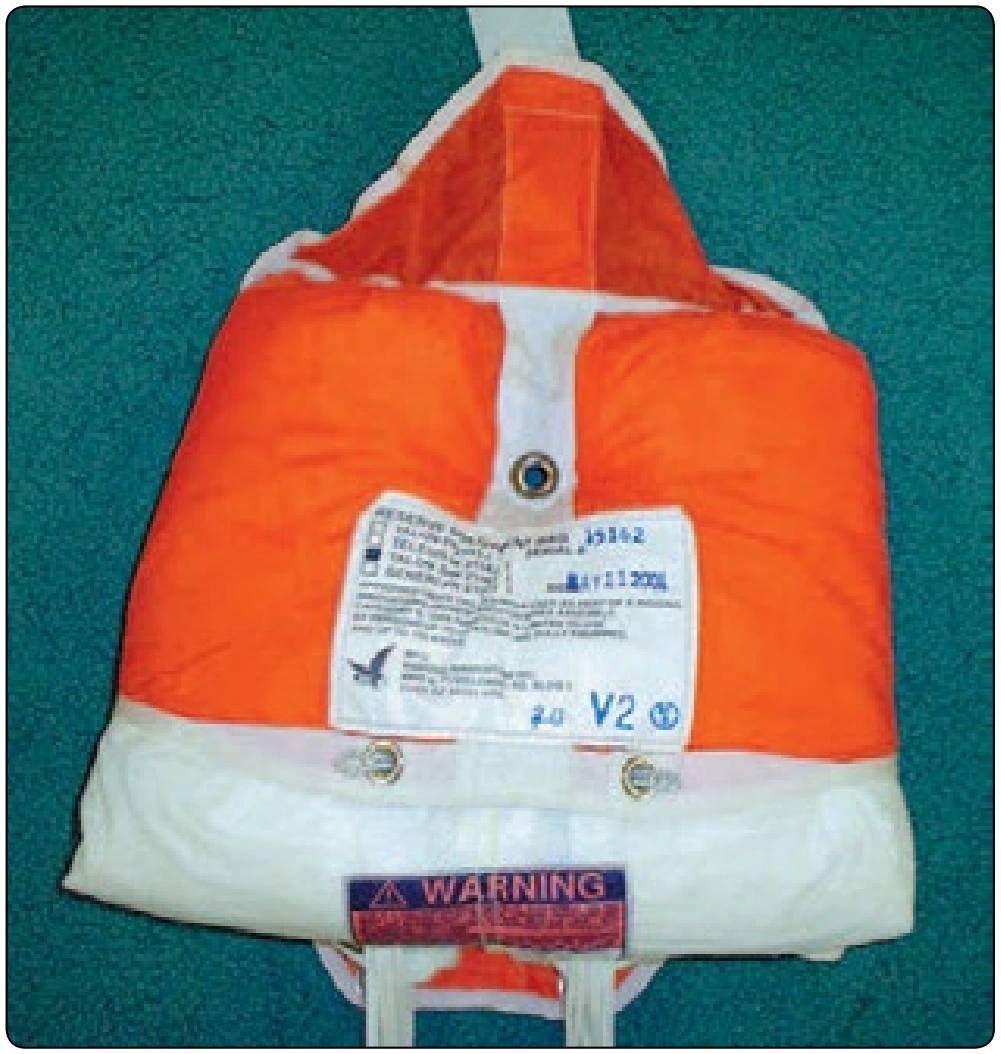
- When placing the canopy in the bag, allow the folded canopy to stick out 2–3 inches at the mouth of the bag to fill the corners of the reserve container. [Figure 5-101]
- Close bag and secure with the locking stows. [Figure 5-102]
- Shape the bag. The shape of the bag should reflect the desired shape of the reserve container.
- Cover any exposed hook Velcro® to avoid contact with the lines.
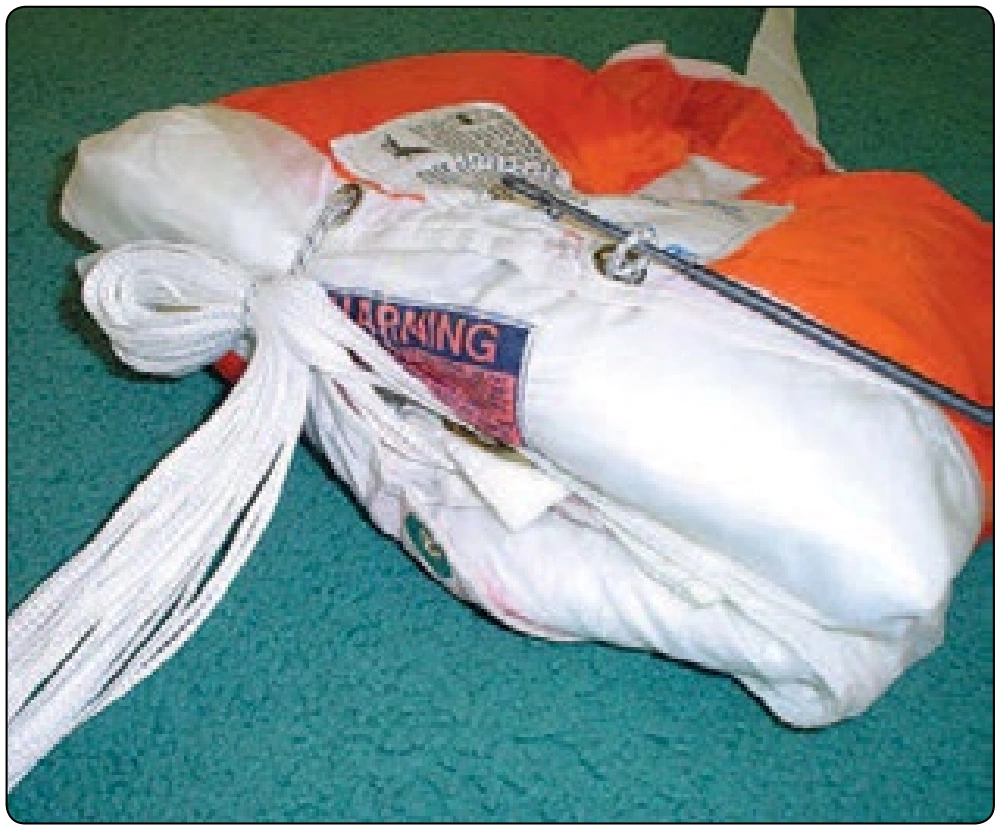
- Stow the lines neatly leaving sufficient line between the bag and riser ends. [Figure 5-103]
- Thread the pull-up cord through the closing loop.
Step 6. Placing the Bag into the Container and Closing the Container
- Place reserve risers into the pack tray. Spread the risers with the rear riser to the outside to minimize the bulk against the back pad. [Figure 5-104]
- Place the reserve bag into the container and S-fold the bridle in the center of the bag. [Figure 5-105]
- Fold the top yoke portion of the bag over the bridle. [Figure 5-106]
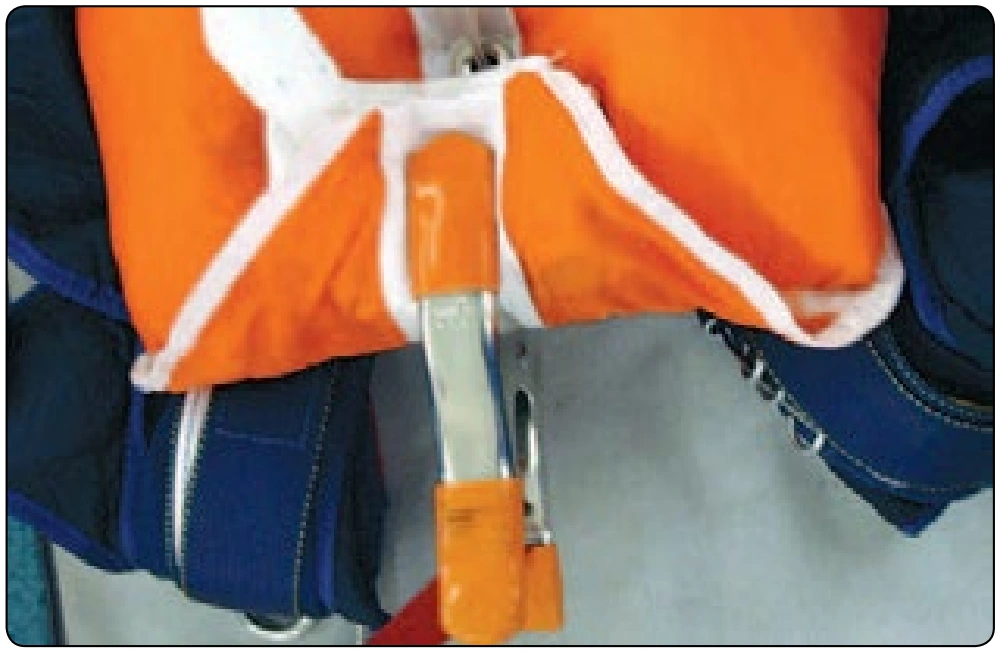
- Secure in place with a clamp. [Figure 5-107]