Chapter 7
Repairs, Alterations, and Manufacture
- Using the same type and color of thread, sew directly over the original stitching. The amount of overstitch may vary according to location. If the affected area is completely exposed and accessible, overstitch the ends of the damaged area a minimum of 1.25 inches. If this is not possible, then backstitch a minimum of 3 stitches to lock the ends. Repair complete.
Binding Tape Repair or Splice
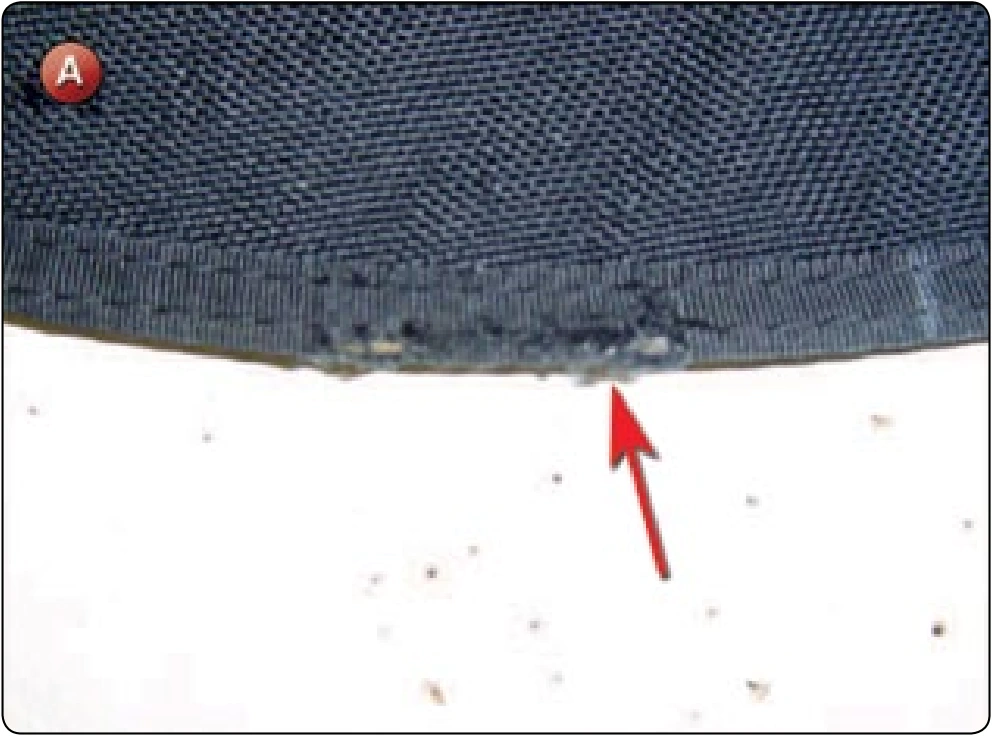
- Many times the binding tape is worn through due to bridle abrasion or other wear patterns. [Figure A] Rather than remove the panel and rebind it, a practical and cost effective repair is to overlay a section of new binding over the damaged area.
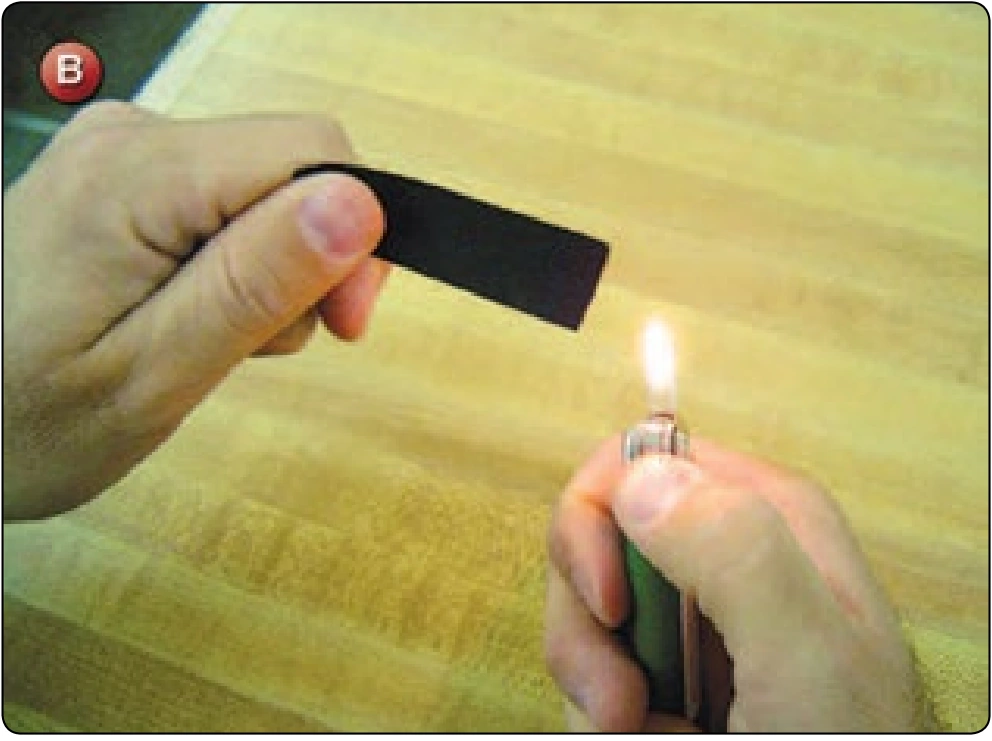
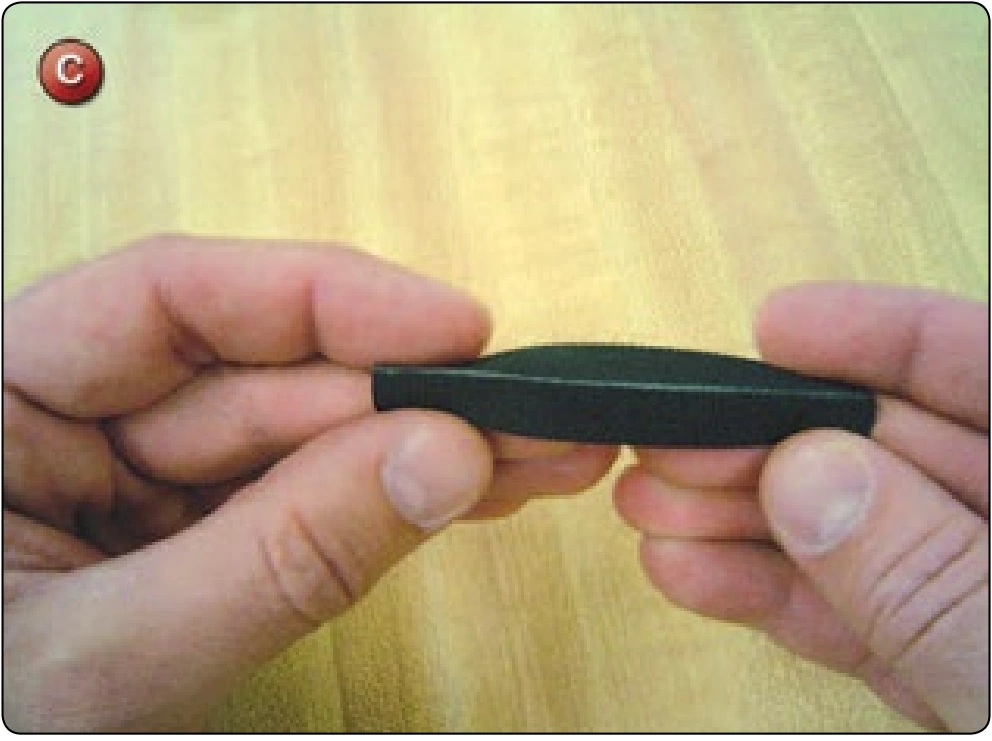
- Cut a piece of binding tape a minimum of 1 inch longer than the damaged area. Scissor cut the tape and then lightly sear with the butane lighter. [Figure B] If the tape is cut with a hot knife and then folded, the cut edge cracks at the hot-knifed end. Searing with the lighter results in a more flexible end. Fold the tape in half lengthwise to form a crease. Take a marking pencil and mark the crease. [Figure C]
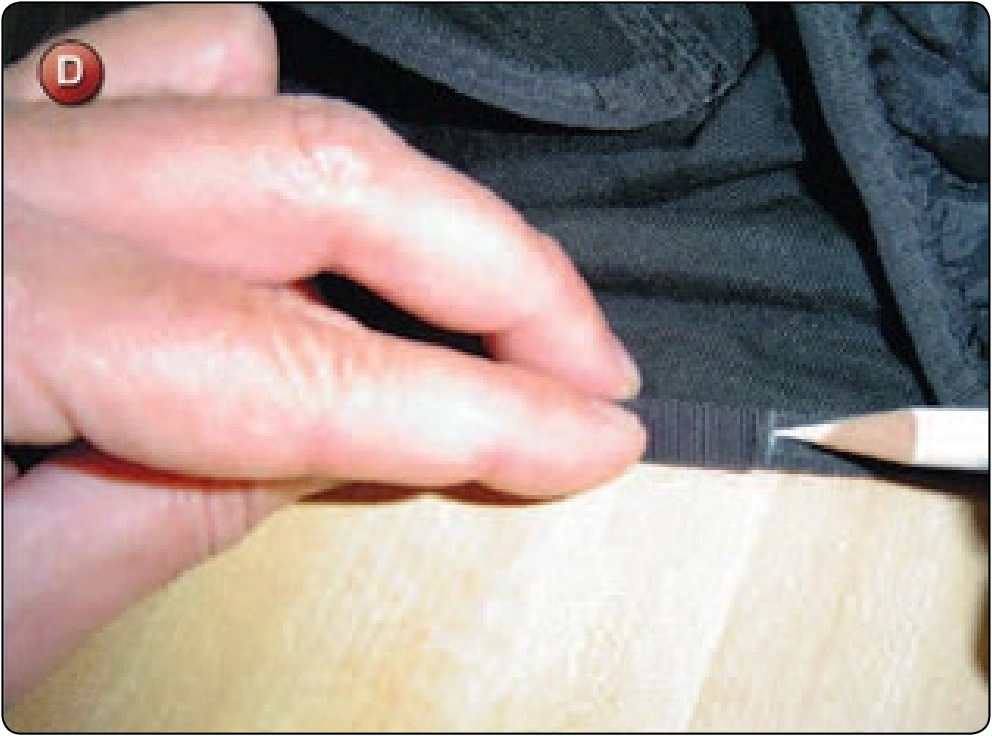
- Overlay the new tape over the damaged area and mark the start of where the new tape begins and covers the damaged area completely. [Figure D]
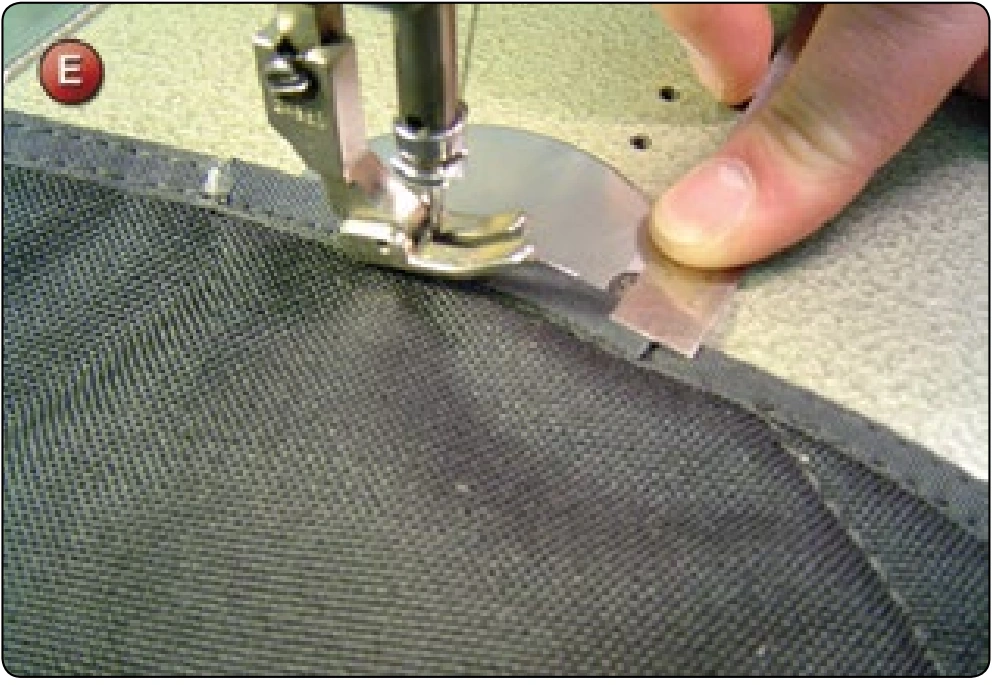
- Overstitch the original tape on the inside row up to the point where the new tape is to start. Leave the needle in the material. Place the folded tape over the damaged area and hold tightly in place. Make sure that the edge is pushed up against the original and the end is against the needle. [Figure E] The next stitch should catch the new tape.
- Stitch the new piece and overstitch the end a minimum of 1.25 inches or 3 stitches. Repeat with the outside row of stitches. Repair complete.
Hidden Patches
This type of repair has never had a name, but it is self-descriptive. It works well on tears and punctures. Done properly, it is a very cosmetic and cost effective repair.
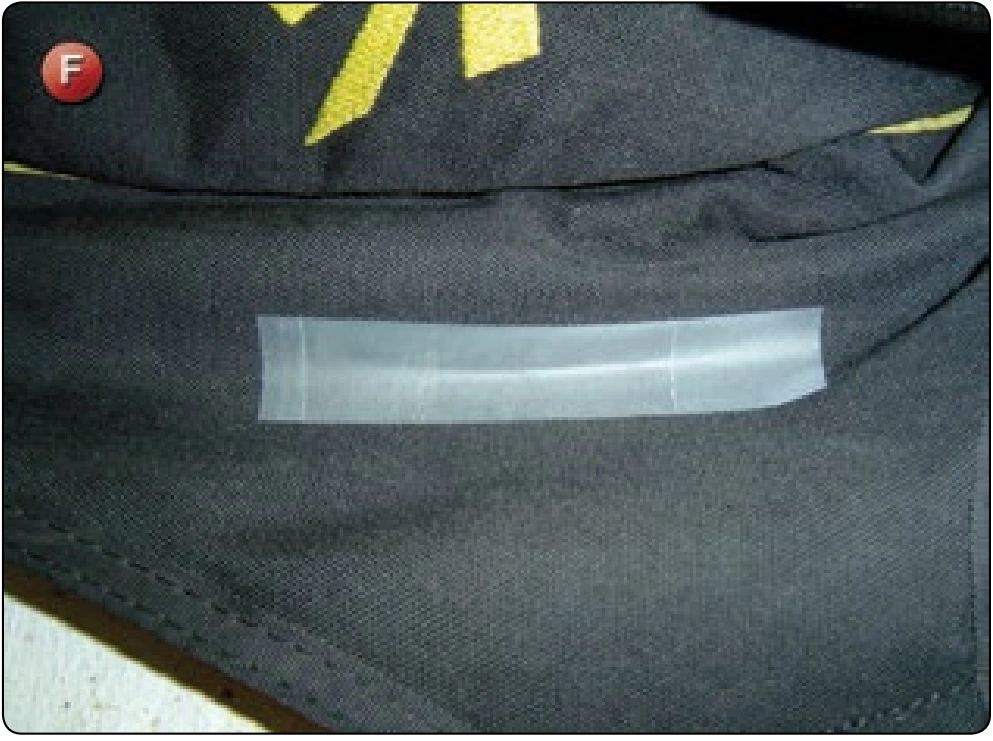
- Take a piece of adhesive tape and place on the outside of the damaged area to hold the edges together. [Figure F]
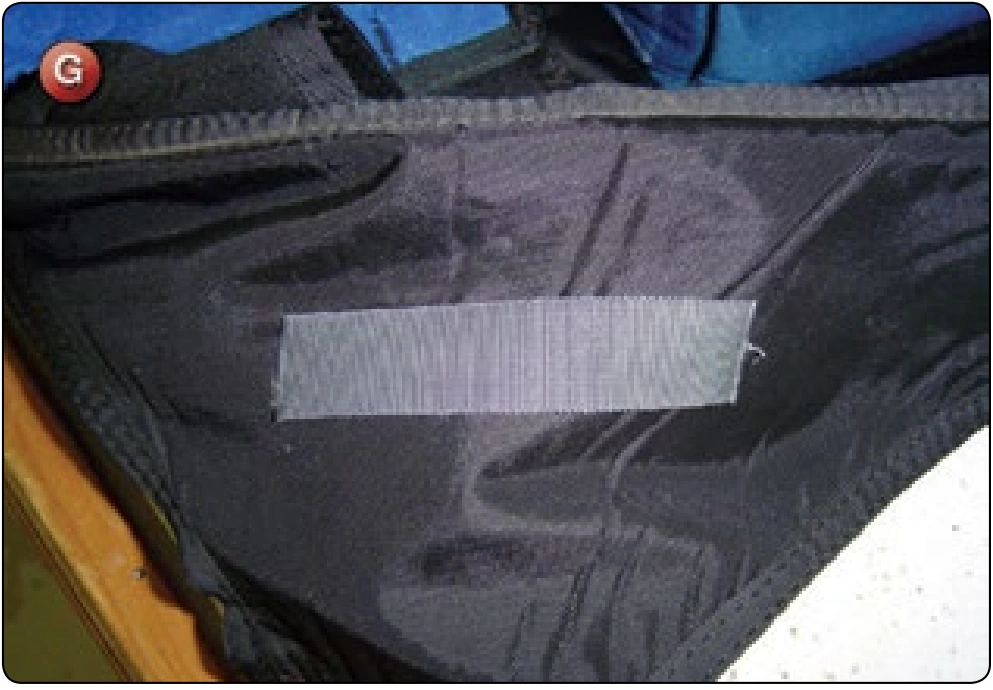
- Turn the panel inside out, take the glue gun and glue a small piece of Type-3 tape 1 inch longer over the damaged area. [Figure G] Do not fold the ends under. Remove the adhesive tape from the outside.
- Stitch around the outer perimeter of the Type-3 tape using matching colored thread to the container fabric. If necessary, increase the upper thread tension so that the outside (bottom) thread shows good tension.
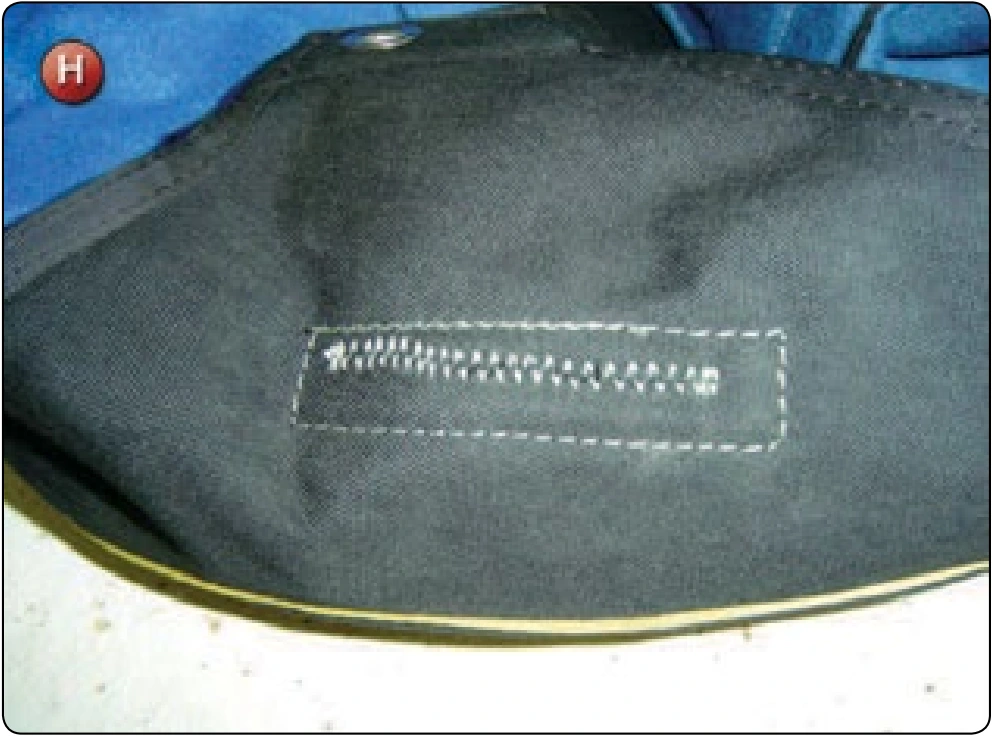
- Take the zigzag machine, again with matching color thread, and set the stitch width to its widest setting and 7–11 SPI length. Overstitch the exposed edges of the cut area to draw them together. [Figure H] Repair complete.
Overlay Patches
These are similar to a fabric patch but use a piece of tape or webbing to cover the damaged area. In effect, it is the same as the hidden patch but usually larger and is on the outside of the panel. It is a sturdy patch but not very cosmetic.
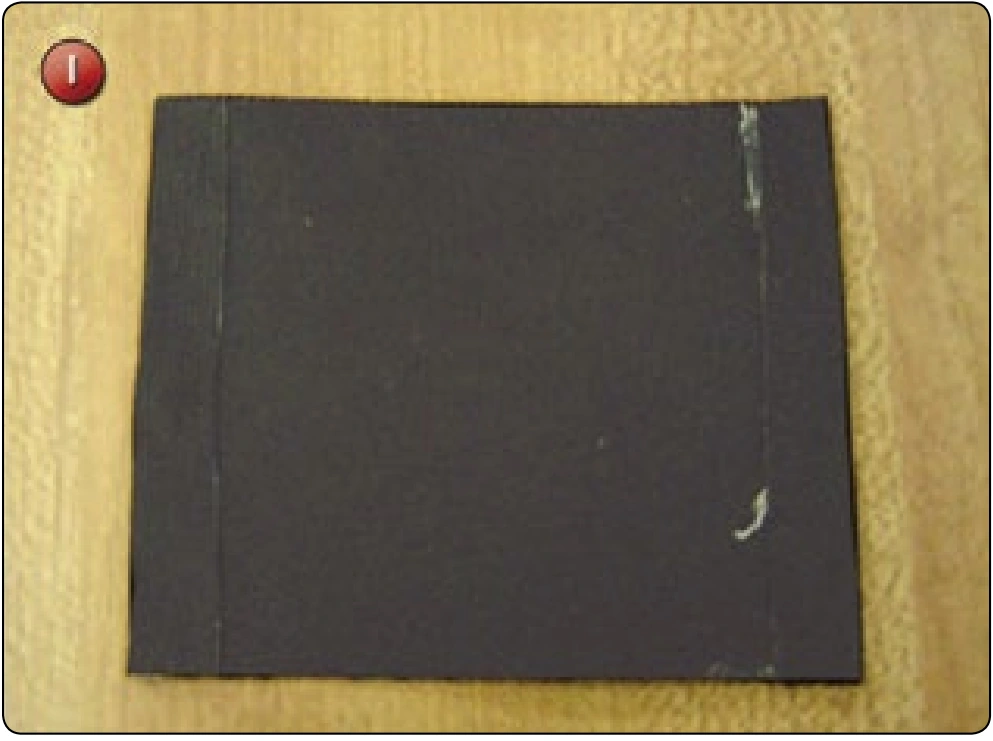
- Using a hot knife, cut a piece of tape or webbing, such as Type-12, big enough to cover the damaged area. Allow enough to fold the cut ends under. Fold the ends under and glue down to itself. [Figure I]