
Chapter 7
Repairs, Alterations, and Manufacture
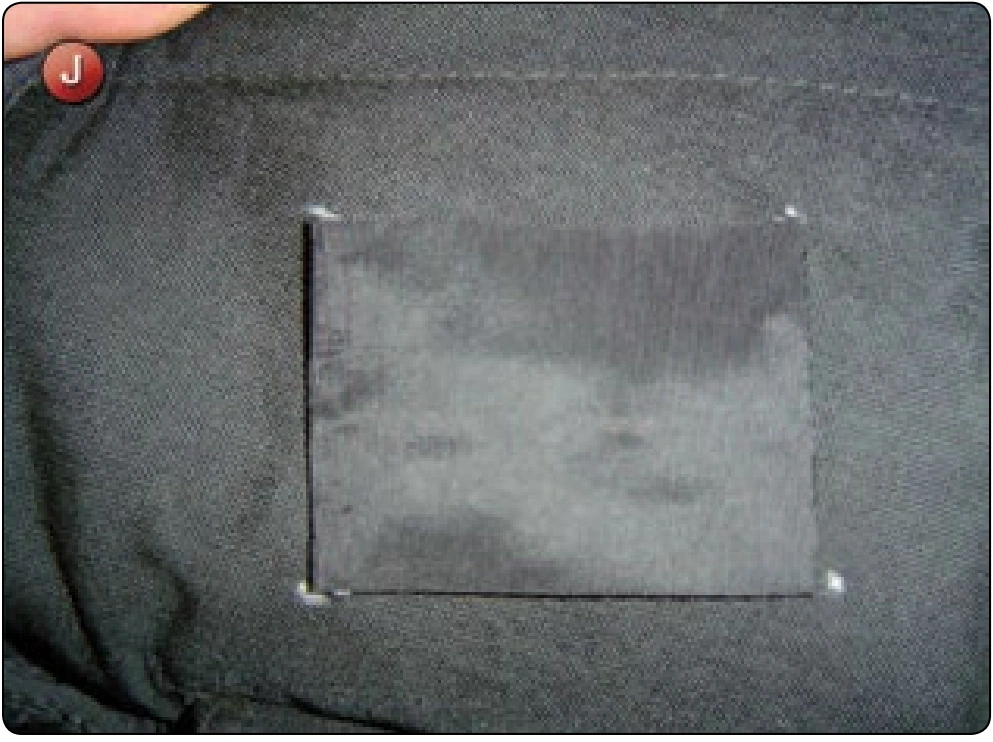
- Lay the patch in place over the damaged area and mark the corners with a marking pencil. [Figure J]
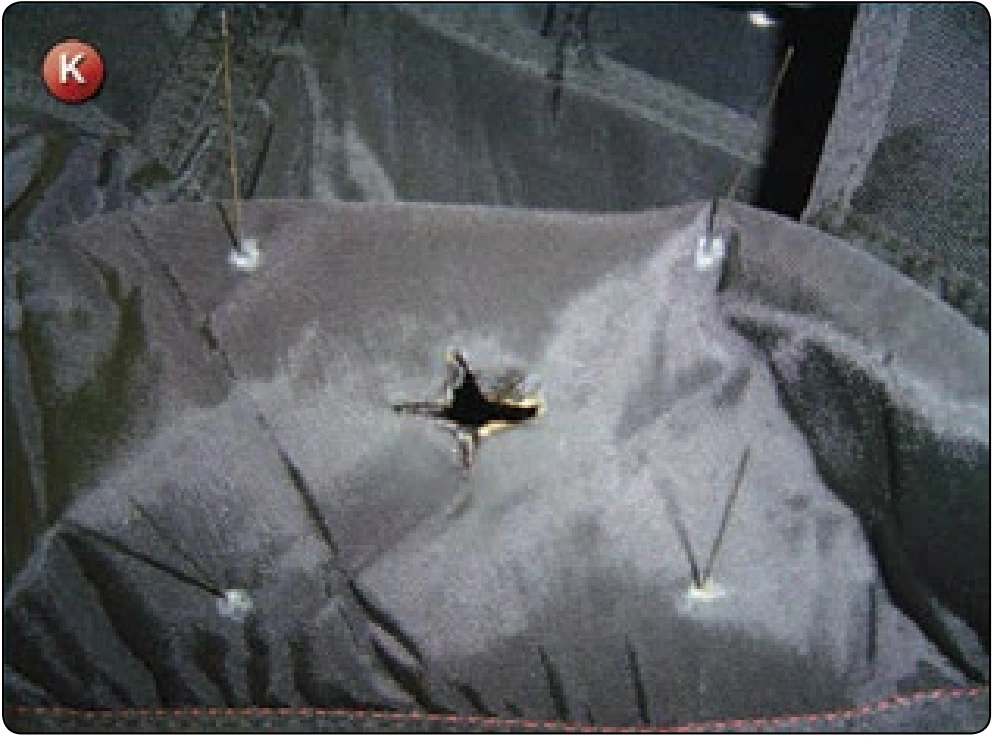
- Take a straight pin and transfer the corners of the patch area through to the inside. [Figure K]
- If on a main container, take a piece of Type-3 tape big enough to match the outside patch as marked. Cover the inside of the damaged area with the tape.
- Pin or glue the tape patch to the inside as marked. Use the single needle to sew around the patch overstitching the ends a minimum of 1 inch.
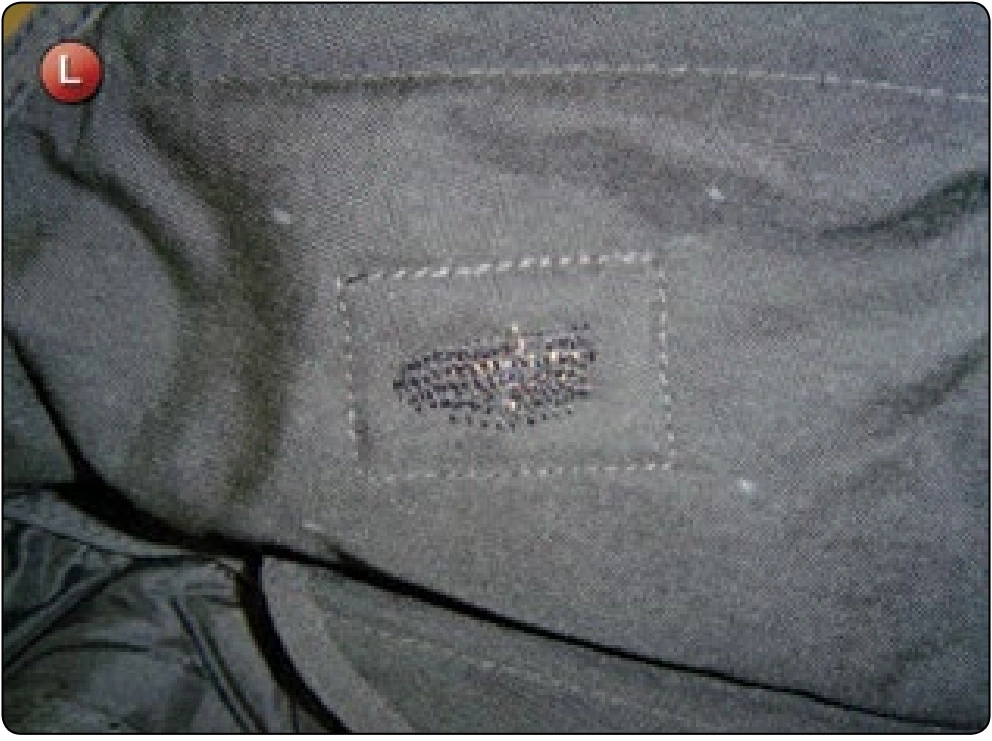
- Take the zigzag machine and stitch the edges of the damaged area together as described in step 4, Hidden Patches. [Figure L] Repair complete.
Single-Side Fabric Patches
For most fabric patches on a container panel, there is not enough area to perform a proper French fell seam patch. Consequently, the single-side patch is the most common technique used. By using matching fabric and thread, a large damaged area may be covered to affect the necessary repair. While called a single-side patch, in effect it is an enlarged version of the overlay patch. A smaller piece of webbing or fabric is used to cover the damaged area on the inside and the outside is covered with the single-side patch. This technique is used where there may be large holes or widespread damage and replacement of the panel is not practical.
- Duplicate steps 1–5 that was used in the “Overlay Patches” section above but substitute webbing for the inside patch and use container fabric for the outside patch.
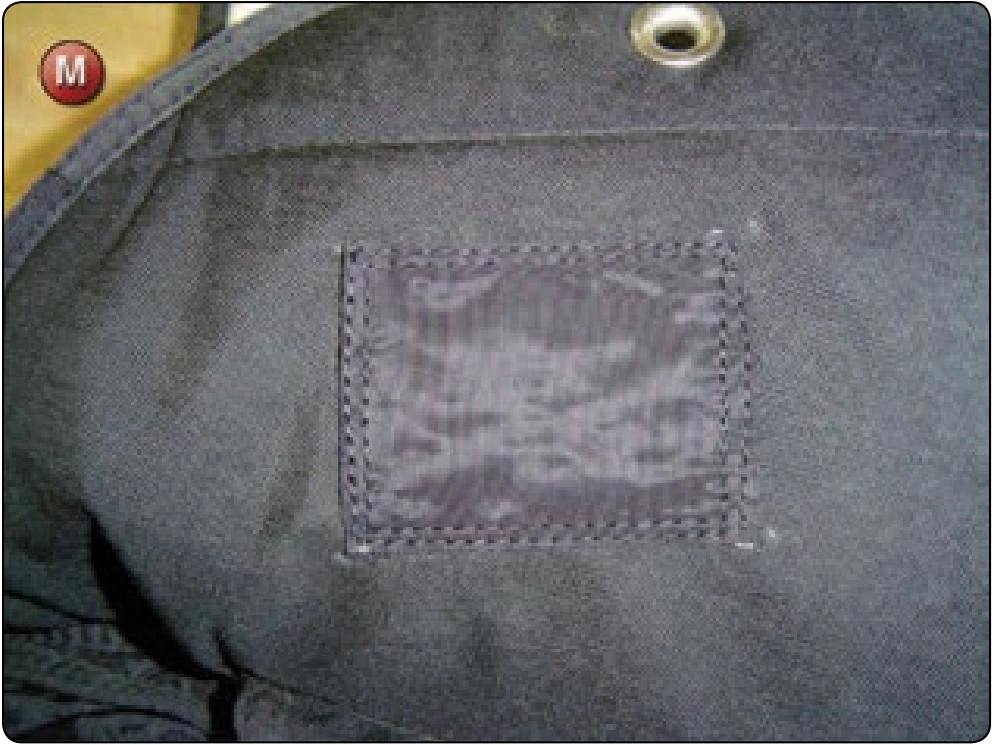
- Fold the edges of the outside patch under a minimum of .5 inch. Stitch around the perimeter approximately .12 inch from the edge. Run a second row of stitches approximately .25 inch inside and parallel to the first. [Figure M] This gives added strength to the patch and an appearance of a French fell seam patch. Repair complete.
Inspection
- Check thread tensions, stitches per inch, and overstitch lengths.
- Damaged area must be covered completely.
- For the overlay and single-side patches, make sure the stitch patterns catch both sides of the patch materials completely.
Container Grommet Replacement
- Applicable products: All types of containers that use grommets
- Description: Replacement of damaged grommets of all types
- Authorized repairmen: FAA Senior or Master Parachute Rigger
- Materials: E thread—color to match; grommets—size, type, and material to match
- Machines: 301 straight stitch—medium duty 7–11 SPI, 308 zigzag—medium duty 7–11 SPI
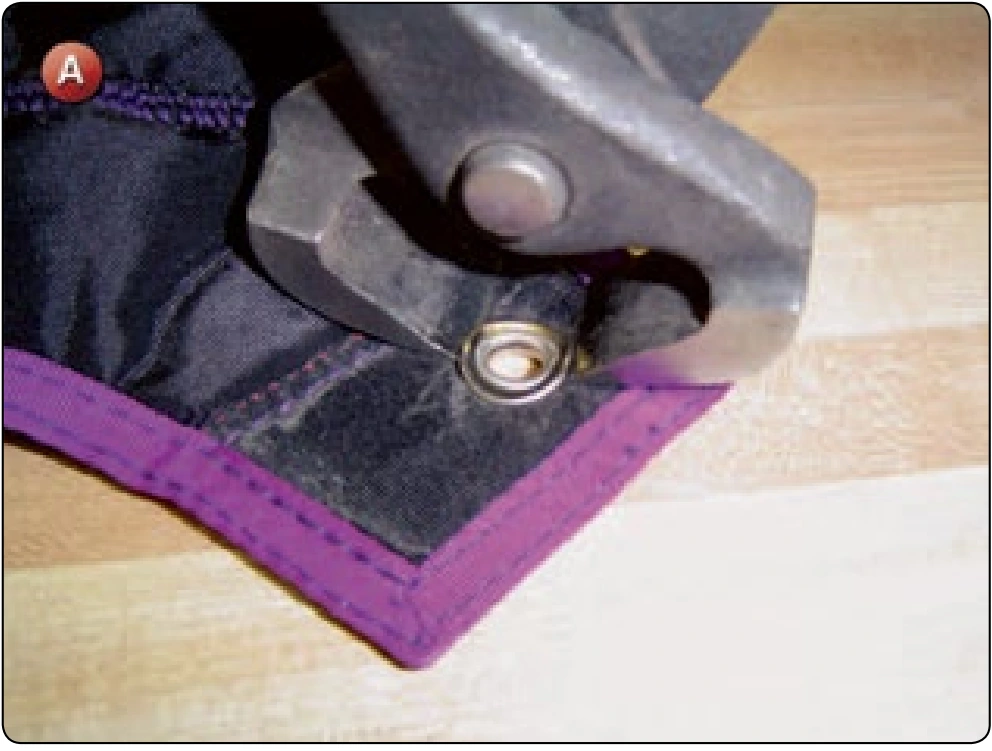
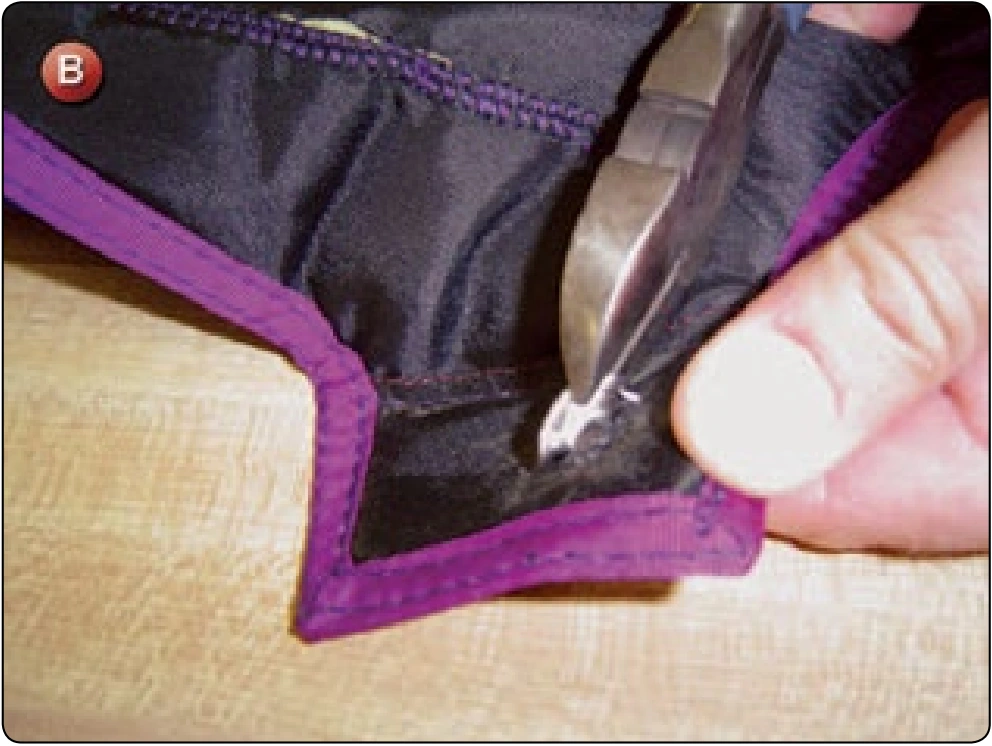
- Equipment: Scissors, seam ripper or scalpel, marking pencil, 6 inch ruler, grommet die set—size to match grommets, leather mallet, grommet cutting board, hole punch to match grommet size, basting tip (optional), and diagonal wire cutters—8 inch minimum
Procedure
There are many types of grommets used in parachute container manufacture. Older style military surplus containers used flat grommets made of brass with a chrome finish, which were designed to work with cones. Most modern container systems use rolled rim spur grommets and washers. The most common size is the “O.” For many years, regular brass grommets were used and then nickel plated ones became the norm. In recent years, stainless steel has come to be the preferred type due to the ability to resist deformation and corrosion. Today, there are two types of “O” stainless grommets. The first is the regular or “short shank.” Recently, a long shank version has become available. It has proven to be very versatile and popular. This repair procedure focuses primarily on the “O” spur grommet and washer, but the technique can be applied to all types of grommets.