
Chapter 7
Repairs, Alterations, and Manufacture
This is for replacing a damaged grommet or changing from brass to stainless steel. Use the cutters to remove the grommet. If the grommet is set into a fabric/webbing base, fold the material back to expose the washer. Using the diagonal cutter, cut through the washer and then peel it back from the grommet. [Figures A and B] Grasp the grommet and peel it from the material.
Reassembly—Grommet Replacement
If the hole is intact and undamaged, simply insert the replacement grommet into the material from the correct side, and set with the grommet die. Make sure that the grommet is set sufficiently so that there is no exposed edge to snag lines or material.
Material Repair and Grommet Replacement
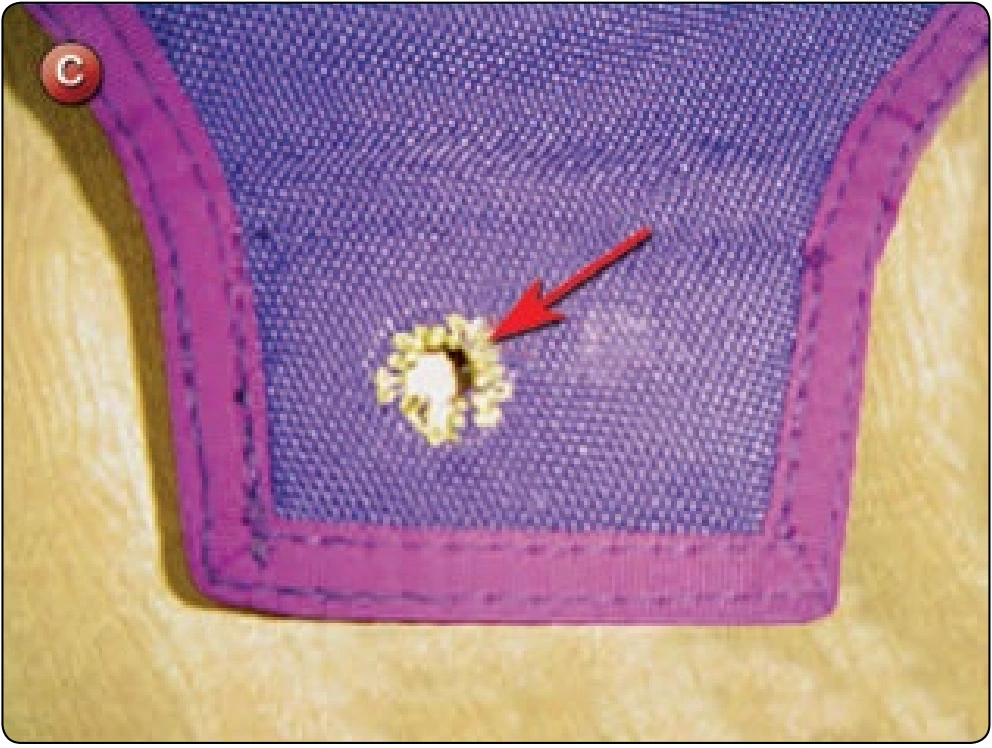
If, after removing the grommet, the fabric is damaged so that the grommet cannot be set properly, use the zigzag machine to stitch around the perimeter of the hole, reducing its size. [Figure C]
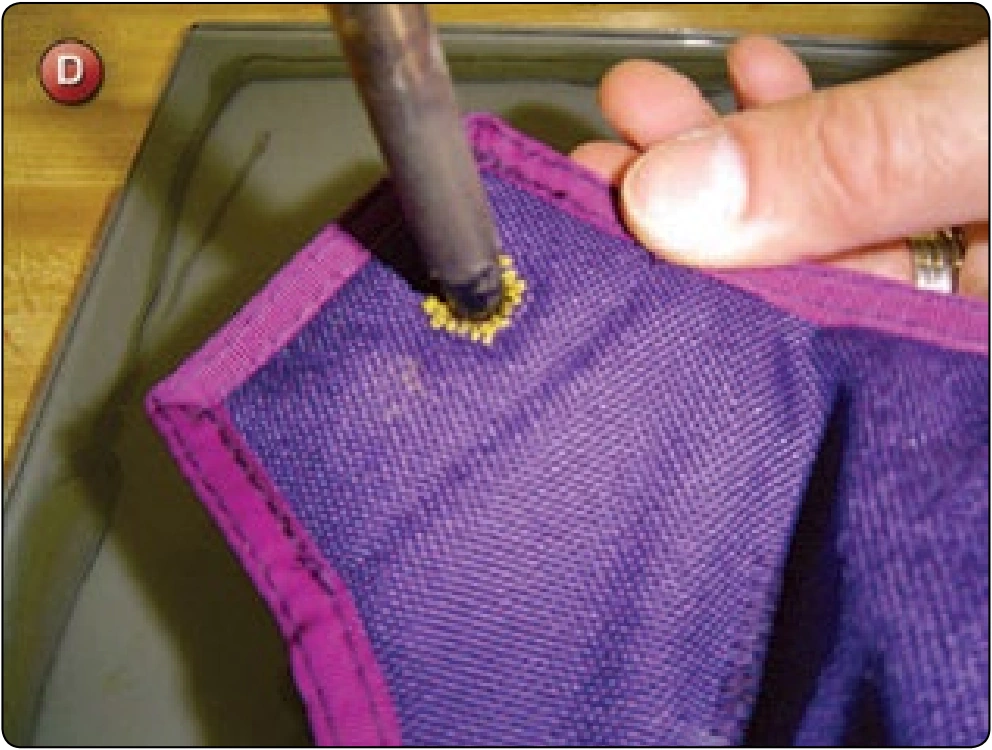
- Take the basting tip and pass it through the hole, searing the material. [Figure D] This solidifies the frayed and raw edge of the damaged material.
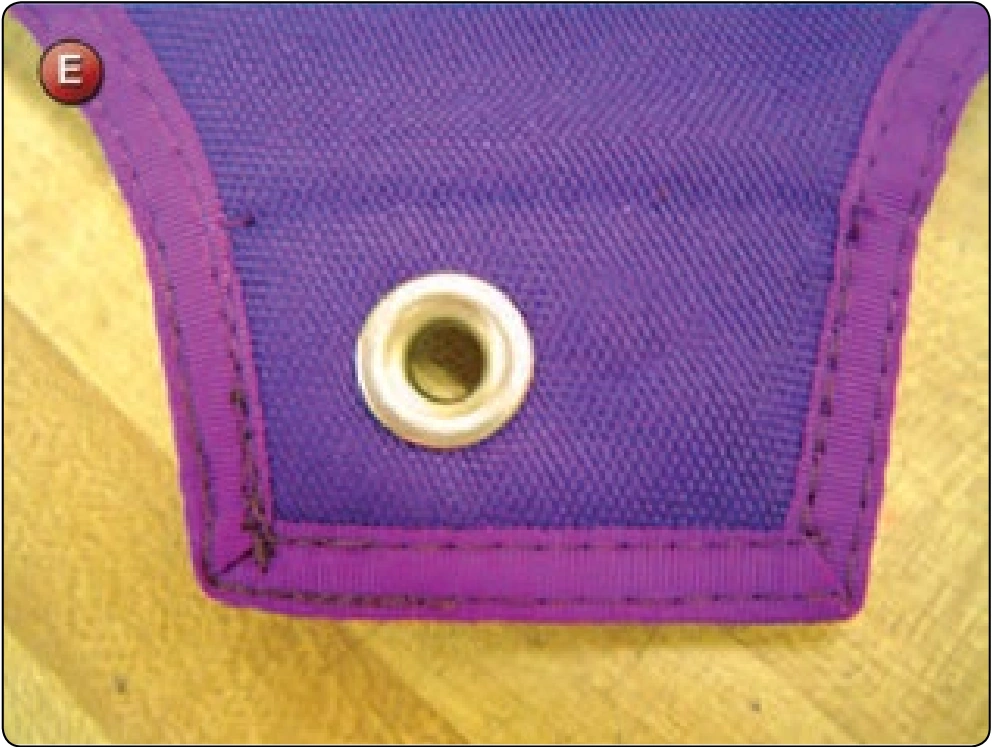
- Set the grommet in the repaired hole. [Figure E]
Inspection
- Check the grommet orientation.
- Grommet must be set tightly.
- There should be no sharp edges on inside of grommet.
Container Velcro® Replacement
- Applicable products: Most parachute assemblies that use Velcro®
- Description: Main riser cover Velcro® replacement
- Authorized repairmen: FAA Senior or Master Parachute Rigger
- Materials: E thread—color to match; Velcro®—color, width, and type to match
- Machines: 301 straight stitch—medium duty 7–11 SPI
- Equipment: Scissors, seam ripper or scalpel, marking pencil, and 6-inch ruler
Procedure
The name Velcro® is a trade name for what is known as “pressure sensitive hook and loop fastener.” It is a commonly used material for closure systems. Before the advent of Velcro®, snaps and zippers were the preferred method of closing containers. Velcro® changed how the parachute industry designed products. In the late 1970s and early 1980s, there was a tendency to overdo the use of Velcro® and problems with durability and interaction with other materials became known. Since then, the use of Velcro® has been reduced to those applications where it is superior to other methods and can be easily replaced.
Disassembly
- Identify the nature of the use of the Velcro®. Before you remove the piece, note how it is attached to the container. Some designs are such that several layers of construction have to be reversed to get to the location where the Velcro® was sewn on. If this is the case, the rigger may have to make a very expensive repair to replace a small piece of Velcro®.