Chapter 7
Repairs, Alterations, and Manufacture
Reassembly
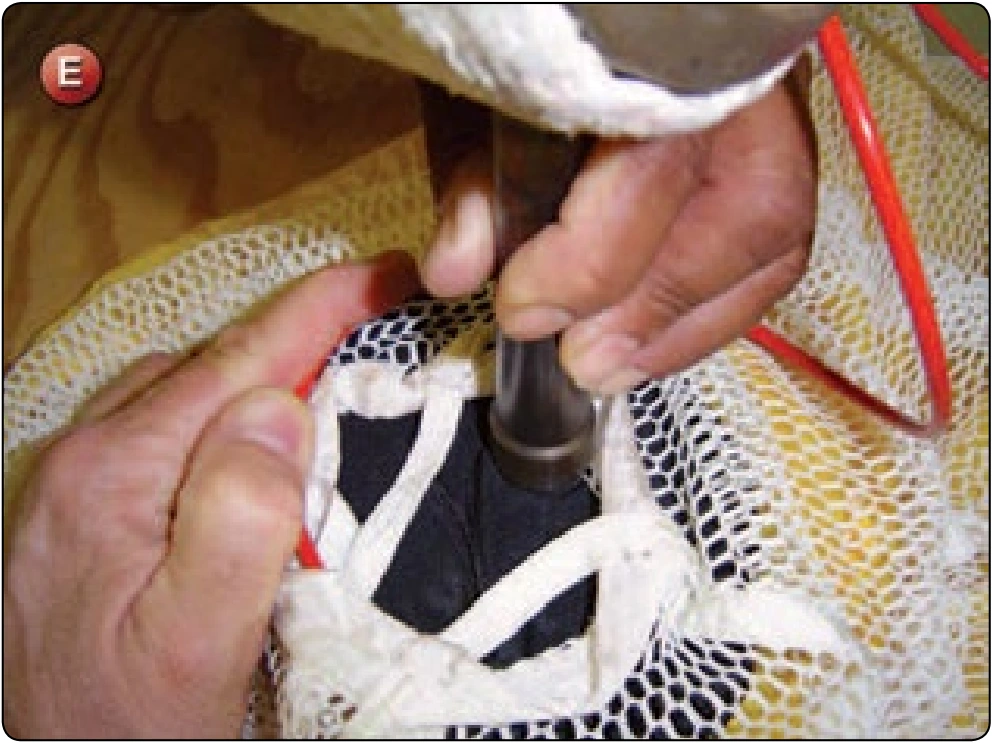
- Using the handset, set a new grommet. Be careful not to catch any fabric during the process. [Figure E]
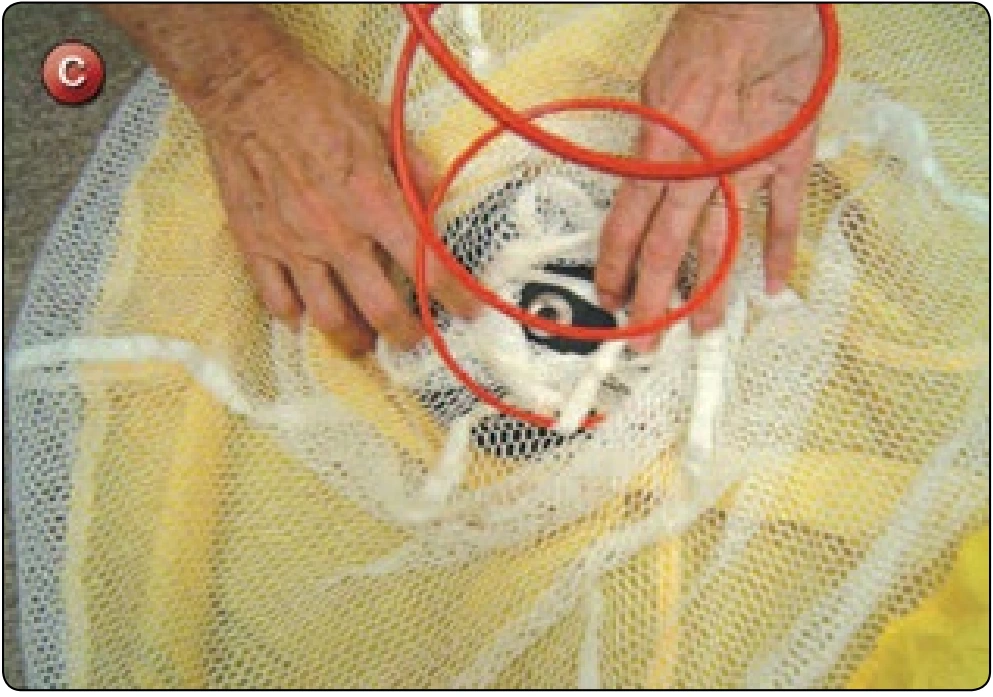
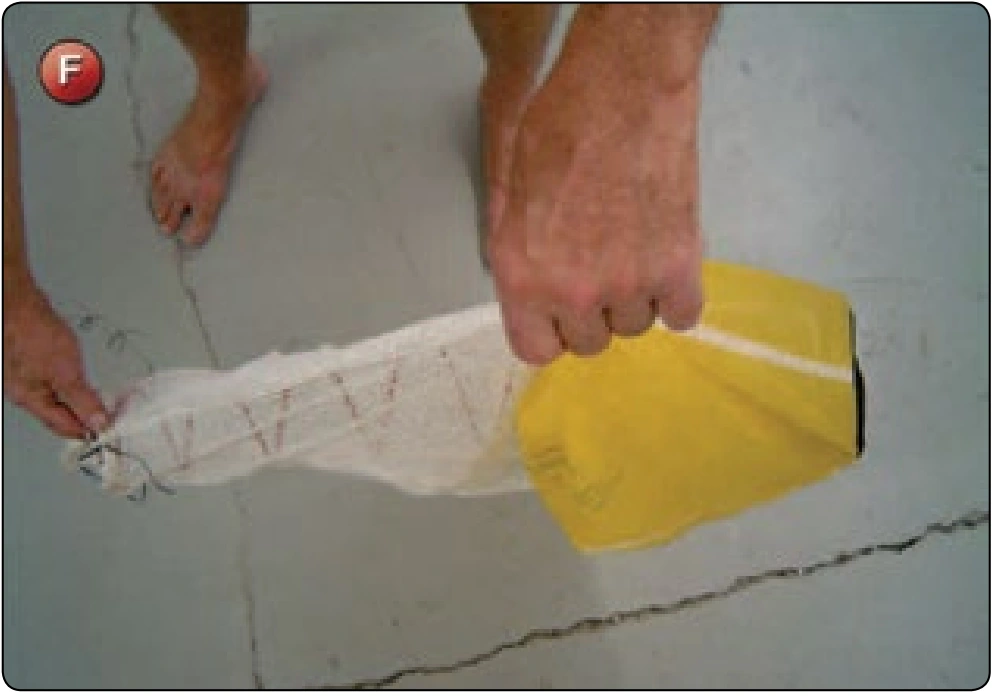
- Reposition the canopy over the spring. Grasp the skirt at the bottom end of the spring. Make sure that the radial tapes run directly from the bottom to the cap in a straight line. [Figure F] If the tapes “barberpole” around the spring, the pilot chute may not inflate properly on launch.
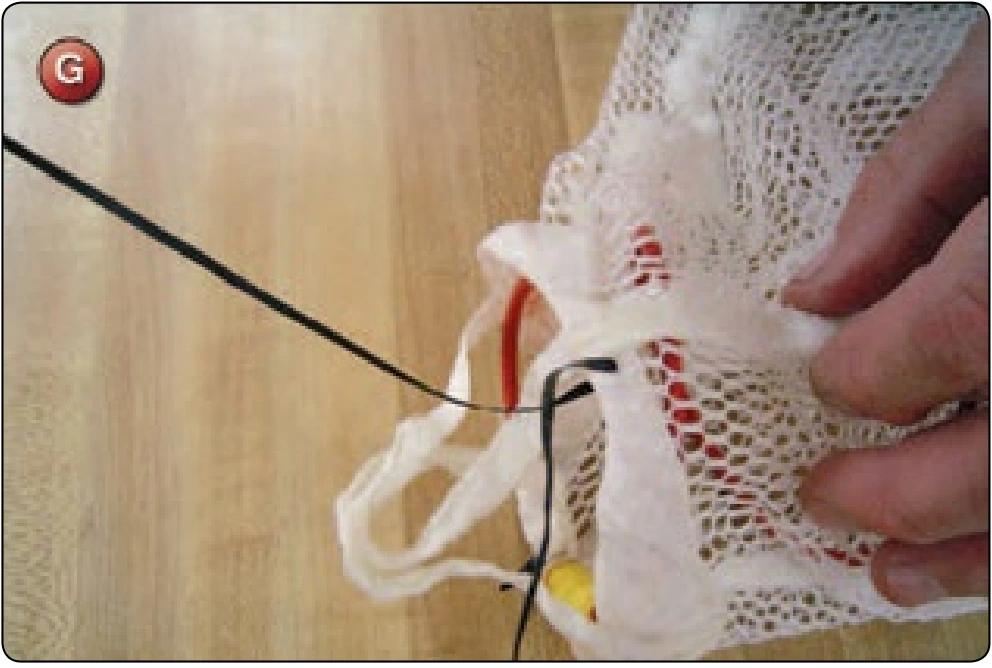
- Hand tack the bottom of the canopy to the bottom of the spring. [Figure G]
Inspection
- Verify the grommet is secure.
- Tapes should be straight.
- Tackings should be secure.
Disassembly: Mesh Repair
- Remove the tackings used to secure the base of the pilot chute to the spring.
- For small holes, turn the mesh inside out and zigzag the edges together.
Reassembly
- Reattach the bottom of the pilot chute to the spring with hand tacking.
Inspection
- Tapes should be straight.
- Tackings should be secure.
Reserve Free Bag Repair—Grommet Pullout
- Applicable products: Most reserve free bags
- Description: General repair to the reserve free bag
- Authorized repairmen: FAA Master Parachute Rigger
- Materials: E thread, 1½ inch Type-3 tape, and grommets to match the original type and size
- Machines: 301 straight stitch—medium duty 7–11 SPI
- Equipment: Scissors, seam ripper or scalpel, marking pencil, 6-inch ruler, hot knife, grommet set, and hole punch
Procedure
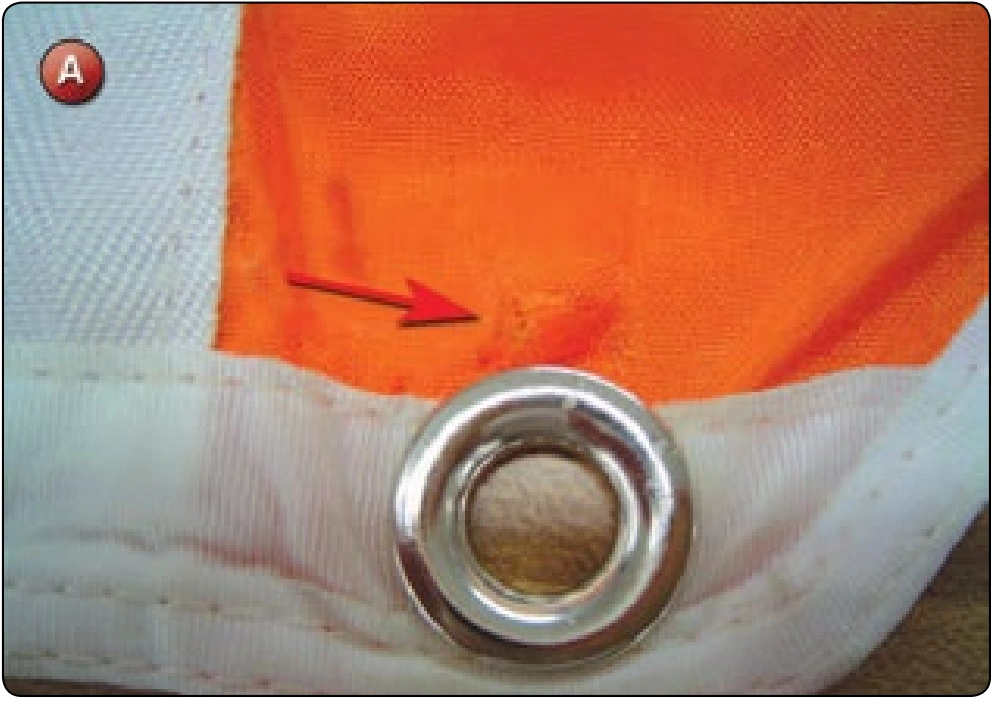
Most reserve free bag designs are fairly robust. The most common types of damage seen are the pulling out of the grommets in the tongue of the bag and tearing out of fabric from the binding tape due to overstressing during packing. [Figure A] Damage to the bridle portion of the free bag is generally not repairable nor allowed by most manufacturers. Consequently, any damage in this area would necessitate the replacement of the bag. The following procedure deals with the repair of the tongue area and replacement of the grommets.