Aviation Training Experts™

handbook

Parachute Rigger Handbook

FAA-H-8083-17A Version 2015 (Change 1)

Chapter 7

Repairs, Alterations, and Manufacture

  1. Remove the grommets from the tongue. [Figure B]
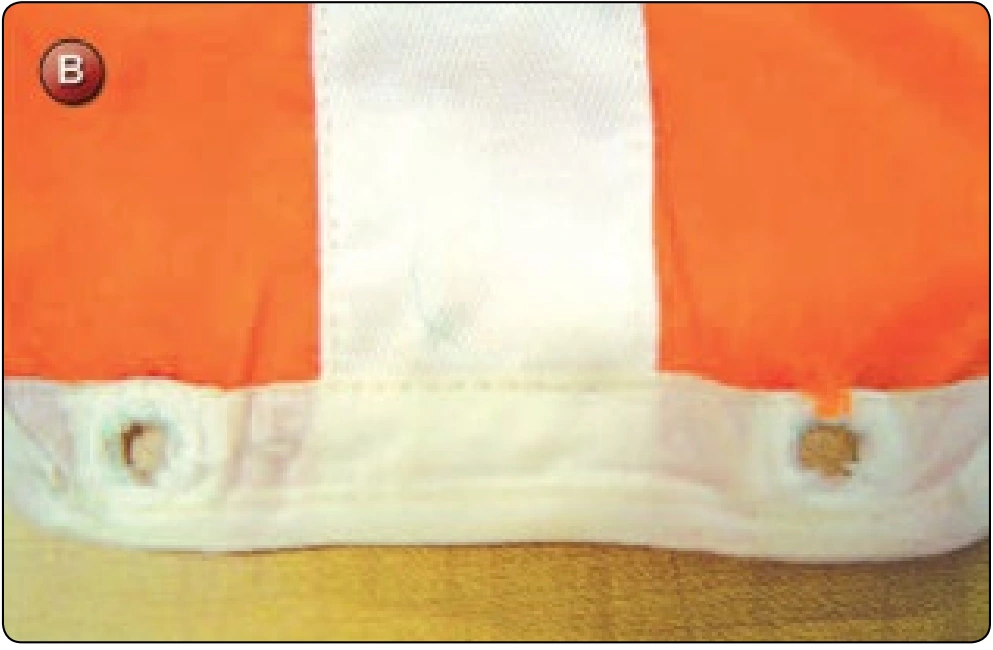
Reserve Free Bag Repair—Grommet Pullout, procedure photograph 2 (source page 7-67).
  1. Remove the binding from the tongue area by unpicking the stitching. [Figure C]
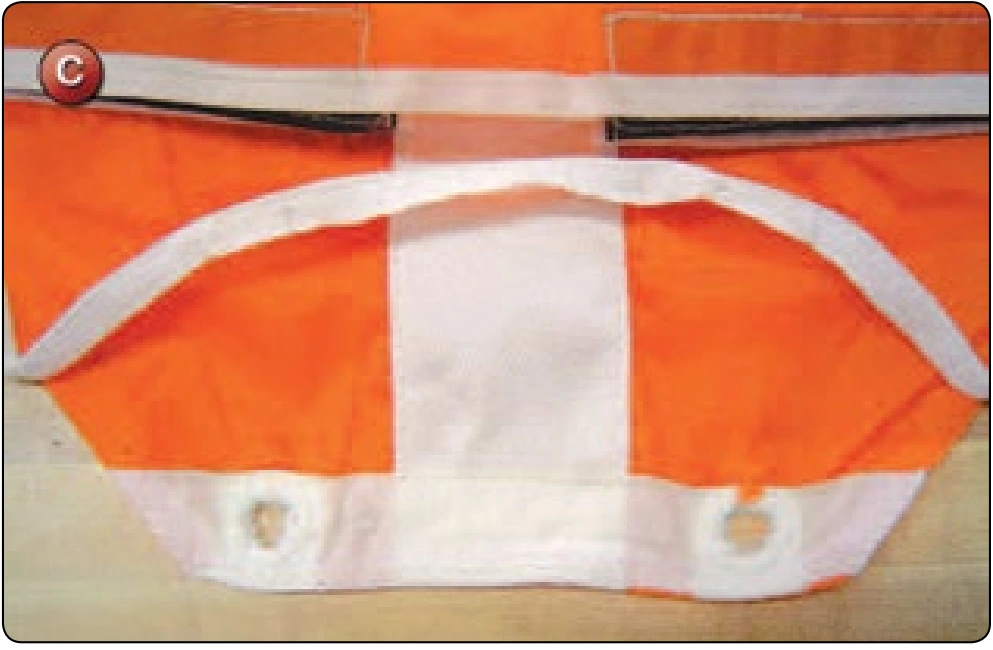
Reserve Free Bag Repair—Grommet Pullout, procedure photograph 3 (source page 7-67).

Reassembly

  1. Cut two pieces of 1½ inch Type-3 tape and overlay them on each side of the damaged area. Sew around the edges of the tape and down the center to secure it. [Figure D]
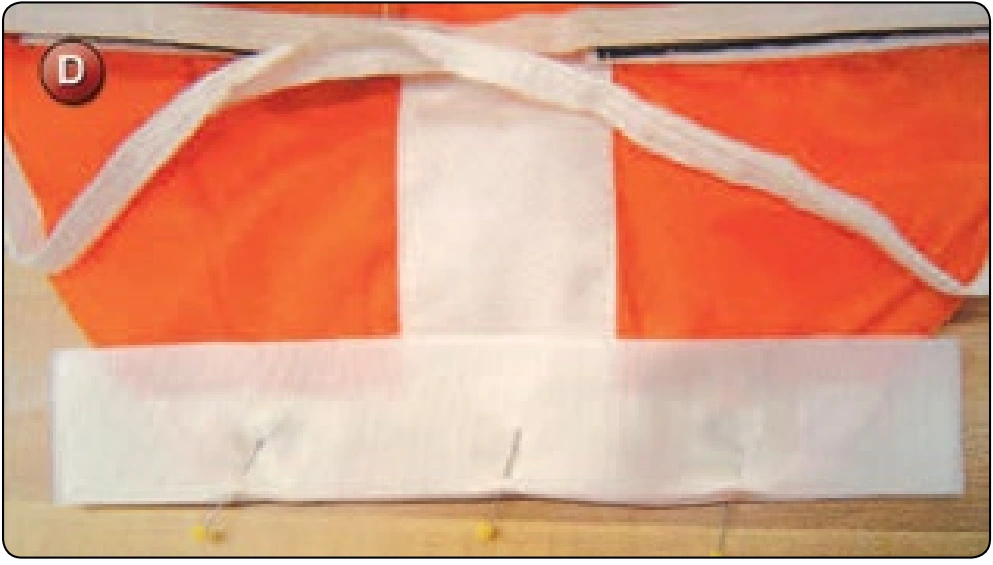
Reserve Free Bag Repair—Grommet Pullout, procedure photograph 4 (source page 7-68).
Reserve Free Bag Repair—Grommet Pullout, procedure photograph 7 (source page 7-68).
  1. Trim the ends of the tape to match the shape of the tongue.
  2. Using the single needle machine, reapply the binding tape around the edge of the tongue. [Figure E]
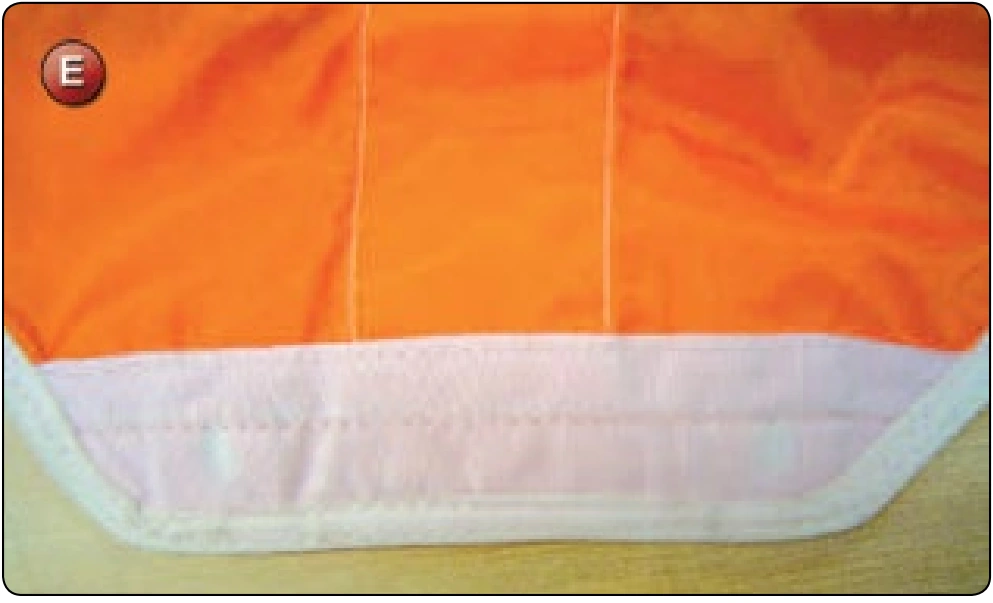
Reserve Free Bag Repair—Grommet Pullout, procedure photograph 5 (source page 7-68).
  1. Punch new holes over the exact position as the original ones. [Figure F]
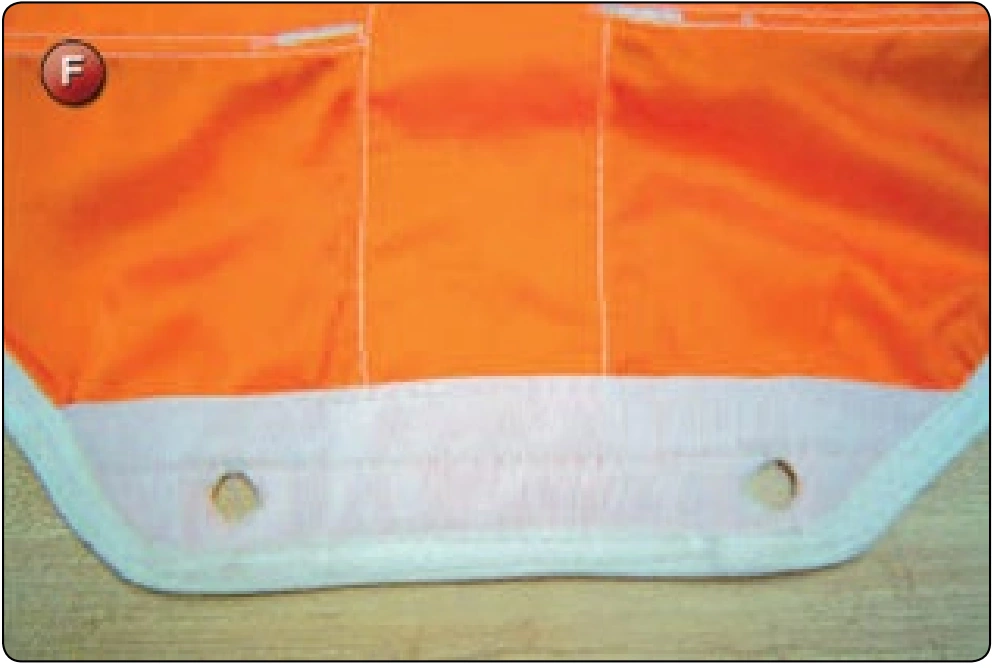
Reserve Free Bag Repair—Grommet Pullout, procedure photograph 6 (source page 7-68).
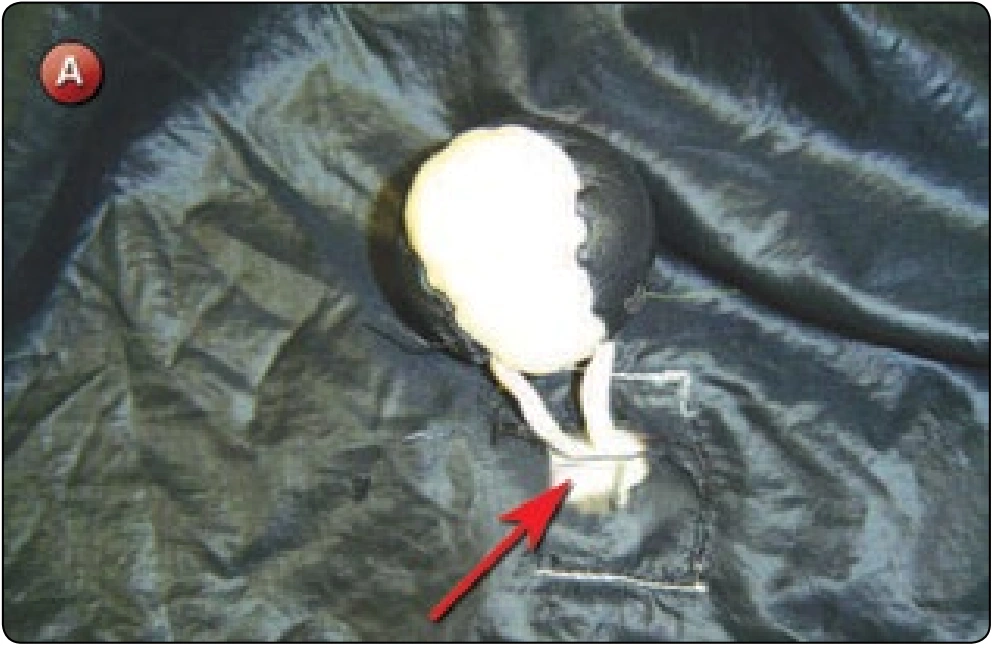
Main Pilot Chute Repair—Top Canopy Reinforcing, procedure photograph 1 (source page 7-68).
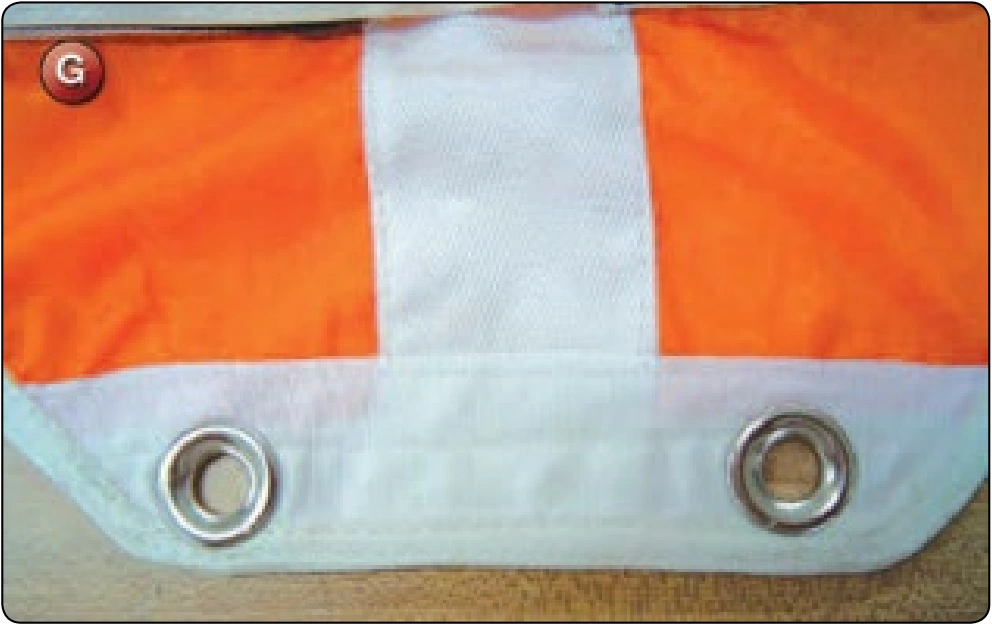
  1. Insert new grommets. [Figure G]

Inspection

  • Reinforcing tape must be secure.
  • Binding must be re-sewn.
  • Grommets must be set and secure.

Main Pilot Chute Repair—Top Canopy Reinforcing

  • Applicable products: Most main hand deploy pilot chutes
  • Description: Repair of the apex area of a hand deploy pilot chute
  • Authorized repairmen: FAA Senior or Master Parachute Rigger
  • Materials: E thread and ¾ inch Type-3 tape
  • Machines: 301 straight stitch—medium duty 7–11 SPI
  • Equipment: Scissors, seam ripper or scalpel, marking pencil, 6-inch ruler, and hot knife

Procedure

Most repairs of the main pilot chute consist of fabric or mesh repairs and may be repaired similar to canopy procedures.