
Chapter 7
Repairs, Alterations, and Manufacture
- Place a mark at the bottom of the confluence wrap and carefully remove the confluence wrap from the riser.
- Remove the old locking loop.
Reassembly
- Cut a new loop the length of the old one plus 2 inches.
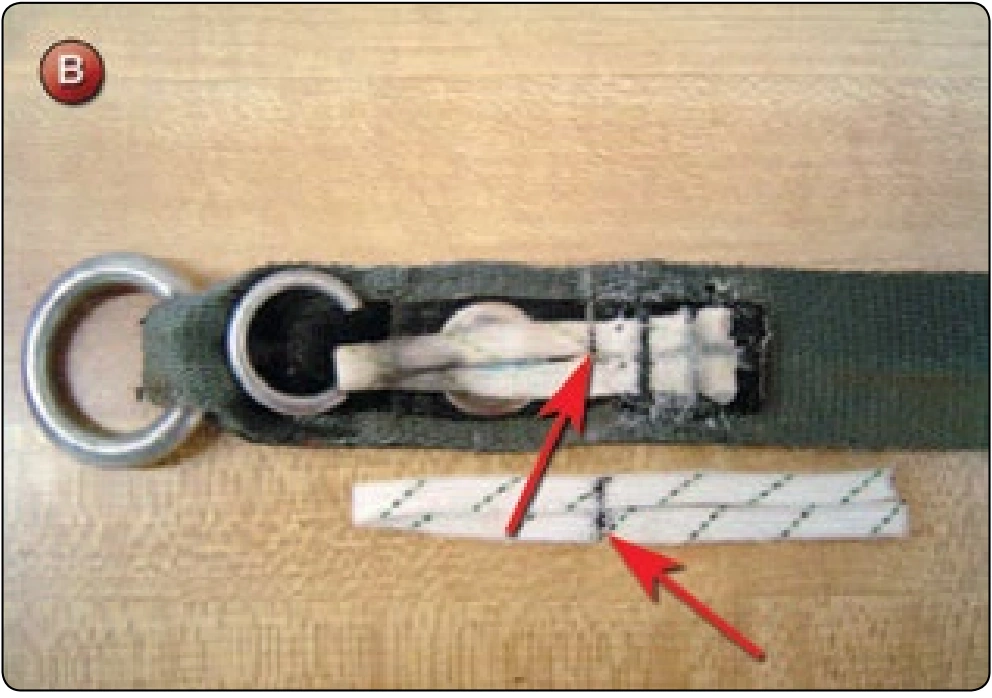
- Fold the new loop in half and lay alongside the old loop. Transfer the marks from the old loop to the new one. [Figure B]
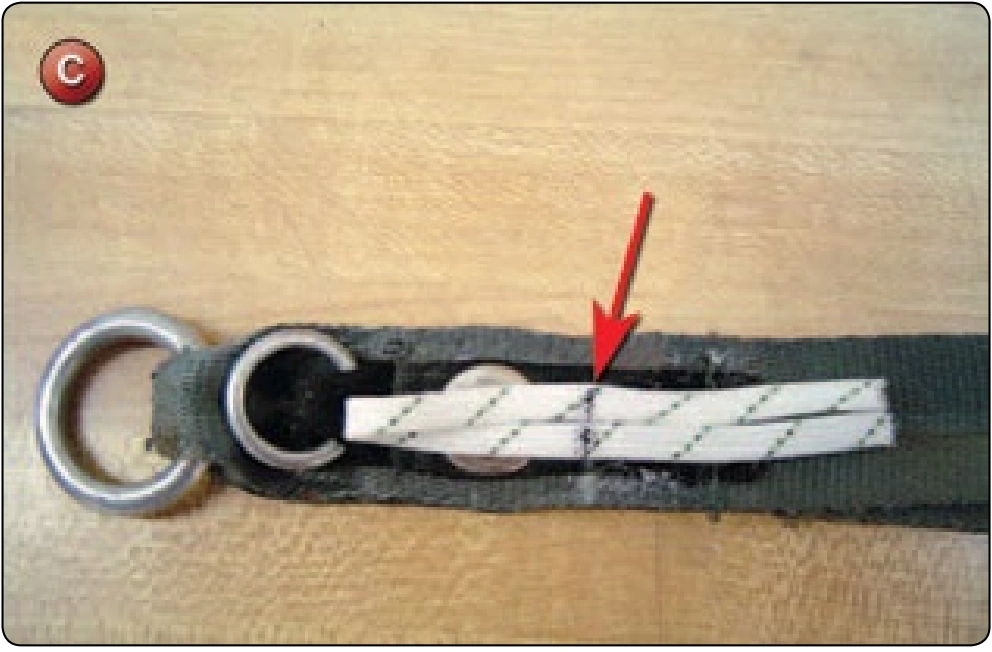
- Align the marks on the loop with the mark at the bottom of the confluence wrap on the riser. [Figure C] Glue the loop in place.
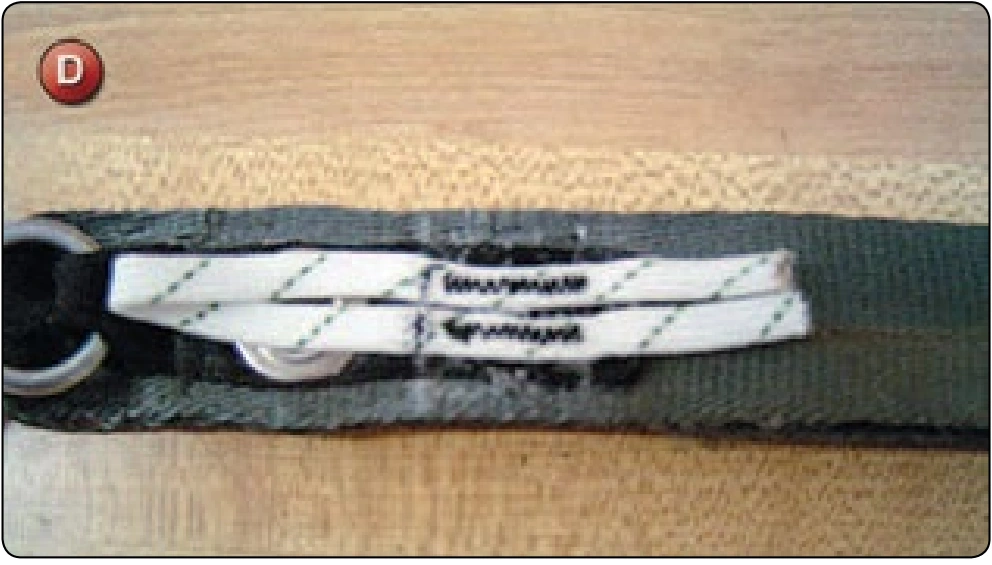
- Sew the loop with the 308 zigzag machine. [Figure D] Set the stitch width at approximately 1⁄8 inch and 10 SPI.
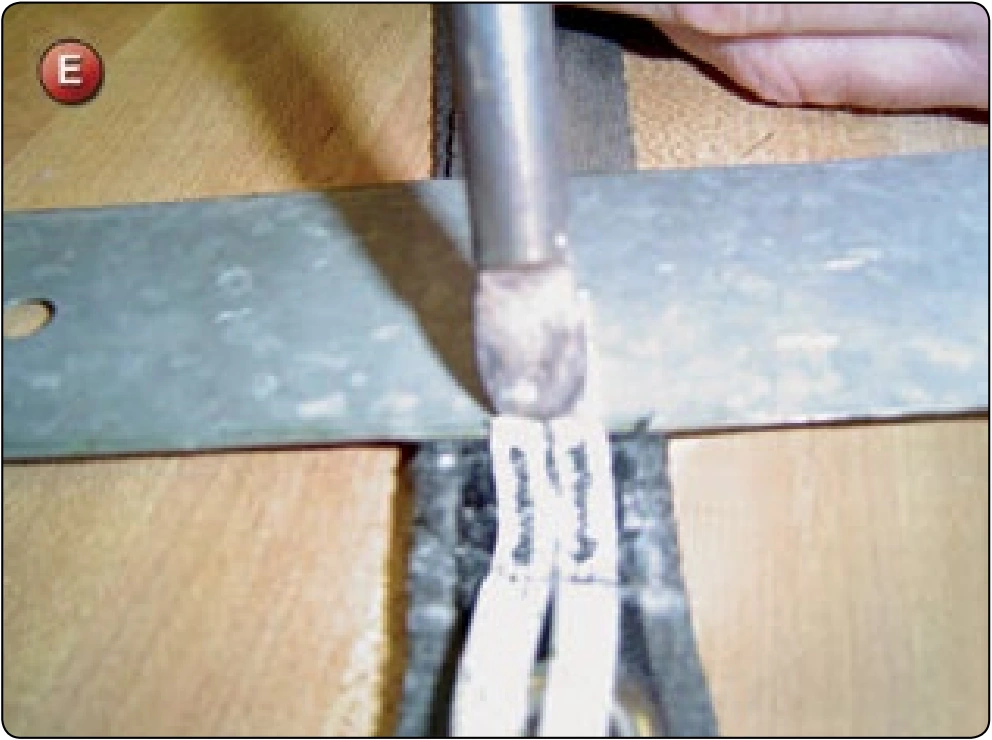
- Trim the excess loop off at the top. [Figure E]
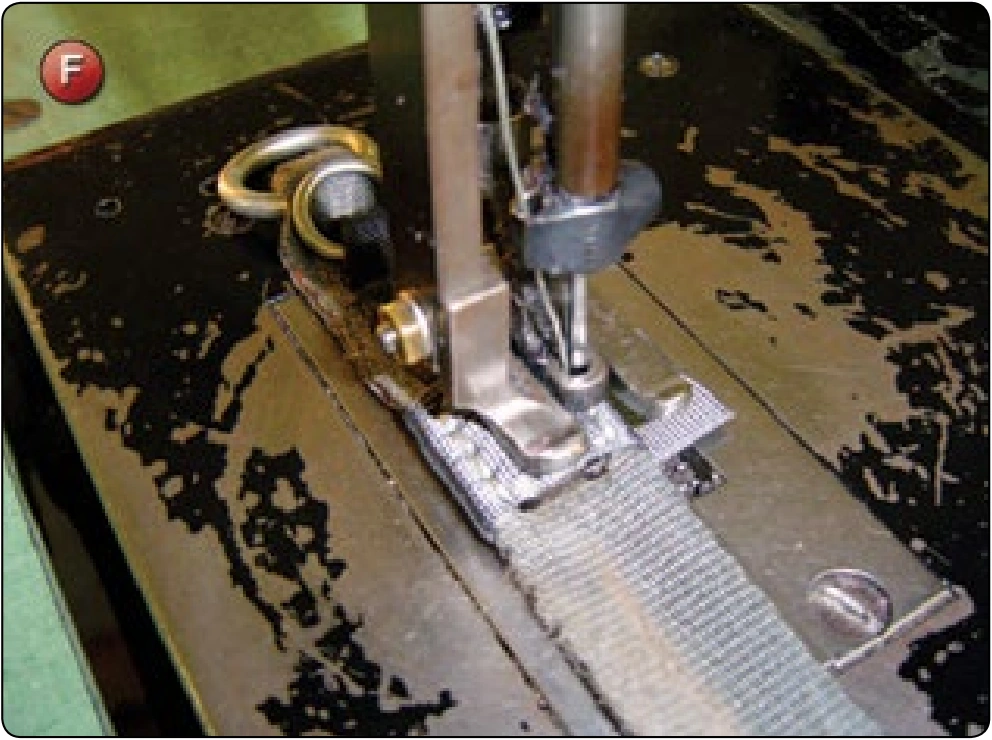
- Reinstall the confluence wrap using the harness machine. [Figure F]
Inspection
- Before installing the confluence wrap, make sure the zigzag stitching is complete.
- The loop length should be the same as the old loop.
- The confluence wrap must be reinstalled.
Main Riser Steering Toggle Velcro® Replacement
- Applicable products: Most main risers with a Velcro® toggle installation
- Description: Replacement of the Velcro® toggle keeper on main risers
- Authorized repairmen: FAA Senior or Master Parachute Rigger
- Materials: E thread, Velcro® of the appropriate width and type
- Machines: 301 straight stitch—medium duty 7–11 SPI
- Equipment: Scissors, seam ripper or scalpel, marking pencil, and 6-inch ruler
Procedure
The term “Velcro®” is used in a generic fashion for hook and loop fastener. While the rigger should replace the Velcro® to match the original configuration. This installation has proven superior for its holding ability and the secure line stow configuration.
Disassembly
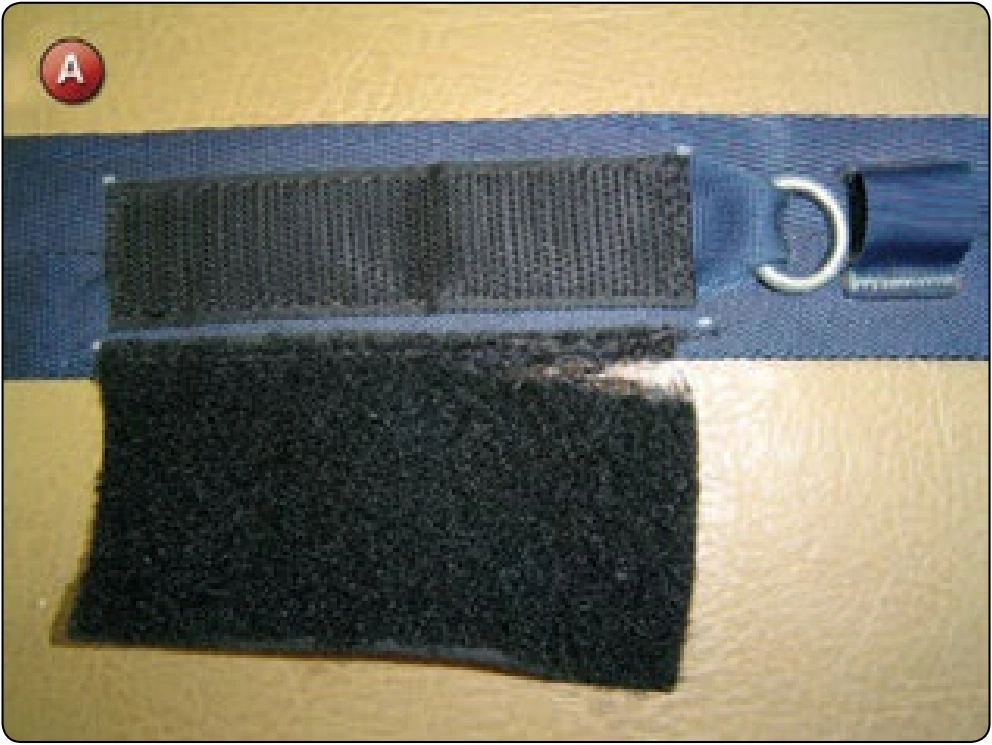
- Mark the location of the old Velcro®. [Figure A]
- Remove the old Velcro®.
Reassembly
- Cut a new piece(s) of Velcro® to match the original.
- Position the Velcro® to the original location.
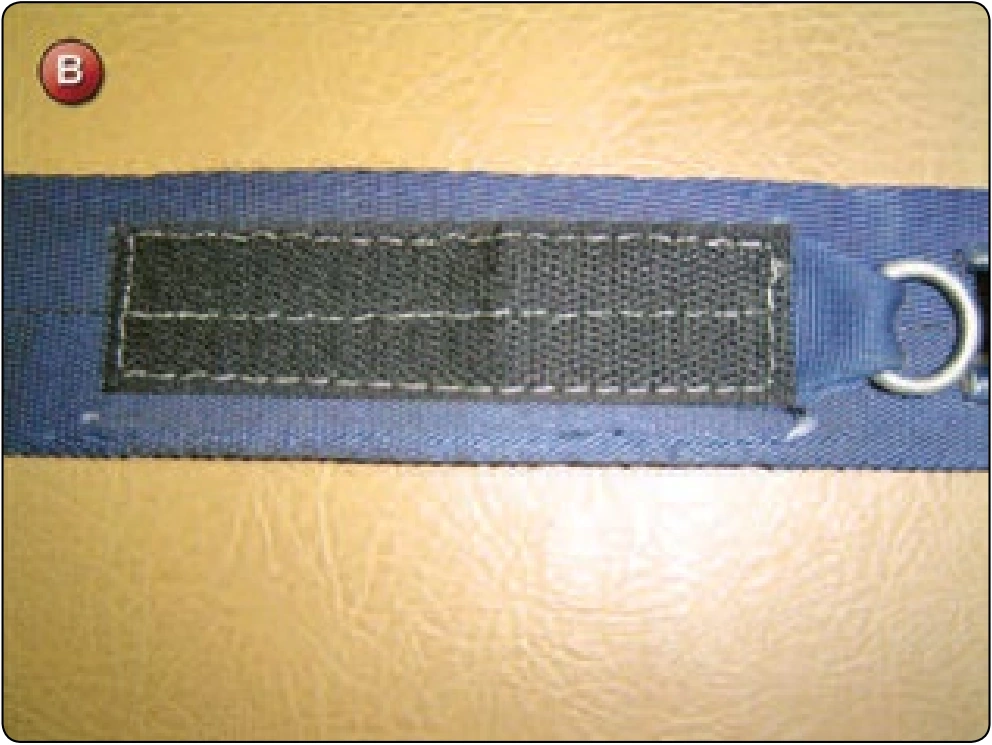
- Sew the hook Velcro® with a single-needle machine. Sew an additional row of stitching down the center of the Velcro®. [Figure B] This keeps the center from lifting during use and tearing out the edge stitching.
- Position the loop line stow Velcro® to match the hook and sew along the edge, overstitching the ends. [Figure C]