Aviation Training Experts™

handbook

Parachute Rigger Handbook

FAA-H-8083-17A Version 2015 (Change 1)

Chapter 7

Repairs, Alterations, and Manufacture

  1. Thread the loop ends of the bridle through the bottom support tapes of the pilot chute. [Figure B]
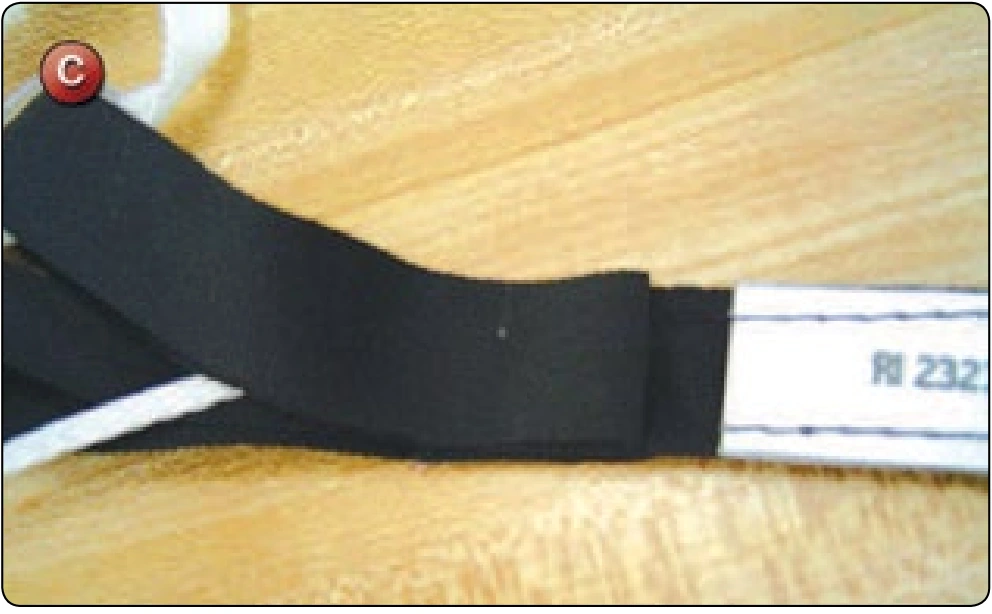
  2. Glue the ends in place with the glue gun. [Figure C]
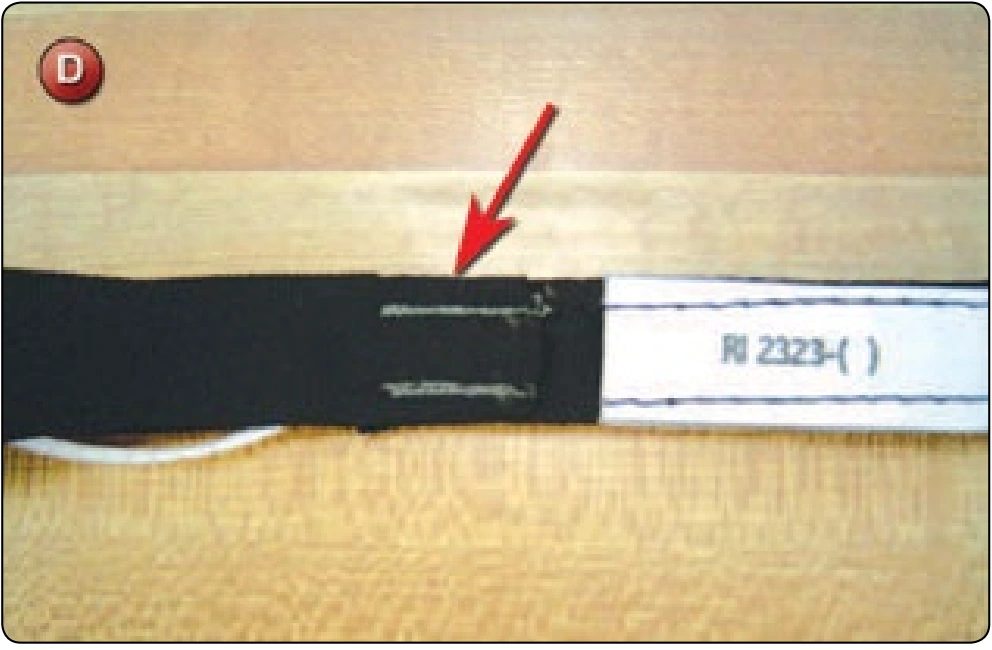
  3. Bar tack the bridle along the sides. Do not capture the centerline. [Figure D]
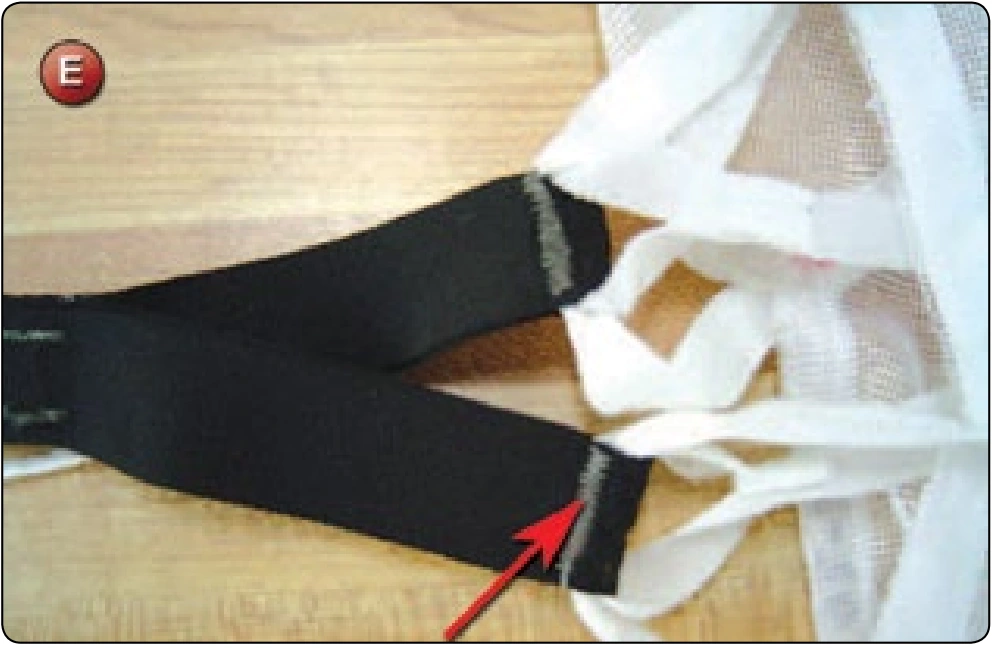
  4. Align the bridle tapes on the center of the pilot chute attachment tapes and bar tack in place. [Figure E]
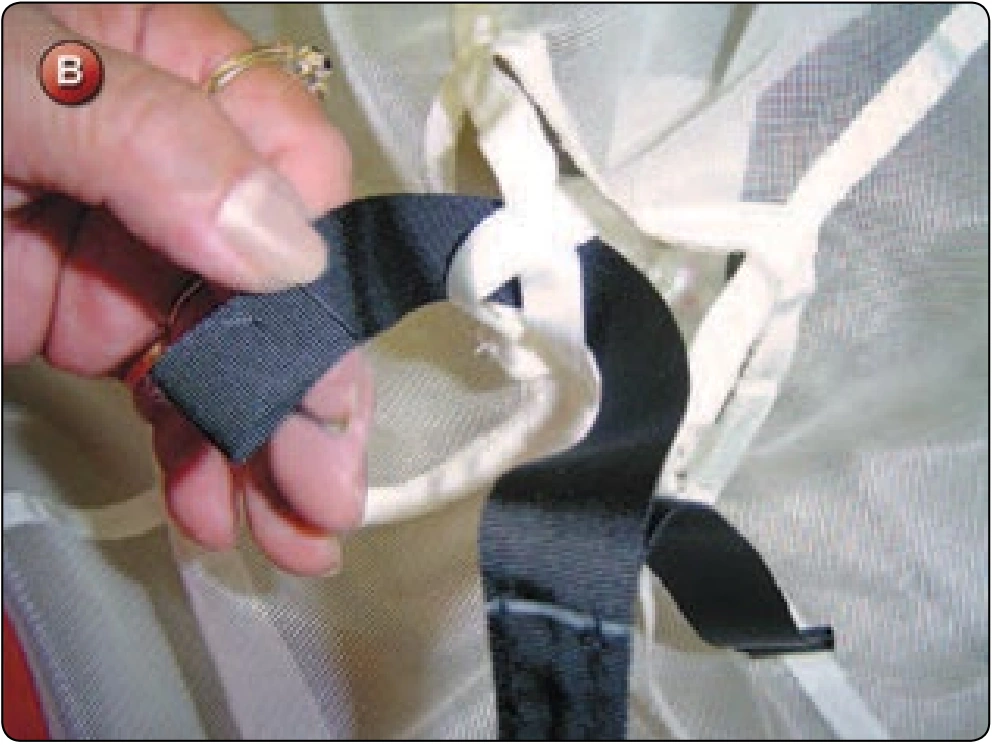
Main Pilot Chute Collapsible Bridle Replacement, procedure photograph 2 (source page 7-70).
Main Pilot Chute Collapsible Bridle Replacement, procedure photograph 6 (source page 7-70).
Main Pilot Chute Collapsible Bridle Replacement, procedure photograph 3 (source page 7-70).
Main Pilot Chute Collapsible Bridle Replacement, procedure photograph 4 (source page 7-70).
Main Pilot Chute Collapsible Bridle Replacement, procedure photograph 7 (source page 7-70).
Main Pilot Chute Collapsible Bridle Replacement, procedure photograph 5 (source page 7-70).
  1. Check the trim of the pilot chute centerline. When the centerline is taut, the apex should be even with or no more than 1 inch below the skirt of the canopy.
  2. Anchor the bag end of the pilot chute at the bag stop. Grasp the Spectra® centerline and pull to “cock” the bridle.
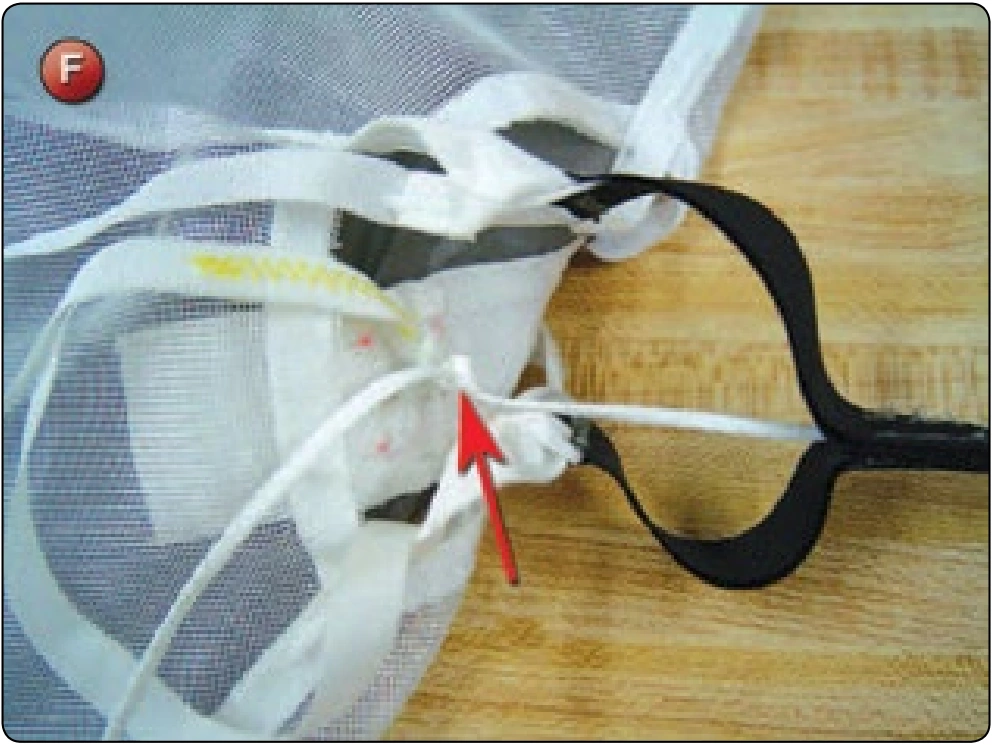
  3. Route the free end of the Spectra® centerline up through the center of the pilot chute and through the loop of the pilot chute centerline at the apex. Grasp the handle of the pilot chute and apply tension so that the centerline of the pilot chute and the bridle are equal. Pinch the Spectra® line so that the location will not move. Secure with 2 half hitches. [Figure F]
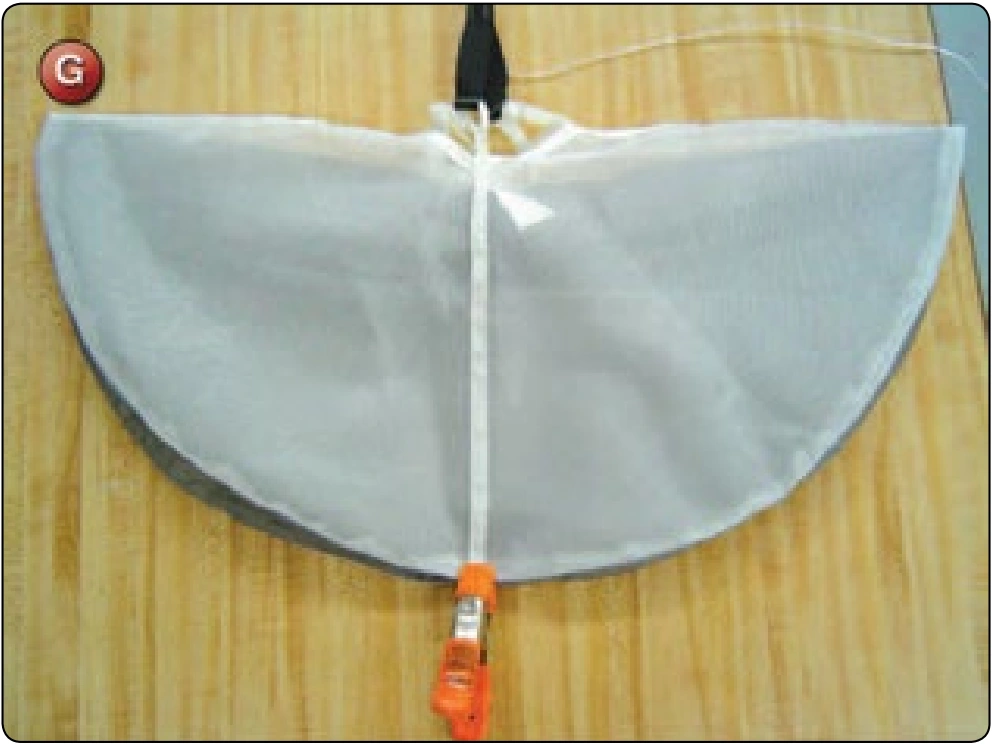
  4. Change the anchor point to the end of the bridle. Stretch the bridle so that the pilot chute is collapsed. Lay the pilot chute out with the mesh exposed and secure the radial tapes with the pony clamp at the mesh/fabric seam. [Figure G] Pull moderate tension on the pony clamp and check the location of the apex of the pilot chute at the opening of the bridle.
  5. Again anchor the bridle at the bag stop and cock the bridle. Check the position of the apex of the pilot chute. It should be within 1 inch of the skirt. [Figure H]
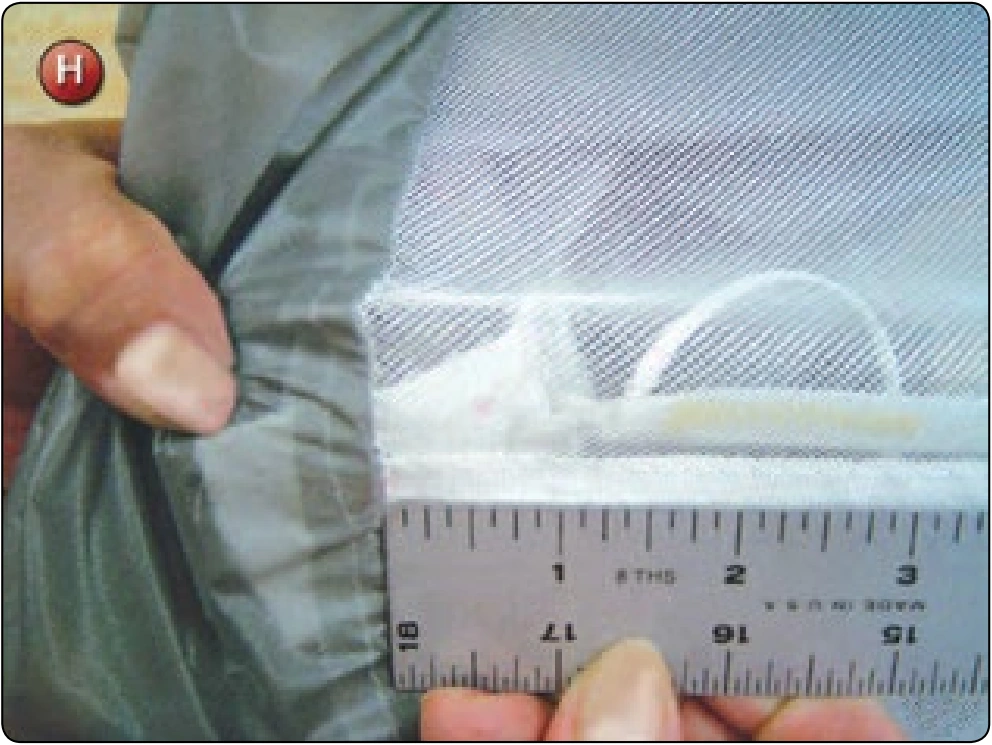
Main Pilot Chute Collapsible Bridle Replacement, procedure photograph 8 (source page 7-71).
  1. Finger-trap the running end of the Spectra® centerline for a distance of 3 inches. [Figure I] Bar tack or zigzag to secure. Trim the excess line.
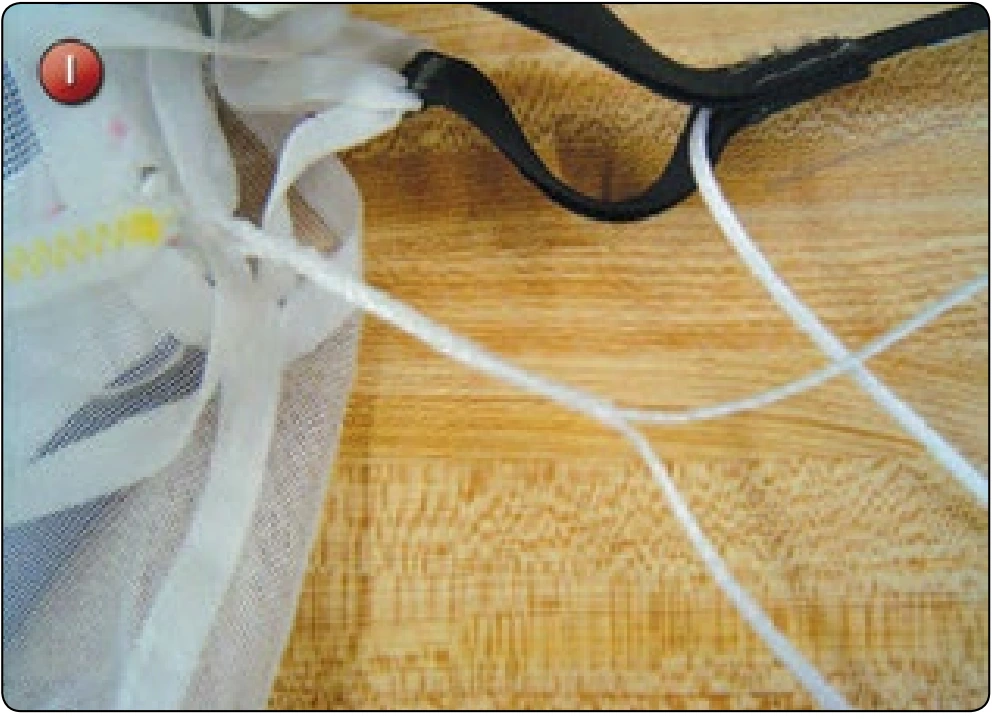
Main Pilot Chute Collapsible Bridle Replacement, procedure photograph 9 (source page 7-71).
  1. Cock the bridle. Take the hemostats and grasp the Spectra® centerline at the eye of the bridle. [Figure J]
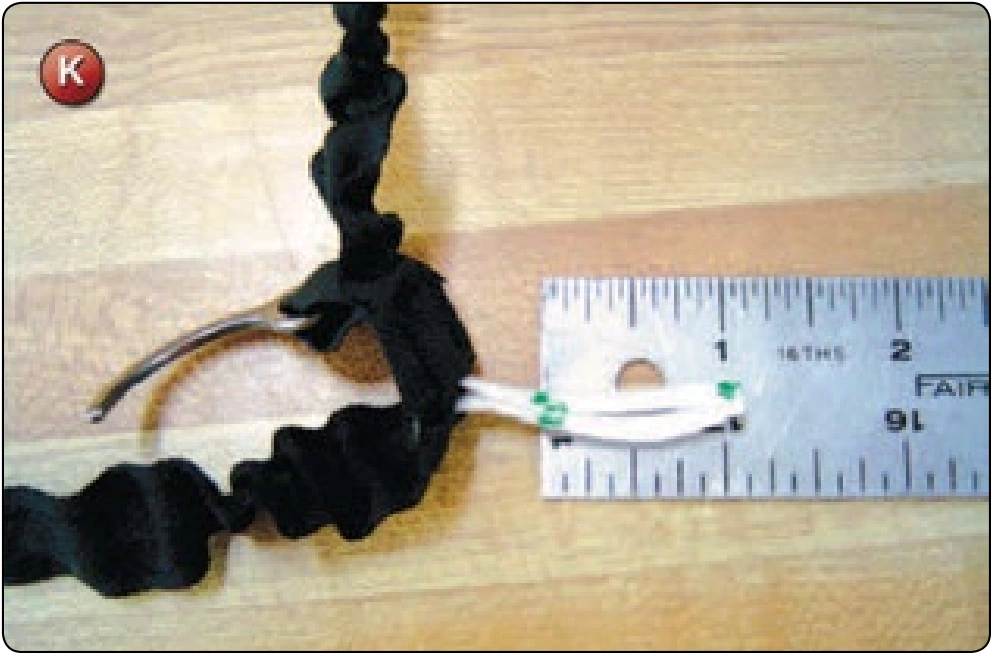
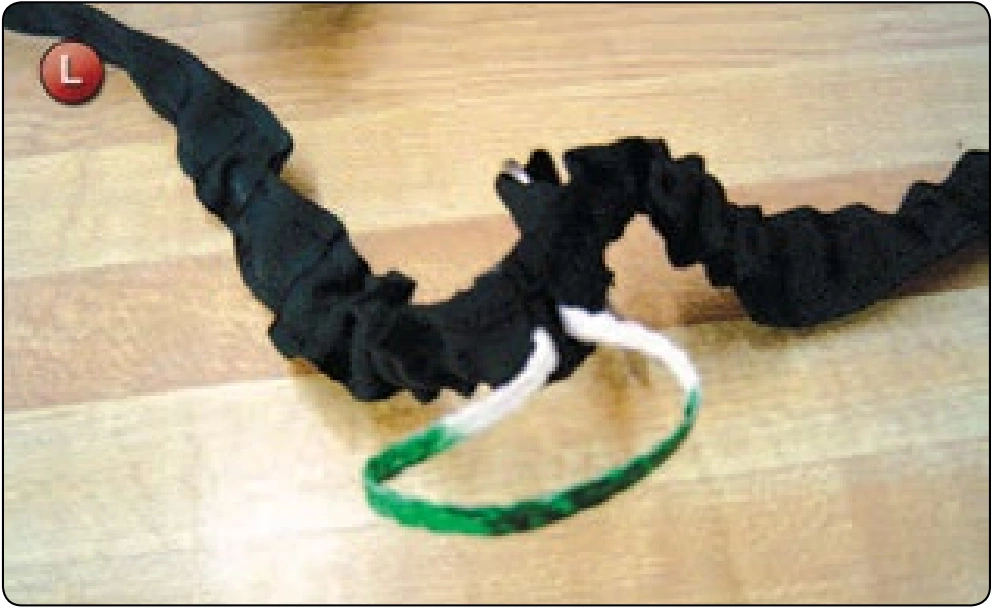
  2. Pull the centerline out to expose approximately 3 inches each side of the hemostats. Take the green felt tip marker and place a mark at the hemostat location and 1 inch either side. [Figure K] Color the line between the marks and on both sides. [Figure L]
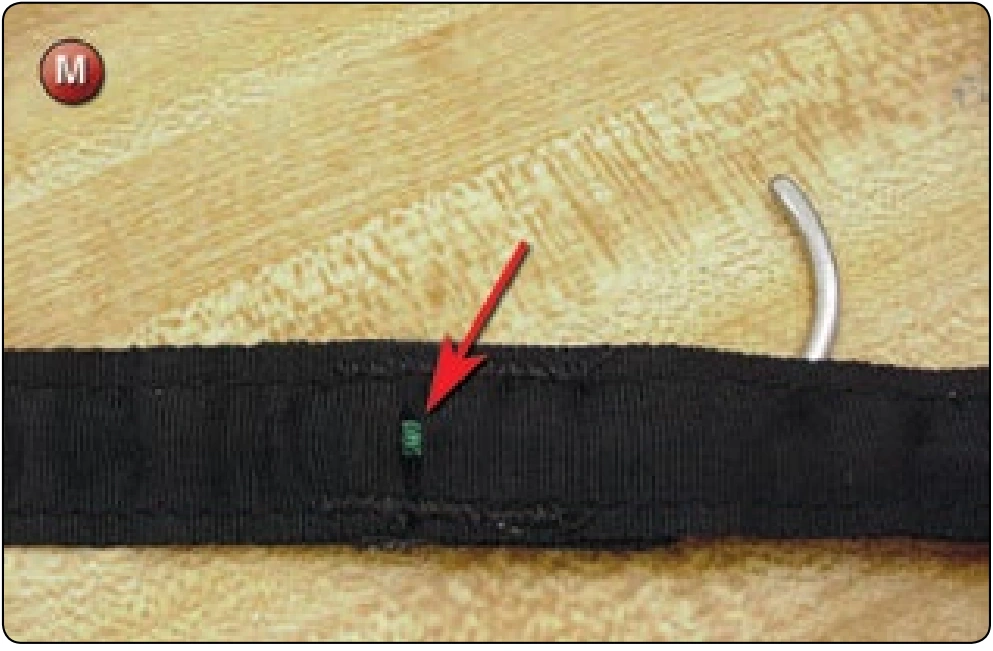
  3. Pull the bridle tight to reposition the centerline and check the green color of the eye. [Figure M]

Inspection

  • Check the bar tack at the pilot chute loops and at the base.
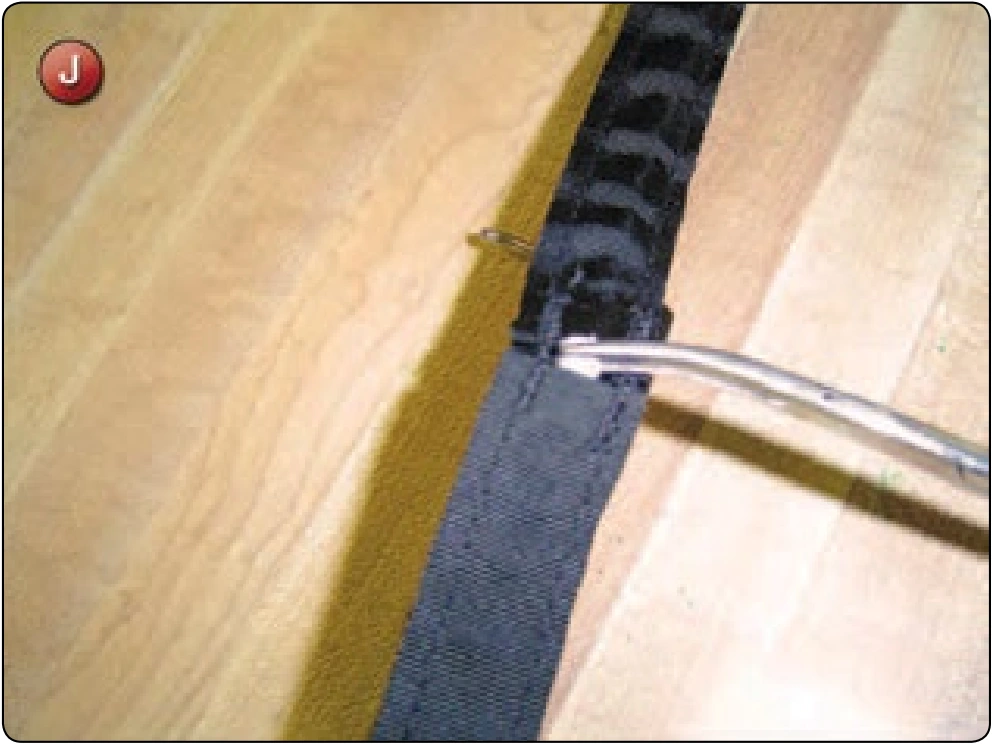
Main Pilot Chute Collapsible Bridle Replacement, procedure photograph 10 (source page 7-71).
Main Pilot Chute Collapsible Bridle Replacement, procedure photograph 11 (source page 7-71).
Main Pilot Chute Collapsible Bridle Replacement, procedure photograph 12 (source page 7-71).
Main Pilot Chute Collapsible Bridle Replacement, procedure photograph 13 (source page 7-71).
  • Verify the Spectra® centerline is knotted, fingertrapped and sewn.
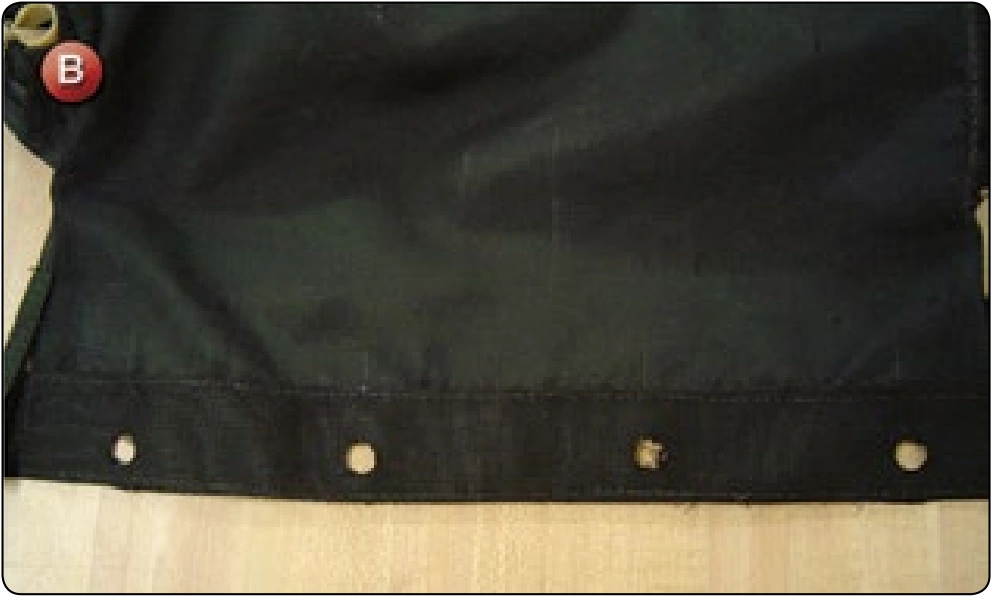
Main Deployment Bag Repair—Closing Flap Grommet Pullout, procedure photograph 2 (source page 7-72).