
Chapter 7
Repairs, Alterations, and Manufacture
Bottom of Container (BOC) Pocket
- Applicable products: All containers that have a BOC pocket configuration
- Description: Fabrication of a BOC pocket
- Authorized repairmen: FAA Senior or Master Parachute Rigger
- Materials: E thread, Para-pak fabric, Spandex® or equivalent elastic fabric, 5⁄8 inch elastic tape, and Type-3¾ inch binding tape
- Machines: 301 straight stitch—medium duty 7–11 SPI, 301 double needle with tape folder 7–11 SPI, and 1 inch × 42 stitch bar tack
- Equipment: Scissors, marking pencil, 18-inch ruler, carpenter’s square, and hot knife
Procedure
Layout
- Draw the shape of the BOC pocket on the para-pak fabric to the size required to fit the pilot chute. This will be the base panel.
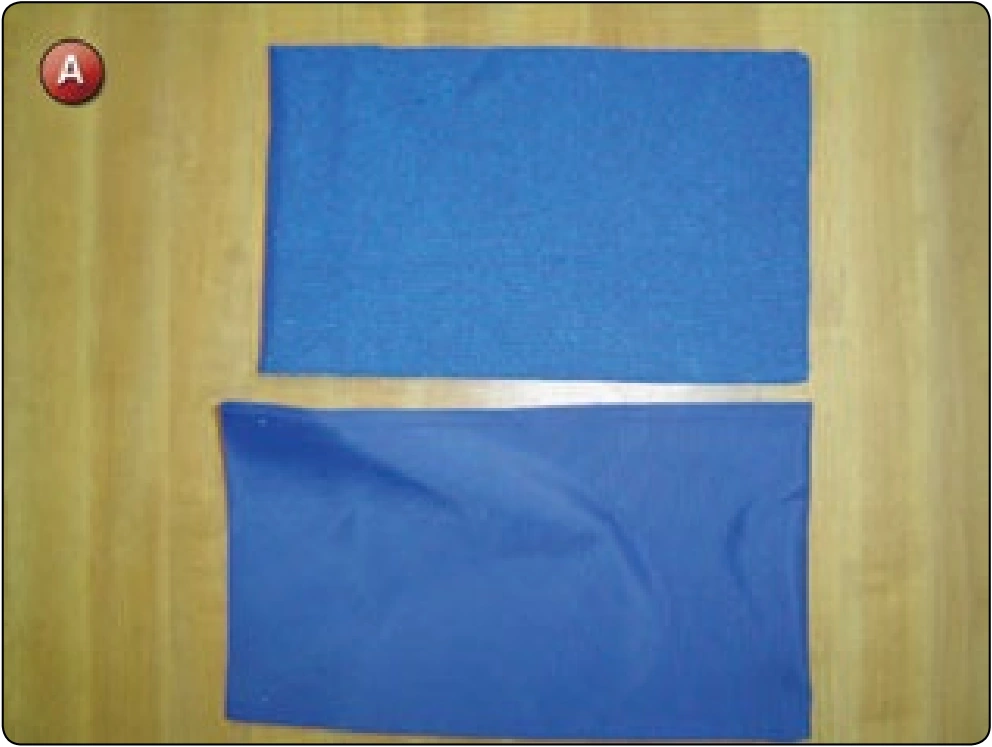
- Fold the Spandex® fabric in half and cut to the same size as the base panel. This will be the pocket panel. Make sure the grain of the fabric is parallel with the length of the pocket for stretch. Trim ½ inch off the end opposite the fold. [Figure A]
Assembly
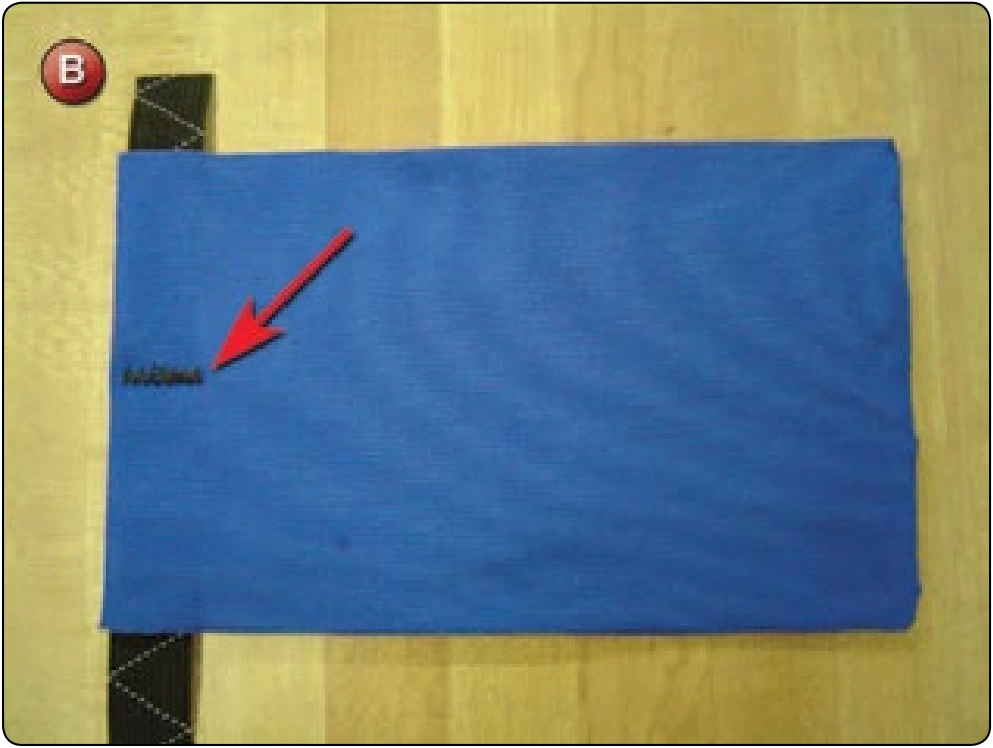
- Open the sides of the pocket at the folded end and insert the length of elastic tape. Sew the tape in place with the single needle on both sides.
- Mark the center of the mouth and bar tack the elastic reinforcing as shown. [Figure B]
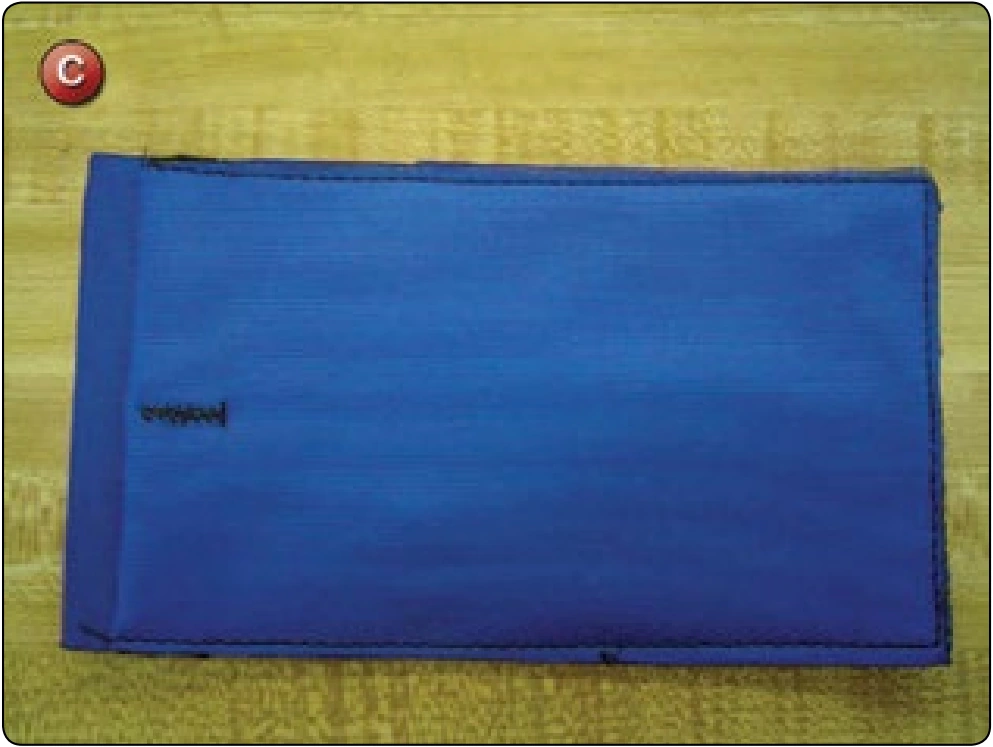
- Lay the pocket on the para-pak base and sew in place. [Figure C] (Sewing with the Spandex® on the bottom and the para-pak on top minimizes stretch from the presser foot.)
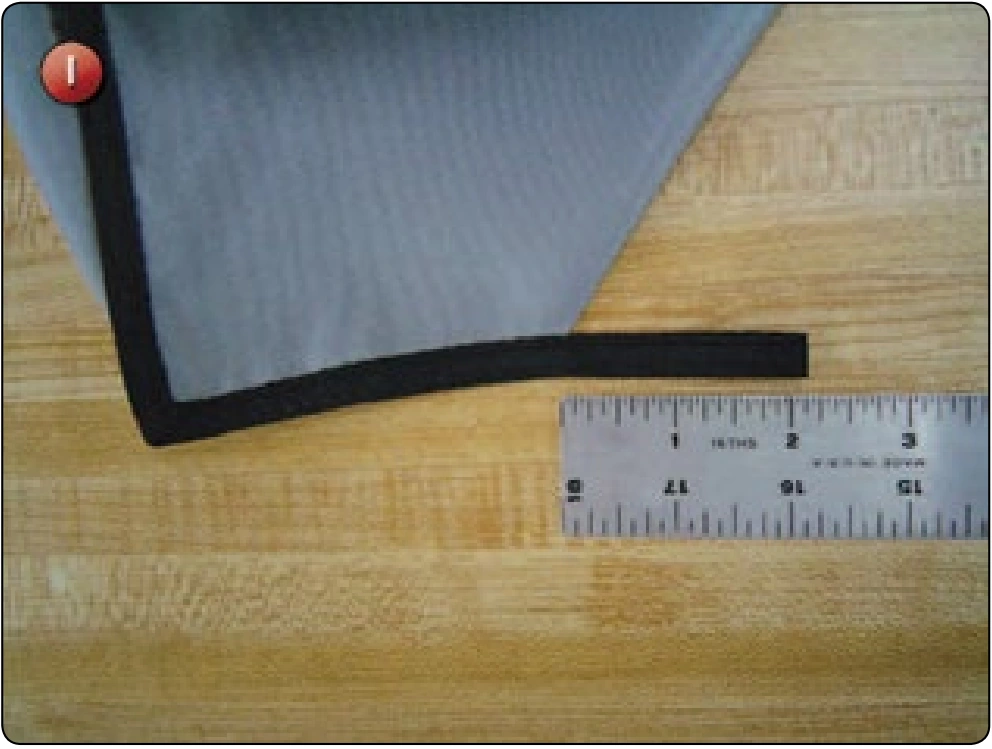
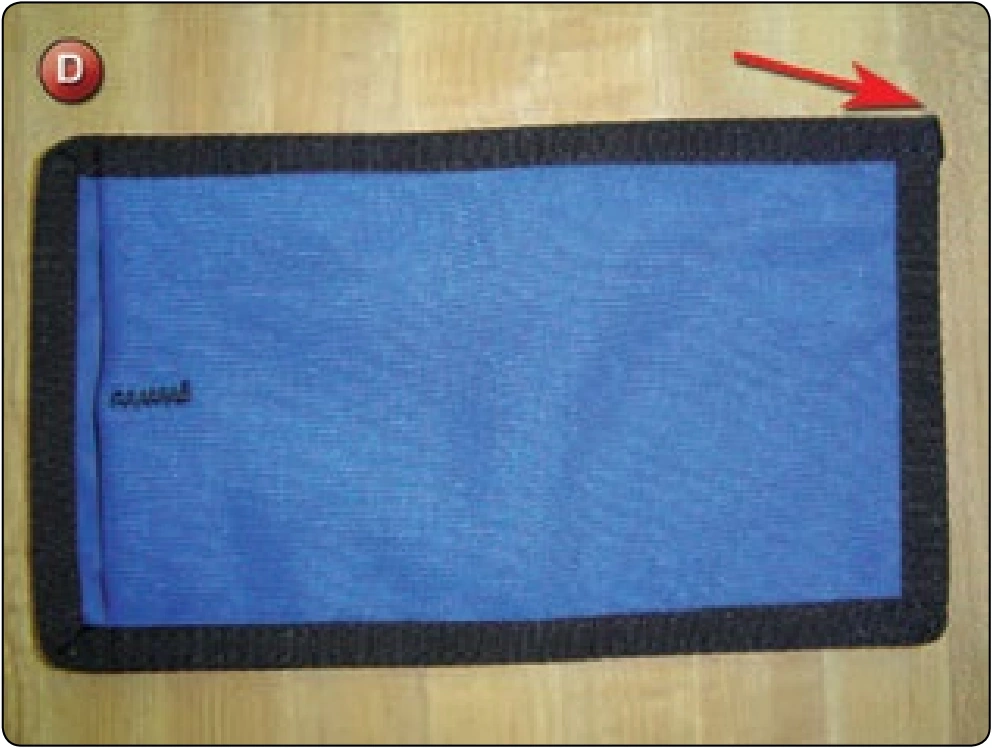
- Bind the pocket, starting at the bottom corner opposite the mouth of the pocket. [Figure D]
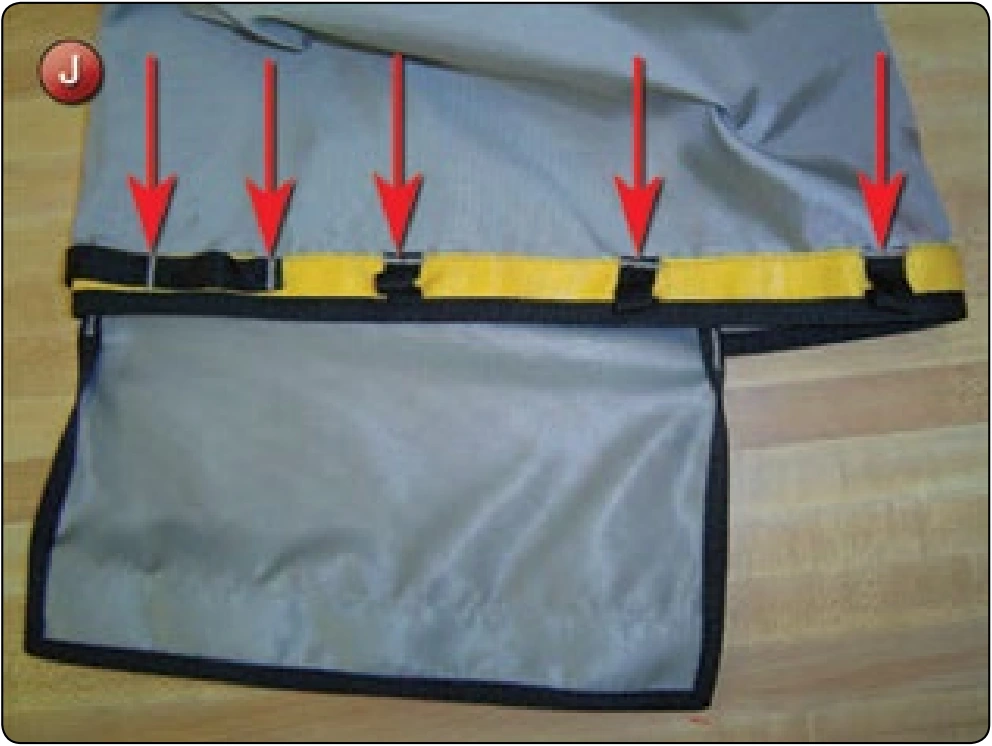
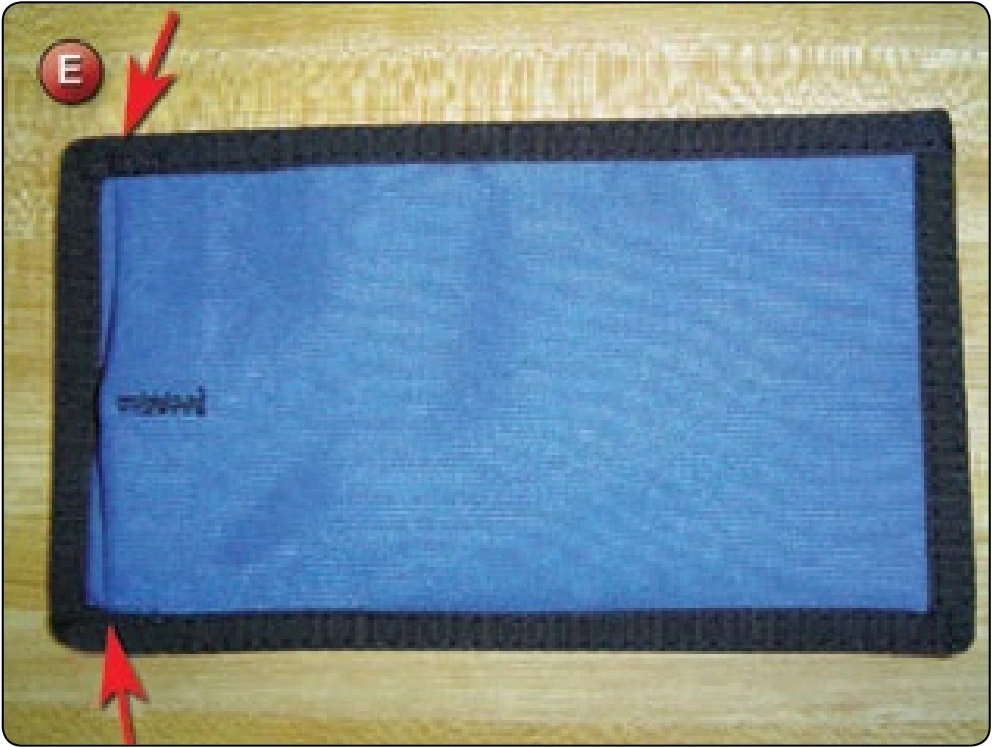
- Bar tack the mouth of the pocket securing the elastic reinforcing on both sides. [Figure E]
- The pocket is now complete and ready for installation.