
Chapter 7
Repairs, Alterations, and Manufacture
- Place a mark at 1 inch from the center on the hot knifed end.
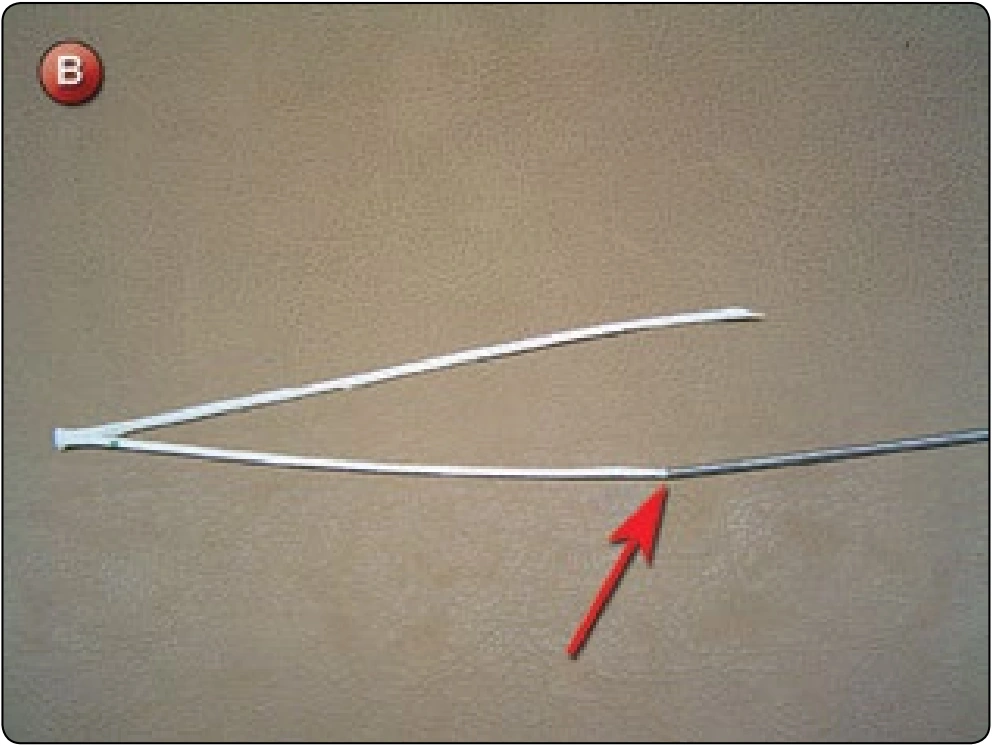
- Take the finger-trapping fid and screw it onto the hot knifed end. [Figure B]
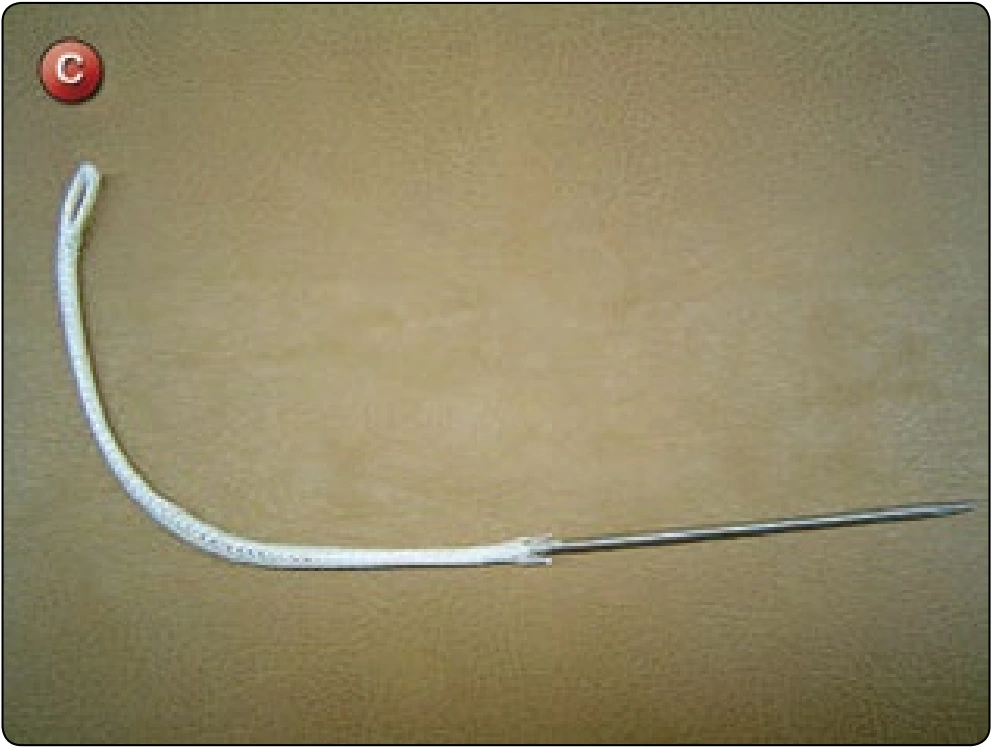
- Insert the pointed end of the fid into the line at the farthest mark by separating the weave of the material so that the fid then passes through the length of the braided line and out the scissor cut end. [Figure C]
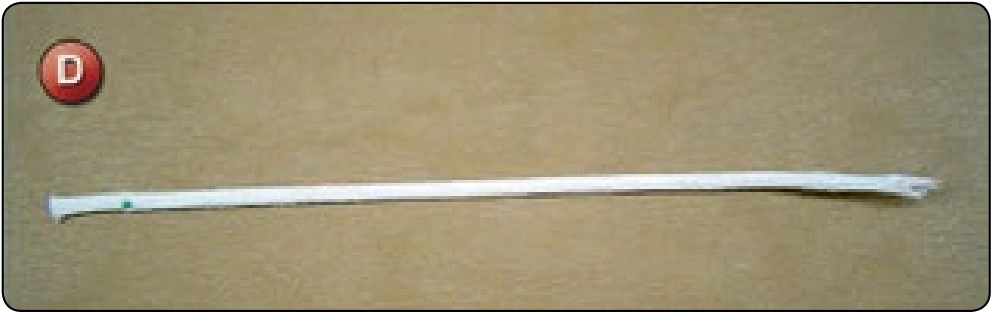
- Draw the line through until the two marks are aligned. This results in a loop eye of approximately .5 inch. [Figure D]
- Pinch the eye of the loop with one hand and smooth the material from the eye to the end. Hot knife the running end.
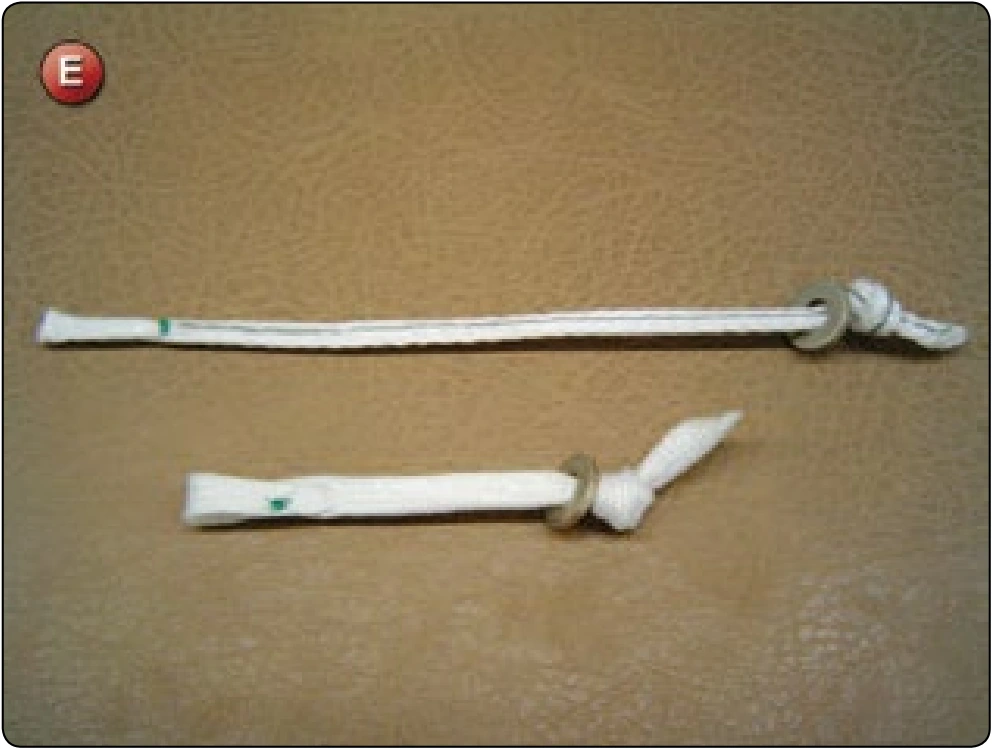
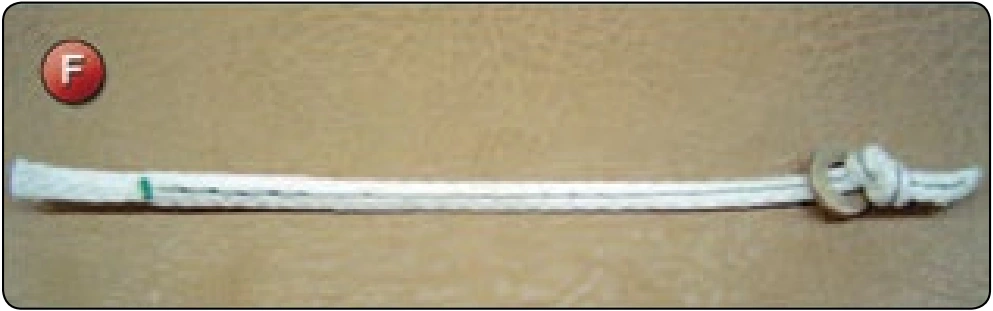
- For short loops used with a main container, simply tie an overhand knot in the loop for the required length. A metal washer is used to keep the loop from pulling through the grommet. [Figure E]
- If the loop is to be used with a reserve container, it may be required to sew the finger-trapped part of the loop for security. If this is the case, simply sew the length of the finger-trapped portion of the loop with a single-needle machine before hot knifing the end. Start at the running end and sew towards the eye of the loop. Stop sewing approximately .12 inch from the eye and then backstitch a minimum of 1 inch. [Figure F] Trim the end with the hot knife.
Fabrication: 2-Pin Loop
- Measure and mark the line according to Figure
- Cut both ends with the scissors.
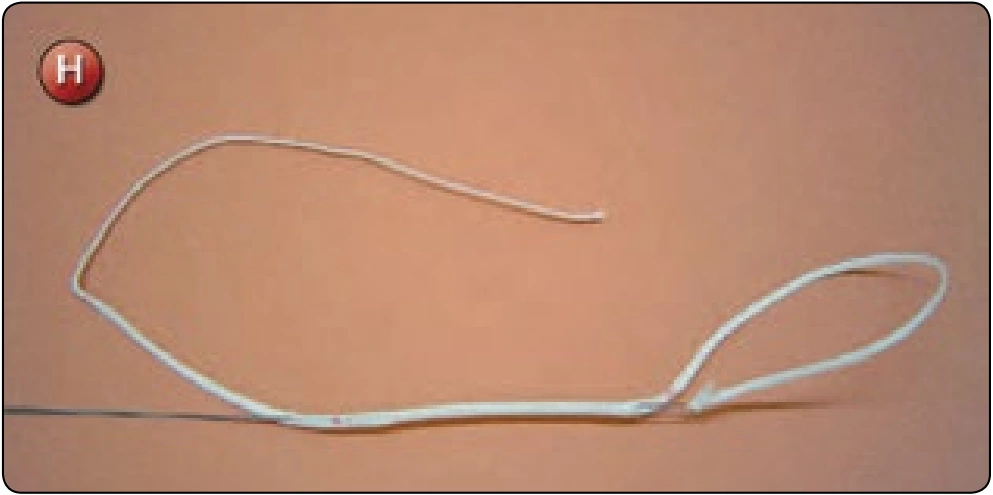
- Using the finger-trapping wire, finger-trap one end to form the loop and have the running end exit approximately 1 inch past the center mark. [Figure H]
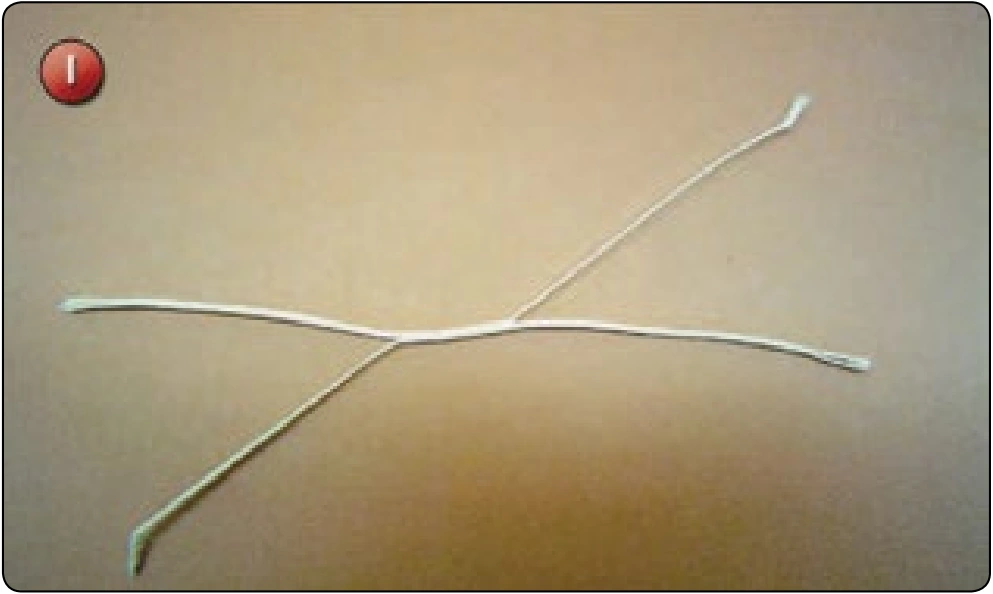
- Repeat with the opposite end. Exit again past the center so that the two lines overlap at the center. [Figure I]
- Pull the loop tight to remove any slack.
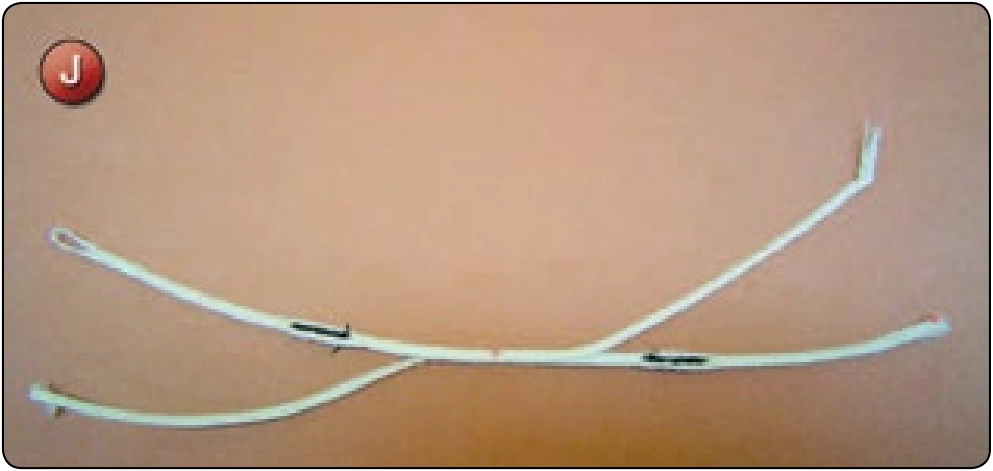
- Bar tack or zigzag the loop ends. [Figure J]
- Trim the running ends. [Figure K]
- Bar tack or zigzag the center overlap junction. [Figure L]
- Measure the finished loop.
Inspection
- Check the loop length.
- Verify stitching is secure and backstitched.
Main Deployment Bag
- Applicable products: All sport systems that utilize a main deployment bag
- Description: Fabrication of a main deployment bag
- Authorized repairmen: FAA Senior or Master Parachute Rigger
- Materials: E thread, Nylon para-pak fabric, Type-3 ¾ inch nylon binding tape, Type-1 9⁄16 inch nylon tape, Type-4 1 inch nylon webbing, Type-4 1½ inch nylon webbing, Type-12 nylon webbing, #3 rolled rim spur brass grommets, #5 rolled rim spur grommet
- Machines: 301 straight stitch—medium duty 5–9 SPI, 301 double needle with tape folder 5–9 SPI, 1 inch × 42 stitch bar tack