
Chapter 7
Repairs, Alterations, and Manufacture
- Equipment: Scissors, marking pencil, 36-inch ruler, carpenter’s square, hot knife, and #3 & #5 spur grommet sets
Procedure
Layout
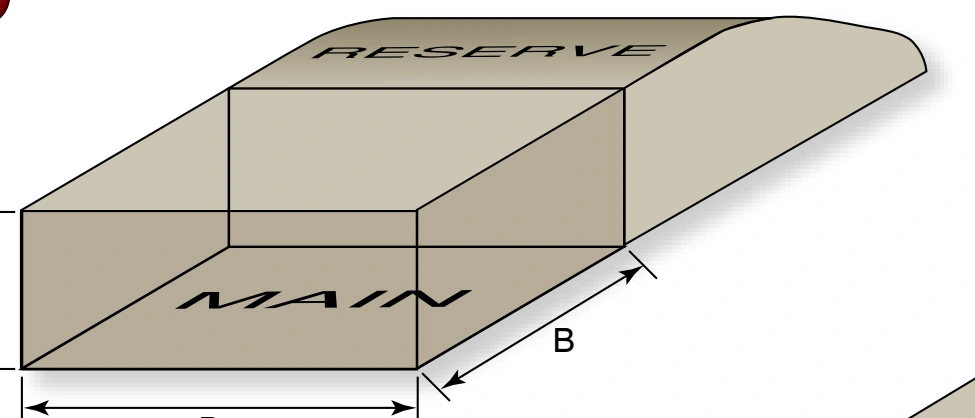
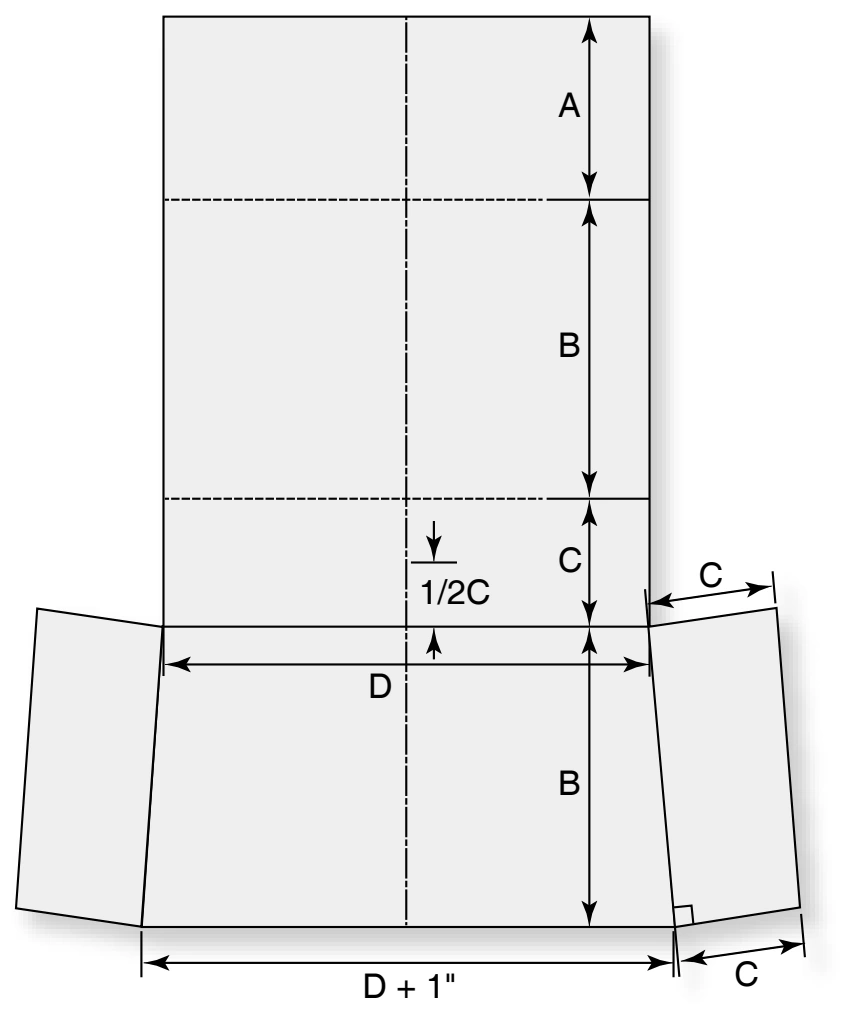
- Measure the container according to Figure A or measure an existing bag according to Figure B.
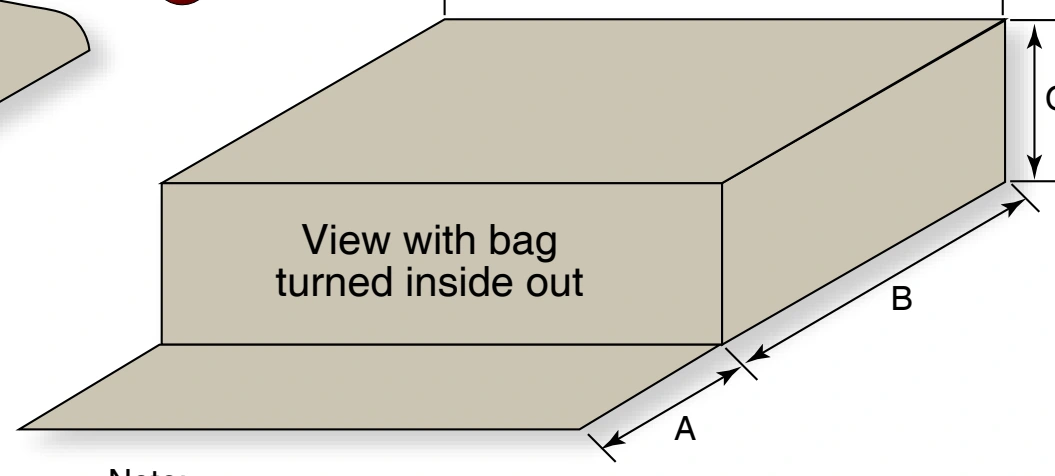
- Transfer these dimensions to Figure C.
- Lay out bag pattern on the para-pak according to Figure C.
- Cut para-pak and all required tapes and webbings.
Assembly
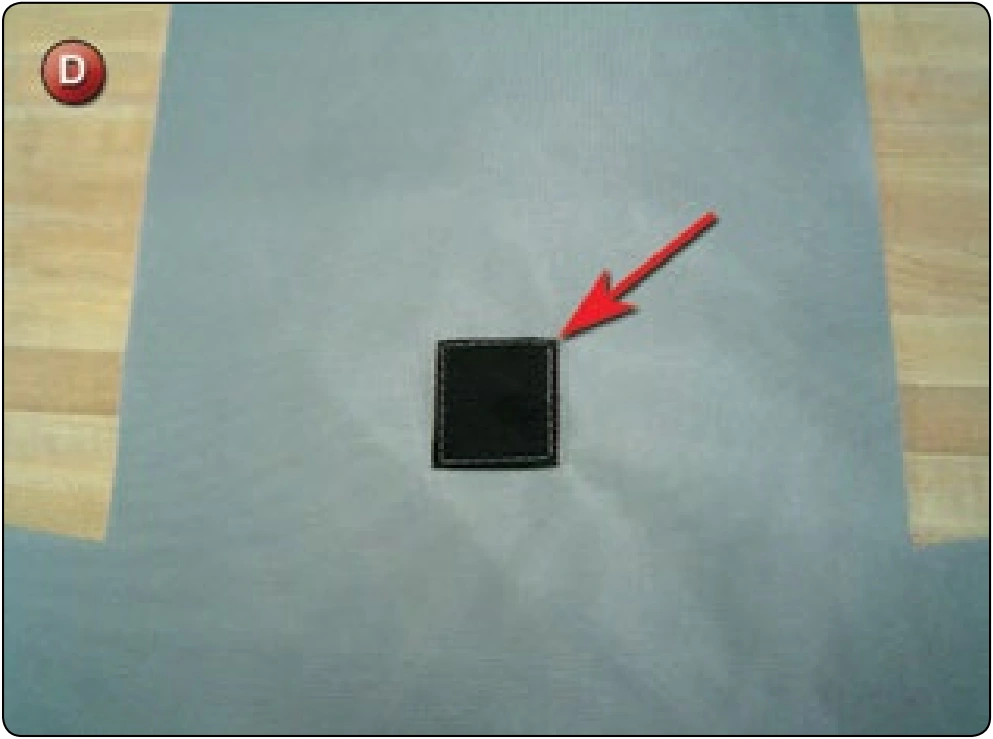
- Fold Type-12 to center and sew to the inside of the bag fabric at the top grommet location. [Figure D]
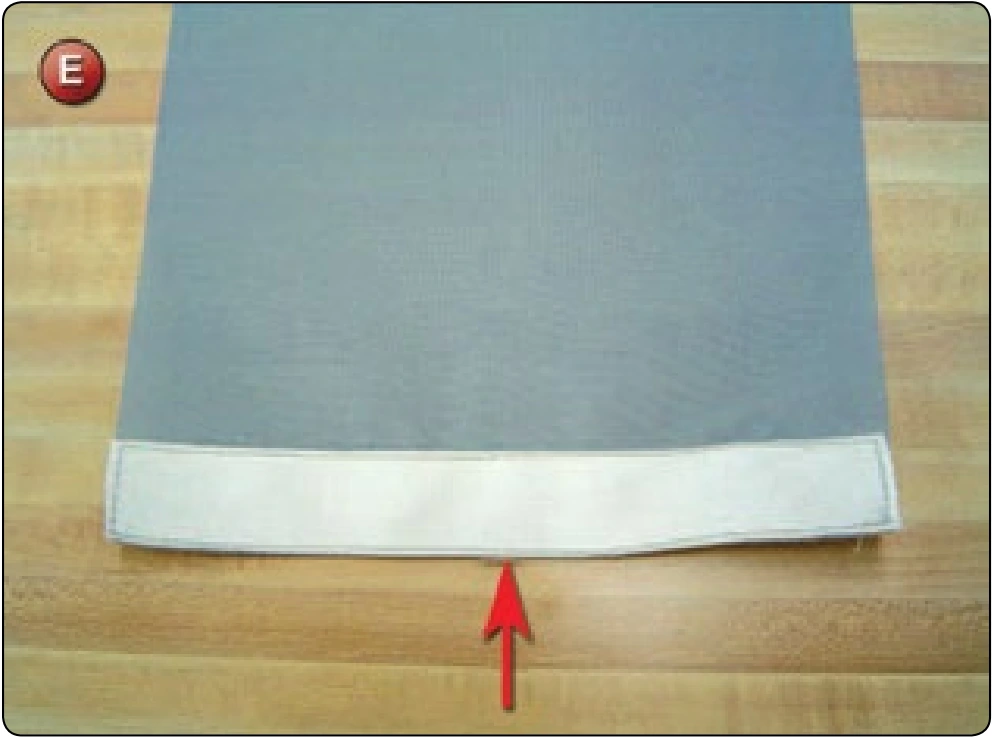
- Sew 1½ inch Type-4 tape at the outside tongue location. [Figure E]
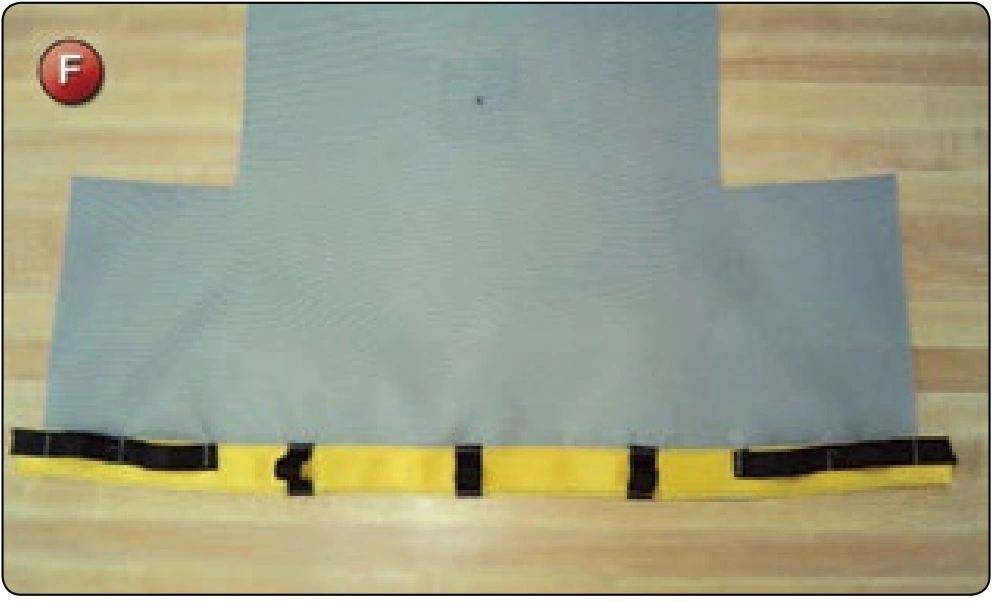
- Sew 1 inch Type-4 tape at the outside mouth location. At the same time, sew down the two side stow band tapes and the three mouth stow band tapes. [Figure F]
- Bind the mouth of the bag with the double needle binding machine. Leave the tapes long at the ends.
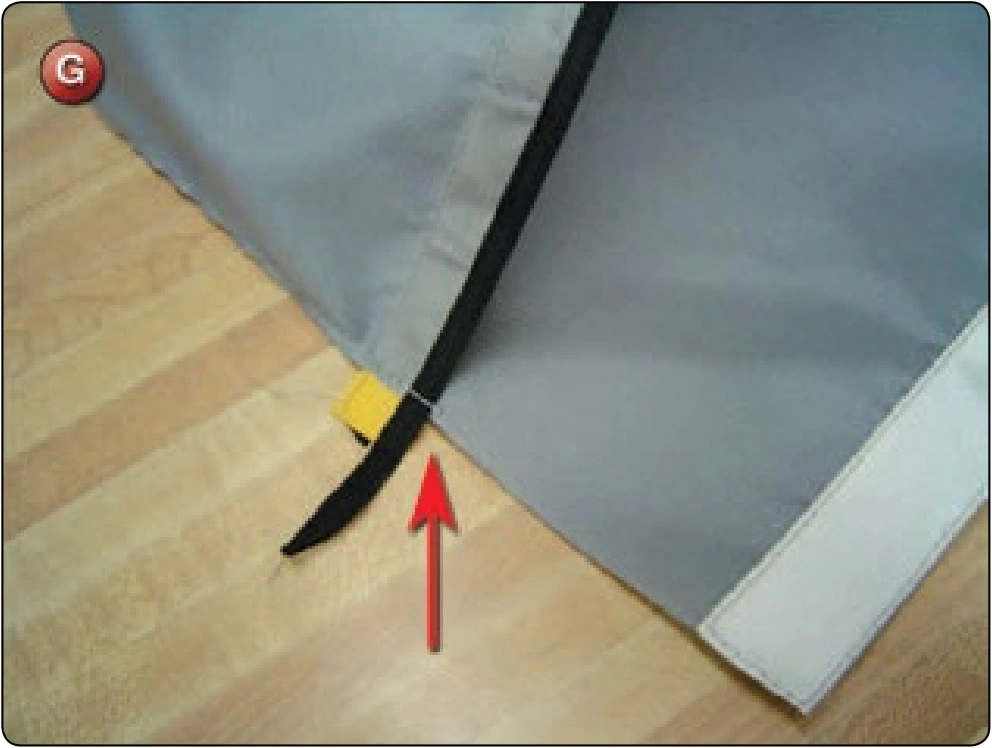
- With the bag inside out, match the edge of the mouth with the alignment marks on the tongue. [Figure G] Sew along edges to form bag.
- Trim the excess tapes at the edge of the bag.
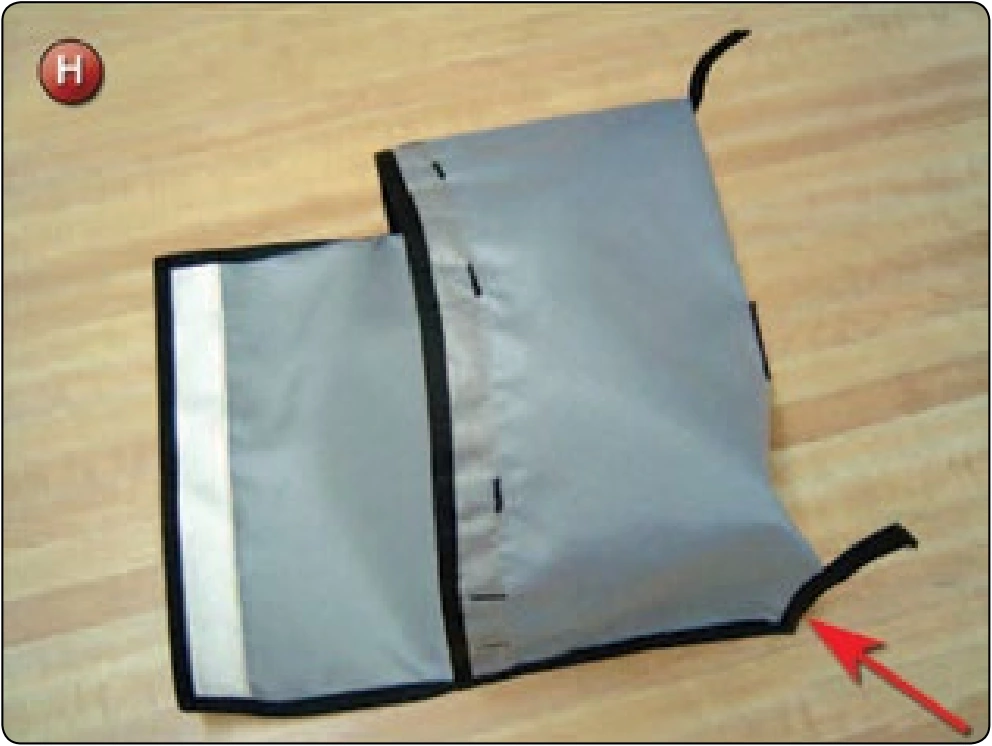
- Starting at the inside corner of the bag, bind the inside seam. [Figure H]
- Trim the inside ends of the binding leaving a 2 inch tail. [Figure I] Double the tail back and bar tack.
- Bar tack the stow loops at the appropriate locations. [Figure J]
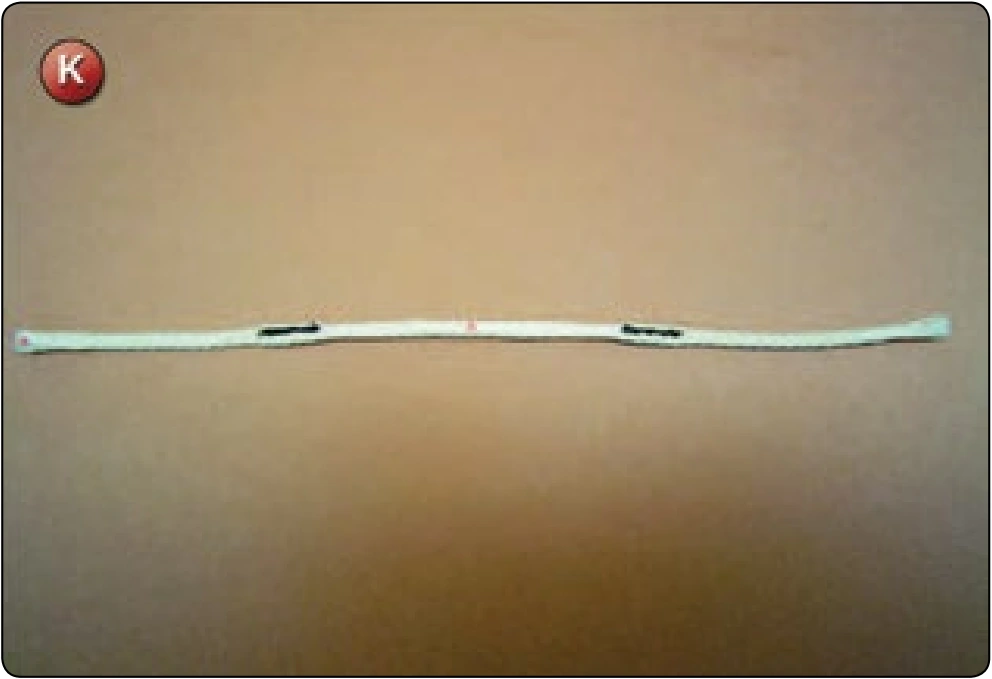
- Install a #5 grommet at the top center of the bag. Orient the grommet from the inside with the washer on the outside. [Figure K]
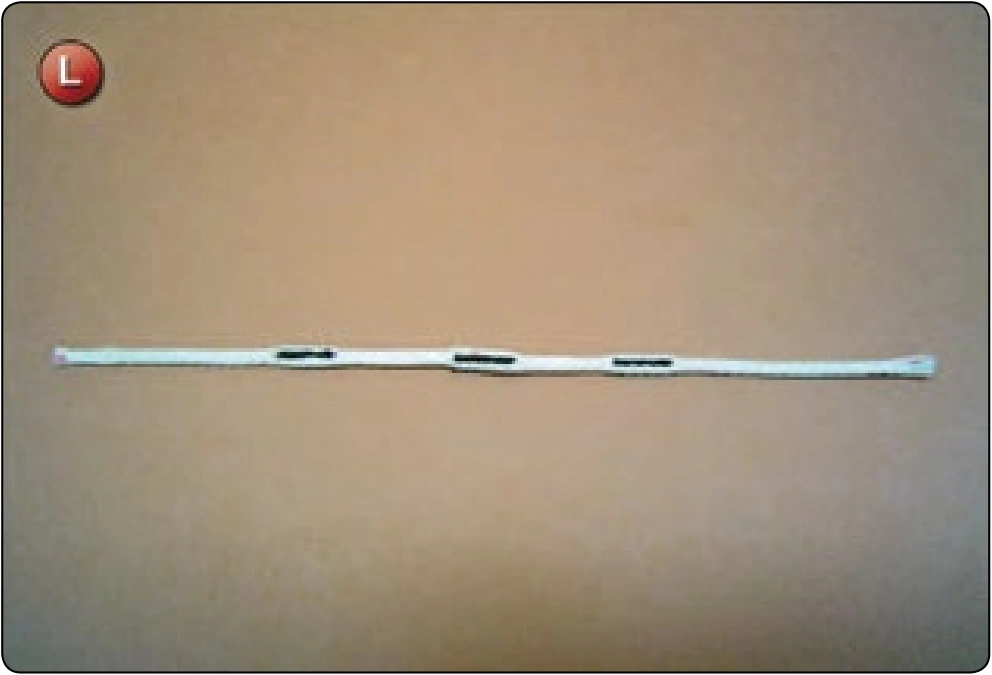
- Install the three #3 grommets in the tongue of the bag with the grommets from the outside and the washers on the inside. [Figure L]
Inspection
- Sewing should be straight.
- Binding should be secure.
- Verify all bar tacks are in place.
- Grommets should be oriented correctly and secure.