
Chapter 4
Engine Ignition & Electrical Systems
Replace a complete ignition harness only when the shielding of the manifold is damaged or when the number of defective leads makes it more practical to replace the harness than to replace the individual leads. Replace a castfilled harness only when leakage in the cast-filled portion is indicated. Before replacing any harness to correct engine malfunctioning, make extensive ignition harness tests. Typical procedures for installing an ignition harness are detailed in the following paragraphs.
Install the ignition harness on the engine. Tighten and safety the hold down nuts and bolts and install and tighten the individual lead brackets according to instructions. The ignition harness is then ready for connection of the individual leads to the distributor block. A band is attached to each lead at the distributor end of the harness to identify the cylinder for the lead. However, each lead should be checked individually with a continuity or timing light prior to connecting it.
Check for continuity by grounding the lead at the cylinder and then checking at the distributor block end to establish that the lead grounded is as designated on the band for the lead. After checking all leads for proper identification, cut them to the proper length for installation into the distributor block. Before cutting the leads, however, force them back into the manifold as far as possible to provide surplus wire in the ignition manifold. This extra wire may be needed at a later date in the event that chafing of a lead at the spark plug elbow necessitates cutting a short section of wire from the spark plug end of the harness. After cutting each lead to length, remove approximately 3⁄ inch of insulation from the 8 end and prepare the lead for insertion into the distributor block. Before installing the lead, back out the set screw in the distributor block far enough to permit slipping the end of the wire into the hole without force. Insert the lead into the block and tighten the set screw. Connect the wires in firing order (the first cylinder to fire No. 1 location on the block, the second in the firing order to No. 2 location, etc).
After connecting each lead, check continuity between the lead and its distributor block electrode with continuity light or timing light. To perform one test lead, touch the other test lead to the proper distributor block electrode. If the light does not indicate a complete circuit, the set screw is not making contact with the ignition wire or the lead is connected to the wrong block location. Correct any faulty connections before installing the distributor block.
Checking Ignition Induction Vibrator Systems
To check the induction vibrator, ensure that the manual mixture control is in idle cutoff, the fuel shutoff valve and booster pump for that engine are in the off position, and the battery switch is on. Since the induction vibrator buzzes whether the ignition switch is on or off, leave the switch off during the check. If the engine is equipped with an inertia or combination starter, make the check by closing the engage mesh switch; if the engine is equipped with a direct-cranking starter, see that the propeller is clear and close the start switch. An assistant stationed close to the induction vibrator should listen for an audible buzzing sound. If the unit buzzes when the starter is engaged or cranked, the induction vibrator is operating properly.
Spark Plug Inspection & Maintenance
Spark plug operation can often be a major source of engine malfunctions because of lead, oil, graphite, carbon fouling, and spark plug gap erosion. Most of these failures, which usually accompany normal spark plug operation, can be minimized by good operational and maintenance practices. A spark plug is considered fouled if it has stopped allowing the spark to bridge the gap either completely or intermittently.
Carbon Fouling of Spark Plugs
Carbon fouling from fuel is associated with mixtures that are too rich to burn or mixtures that are so lean they cause intermittent firing. [Figure 4-55] Each time a spark plug does not fire, raw fuel and oil collect on the nonfiring electrodes and nose insulator. These difficulties are almost invariably associated with an improper idle mixture adjustment, a leaking primer, or carburetor malfunctions that cause too rich a mixture in the idle range. A rich air-fuel mixture is detected by soot or black smoke coming from the exhaust and by an increase in rpm when the idling air-fuel mixture is leaned to best power. The soot that forms as a result of overly rich idle air-fuel mixtures settles on the inside of the combustion chamber because the heat of the engine and the turbulence

in the combustion chamber are slight. At higher engine speeds and powers, however, the soot is swept out and does not condense out of the charge in the combustion chamber.
Oil Fouling of Spark Plugs
Even though the idling air-fuel mixture is correct, there is a tendency for oil to be drawn into the cylinder past the piston rings, valve guides, and impeller shaft oil seal rings. At low engine speeds, the oil combines with the soot in the cylinder to form a solid that is capable of shorting out the spark plug. Spark plugs that are wet or covered with lubricating oil are usually grounded out during the engine start. In some cases, these plugs may clear up and operate properly after a short period of engine operation.
Engine oil that has been in service for any length of time holds in suspension minute carbon particles that are capable of conducting an electric current. Thus, a spark plug will not arc the gap between the electrodes when the plug is full of oil. Instead, the high-voltage impulse flows through the oil from one electrode to the other without a spark as though a wire conductor were placed between the two electrodes. Combustion in the affected cylinder does not occur until, at a higher rpm, increased airflow has carried away the excess oil. Then, when intermittent firing starts, combustion assists in emitting the remaining oil. In a few seconds, the engine is running clean with white fumes of evaporating and burning oil coming from the exhaust.
Lead Fouling of Spark Plugs
Lead fouling of aviation spark plugs is a condition likely to occur in any engine using leaded fuels. Lead is added to aviation fuel to improve its anti-knock qualities. The lead, however, has the undesirable effect of forming lead oxide during combustion. This lead oxide forms as a solid with varying degrees of hardness and consistency. Lead deposits on combustion chamber surfaces are good electrical conductors at high temperatures and cause misfiring. At low temperatures, the same deposits may be good insulators. In either case, lead formations on aircraft spark plugs prevent their normal operation. [Figure 4-56] To minimize the formation of lead deposits, ethylene dibromide is added to the fuel as a scavenging agent that combines with the lead during combustion.
Lead fouling may occur at any power setting, but perhaps the power setting most conducive to lead fouling is cruising with lean mixtures. At this power, the cylinder head temperature is relatively low and there is more oxygen than needed to consume all the fuel in the air-fuel mixture. Oxygen, when hot, is very active and aggressive. When all the fuel has been consumed, some of the excess oxygen unites with some of the lead and some of the scavenger agent to form
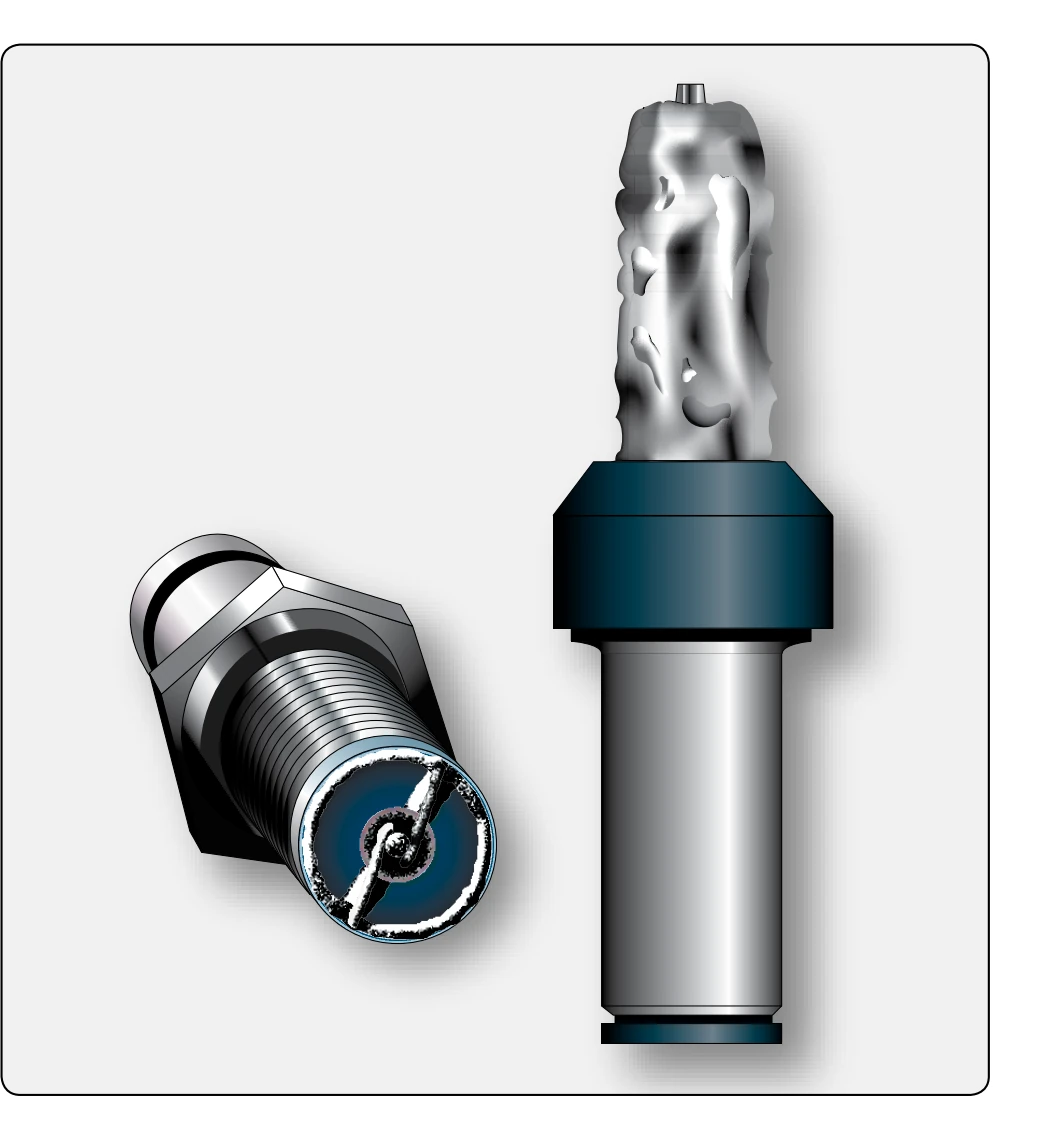
oxygen compounds of lead or bromine or both. Some of these undesirable lead compounds solidify and build up in layers as they contact the relatively cool cylinder walls and spark plugs. Although lead fouling may occur at any power setting, experience indicates that the lead buildup is generally confined to a specific combustion temperature range. Combustion temperatures outside this specific range minimize the lead fouling tendency.