
Chapter 4
Engine Ignition & Electrical Systems
In the course of engine operation, carbon and other products of combustion are deposited across the spark plug and cylinder, and some carbon may even penetrate the lower threads of the shell. As a result, a high torque is generally required to break the spark plug loose. This factor imposes a shearing load on the shell section of the plug. After removing the plugs, they should be placed in a spark plug tray. [Figure 4-58]
Spark Plug Reconditioning Service
A visual inspection should be the first step in servicing spark plugs. The threads on the shielding barrel and on the shell that screws into the cylinder should be inspected for damaged or nicked threads. Inspect the lead shielding barrel for corrosion, nicks, and cracks. The firing end should be checked for insulator cracks, chips, and excessive electrode wear. The shell hex or wrench hex should be checked to see if it is rounded off or mutilated. If the spark plug passes the visual check, then it should be degreased using petroleum solvent. Take care to keep solvent out of the shielding barrel.
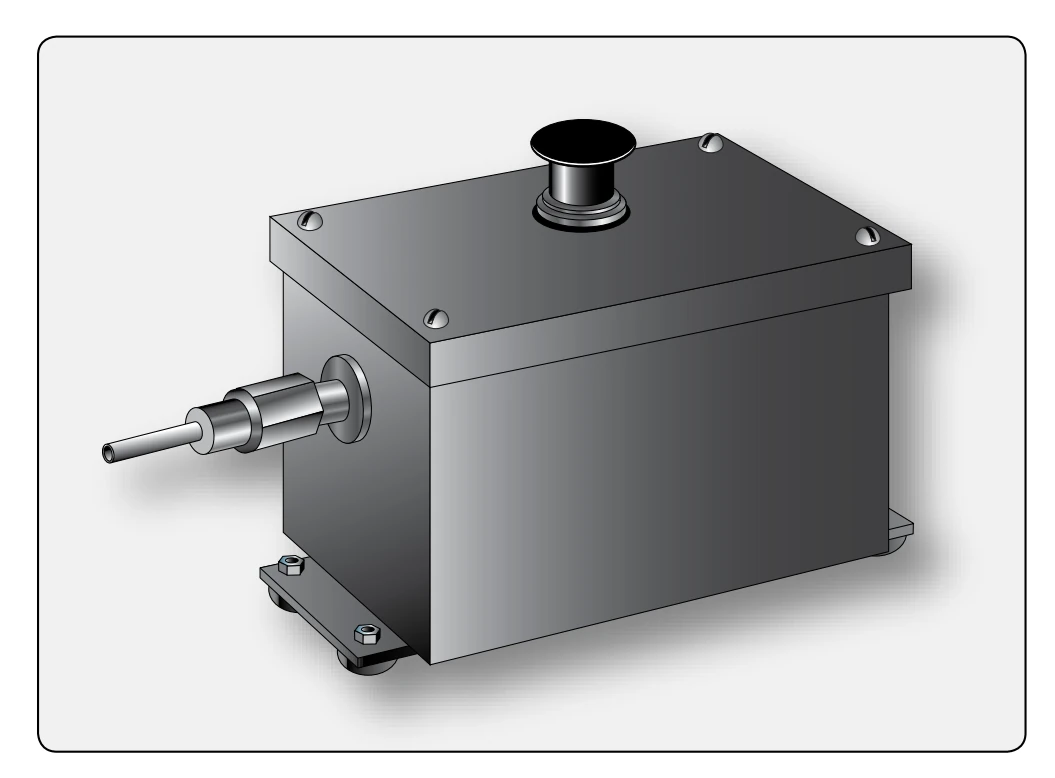
Never soak the plugs in solvent. After drying the firing end of the plugs, remove the lead compound deposits using a vibrator cleaner. [Figure 4-61] The firing end can now be cleaned by using an abrasive blaster. This is usually done using a spark plug cleaner tester. [Figure 4-62] As the firing end is subjected to the abrasive blast, the plug should be rotated so all the area of the firing end is cleaned. After the abrasive blast, the firing end gets a thorough air blast to remove the abrasive material. The shielding barrel insulators may be cleaned with a cotton cloth or felt swab saturated with solvent, wood alcohol, or other approved cleaner. The firing end should be inspected using a light and a magnifying glass. If the plug passes the firing end visual and cleaning checks, then the spark gap should be set using a round thickness
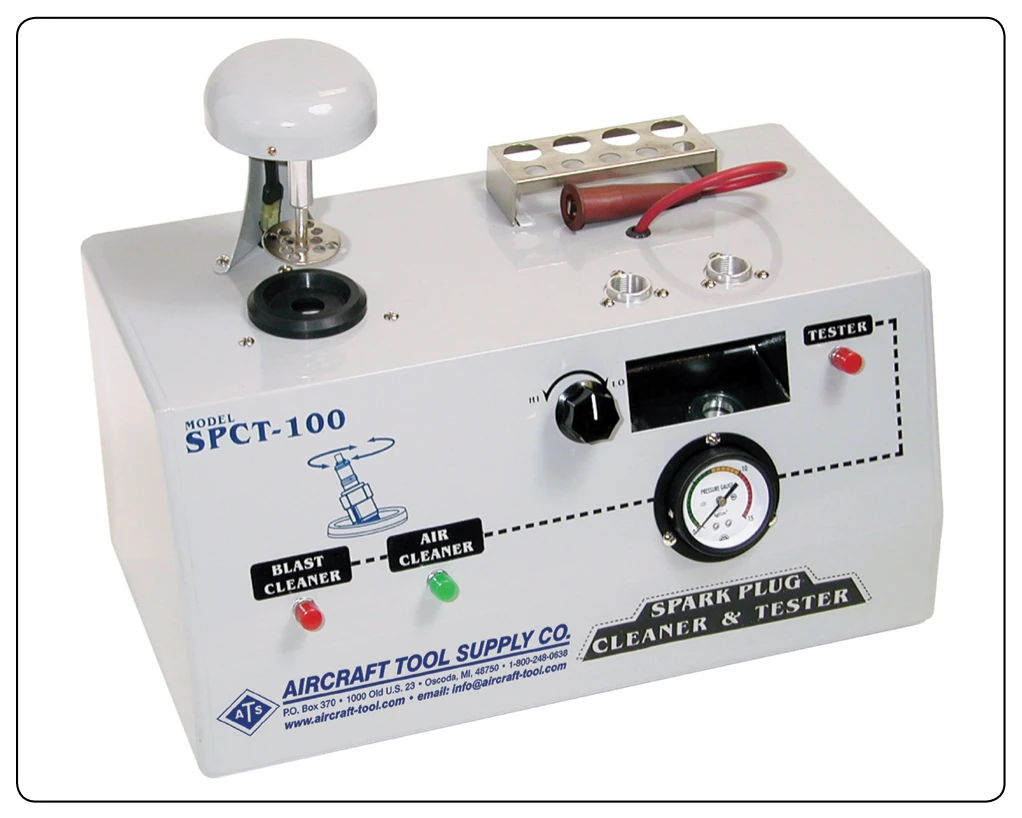
gauge. The spark plug should be tested by using a tester as shown in Figure 4-62, which passes a high-voltage through the spark plug and fire the gap. As this test takes place, the firing end of the plug is subjected to air pressure to simulate the pressure in the engine’s cylinder. If the firing pattern is good, the plug should be returned to its holder ready for installation in the engine.
Inspection Prior to Installation
Before installing new or reconditioned spark plugs in the engine cylinders, clean the spark plug bushings or Heli- Coil inserts.
Brass or stainless steel spark plug bushings are usually cleaned with a spark plug bushing cleanout tap. Before inserting the cleanout tap in the spark plug hole, fill the flutes of the tap, or channels between threads, with clean grease to prevent hard carbon or other material removed by the tap from dropping into the inside of the cylinder. Align the tap with the bushing threads by sight where possible, and start the tap by hand until there is no possibility of it being cross-threaded in the bushing. To start the tap on installations where the spark plug hole is located deeper than can be reached by a clenched hand, it may be necessary to use a short length of hose slipped over the square end of the tap to act as an extension. When screwing the tap into the bushing, be sure that the full tap cutting thread reaches the bottom thread of the bushing. This removes carbon deposits from the bushing threads without removing bushing metal, unless the pitch diameter of the threads has contracted as the result of shrinkage or some other unusual condition. Replace the cylinder if, during the thread-cleaning process, the bushing is found to be loose, loosened in the cylinder, or the threads are cross-threaded or otherwise seriously damaged.
Spark plug Heli-Coil inserts are cleaned with a round wire brush, preferably one having a diameter slightly larger than the diameter of the spark plug hole. A brush considerably larger than the hole may cause removal of material from the Heli-Coil proper or from the cylinder head surrounding the insert. Also, the brush should not disintegrate with use, allowing wire bristles to fall into the cylinder. Clean the insert by carefully rotating the wire brush with a power tool. When using the power brush, be careful that no material is removed from the spark plug gasket seating surface, since this may cause a change in the spark plug’s heat range, combustion leakage, and eventual cylinder damage. Never clean the Heli- Coil inserts with a cleaning tap, since permanent damage to the insert results. If a Heli-Coil insert is damaged as a result of normal operation or while cleaning it, replace it according to the applicable manufacturer’s instructions.
Using a lint-free rag and cleaning solvent, wipe the spark plug gasket seating surface of the cylinder to eliminate the possibility of dirt or grease being accidentally deposited on the spark plug electrodes at the time of installation.
Before the new or reconditioned plugs are installed, they must be inspected for each of the following conditions:
- Ensure that the plug is of the approved type, as indicated by the applicable manufacturer’s instructions.
- Check for evidence of rust-preventive compound on the spark plug exterior and core insulator and on the inside of the shielding barrel. Rust-preventive compound accumulations are removed by washing the plug with a brush and cleaning solvent. It must then be dried with a dry air blast.
- Check both ends of the plug for nicked or cracked threads and any indication of cracks in the nose insulator.
- Inspect the inside of the shielding barrel for cracks in the barrel insulator, and the center electrode contact for rust and foreign material that might cause poor electrical contact.
- Install a new spark plug gasket. When the thermocouple gasket is used, do not use an additional gasket.
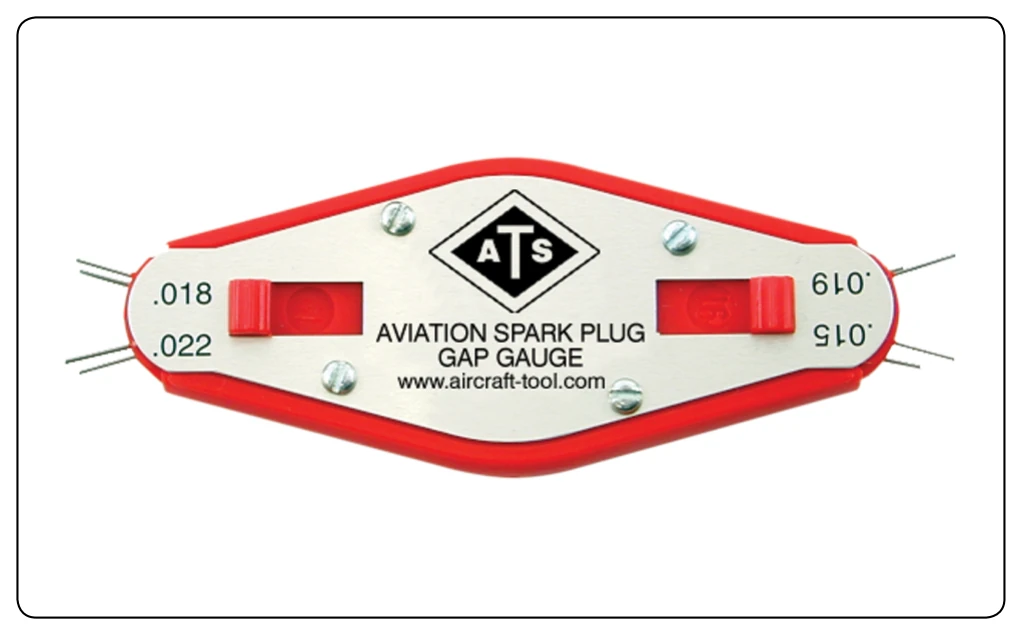
The gap setting should be checked with a round wirethickness gauge. [Figure 4-63] A flat-type gauge gives an incorrect clearance indication because the massive ground electrodes are contoured to the shape of the round center electrode. When using the wire thickness gauge, insert the gauge in each gap parallel to the centerline of the center electrode. If the gauge is tilted slightly, the indication is incorrect. Do not install a plug that does not have an air gap within the specified clearance range.
Spark Plug Installation
Prior to spark plug installation, carefully coat the first two or three threads from the electrode end of the shell with a graphite base antiseize compound. Prior to application, stir the antiseize compound to ensure thorough mixing. When applying the antiseize compound to the threads, be extremely careful that none of the compound gets on the ground, center electrodes, or on the nose of the plug, where it can spread to the ground or center electrode during installation. This precaution is mentioned because the graphite in the compound is an excellent electrical conductor and could cause permanent fouling.
To install a spark plug, start it into the cylinder without using a wrench of any kind, and turn it until the spark plug is seated on the gasket. If you can screw the plug into the cylinder with comparative ease using your fingers, this indicates good, clean threads. In this case, only a small amount of additional tightening torque is needed to compress the gasket to form a gastight seal. If a high torque is needed to install the plug, dirty or damaged threads on either the plug or plug bushing are indicated. The use of excessive torque might compress
the gasket out of shape and distort and stretch the plug shell to a point where breakage would result during the next removal or installation. Shell stretching occurs as excessive torque continues to screw the lower end of the shell into the cylinder after the upper end has been stopped by the gasket shoulder. As the shell stretches, the seal between the shell and core insulator is opened, creating a loss of gas tightness or damage to the core insulator. After a spark plug has been seated with the fingers, use a torque wrench and tighten to the specified torque. [Figure 4-64]