Chapter 7
Repairs, Alterations, and Manufacture
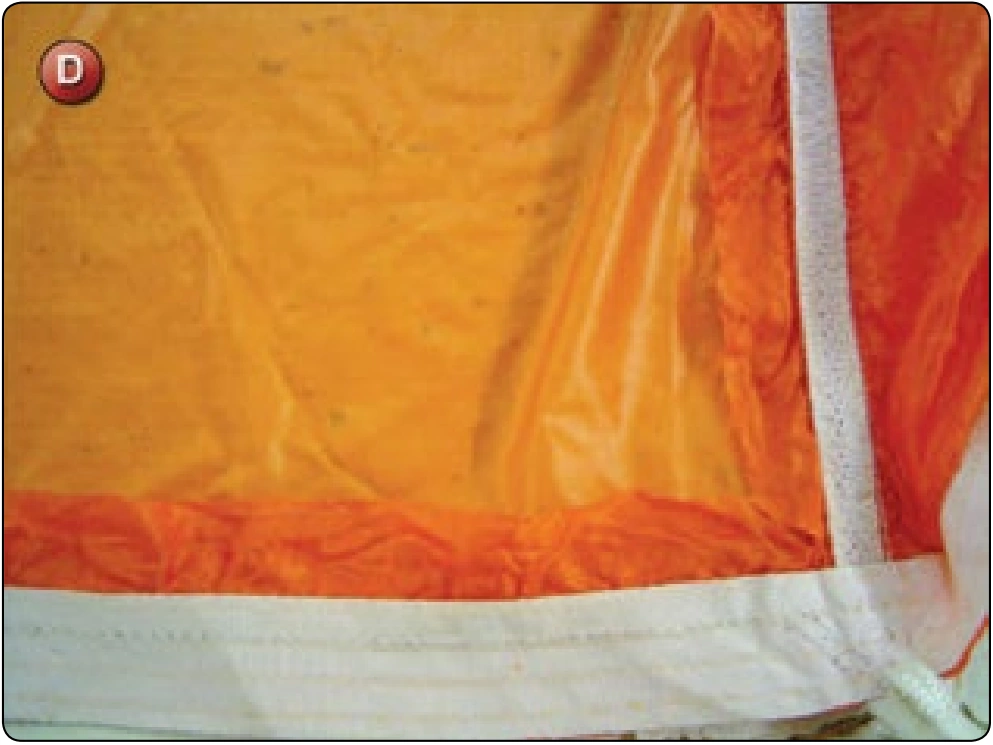
- Overstitch the end of the cross seam that was left open a minimum of 2 inches and proceed to and down the radial seam and then overstitch the open end of the cross seam. Repeat for the opposite side. It is advisable to hold a bit of tension on the seams as you sew to minimize the shrinkage.
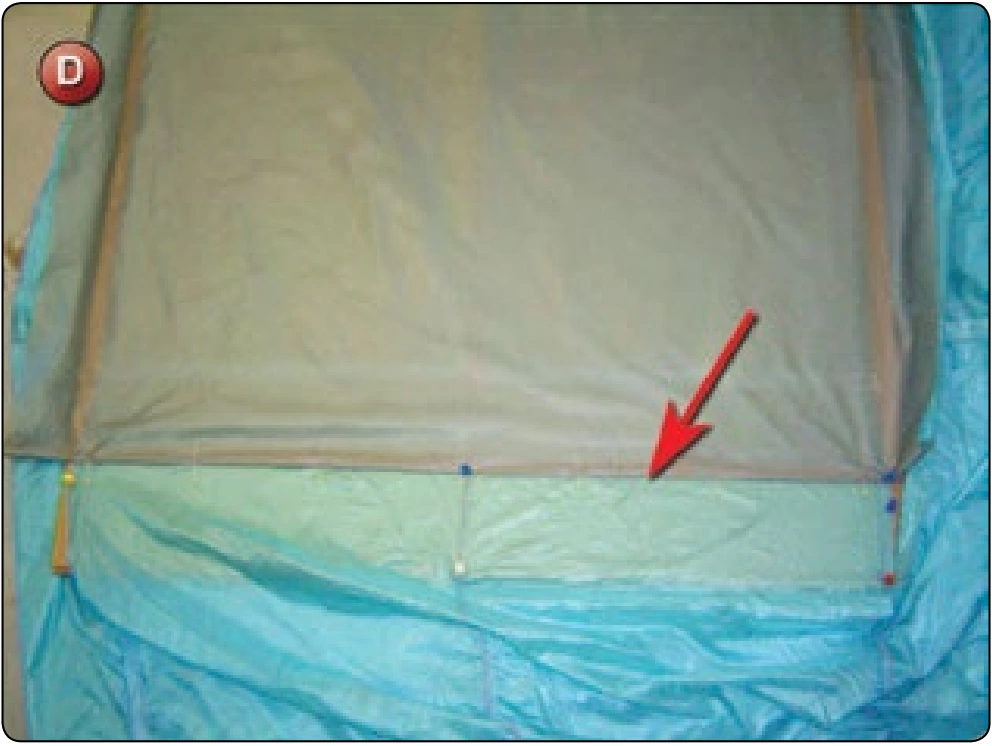
- Turn the canopy right side out. Trim out the damaged panel along the seams, leaving approximately 5⁄8 inch. [Figure D] Also trim the excess edge of the panel as needed.
- Fold the edge of the canopy under the panel to create the seam and pin in place.
- Sew the inside of the panel seam in place. Again, hold tension on the fabric as you sew to minimize shrinkage.
- Remove the canopy from the machine being careful not to pull on the threads. Trim the threads. Inspect the panel.
Inspection
- Check the weave alignment of the fabric panel to the canopy.
- Check for proper thread tension all around.
- Seams should be straight and parallel.
- The resulting size of the panel should match approximately that of adjacent panels allowing for shrinkage.
Square Canopy—Partial Panel Replacement
- Applicable products: Most main and reserve canopies
- Description: Replacement of a partial panel(s) in a canopy where the extent of the damage necessitates more than a single large or multiple small patches.
- Authorized repairmen: FAA Master Parachute Rigger
- Materials: E thread, fabric—type and color to match
- Machines: 301 straight stitch—light duty 7–11 SPI, 308 zigzag—medium duty 7–11 SPI (optional), 1 inch × 42 stitch bar tack (optional)
- Equipment: Scissors, seam ripper, marking pencil, 36-inch ruler, pin board or large cardboard box folded flat, straight pins, scotch tape or equivalent
Procedure
The method of repair presented in this section is an acceptable data method. It is advised if possible to utilize the R.D. Raghanti process as viewed in the Basic Patch Repair section to allow for higher quality of repair.
Disassembly
- Determine the extent of the damage. Mark out the damaged area across the panel, following the weave of the fabric. Unpick the loaded seams that hold the damaged fabric for at least 8–10 inches past the damage area mark. It is always easier to unpick more of the seam to allow better access to the damaged area. Restitching the seam is one of the easiest operations. Fighting the canopy is not.
- Unpick the non-loaded seam the same distance as the loaded seams.
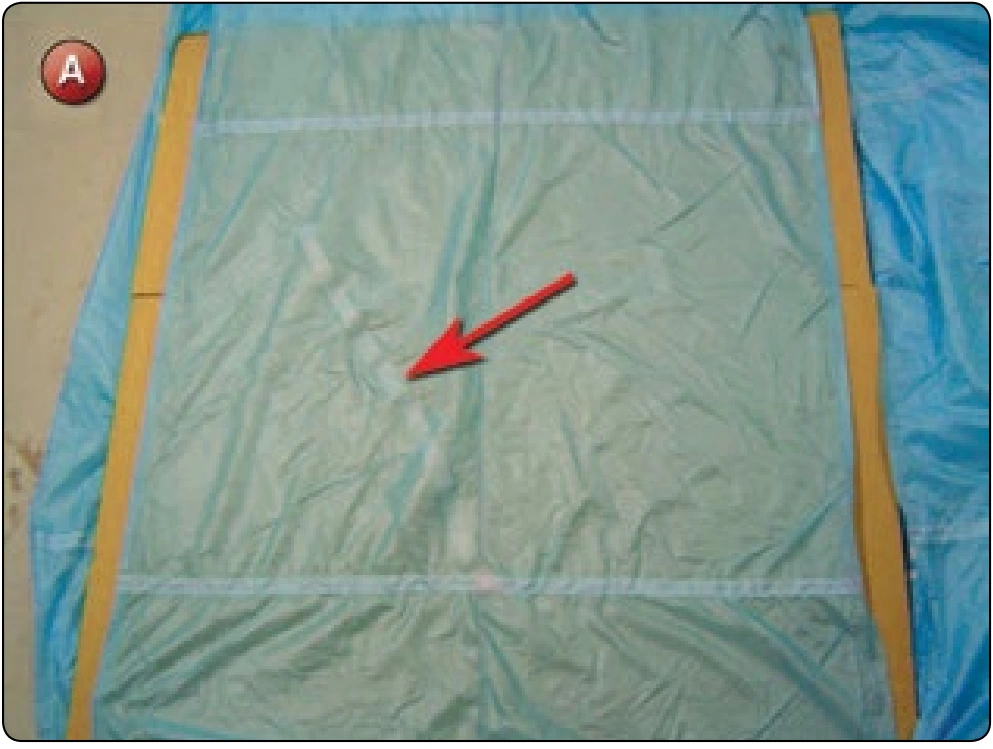
- Lay the canopy on the floor, take the pin board or cardboard box and position it under the damaged area. Take the scotch tape and tape the raw edges of the tear together to stabilize the panel. [Figure A]
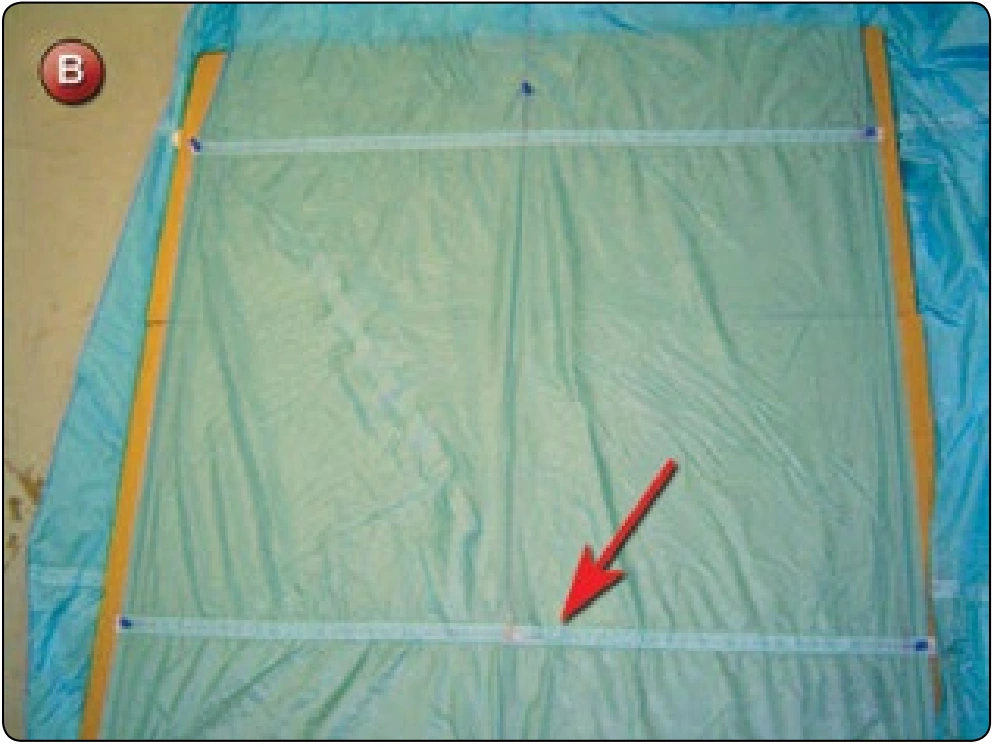
- Pin the damaged panel to the pin board. Do not overstretch the fabric, but make sure to take all the slack out so the panel is square. In this instance, the canopy had spanwise reinforcing tapes, which were used to stabilize the canopy; however, one of them was damaged and requires replacement.[Figure B]
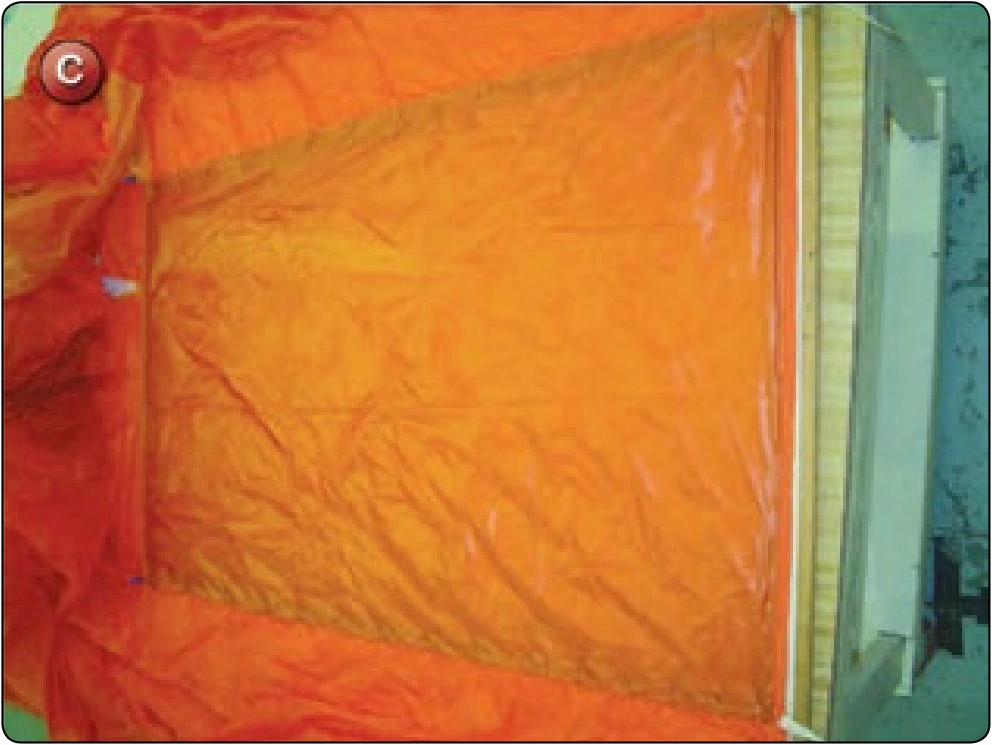
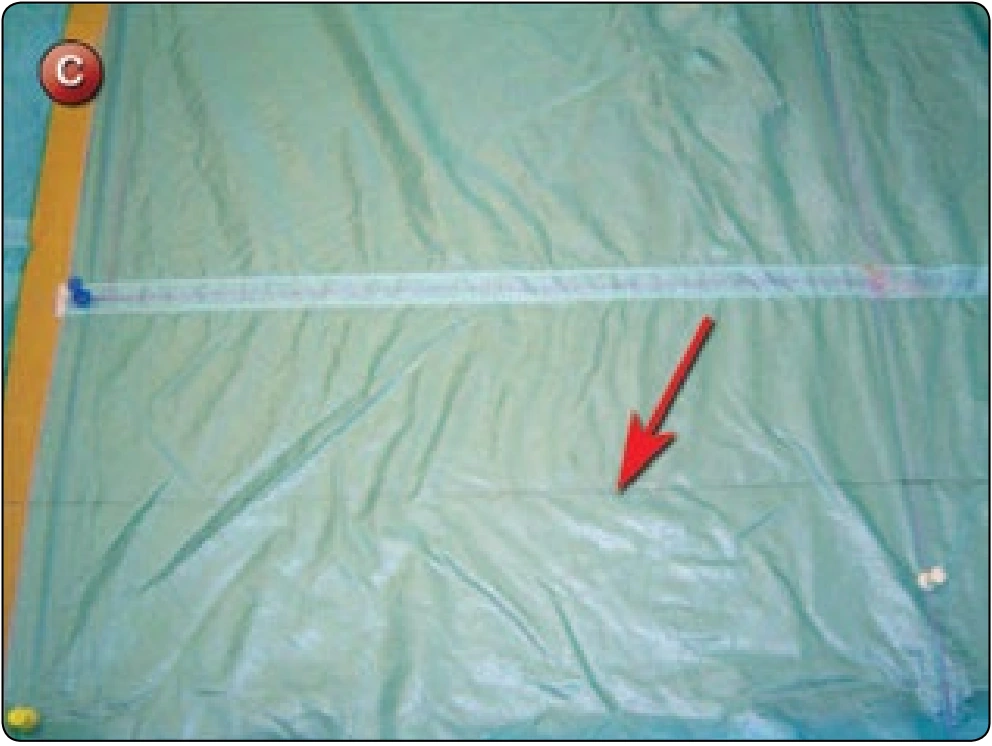
- Mark a line on the fabric at least 2 inches from the damage area on both sides of the damaged panel. [Figure C]
Reassembly
- Cut a piece of fabric approximately 6 inches wider and longer than the damaged panel area. Make sure that one of the edges is straight and even with the weave of the fabric. Trim one of the adjacent sides at 90 degrees to the straight edge.
- Mark a line parallel to the straight edge at 3⁄4 inch from the edge. Center the new panel on the damaged one. Fold the fabric on this line and pin in place along the damage line. [Figure D] Smooth the new panel fabric over the damaged panel to the opposite side. Trim the new panel 3⁄4 inch longer than the damage line. Fold the fabric at the line and pin in place. [Figure E]