Chapter 7
Repairs, Alterations, and Manufacture
Disassembly
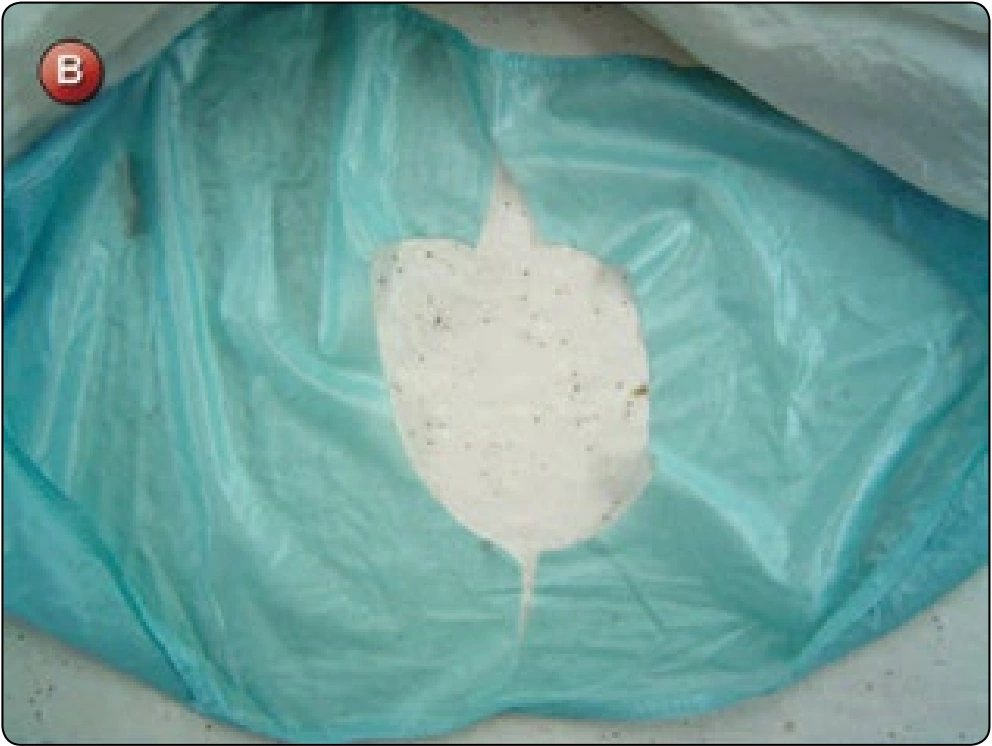
- Determine the extent of the damaged area and unpick the top and bottom seams to access the rib. [Figure B] In most cases, restitching the rib to the top and bottom panels is fairly straightforward. Because of this, opening up the seam for a good distance (18 inches plus either side of the proposed patch) allows easier access and sewing.
- Pin the damaged rib to the pin board to stabilize the material for marking. Mark out the damaged portion of the panel, following the weave of the fabric.
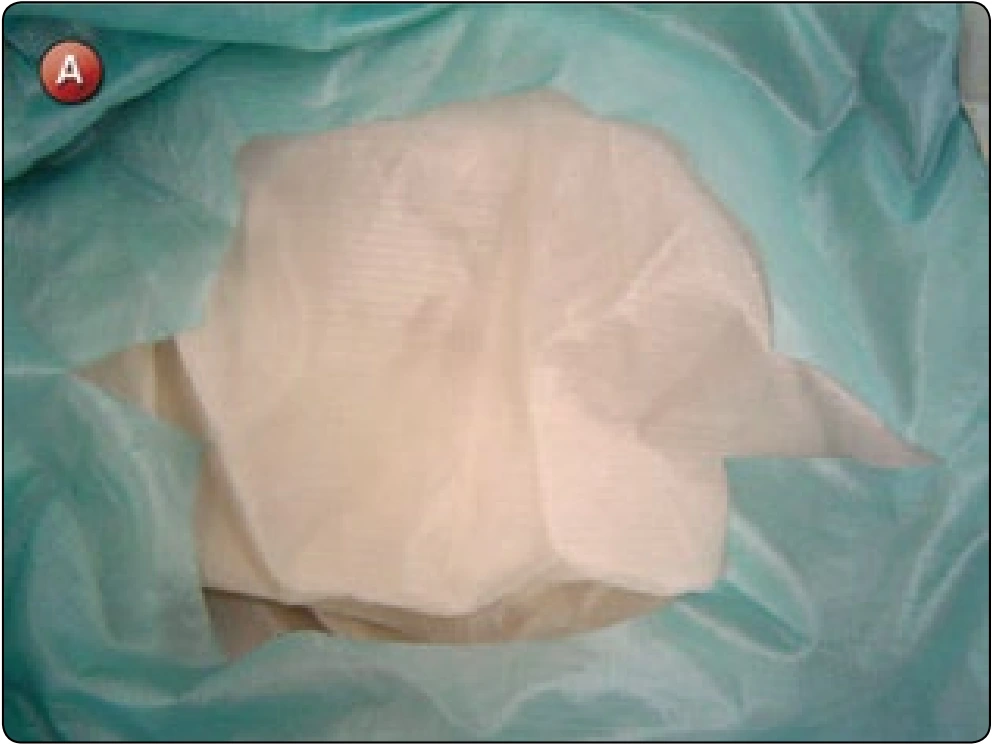
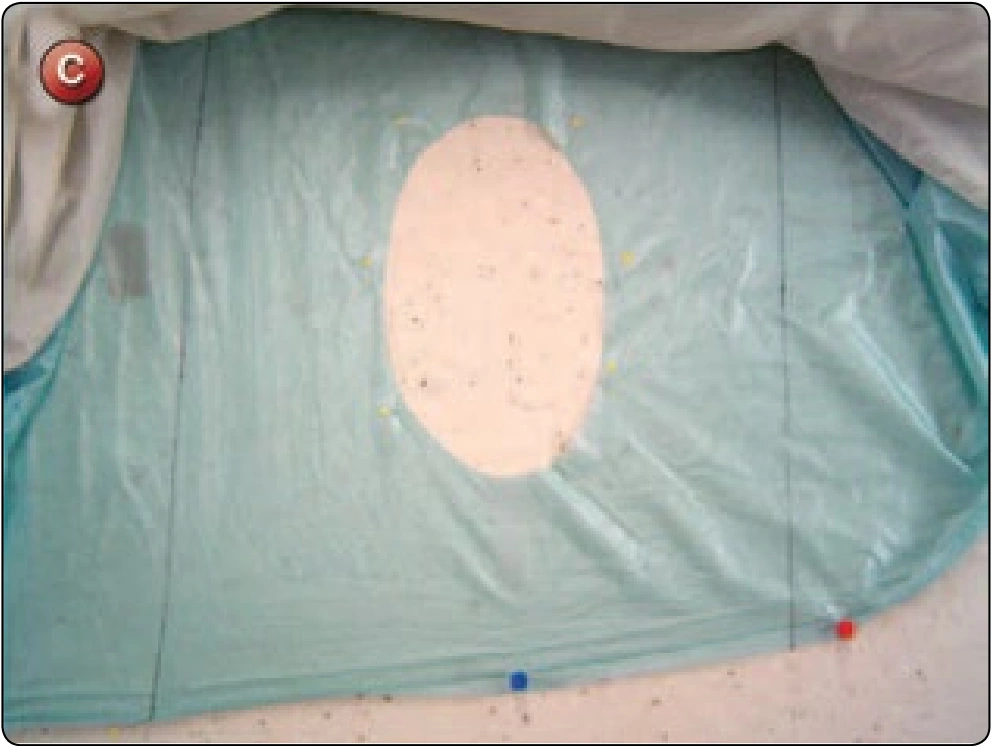
[Figure C] This will be the patch fold lines and the limits of the partial rib panel.
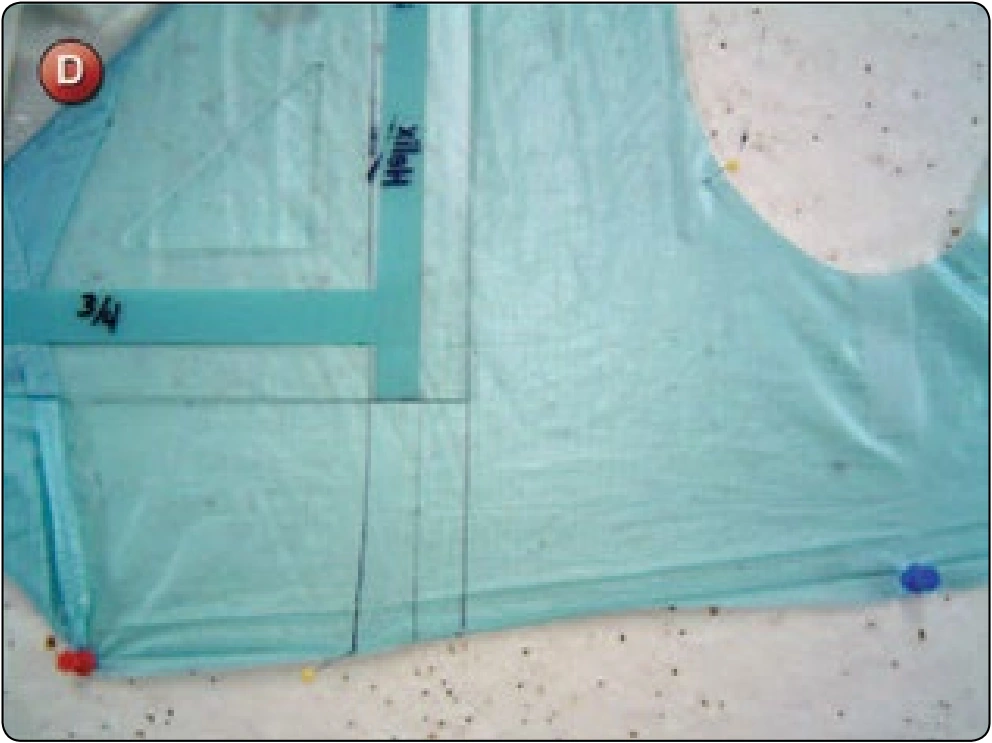
- Using the patching square, mark a parallel line .75 inch inside the patch fold lines and then another one .62 inch inside the second line. [Figure D] The inner lines are the trim lines for the rib patch.
Reassembly
- Cut a piece of fabric approximately 4 inches wider and longer than the damaged panel area. Make sure that one of the width edges is straight and even with the weave of the fabric.
- Fold the straight edge .75 inch from the edge and pin in place across the damage line. Make sure the fabric is centered on the existing panel.
- Remove the pins from the crossport area and smooth the new panel fabric over the damaged panel.
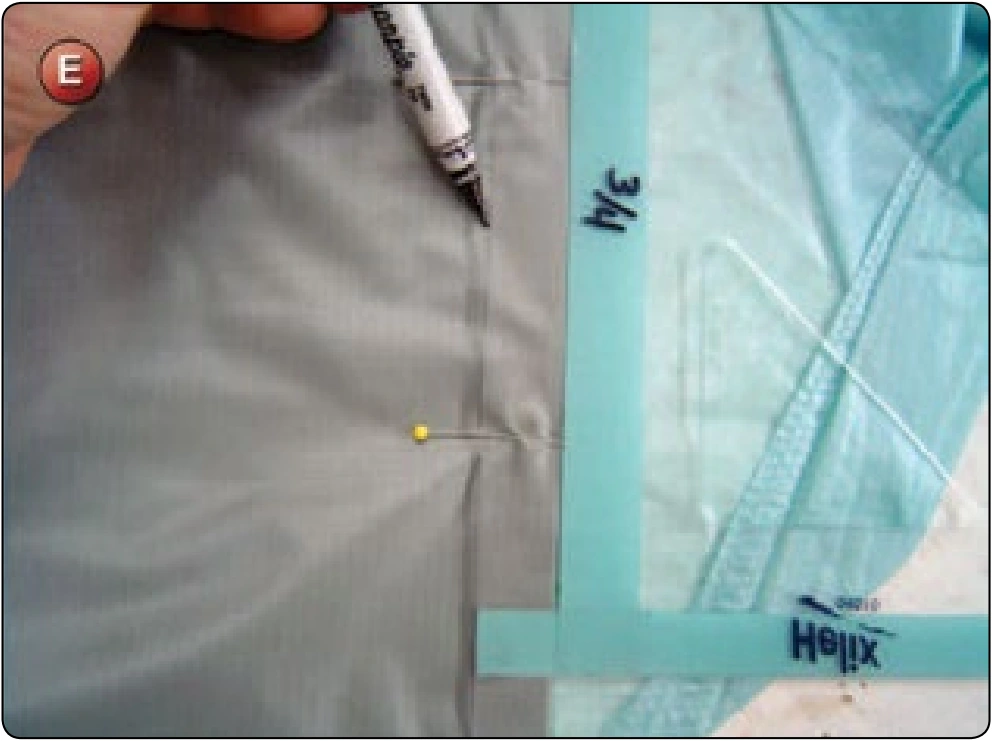
- Fold the new fabric outwards at the patch fold mark and pin in place. Use the patching square to mark a line at .75 inch in from the fold line. [Figure E]
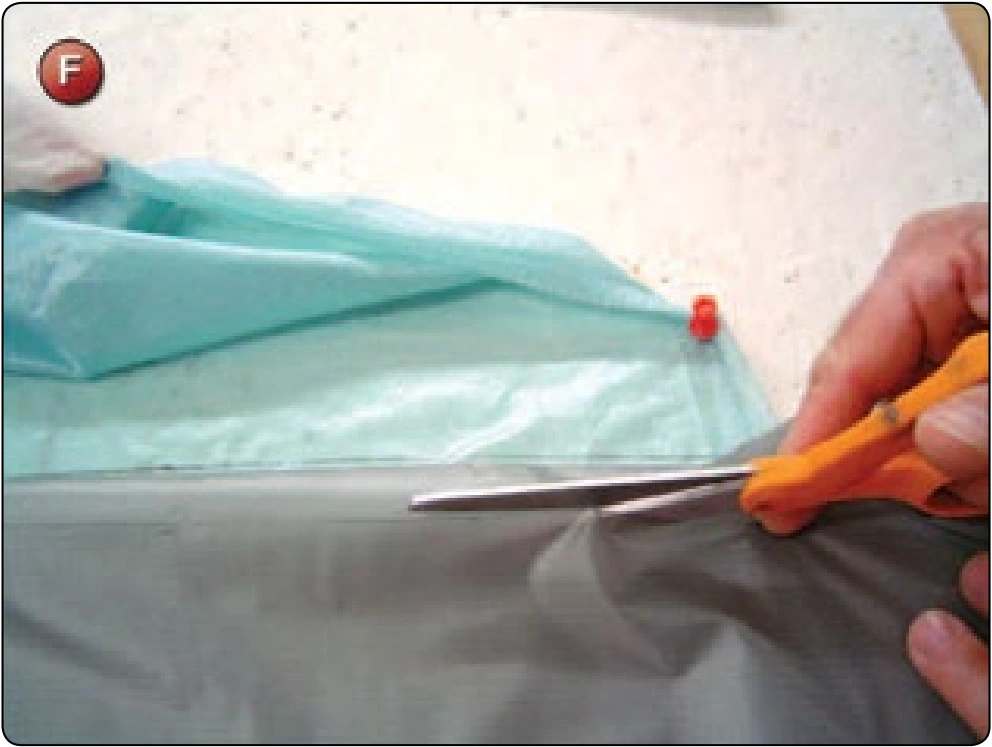
- Trim the repair panel at the inner line, fold under and pin in place. [Figure F]
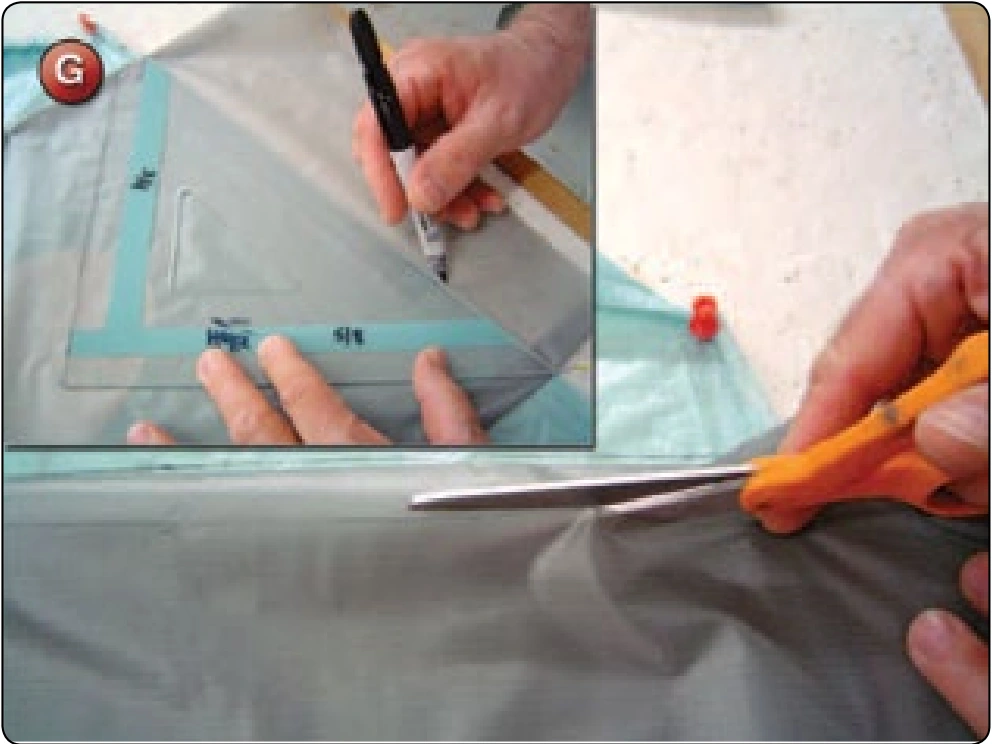
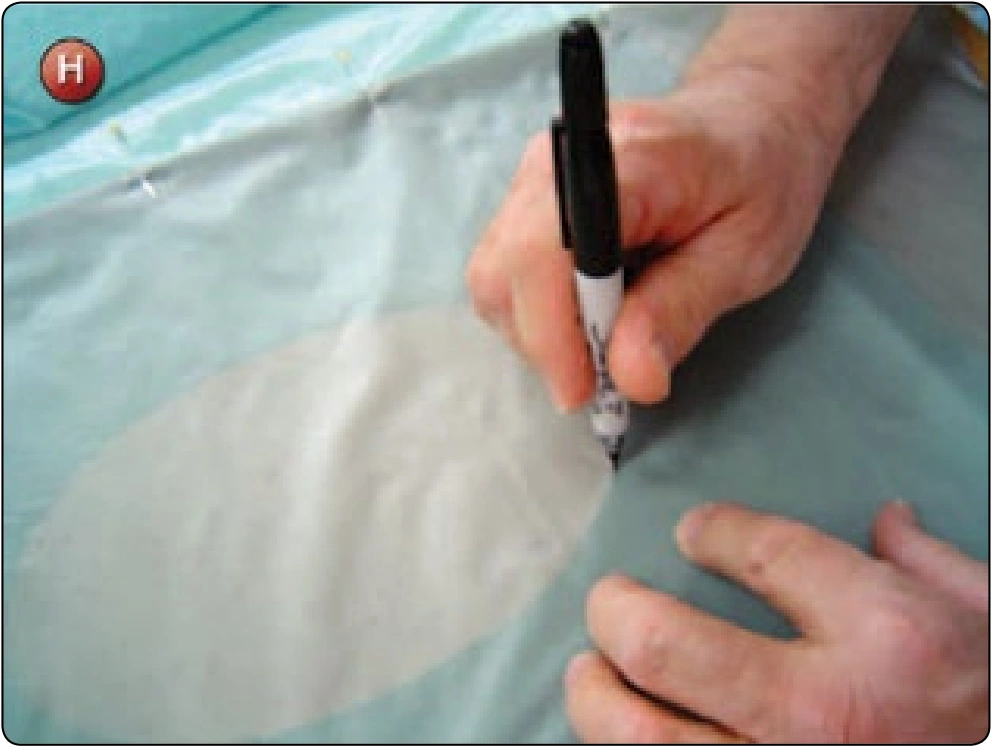
- Check the tension of the two panels. They should be equal. Mark the top and bottom edges and the crossport location. [Figure G and Figure H]
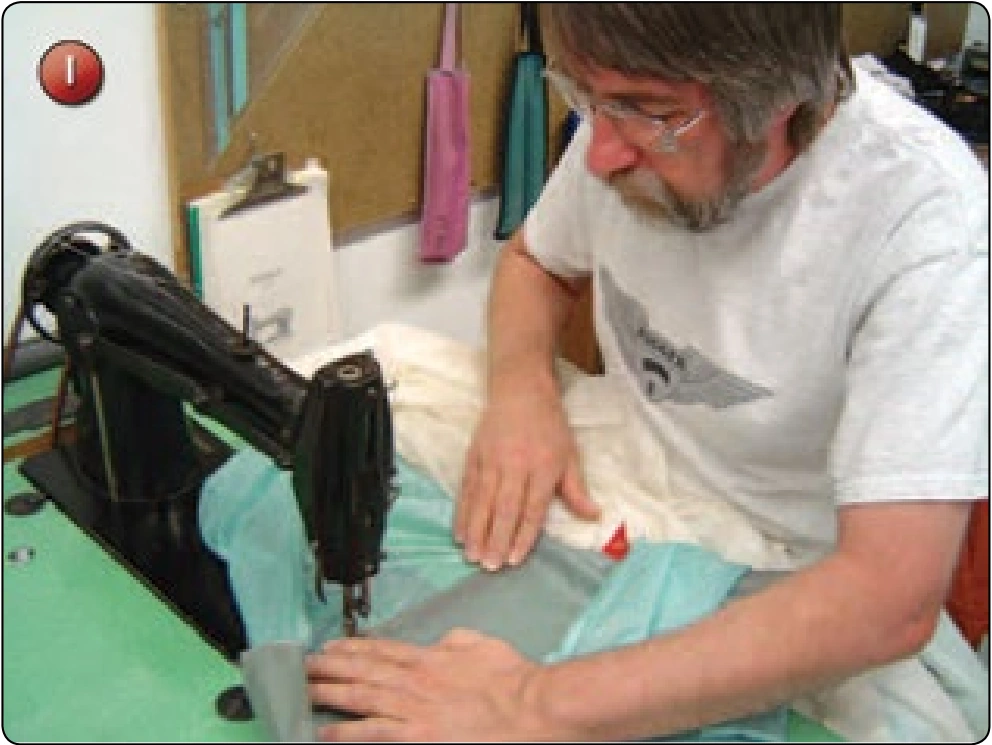
- Remove the rib from the pin board. Sew the two outboard seams approximately .06 inch from the edge with the single needle. [Figure I]
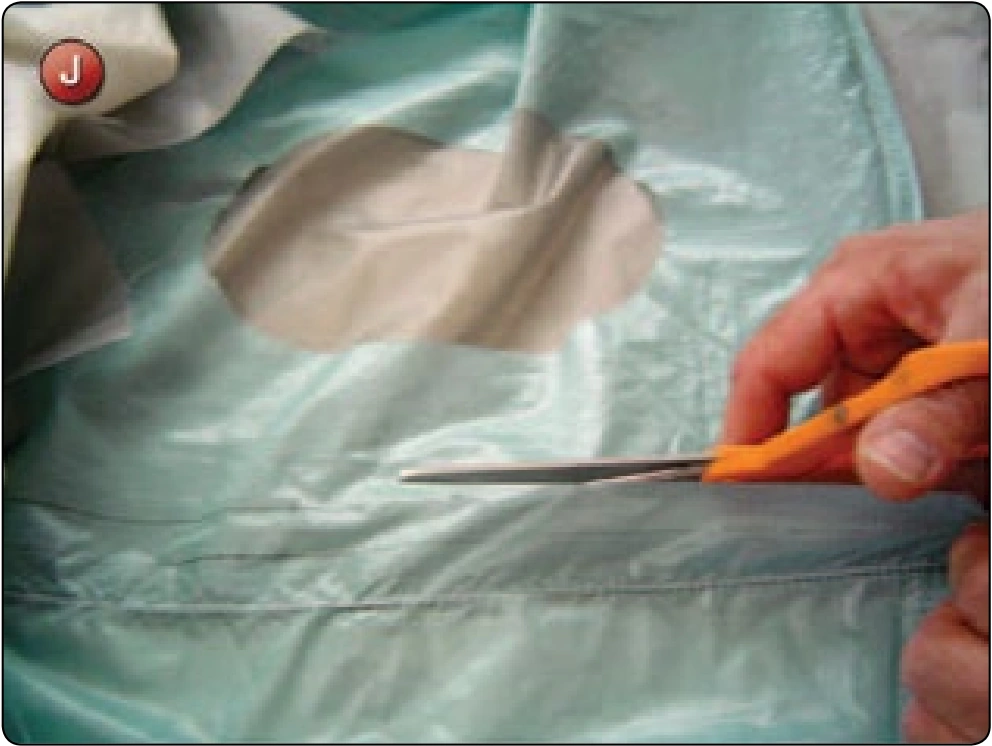
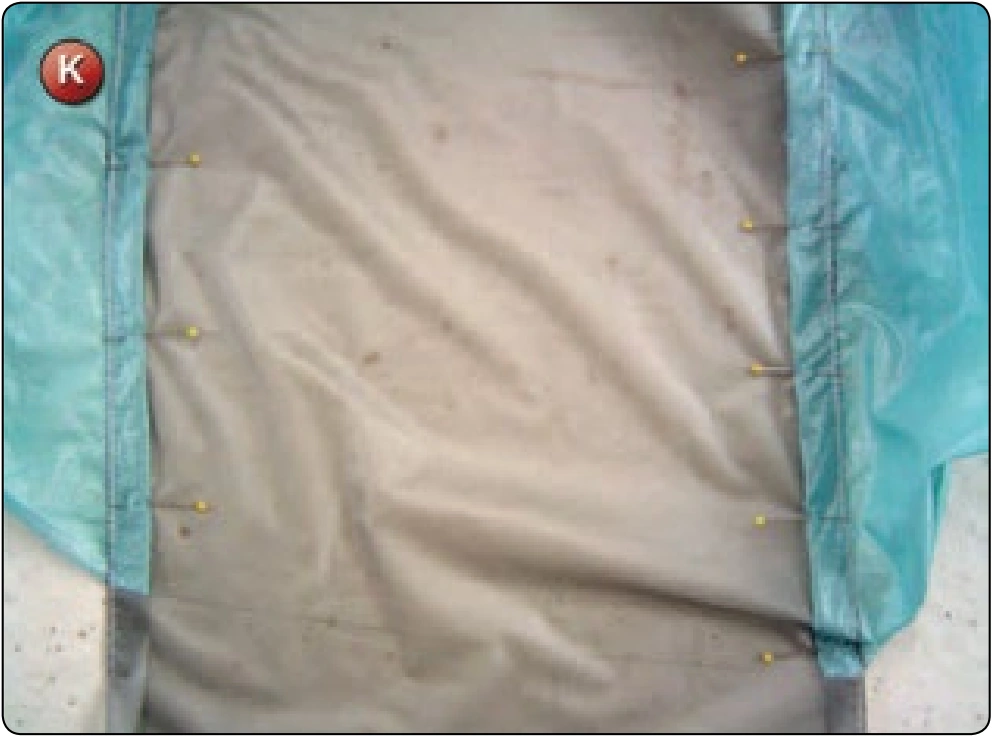
- Trim the original damaged panel to the trim lines. [Figure J] Fold the fabric under to create a French fell seam. Repeat with the opposite seam. [Figure K]