
Chapter 7
Repairs, Alterations, and Manufacture
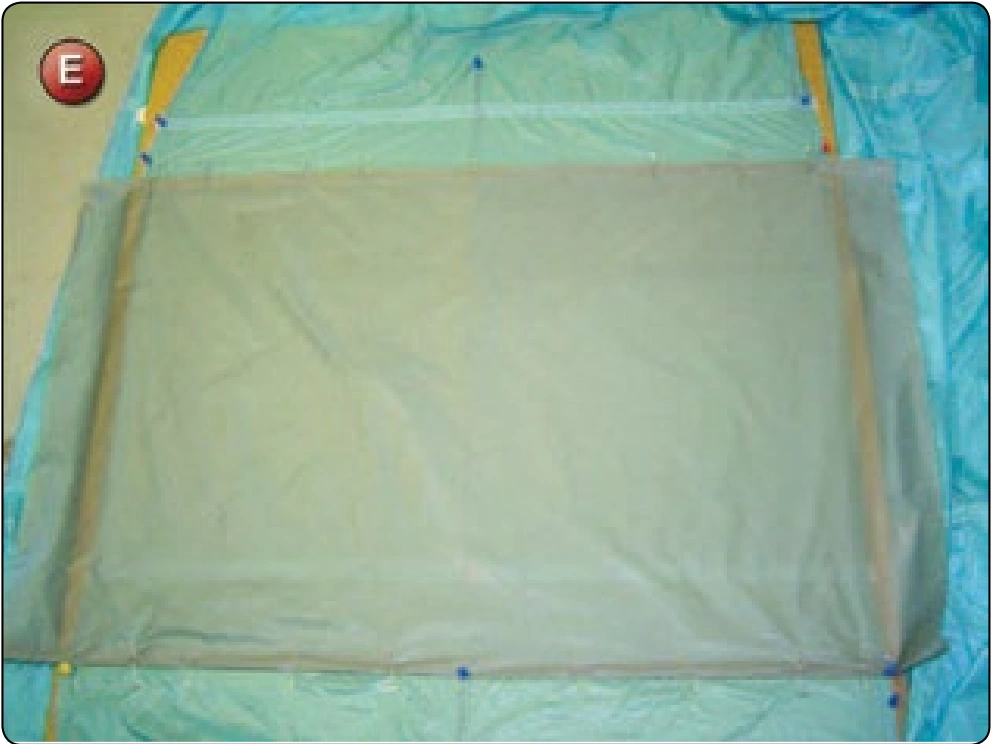
- Check the tension of the two panels. They should be equal.
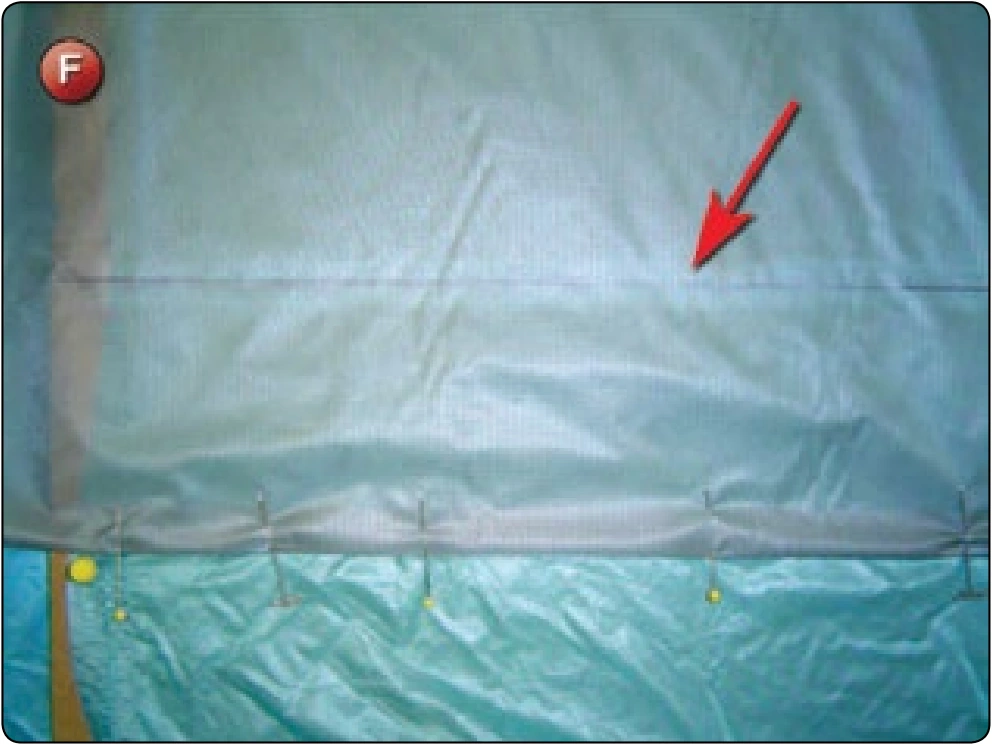
- Take a straightedge and mark the location of the spanwise reinforcing tape. [Figure F]
- Sew the panel along the outer edge at .12 inch from the folded edge.
- Turn the panel inside out. Trim the damaged panel at .62 inch from the edge of the panel edge. [Figure G]
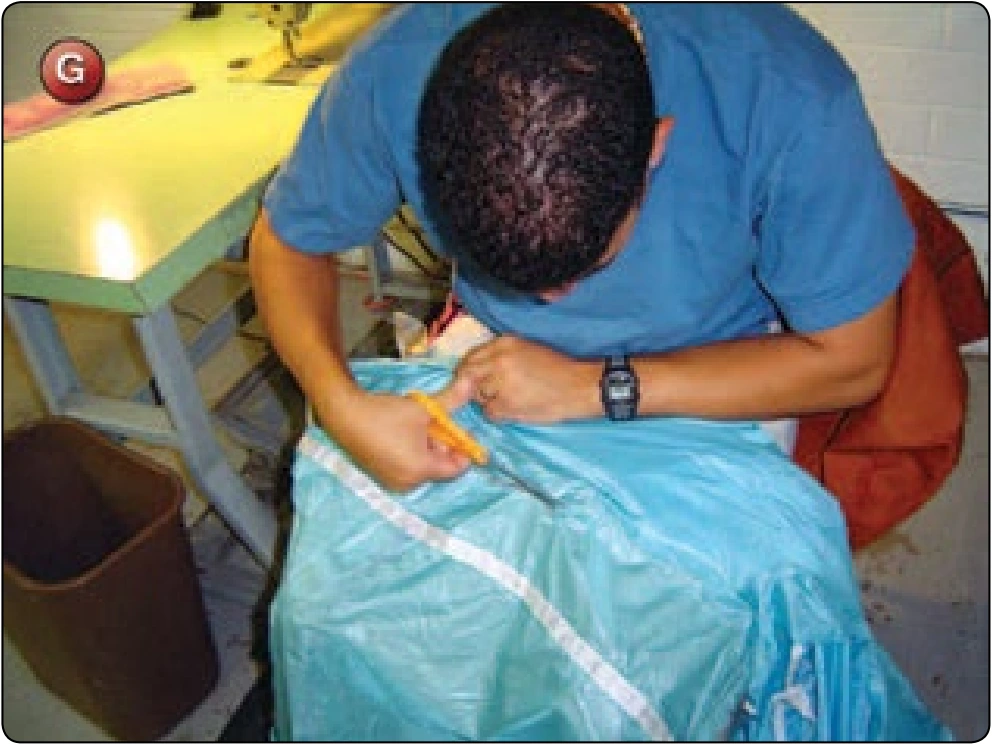
- Fold the fabric under to create a French fell seam. Sew a stitch row .12 inch from the folded edge.
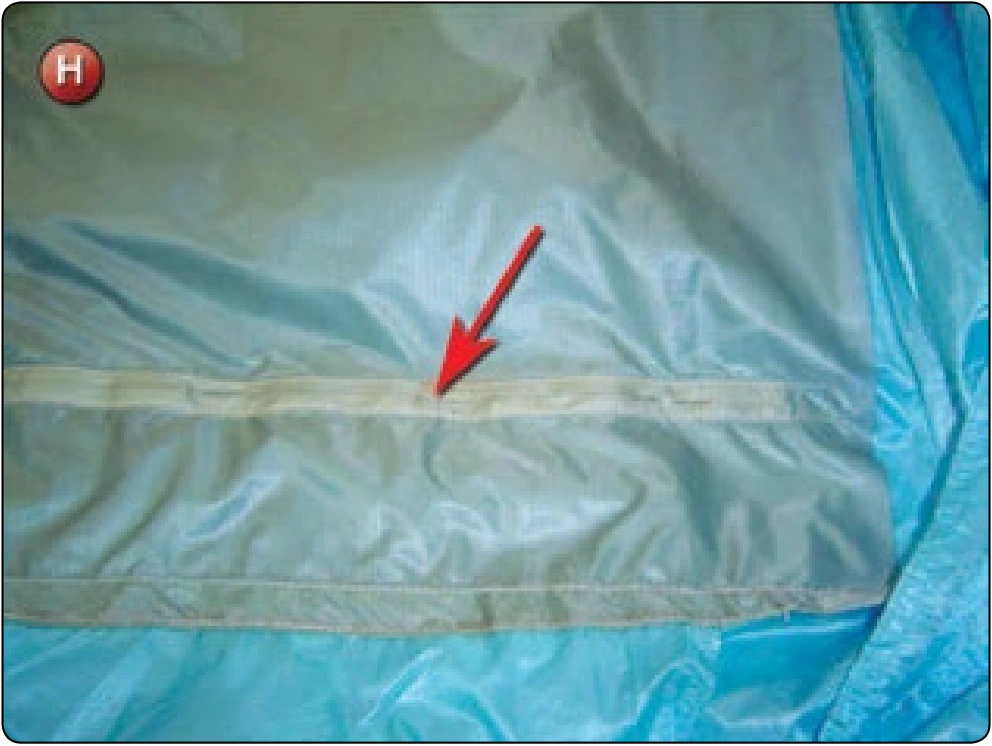
- Sew a piece of reinforcing tape on the bottom of the replacement panel along the line for the spanwise reinforcing tape. [Figure H]
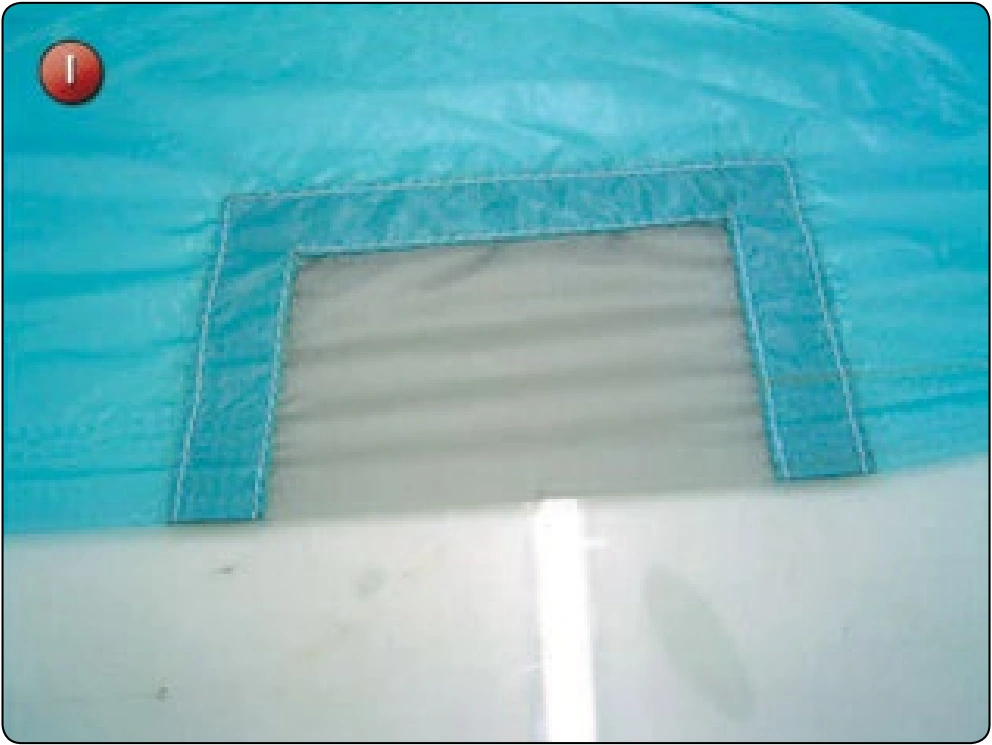
- Repair the non-loadbearing rib with a three-sided patch. [Figure I]
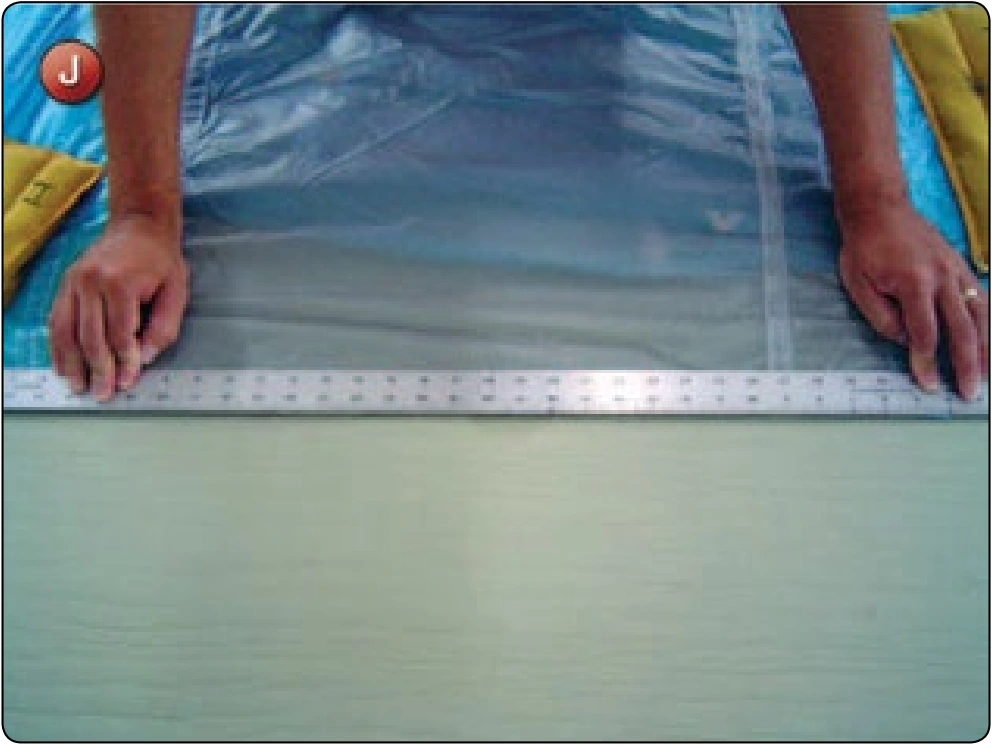
- Draw a line along the edge of the partial panel on each side from the point where the old panel meets the new one. Trim the fabric along this line. [Figure J]
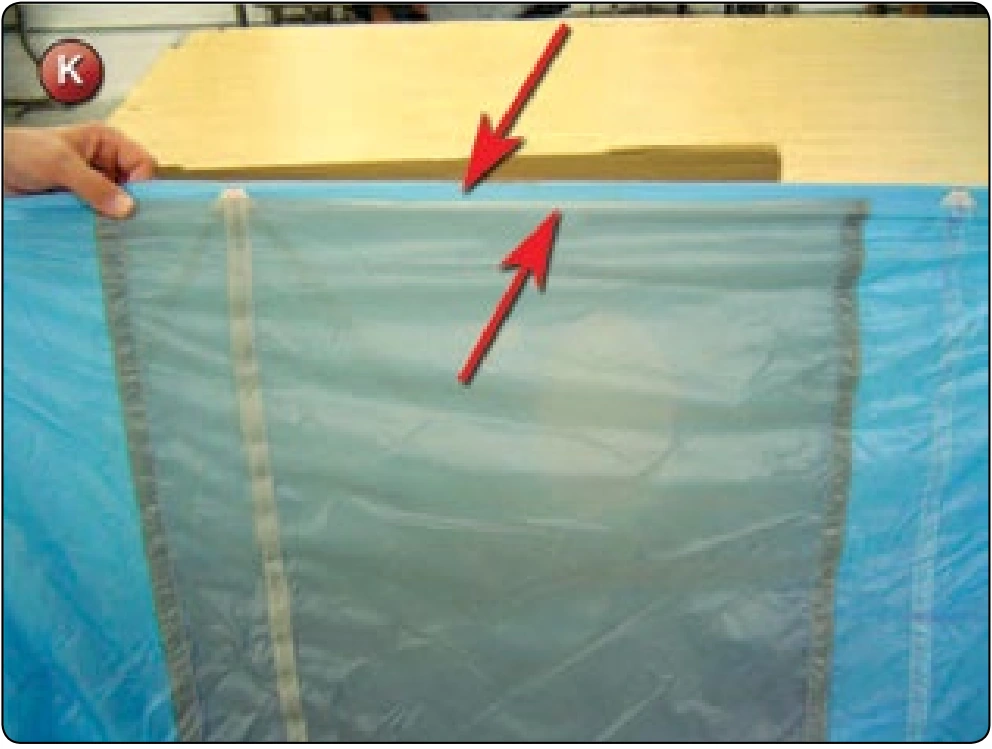
- Check the tension of the new partial panel piece against the edges of the other panels that formed the original seam. They should all be equal. [Figure K]
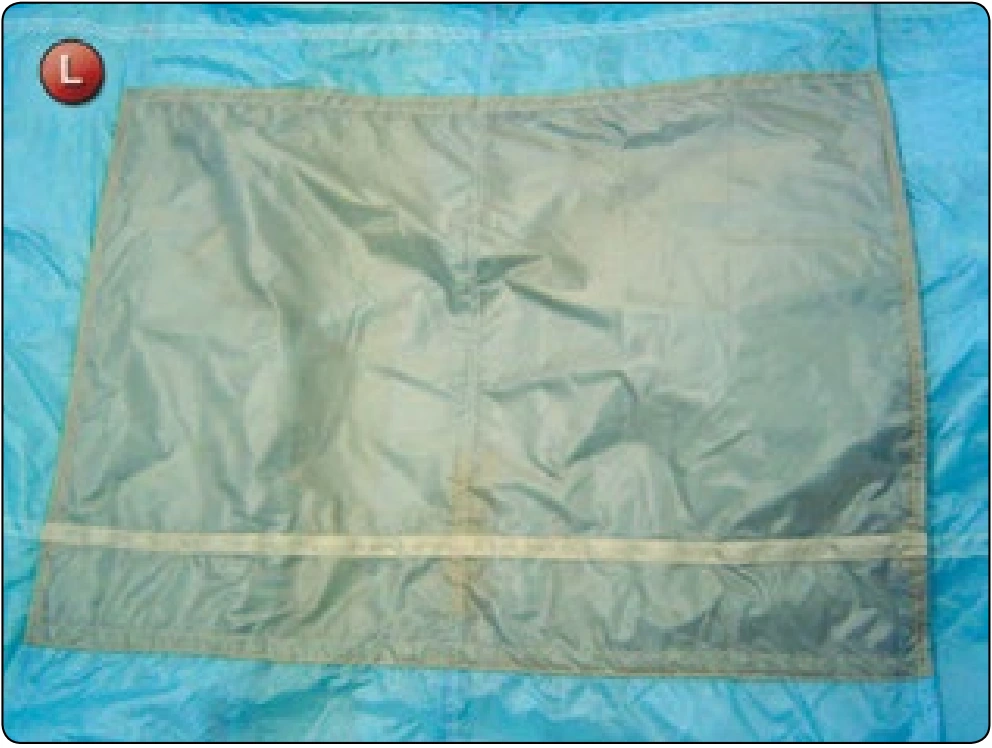
- Refold the original seam with the three panel edges and stitch as per the original seam. [Figure L] Overstitch a minimum of 2 inches on each end.
- If a line attachment has been removed for the repair, the tab must be replaced. Make sure that the line/tab does not have a twist in it. Locate it at the correct location and reattach as per original.
Inspection
- Check the fabric tension of the replaced panel. It should be equal to that in the remainder of the cell.
- Spanwise reinforcing tape should be straight and sewn.
- Seams should be folded correctly and thread tension even along both rows of stitching.
- Line should be attached correctly and have no twists.
Square Canopy—Rib Repair
- Applicable products: square canopies; main and reserve
- Description: Rib repair on a square canopy
- Authorized repairmen: FAA Master Parachute Rigger —mains and reserves; FAA Senior Parachute Rigger—mains
- Materials: E thread; fabric—type and color to match, reinforcing tape—type and color as per original
- Machines: 301 dtraight dtitch—medium duty 7–11 SPI, 1 inch × 42 stitch bar tack, double needle with puller attachment (optional) and SPI to match original
- Equipment: Scissors, seam ripper, marking pencil, ruler, pin board, straight pins, and patching square
Procedure
Repairing a rib of a square canopy is similar to doing a partial panel repair. The biggest difference comes when the rib is either:
- A “loaded” rib or one with support tapes for the line attachment points, or
- A crossport is damaged and needs to be repaired and recut. In this case, the crossport area needs replacement. [Figure A]