Chapter 7
Repairs, Alterations, and Manufacture
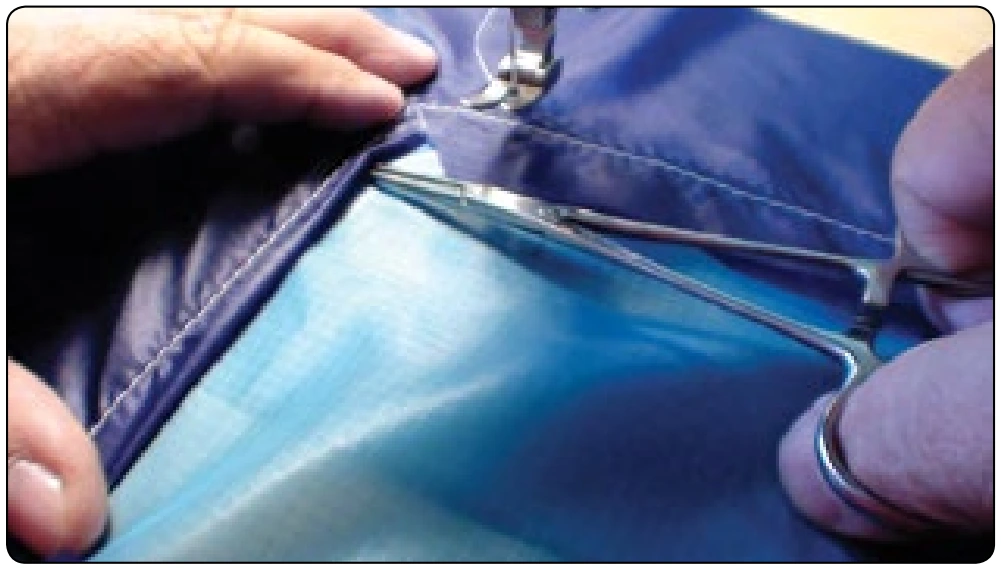
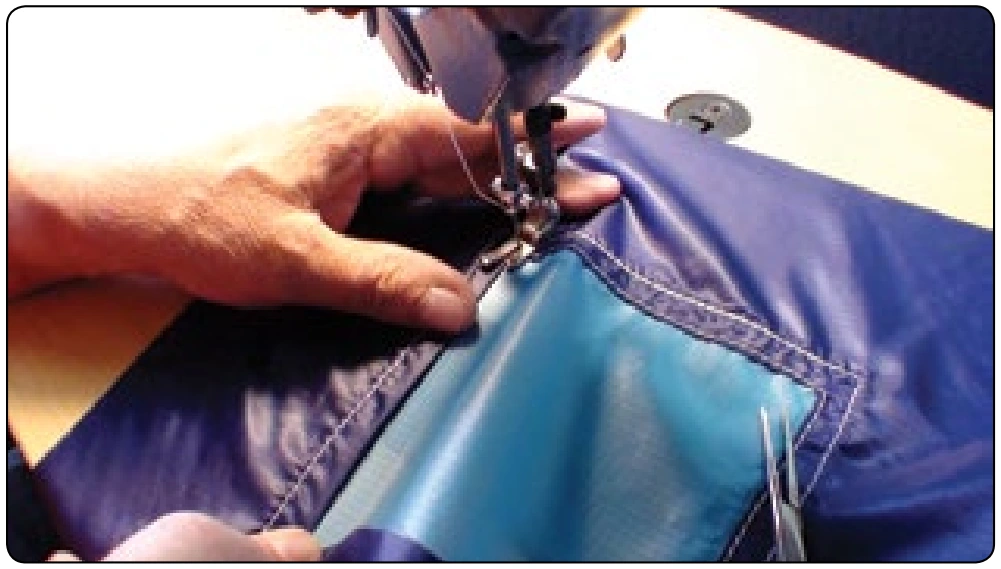
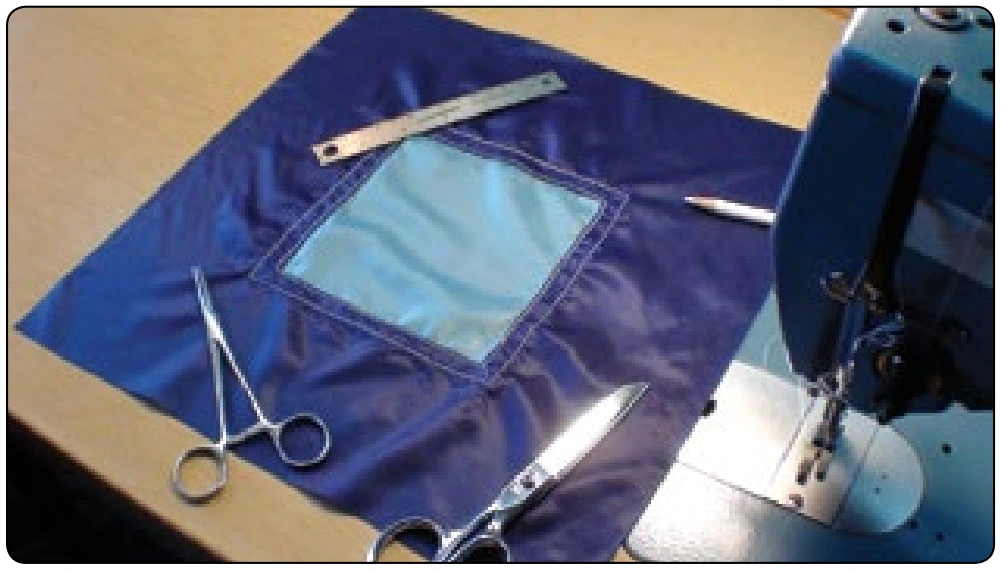
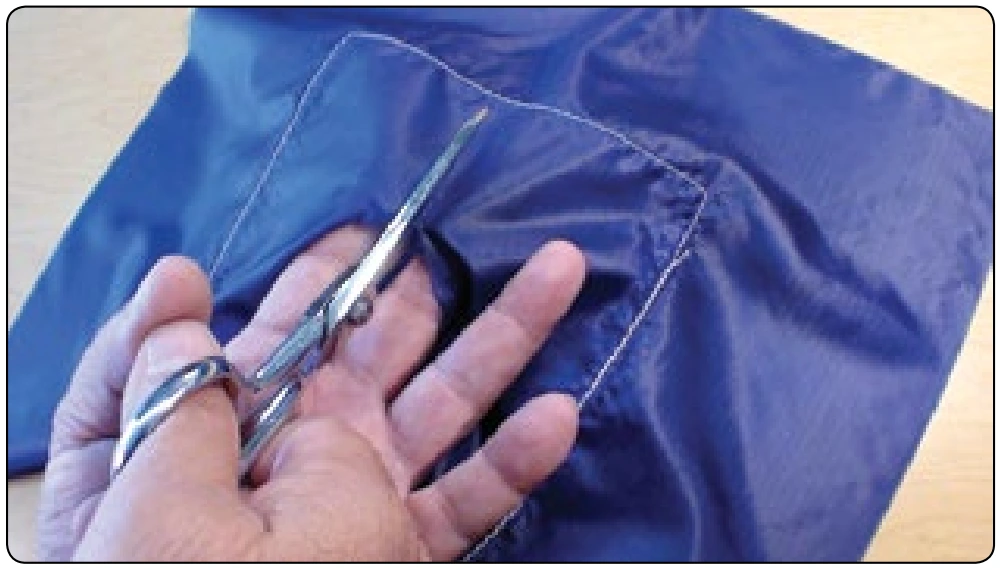
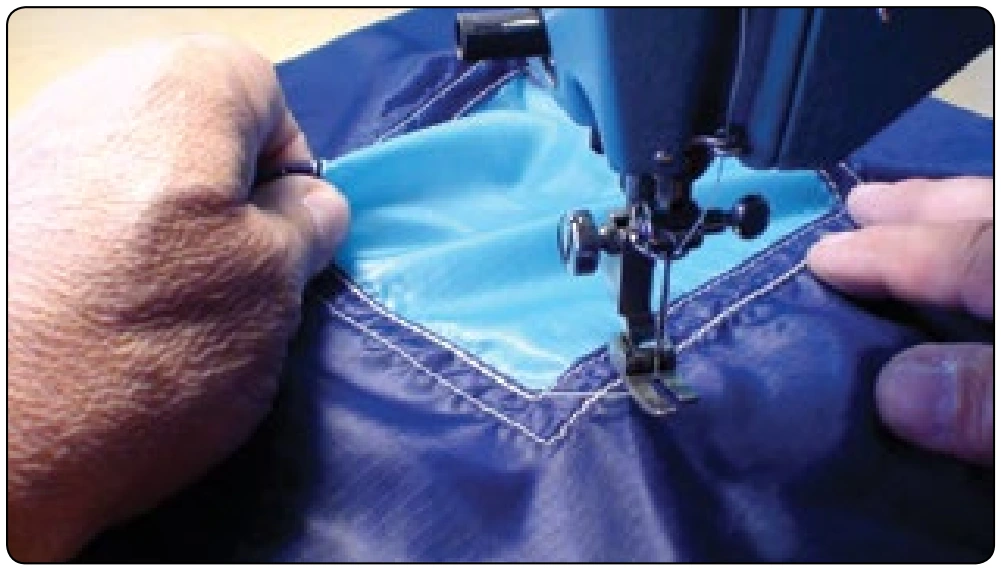
- Place the work under the sewing machine and, using the hemostat, grab one ripstop box in from the cut edge. Place the parachute fabric behind the fold back of the patch forming a French fell seam. Do this in two places and seat the one box fold back against the patch stitch row with the tip of the hemostat. Sew around the parachute patch repeating this process on each side. [Figures 7-25 and 7-26]
- Take care that each corner is fully seated and square. [Figure 7-27]
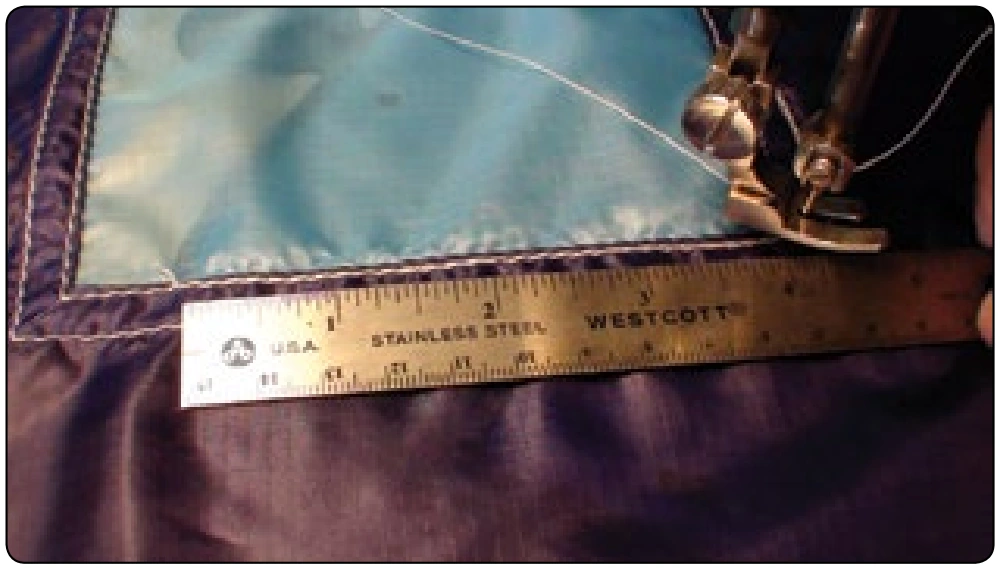
- Use the side of the presser foot as a gauge for stitching. [Figure 7-28]
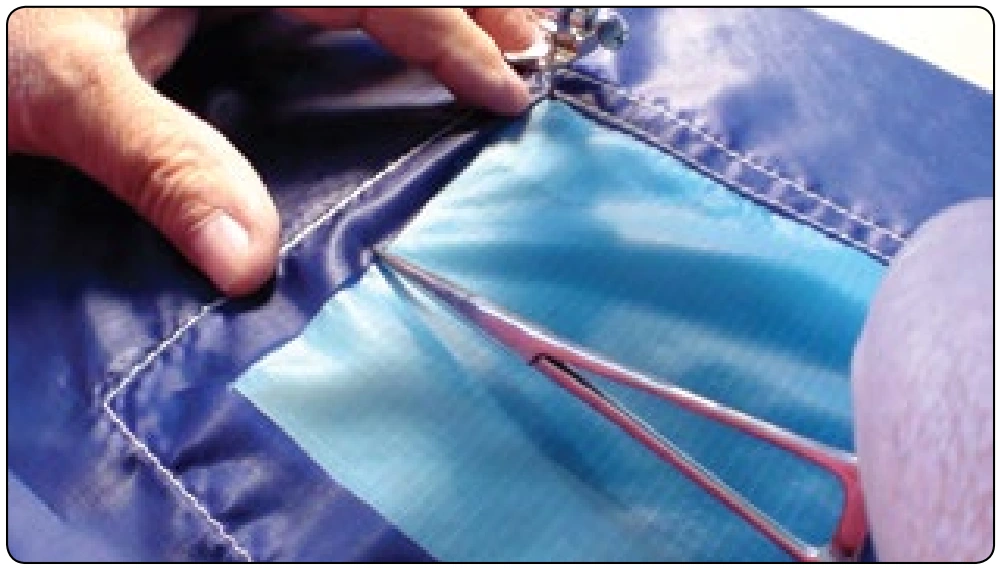
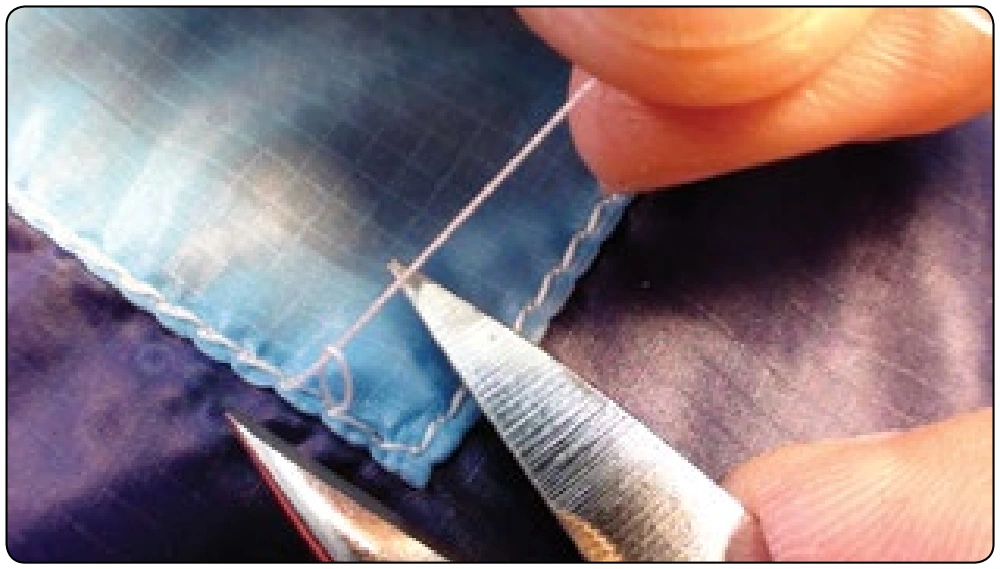
- Always make a 4 to 6 inch oversew or turn the next corner on a short legged patch. [Figure 7-29]
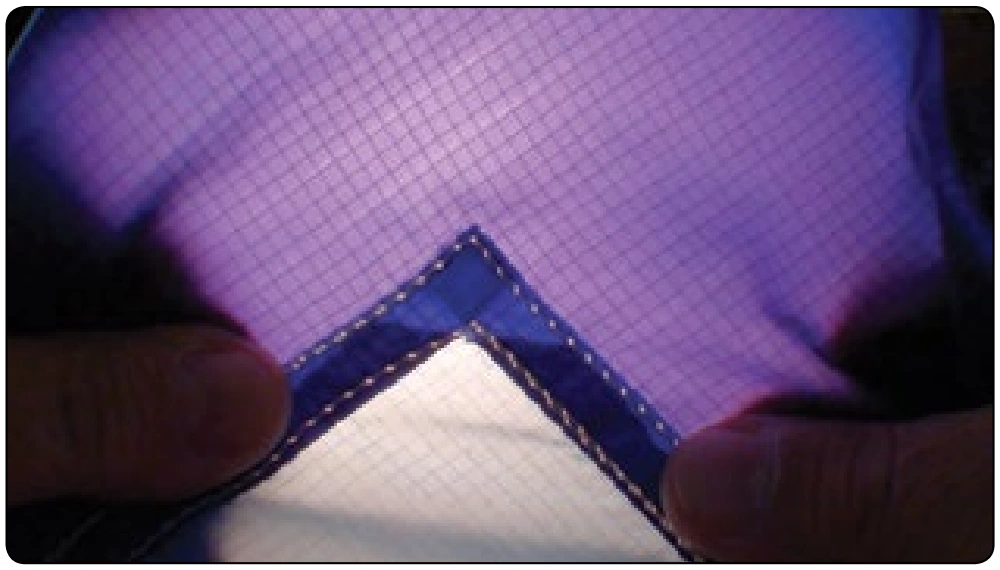
- Inspect the work thoroughly. Hold over available light source. [Figure 7-30]
Round Canopy—Panel Replacement
- Applicable products: All round canopies—main and reserve
- Description: Complete replacement of a panel section of a gore of a round canopy
- Authorized repairmen: FAA Master Parachute Rigger
- Materials: E thread—color to match; fabric—type and color to match
- Machines: 301 straight stitch—light duty 7–11 SPI
- Equipment: Scissors, seam ripper, marking pencil, 6-inch ruler, large pin board, and straight pins
Procedure
This process of replacing the panel is in reality a panel patch and is similar to that used in making a basic canopy patch. Because of the time and difficulty involved in removing and replacing the actual panel, that technique is best left to the canopy manufacturer. This technique is the more commonly accepted practice for major panel repair. The major issue to be dealt with in this technique is that of the amount of shrinkage that occurs during the repair. The larger the area of the panel, the more shrinkage occurs. The following procedure describes a panel replacement on a block constructed, noncontinuous line canopy. A bias constructed canopy is similar but more “fullness” needs to be allowed for in the cutting of the panel and sewing.
- Lay the canopy inside out on the pin board. Pin the canopy by placing tension on the seams and making sure they are straight.
- Cut a piece of fabric larger than the damaged panel by approximately 6 inches around all sides. Make sure that the weave of the panel matches that of the canopy. For a block constructed canopy, the bolt of fabric runs parallel down the radial seams of the canopy. For a bias constructed canopy, the bolt runs parallel to the diagonal seams.
- Trim one side of the panel to align the ripstop weave with the cross seam.
- Fold over the edge of the panel fabric approximately ¾ inch and pin in place aligning the edge with the outside of the cross seam. [Figure A]
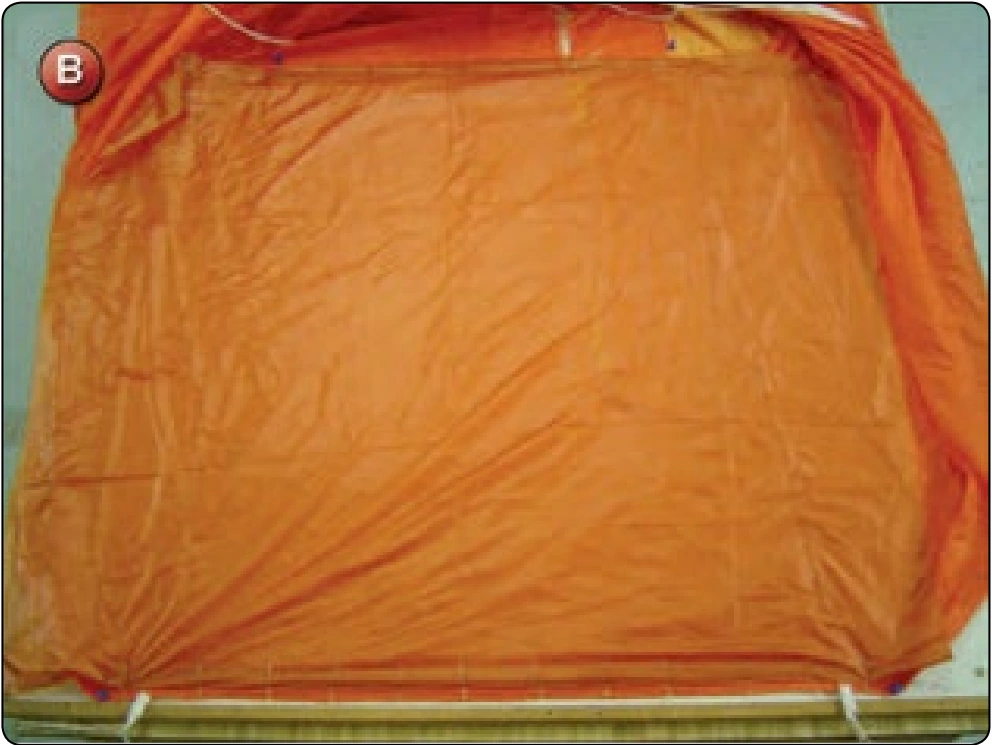
- Smooth out the panel fabric over the damaged area and align the opposite edge over the opposite cross seam. Cut the panel fabric approximately 1 inch wider than the panel. Fold the edge under and pin in place. You now have the top and bottom cross seams of the panel in place. [Figure B]
- Stitch the outside row of stitching starting and finishing approximately 1 inch short of the radial seams.
- Take the panel fabric along the radial seam and trim approximately ¾ inch from the outside edge of the radial seam. Fold under and pin in place. Repeat for the opposite radial seam. [Figure C]