Chapter 7
Repairs, Alterations, and Manufacture
Inspection
- The ripstop should be centered over the damaged area.
- The tape should be smooth with no air bubbles.
- Double-sided patches must be aligned.
- If sewn, tension, edge spacing, and overstitch must be correct.
Round and Square Canopy—Basic Patch Repair
In 1986, R.D. Raghanti, a Production Engineer working as a Master Parachute Rigger, created a new method of parachute repair utilizing the ripstop box configuration as observed on parachute material during production. By utilizing the material “map” ripstop box lines, he created the process of placing repair patches and confirming material replacement during repairs to match the existing grid and establish proper placement of the repair. This process greatly improved parachute repair techniques and is recognized today by most as the industry standard.
- Applicable products: All canopies—round and square; main and reserve
- Description: Application of a basic canopy patch
- Authorized repairmen: FAA Senior or Master Parachute Rigger
- Materials: E thread—color to match; fabric—type and color to match
- Machines: 301 straight stitch—light duty 7–11 SPI
- Equipment: Canopy or material to be repaired, marking pencil, single-needle sewing machine with E thread, ruler, hemostat, scissors, and nippers
Procedure
- Be sure you have found all the damage.
- Mark the boundaries of the damage.
- Allow 2 inches for repair and fudge factor from each boundary.
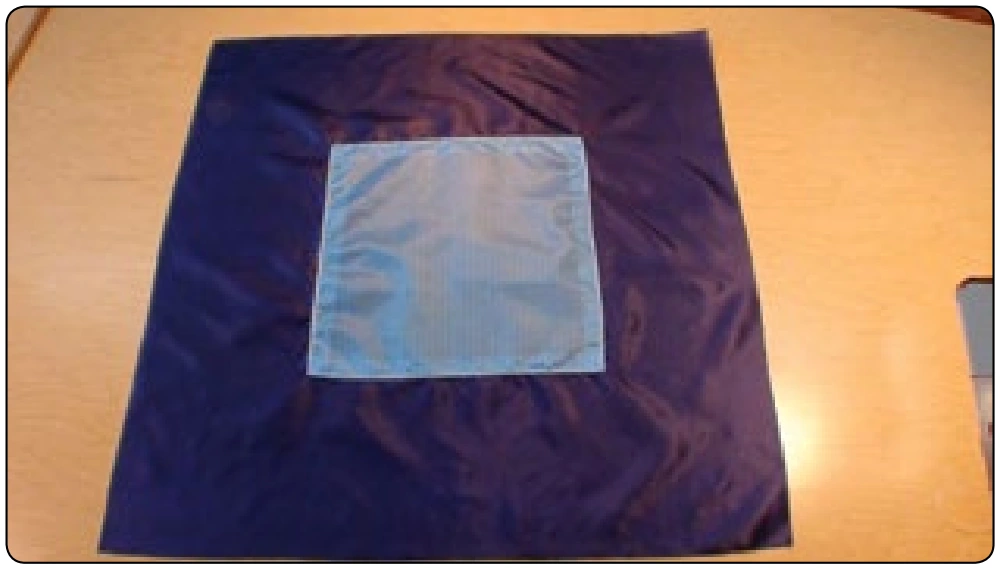
- A 6-inch patch will cover approximately 2 square inches of damage. A 7-inch square piece of fabric will be needed to make a 6-inch patch, using 1⁄2-inch seam allowance. Always put the patch on the inside of the parachute.
- Find the center of the damage on the 13 1⁄2-inch square piece.
- Measure half the patch size or 3 inches out to the left of the center of damage following one ripstop line in the fabric.
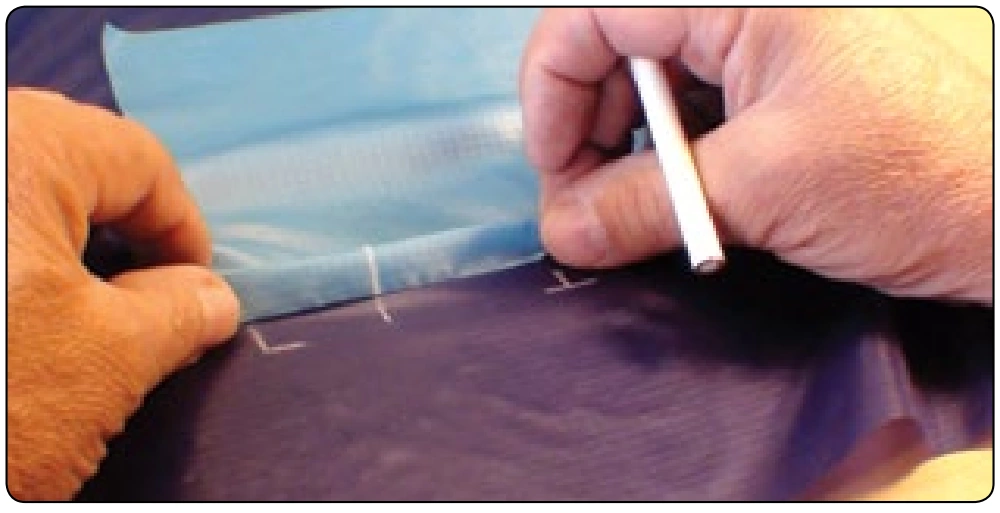
- Make a center mark and a left border mark (this will look like a T laying on its side).
- Measure half the patch size or 3 inches up the left border ripstop line from the center line and mark the top border and left border (this will look like an upside down L). [Figure 7-16]
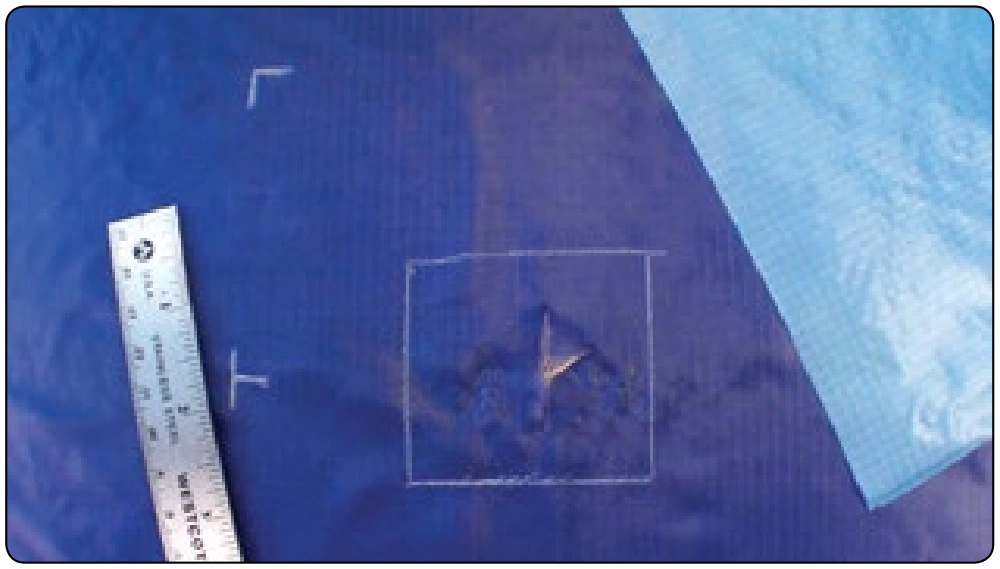
- Count down 10 ripstop boxes from the top border and make a mark. This is the start mark.
- Count down 14 ripstop boxes from any corner of the 7-inch square piece and make a start mark. [Figure 7-17]
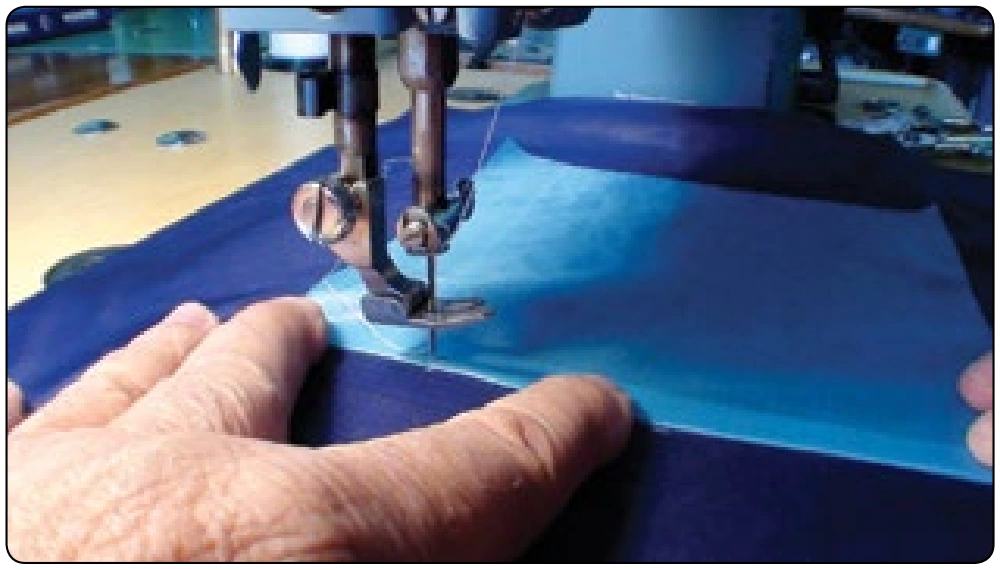
- Place the 2 start marks on top of each other using the hemostat to hold the 4 block seam allowance in place and sink the needle. Always sew counter clockwise around patches so that the bulk of the parachute does not have to go through the bed of the machine. [Figure 7-18]
- Count up 4 blocks from the bottom edge of the patch and use the hemostat to form a corner, line up the ripstop boxes, and load each piece with the same pressure. Then, sew to the corner. [Figure 7-19]
- Repeat this step until the first two corners are sewn down. At this point, check the last corner to assure that it will fall in the top and left border marks (upside down L) were made when you the measurement step was completed. Then, sew the last two corners down. [Figure 7-20]
- While sewing, it is important to pull the fabric at the same speed the machine is going and to set the hook in the stitch loop before lifting the foot to turn a corner. Always make a four to six-inch oversew. [Figure 7-21]
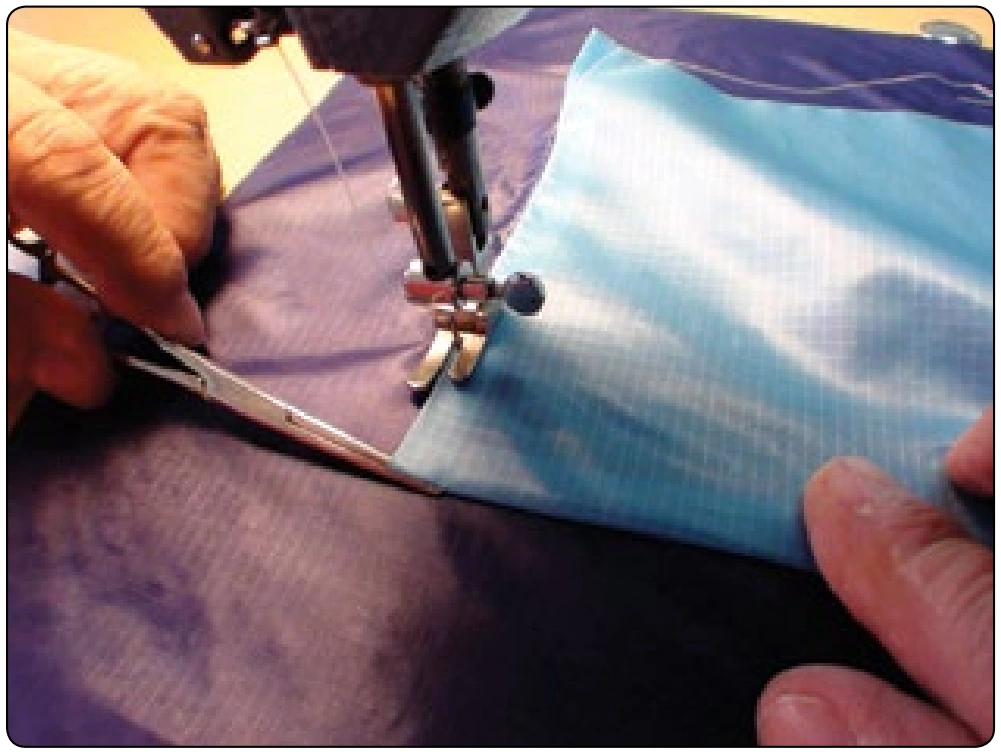
- If the fabric was loaded correctly, the patch will be square and will lay flat with no bubble. [Figure 7-22]
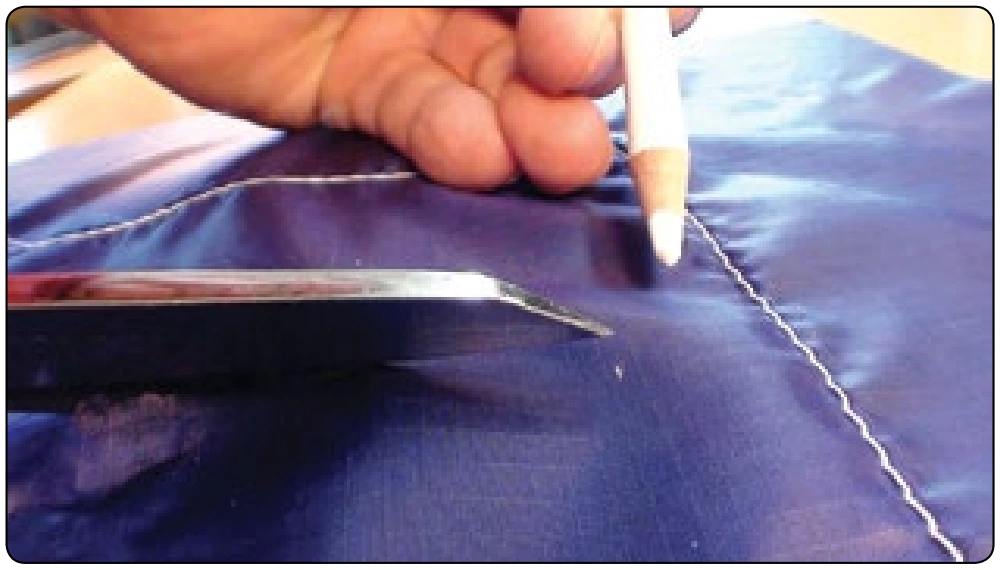
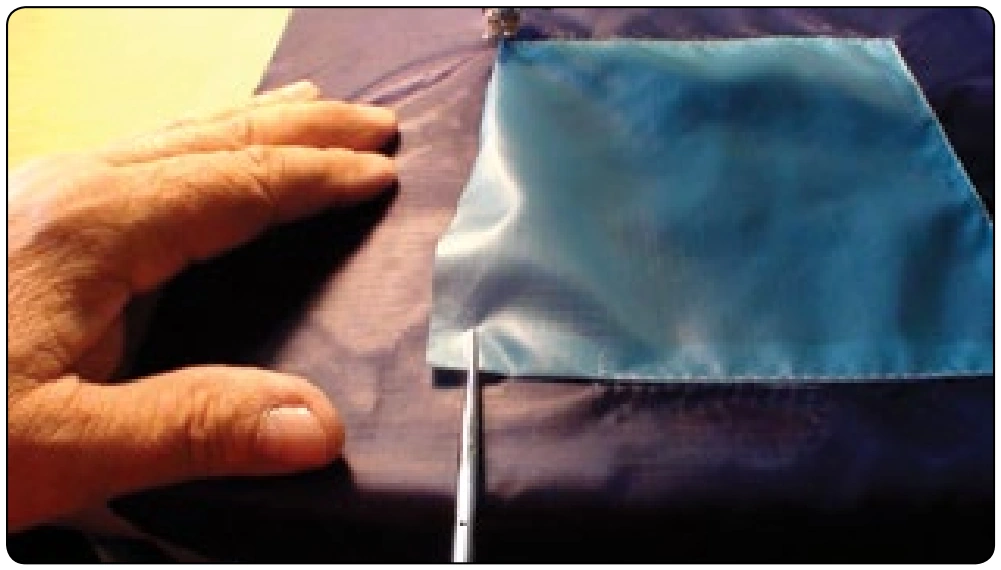
- Using the scissors, cut the damage out along the rip stop lines 7 boxes in from the stitching that holds the patch on. Placing your hand between the patch and parachute while trimming prevents damaging your patch with the scissors. [Figure 7-23]
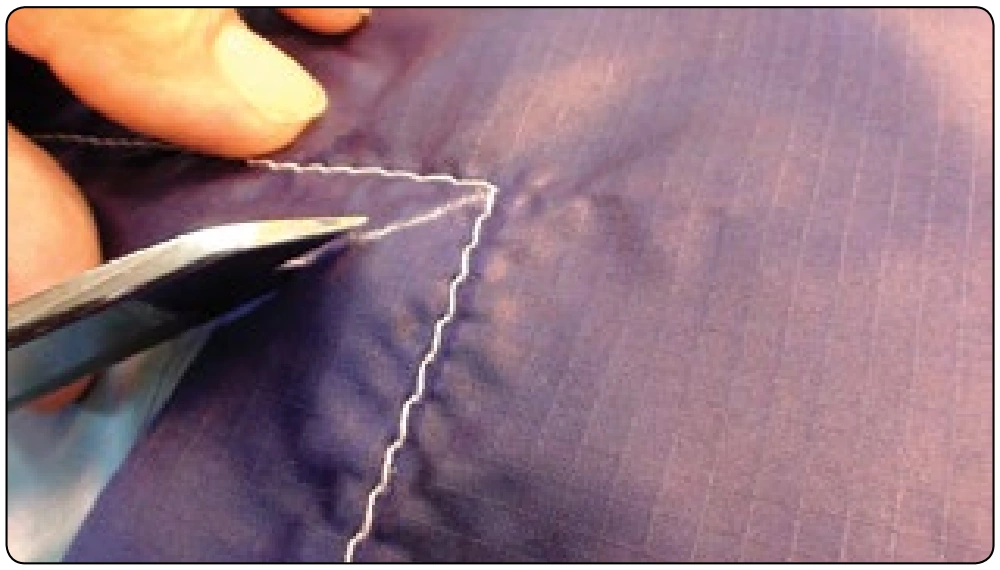
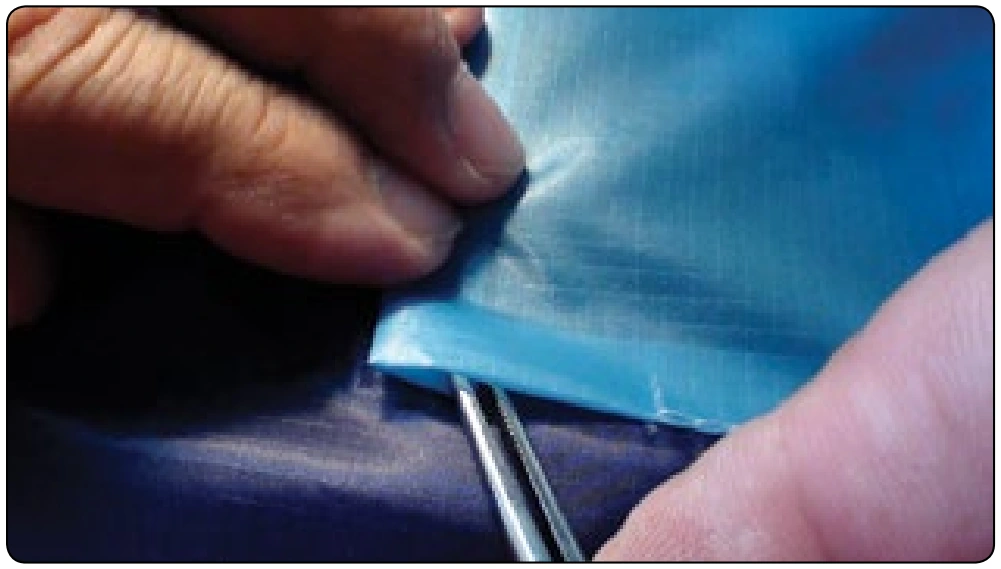
- Make a diagonal cut in each corner to 3 ripstop boxes from the corner. [Figure 7-24]