
Chapter 7
Repairs, Alterations, and Manufacture
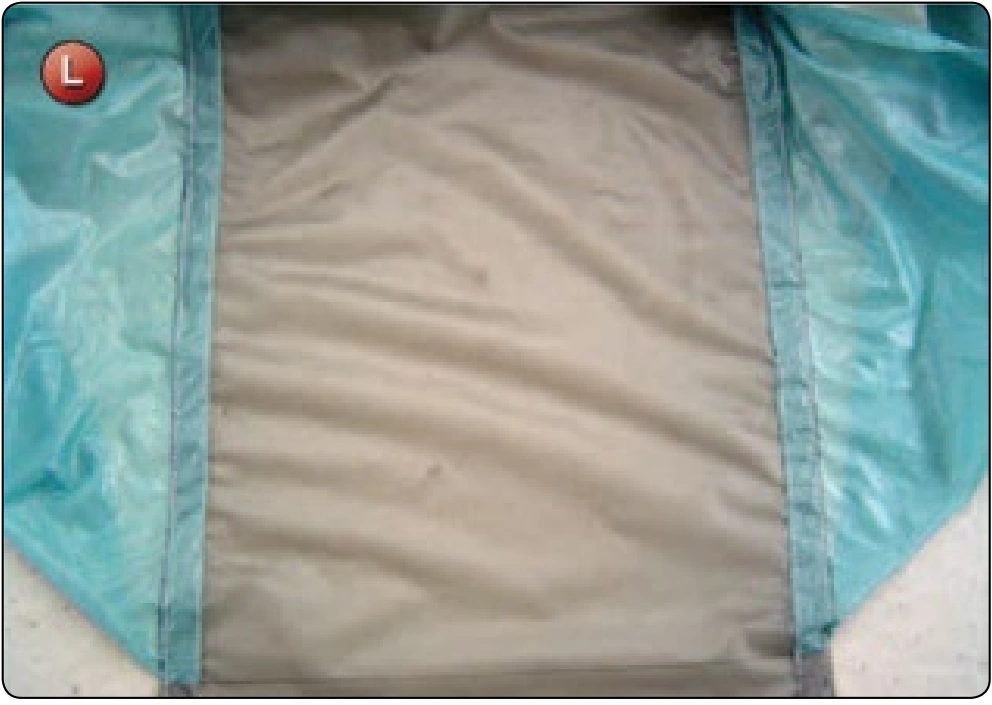
- Sew the inside row to complete the seam. [Figure L]
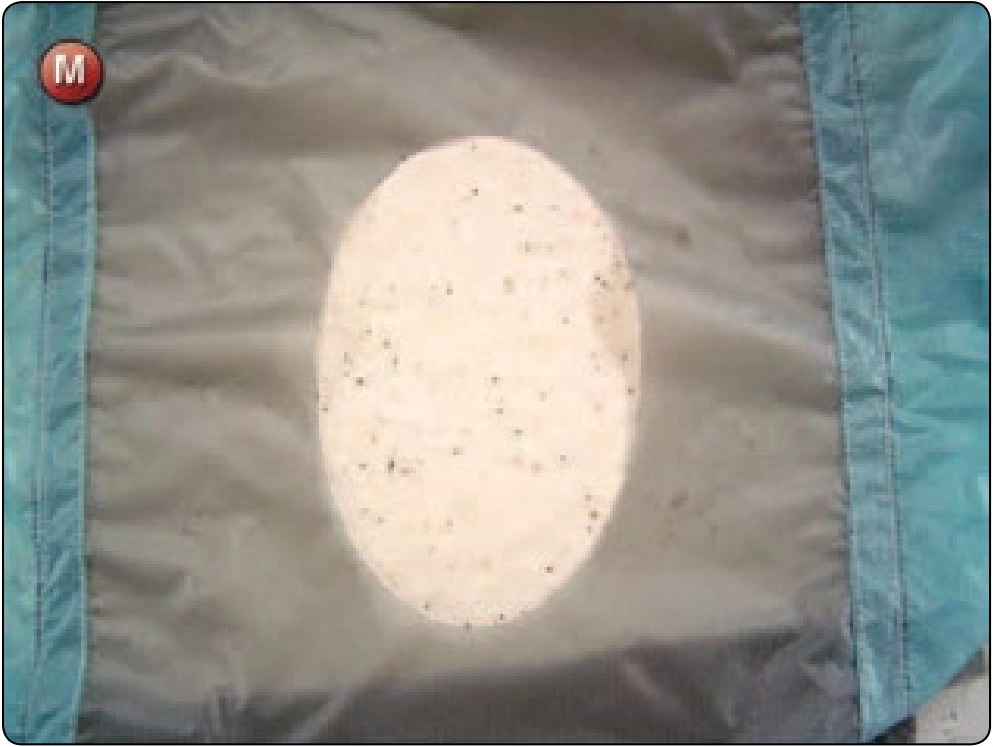
- Cut the new crossport to match the original location and shape. [Figure M]
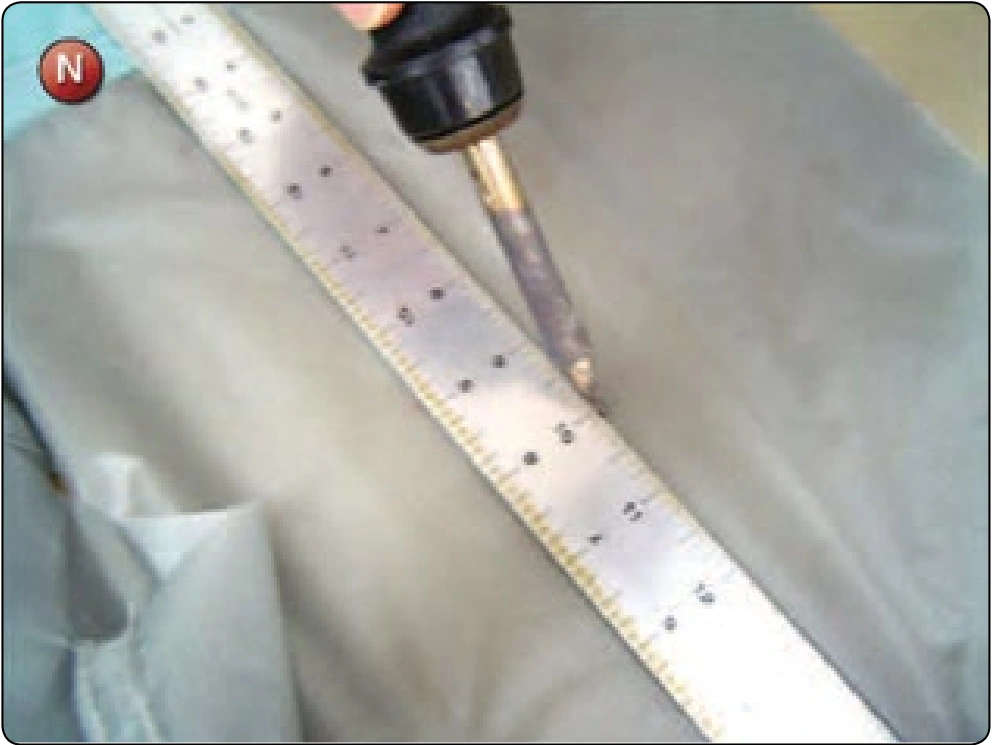
- Trim the top and bottom edges as marked. [Figure N]
- Pin the top seam back onto the top panel. Sew in place with either the single needle or if available, with the double needle machine and puller. [Figure O] Repeat with the bottom seam.
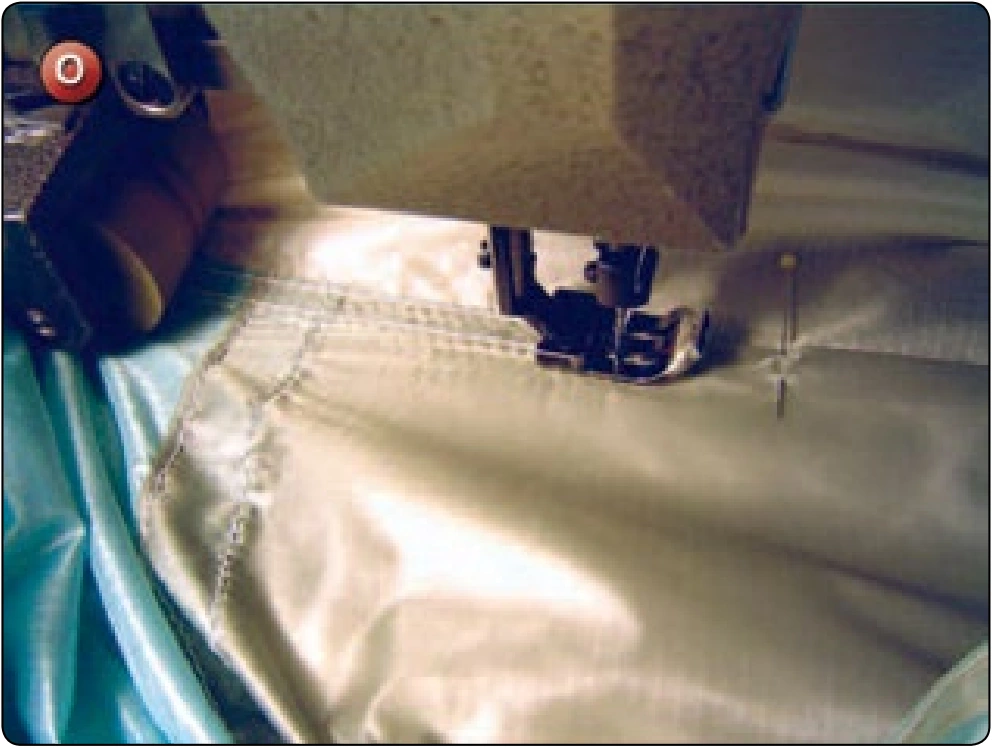
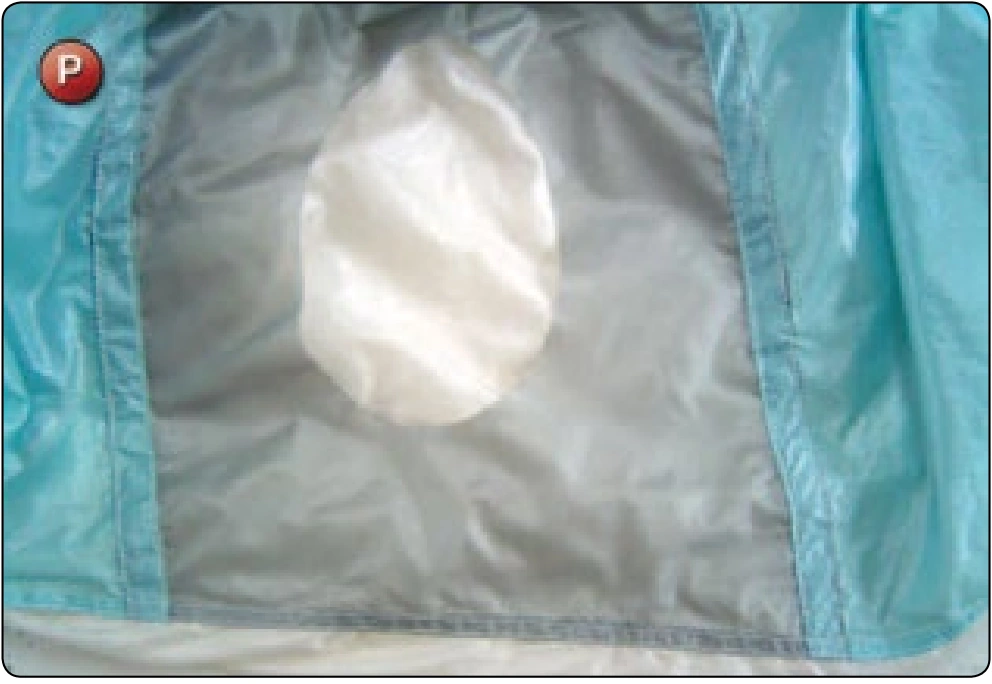
- Inspect finished work. [Figure P]
Inspection
- Seam alignment should be straight.
- Check the tension of the replaced rib material.
- Make sure the seams are restitched correctly.
- Verify that the crossport is cut correctly.
- The line attachment tape must be replaced correctly with no twists in the suspension line.
Square Canopy—Pilot Chute Attachment Point Repair
- Applicable Products: Square main canopies
- Description: Repair of the main canopy pilot chute attachment point.
- Authorized Repairmen: FAA Master Parachute Rigger
- Materials: E thread; fabric—type and color to match, reinforcing tape—type and color to match, reinforcing fabric—type and color to match
- Machines: 301 straight stitch—medium duty 7–11 SPI, 308 zigzag—medium duty 7–11 SPI, 1 inch × 42 stitch bar tack
- Equipment: Scissors, seam ripper, marking pencil, and 12–inch ruler
Procedure
This repair is quite common. If the canopy is inspected regularly, the beginnings of the damage will be noticed and a simple re-stitching will solve the problem. However, many times it is not and the resultant damage is quite extensive requiring repair of the rib, as well as the top panel.
Disassembly
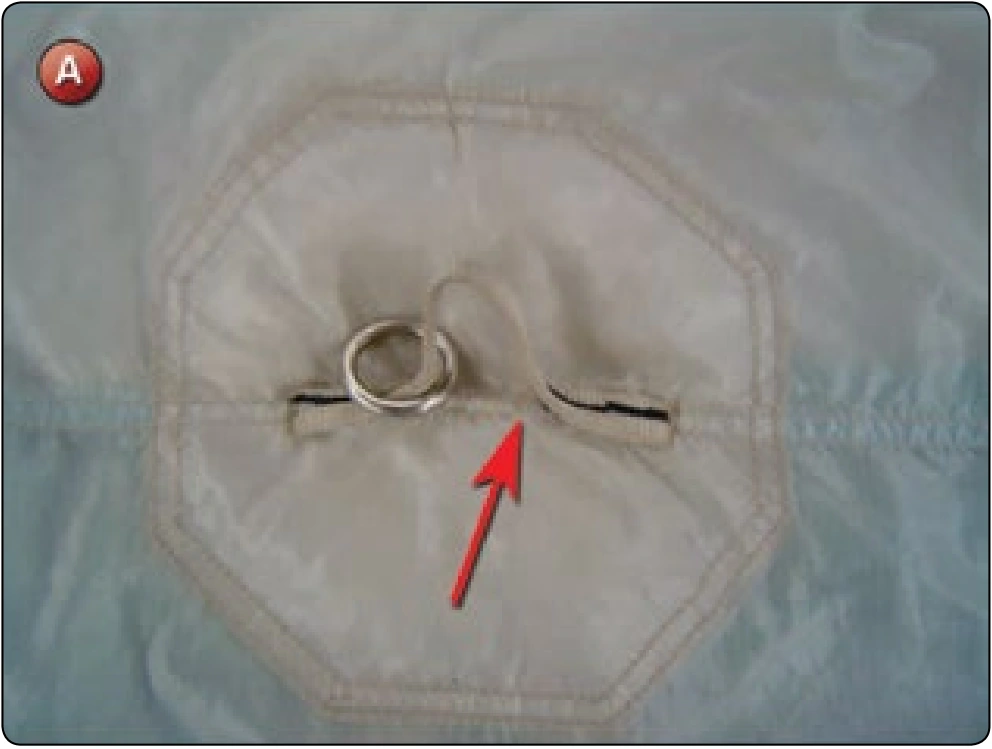
- Inspect the area to determine the extent of the damage. [Figure A] If the stitching that holds the attachment point to the canopy is simply coming loose, re-stitch as per the original.
- If the canopy fabric is damaged, then turn the canopy inside out. The center rib should have a reinforced area that brackets the attachment point. [Figure B]