
Chapter 7
Repairs, Alterations, and Manufacture
- Lay the canopy out on the packing table. Straighten the canopy ensuring the apex is straight and even tension on the lines.
- Remove the damaged line from the canopy.
Reassembly
- Cut a new line from the same material as the original approximately 36 inches longer than the damaged line.
- Pre-stretch the line by applying approximately 10 percent of its rated strength for a minimum of 15 minutes.
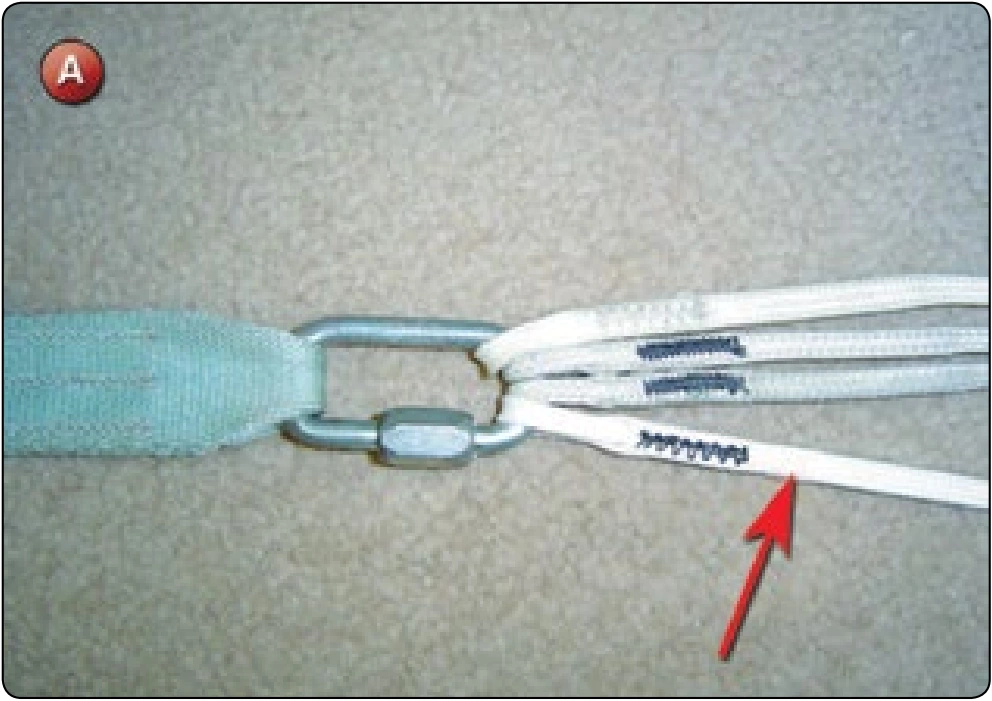
- Attach the line to the connector link in the same manner as the original. Most of the newer canopies use braided line and a finger-trap attachment technique. [Figure A]
- Zigzag or bar tack the line, whichever is appropriate.
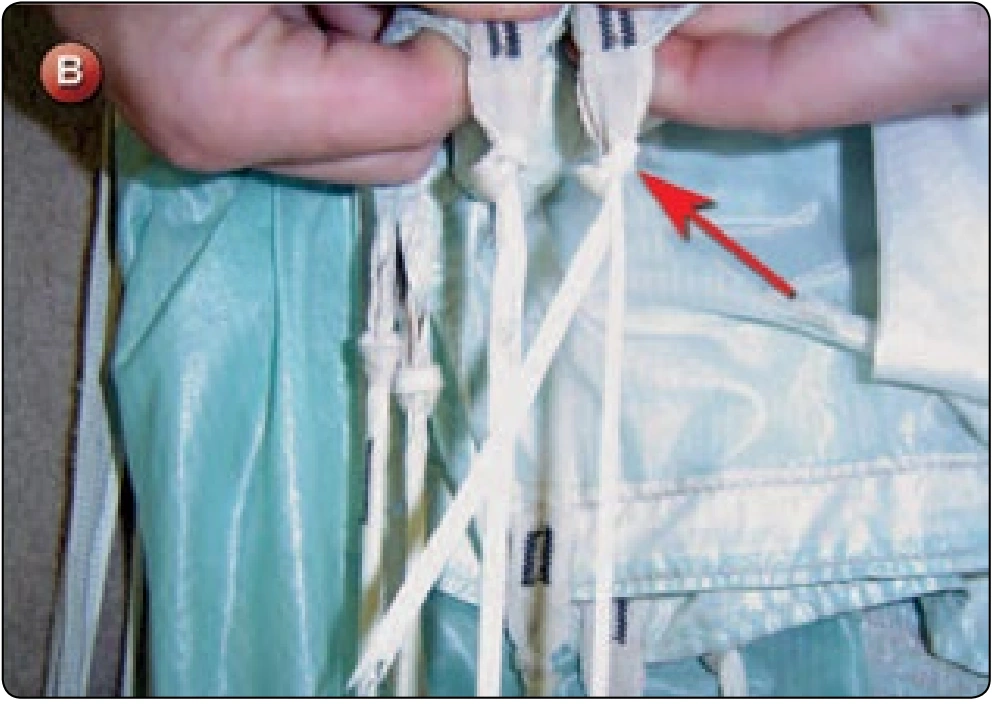
- Run the free end of the line to the canopy. If the canopy utilizes a V-tab configuration, route the line through the V-tab. [Figure B]
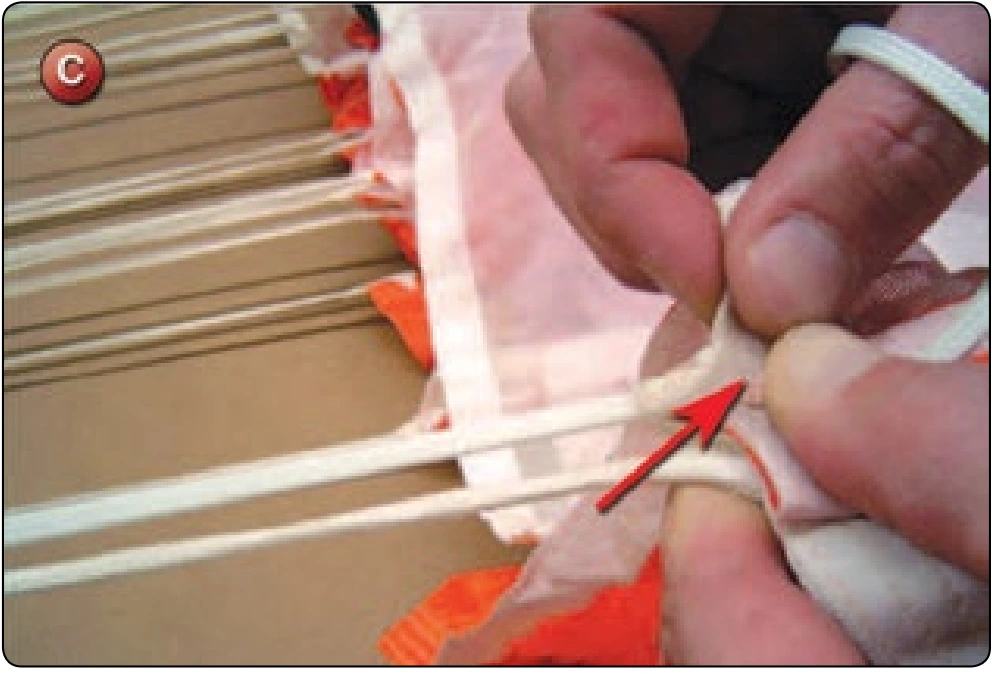
- Pull the V-tab down until it is even with the rest of the skirt. Mark the line at the edge of the skirt and pin in place. [Figure C]
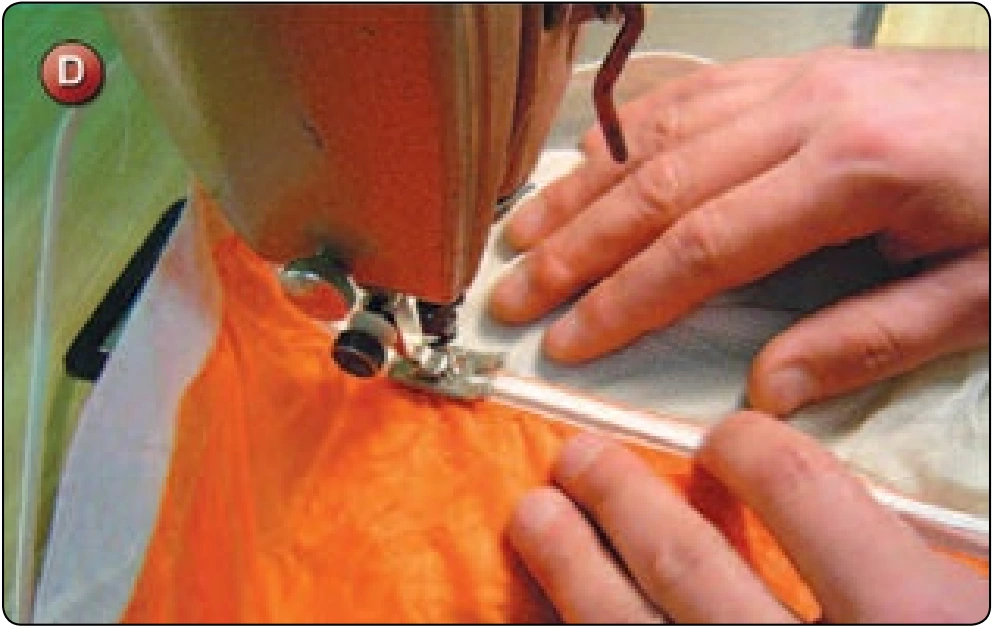
- Sew the line to the canopy with the zigzag machine duplicating the original manufacture. [Figure D] Trim the excess line from the canopy.
- Return the canopy to the packing table, straighten, and apply tension. Check the trim of the replaced line against the others.
Inspection
- Verify the line length is the same as the original with the same tension.
- The connector link and canopy ends must be sewn correctly.
Square Canopy—Main Line Replacement
- Applicable products: Square main canopies.
- Description: Replacement of main suspension lines of square canopies.
- Authorized repairmen: FAA Senior or Master Parachute Rigger
- Materials: E thread
- Machines: 308 zigzag—medium duty 7–11 SPI, 1 inch × 42 stitch bar tack (optional)
- Equipment: Scissors, seam ripper or scalpel, marking pencil, 6-inch ruler, finger-trapping needle, and 60-pound fish scale or equivalent
Procedure
Many of the modern canopies are using Spectra® or other aramid fibers in place of nylon or Dacron lines. These materials are stronger, lighter, and less bulky. An example is the 825-pound Spectra® line common on many main canopies. The strength is higher but the bulk is smaller than the 525-pound Dacron used in the past. Accordingly, the techniques needed to work this material are more refined and precise.
Disassembly
- Lay the canopy out on one side and straighten the lines.
- Remove the damaged line. If the cascade is undamaged, remove the cascade line from the junction of the main line. If the cascade is damaged, remove it as well.
Reassembly
- Cut a new main line approximately 24 inches longer than the old one.
- Finger-trap a loop at the connector link end. [Figure A] Make sure that the size of the loop duplicates the original or adjacent lines. If the loop is made too small, there may be difficulty in changing connector links or risers as needed. Sew the fingertrap with either a zigzag or bar tack.
- Pre-tension the line. With Spectra®, load the line with approximately 30 pounds for 30 seconds. Place the line on the connector link.
- Feed the running end of the line through the slider and directly to the line attachment tape on the canopy. Make sure that there are no twists to the line or it is around the other lines. Run through the attachment tape and re-create the original knot. [Figure B]
- Tension the line using adjacent lines for reference. [Figure C]
- Mark the location for the entry point for the cascade line. [Figure D]