Chapter 7
Repairs, Alterations, and Manufacture
- Cut the replacement Velcro® to size. Velcro® is normally scissor cut, not cut with a hot knife.
- Position the Velcro® and stitch around the perimeter at .12 inch from the edge. For any pieces, 1 inch in width or wider, sew a row of stitching down the center. [Figure A] This prevents the center from being pulled up from the material and loading the outside row of stitching. [Figure B]
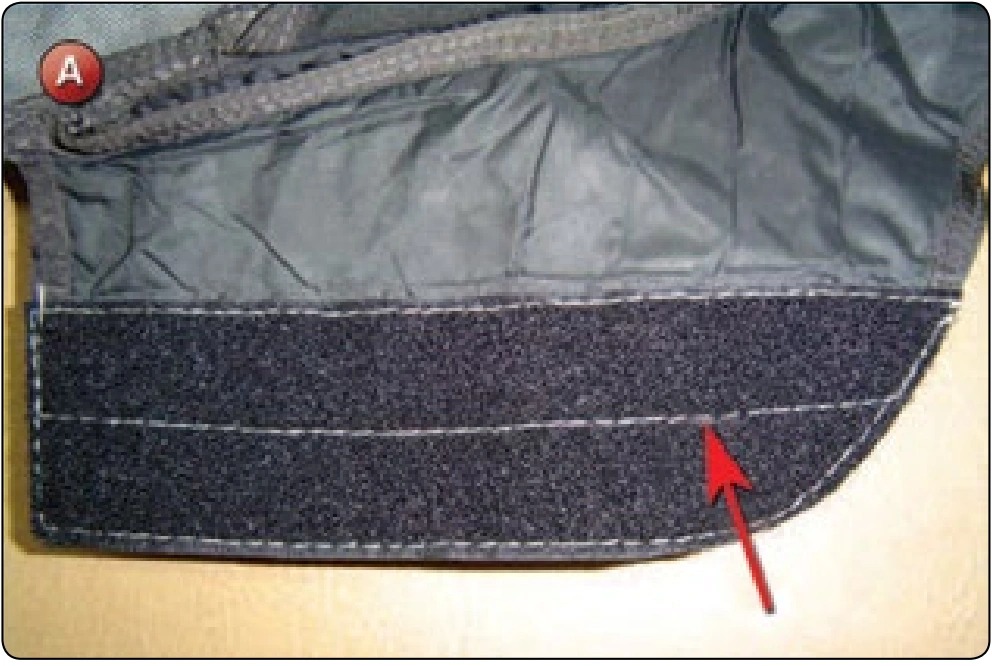
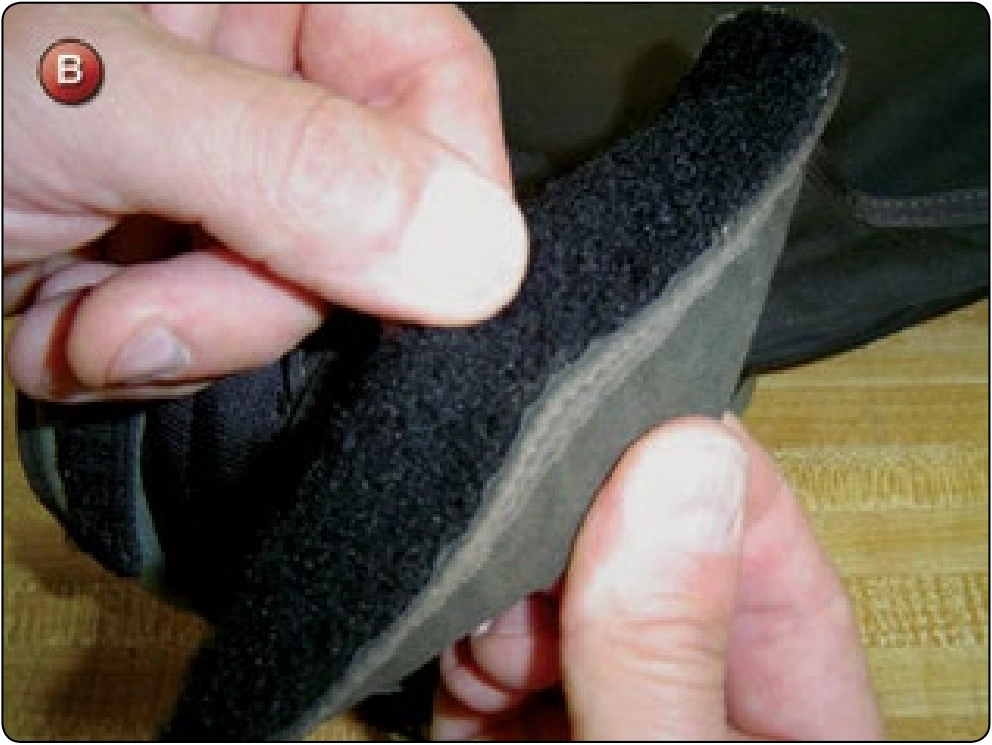
- Some applications have the Velcro® sewn to a piece of tape for support. Again, if it is 1 inch or more wide, sew down the center to prevent lifting.
- Depending on the application, the mating loop piece of Velcro® may be wider than the hook to provide additional protection. That is, the hook may be .75 inch wide and the loop 1 inch wide.
Inspection
- Check that thread tension is correct.
- Verify orientation is correct.
- Check that center stitching is used where needed.
Container Plastic Stiffener Replacement
- Applicable products: All types of containers that use plastic stiffeners
- Description: Replacement of damaged plastic stiffeners of all types
- Authorized repairmen: FAA Senior or Master Parachute Rigger
- Materials: E thread—color to match; grommets—size, type, and material to match; and plastic stiffeners— type and thickness to match
- Machines: 301 straight stitch—medium duty 7–9 SPI and 308 zigzag—medium duty 7–11 SPI
- Equipment: Scissors, seam ripper or scalpel, marking pencil, 6-inch ruler, grommet die set—size to match grommets, leather mallet, grommet cutting board, hole punch to match grommet size, basting tip, diagonal wire cutters—8 inch minimum, heavy shears or tin snips, electric drill and 3⁄8 inch drill bit, and feeler gauge—.010 inch
Procedure
The term “plastic,” when used in conjunction for the materials used as stiffeners in modern parachute containers, is a misnomer. In reality, the composition of the material varies. The most common material used today is molydisulfide (MDS) nylon. In addition, Lexan®, a clear polycarbonate material and high density polyethelyne (HDPE), are also used. The most common thicknesses used are .025 inch, .040 inch, and .060 inch, which are standard commercial thicknesses commonly available. Stiffeners are used primarily as backing for grommets to spread the load placed on closing flaps. Instead of focusing the load on the diameter of the grommet, it is spread out across the length of the stiffener, resulting in a smoother flap and container. Consequently, replacing plastic stiffeners almost always requires replacing the grommet as well. Usually the plastic breaks at the grommet location because the hole for the grommet is the weak point. The following procedure shows the replacement of the bottom main flap stiffener of a Javelin container.
Disassembly
- Unpick the stitching that holds the binding tape to the bottom flap. [Figure A] Remove the grommet.
- Remove the stitching that holds the stiffener in position. Remove the stiffener.
Reassembly
- Use the original stiffener as a template to cut a new stiffener. [Figure B] While many of the older containers use HDPE or other materials, most of the newer designs use MDS nylon because of its superior properties. Because of this, many riggers use MDS exclusively for replacing any stiffeners.
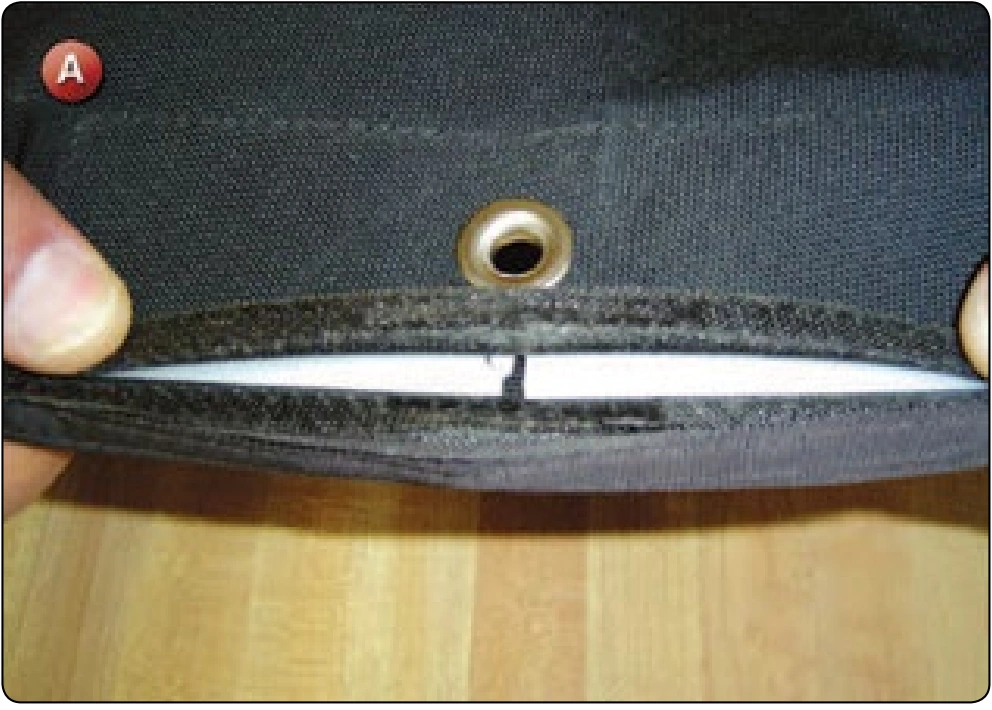
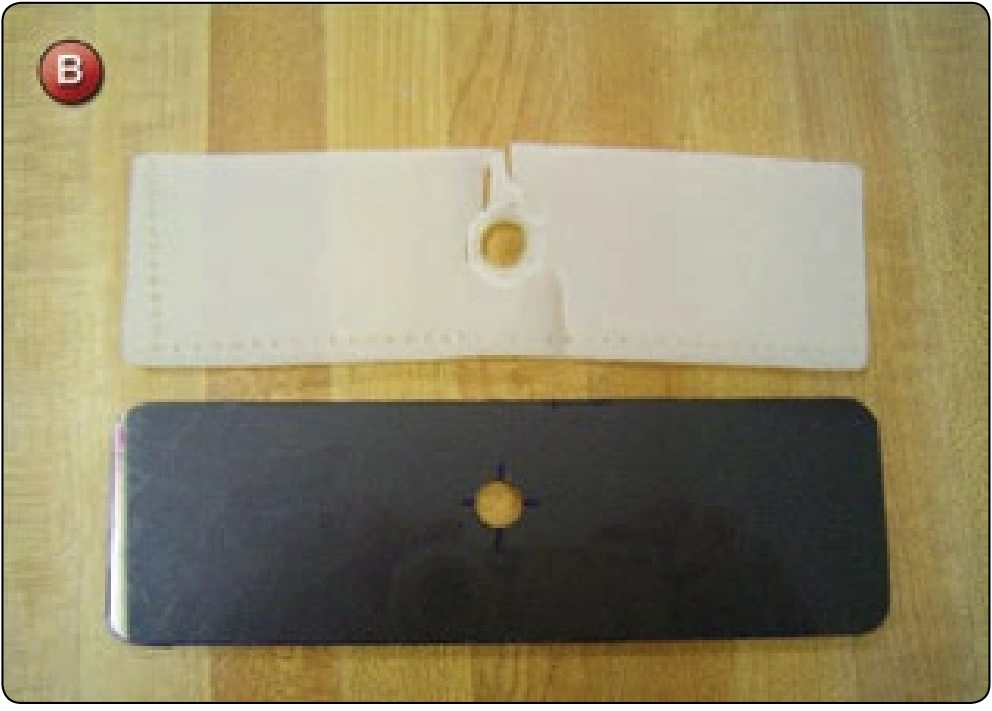
- Mark out the outline of the original stiffener on the MDS. Mark the center of the hole for the grommet very precisely.
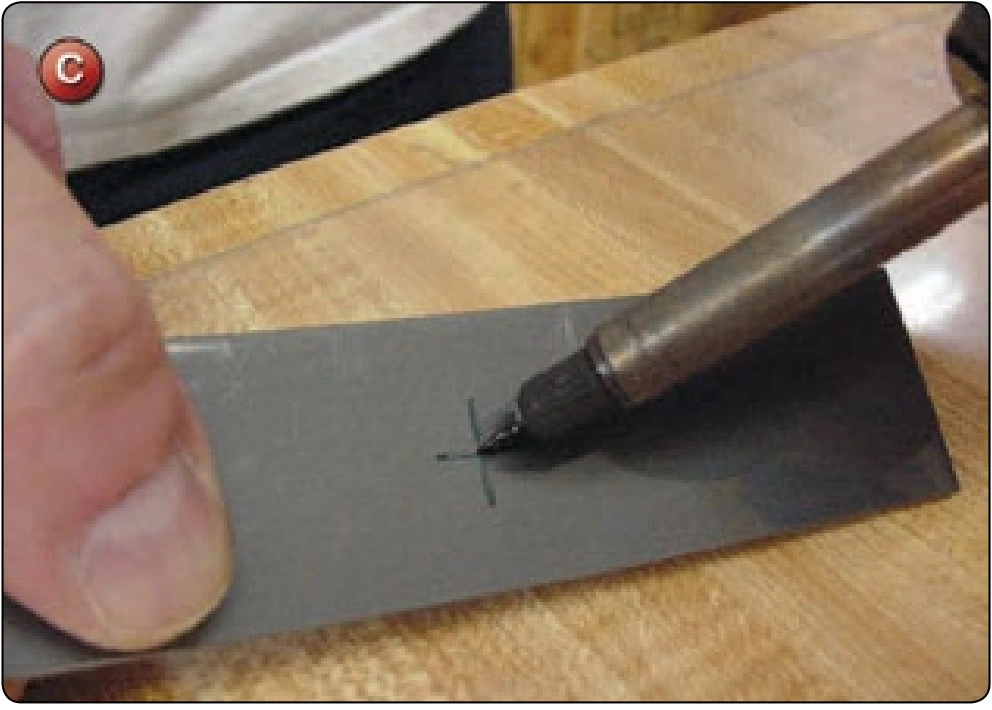
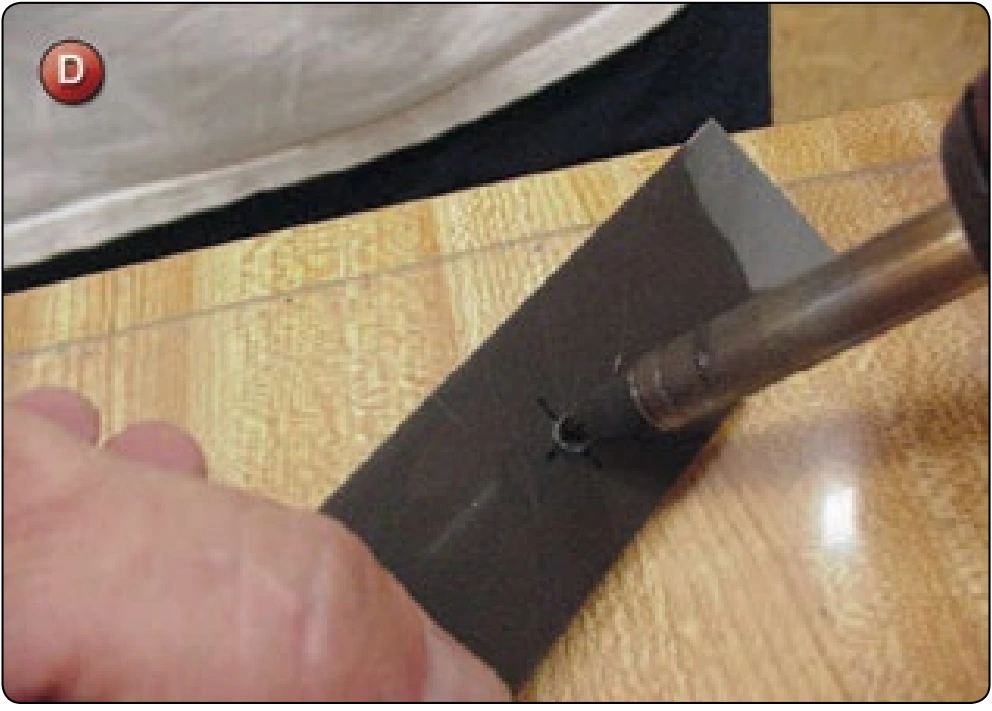
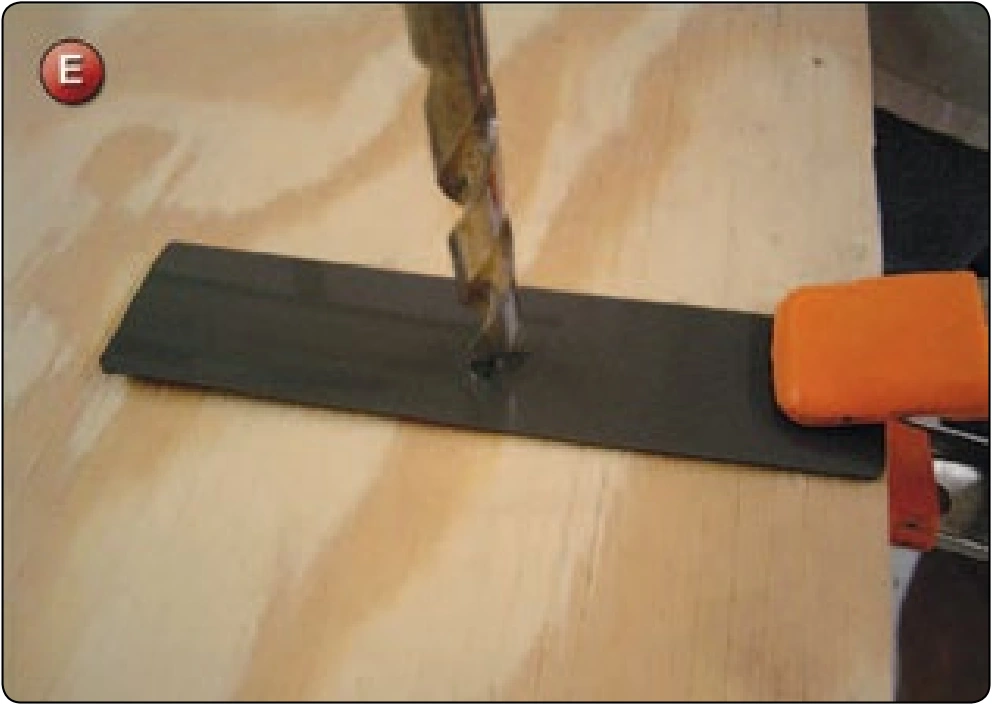
- Use the basting tip to mark the center of the hole for the grommet. Push the tip through the MDS until the shoulder of the tip makes an indentation in the MDS. [Figures C, D, and E] This forms a pilot hole for the drill.
- Using heavy shears or tin snips, cut the MDS nylon to shape. Clip the corners to remove the sharp ends and, if the edges are sharp or rough, sand them with sandpaper.
- Secure the MDS against a piece of wood and drill a 3⁄8 inch hole. While this hole may seem big for the shank of the grommet, when installed and the material is punched, it will be the right size. A common mistake is to make the hole too small and when the grommet is set, it cracks the plastic.
- Insert the stiffener in between the layers of fabric of the bottom flap and let it float inside.
- Baste the two layers of fabric together with the single needle.