Chapter 7
Repairs, Alterations, and Manufacture
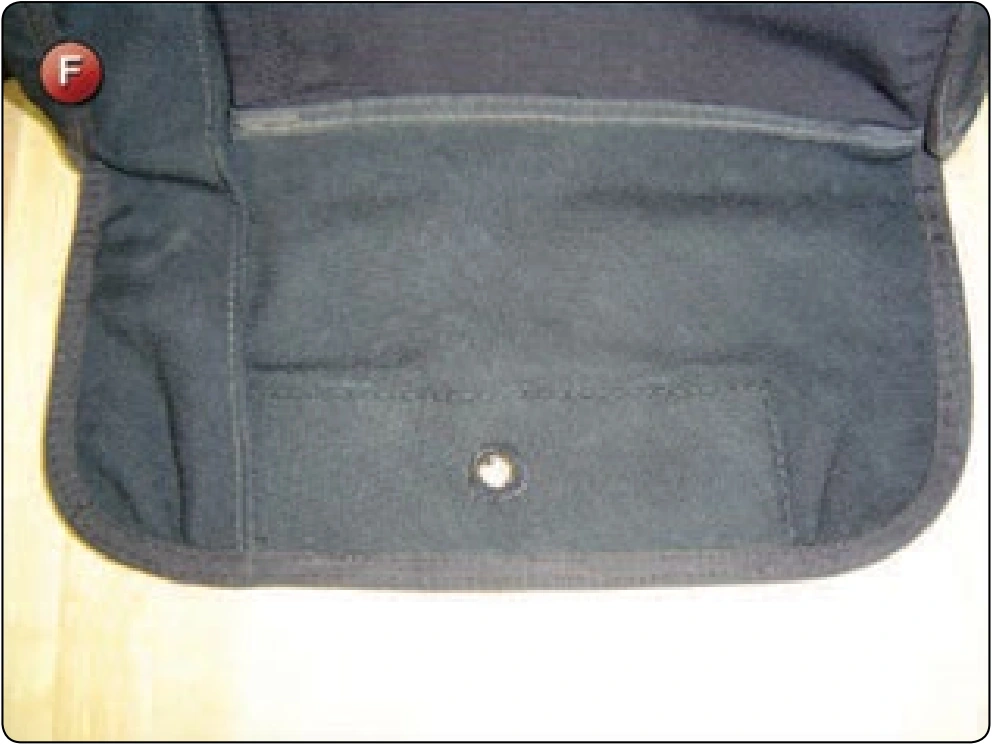
- Restitch the binding to the bottom flap. [Figure F]
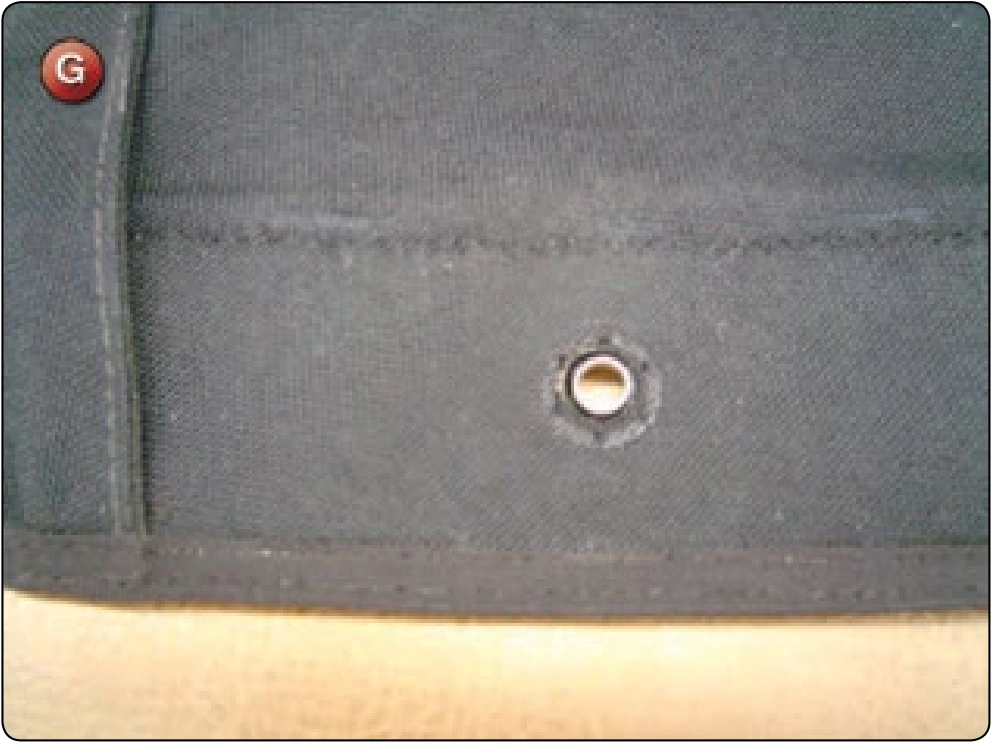
- Slide the stiffener to the edge of the flap and align the hole in the stiffener with the hole in the fabric. Use an “O” grommet to align the holes. [Figure G]
- Stitch the stiffener in place as per the original installation.
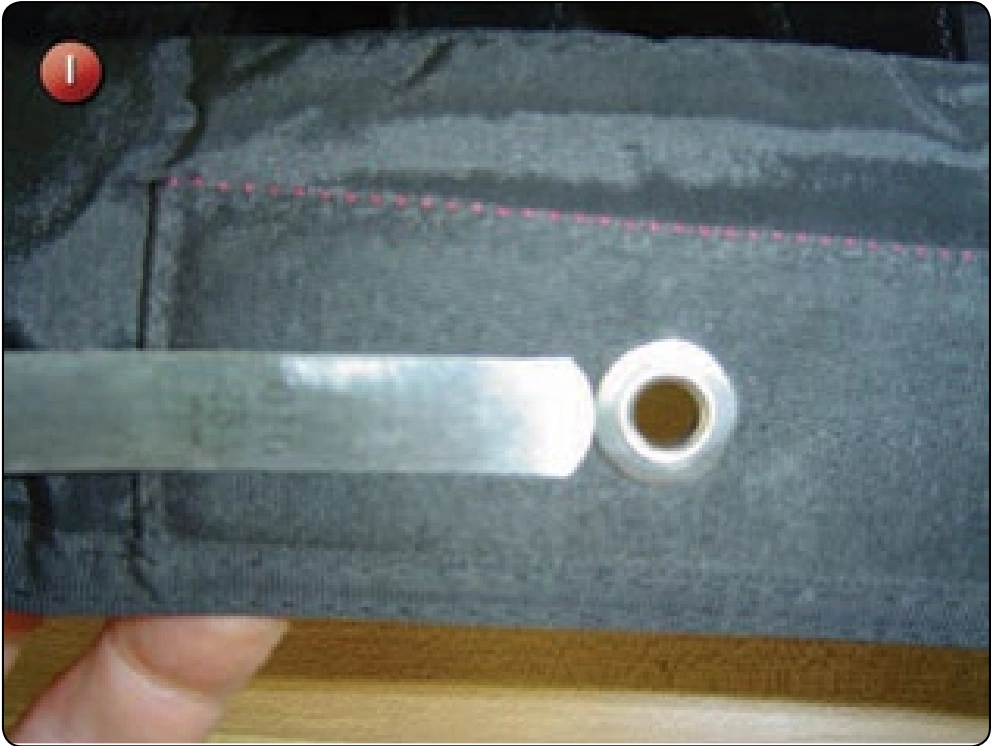
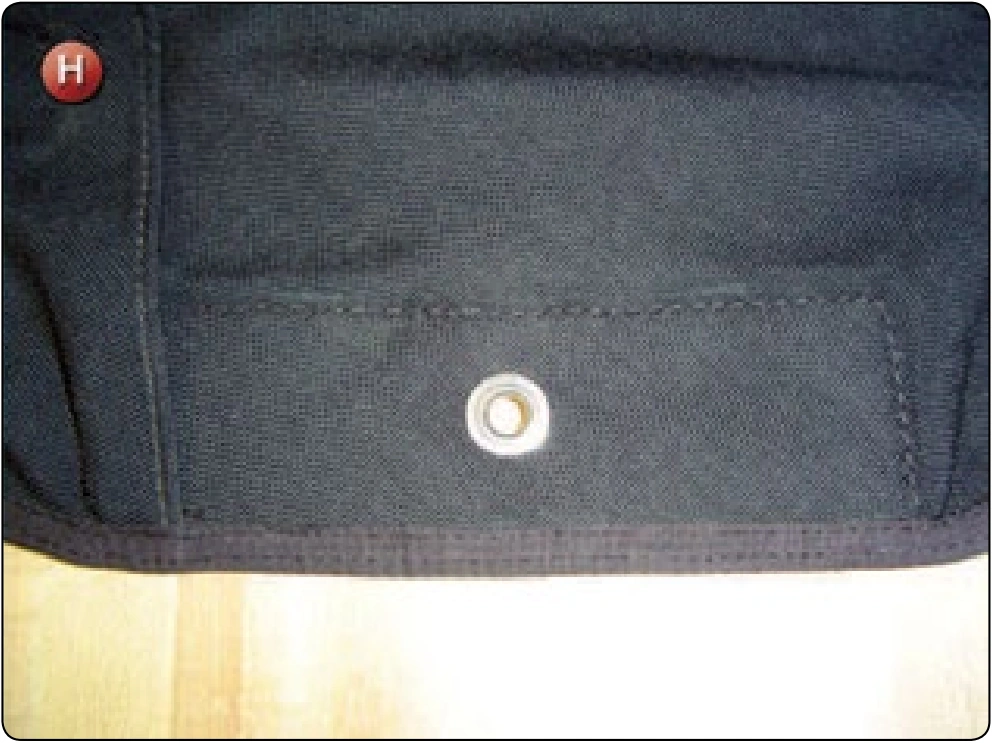
- Insert the grommet with the correct orientation and set with the grommet set. [Figure H] Make sure that the grommet is set sufficiently so there is no exposed edge to snag the lines or material. Use the feeler gauge to check the gap under the edge of the grommet. [Figure I] It should be no more than .010 inch. If more, hit the set again to tighten the grommet.
Inspection
- Verify the stiffener backing is re-sewn.
- Check the grommet orientation.
- The grommet must be set tightly and measured.
- There should be no sharp edges on the inside of the grommet.
Main Container Side Flap Replacement
- Applicable products: Most modern container systems
- Description: Replacement of a main container side flap
- Authorized repairmen: FAA Senior or Master Parachute Rigger
- Materials: E thread—color to match; Type-3¾ inch tape—color to match, replacement flap
- Machines: 301 straight stitch—medium duty 5–9 SPI, 308 zigzag—medium duty 7–11 SPI, 301 double needle with tape folder 5–9 SPI, and 1 inch × 42 stitch bar tack
- Equipment: Scissors, seam ripper or scalpel, marking pencil, 6-inch ruler, and hot knife
Procedure
The following technique is typical of many modern container systems. This procedure addresses only the disassembly of the container and replacement of the factory made part. It does not address the manufacture of a replacement part.
Disassembly
- Remove all extraneous parts from the harness/ container assembly.
- Open the bottom corner of the main container on the appropriate side.
- It is necessary to remove the Type-3 binding tape on the inside seam joining the main body to the side flap. Depending on the container construction configuration, there are two options how to do this:
- Option 1: salvage method. With this method, the binding tape is left undamaged and sewn back in place after replacing the flap. A slower method, but good if the rigger does not have the necessary replacement tape.
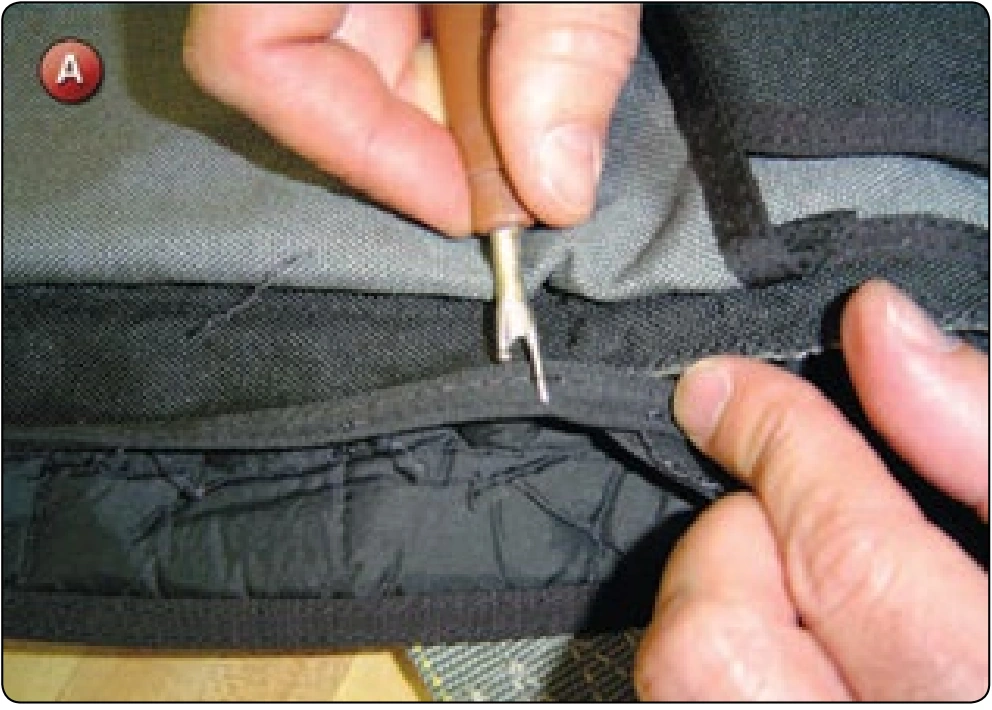
- Using a seam ripper, unpick the two rows of stitching that holds the side flap to the main container. [Figure A] Start at the lower corner and continue until approximately 2 inches past where the side flap joins the riser cover.
- Remove the side flap.
- Option 2: replacement tape method. With this method, the binding tape is destroyed during the removal process and replaced with new. A faster method, but new tape is required.
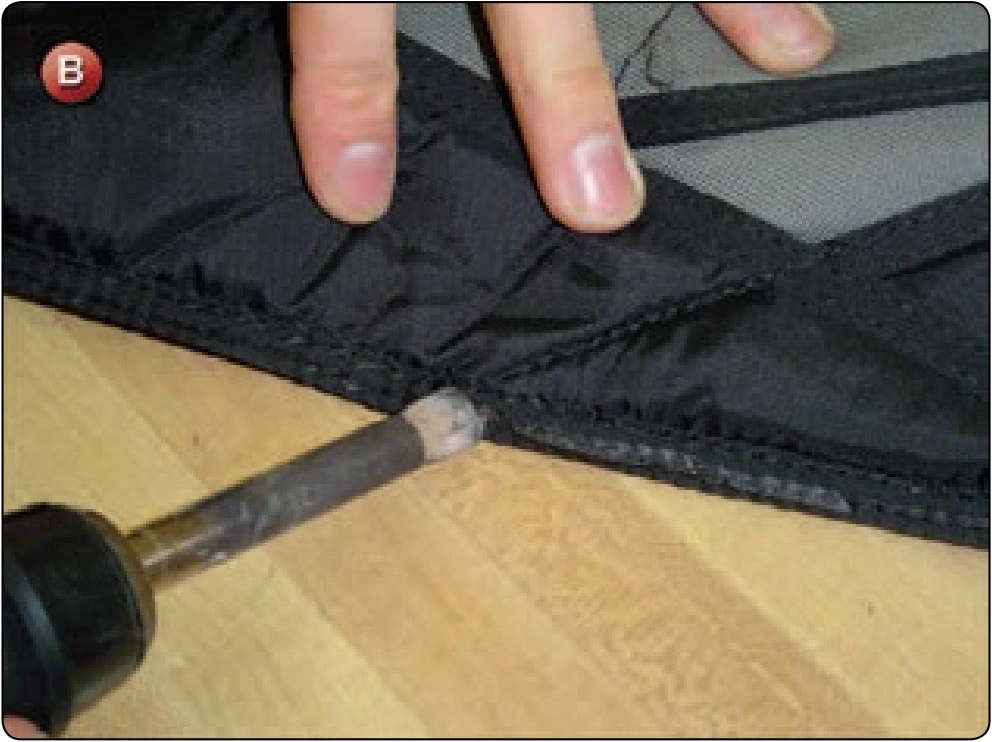
- Use a hot knife to melt the stitching that holds the binding tape that attaches the side flap to the main container. [Figure B] When doing this, have the side of the tape that faces the damaged side flap facing up in case you slip so the wrong flap is not damaged. Proceed to the point where the side flap stops. Trim the melted tape at this point.
- Using a seam ripper, unpick the tape approximately 2 inches past the end of the side flap. Remove the side flap.
- Option 2: replacement tape method. With this method, the binding tape is destroyed during the removal process and replaced with new. A faster method, but new tape is required.
Reassembly
- Take the new flap and sew it in place on the main container starting approximately .38 inch from the corner. [Figure C] On this design and others like it, the lower end of the main riser cover is unstitched during removal of the main flap. When sewing the new flap in place, make sure that the side flap is sewn to the main container first and then the riser cover on top of it. Look at the opposite side to see which is on top and duplicate.