Chapter 7
Repairs, Alterations, and Manufacture
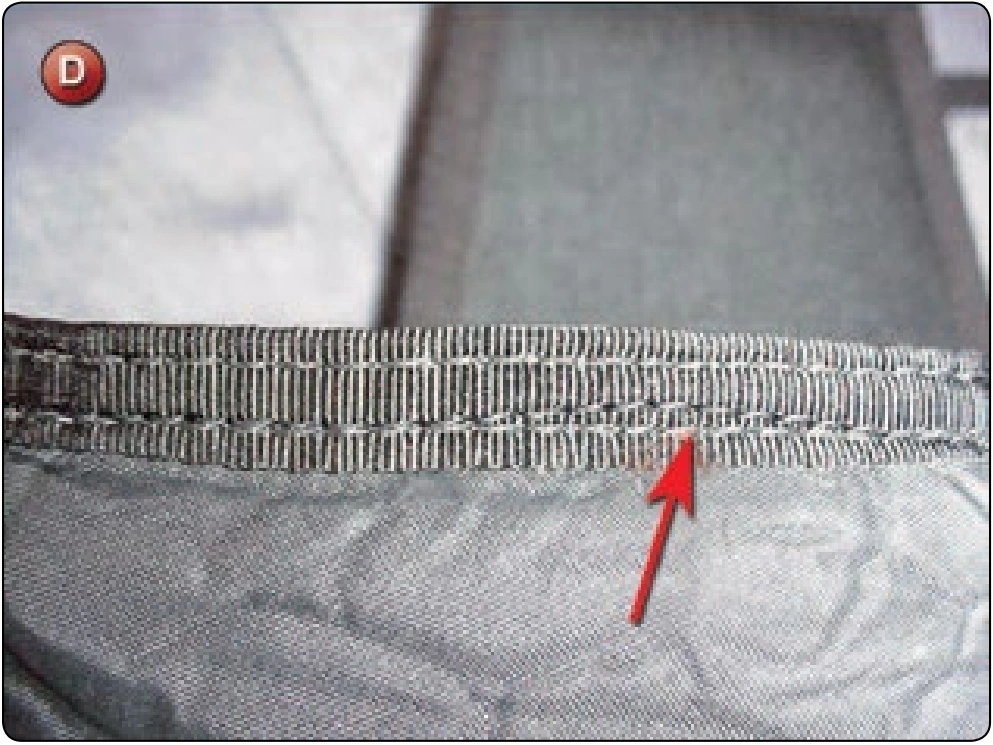
- If option 1 was used, take the original binding tape, fold over the seam and sew in place with two rows of stitching. Note that there is a second row of stitching sewn directly on top of the inside row of stitching for reinforcement. [Figure D] This is very important.
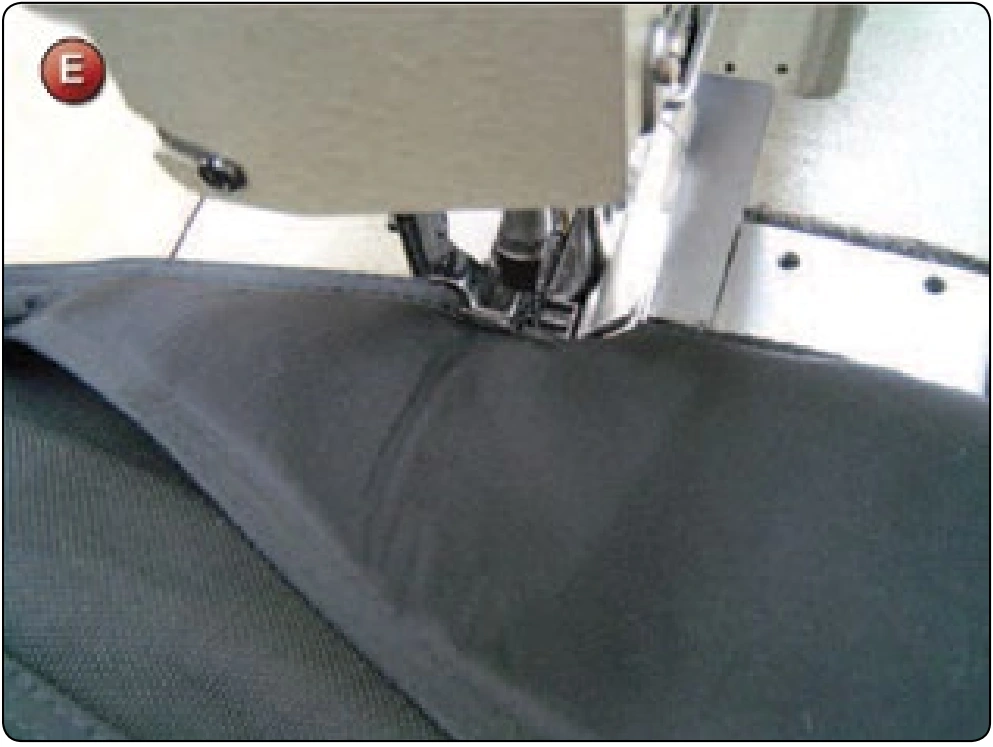
- If option 2 was used, it is necessary to replace the binding tape with new. Stitch down the loose end of the binding tape at the top and then overlap the tape by approximately 2 inches using the double needle machine and tape binder. [Figure E] Overstitch the inside row for reinforcement.
- Trim the bottom end of the binding tape at the corner.
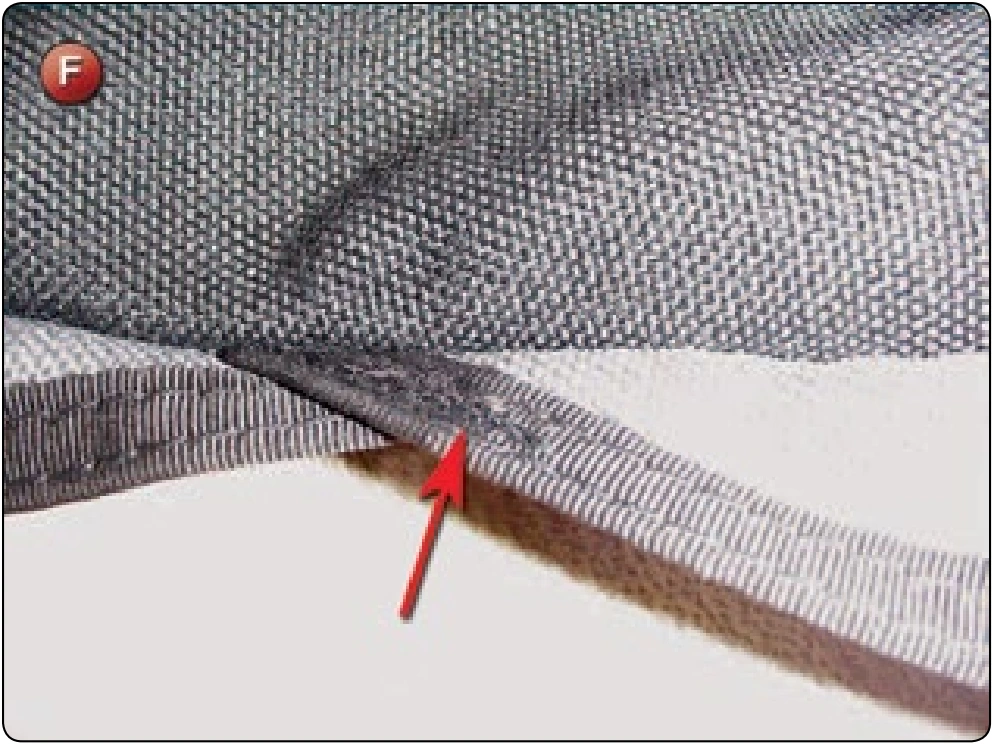
- Note that the junction of the side flap and riser cover is overstitched and reinforced as needed. [Figure F]
- Close the bottom of the container as per the original and reinforce as required.
Inspection
- Check that the flap is installed correct side out.
- Check the inside binding for reinforcing stitching.
- The side flap/riser cover should be stitched and reinforced.
- The container bottom must be closed correctly and reinforced.
Bottom of Container (BOC) Pocket Replacement
- Applicable products: Any main container with a BOC pocket configuration
- Description: Installation of a BOC pocket to the main container
- Authorized repairmen: FAA Senior or Master Parachute Rigger
- Materials: E thread—color to match
- Machines: 301 straight stitch—medium duty 7–9 SPI and 308 zigzag—medium duty 7–11 SPI
- Equipment: Scissors, seam ripper or scalpel, marking pencil, and t-pins
Procedure
The following technique is typical of many modern container systems. This procedure addresses only the disassembly of the container and replacement of a factory made replacement part. It does not address the manufacture of a replacement part. Depending on the size of the container assembly, it may be possible to do the replacement of the BOC pocket with the reserve packed. However, the smaller the system, the more difficult it will be. If the container cannot be placed under the machine, then remove the reserve canopy.
Disassembly
- Mark the location of the corners of the BOC pocket on the container with a marking pencil.
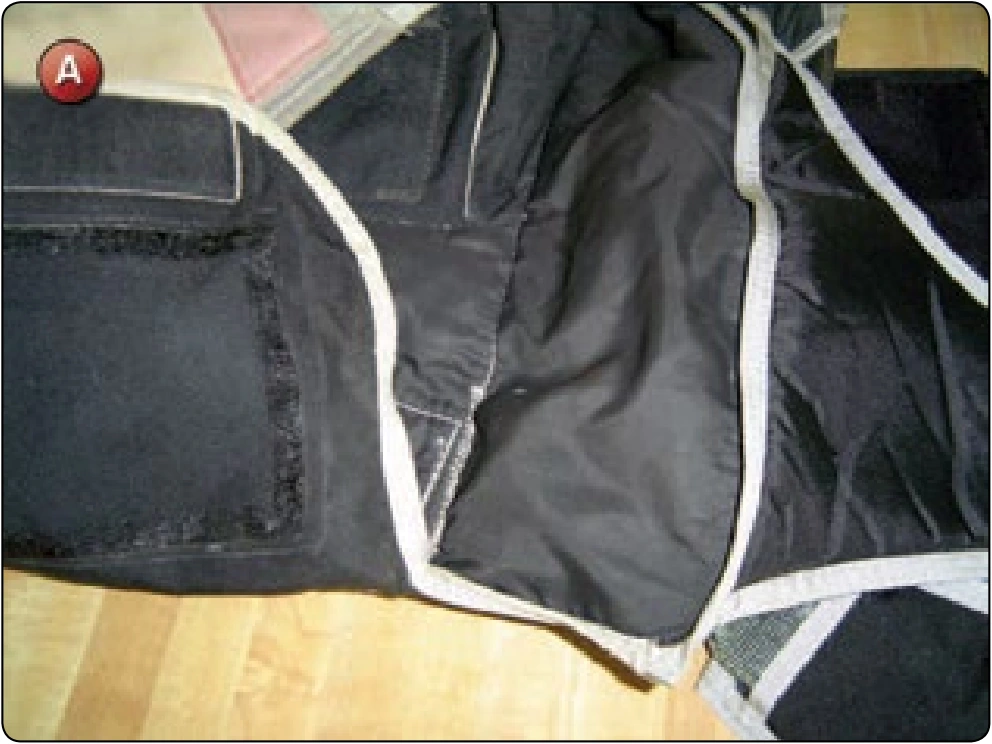
- Open the lower right corner of the main container. [Figure A]
- Remove the old BOC pocket.
Reassembly
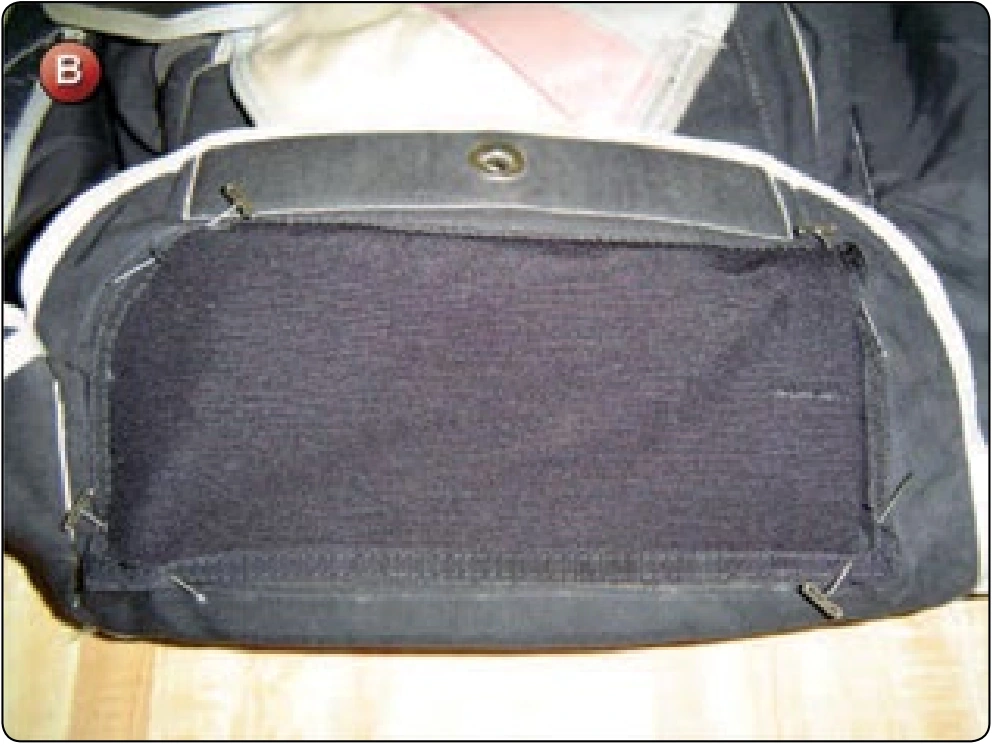
- Locate the new BOC pocket on the container at the marks of the old pocket and pin in place with T-pins. [Figure B]
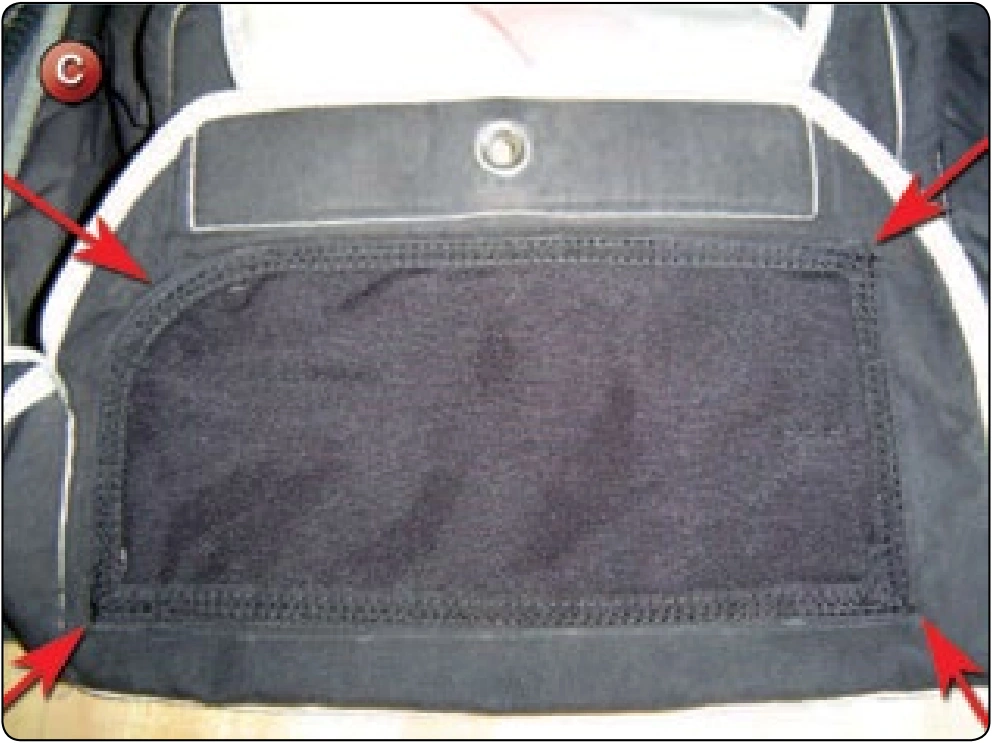
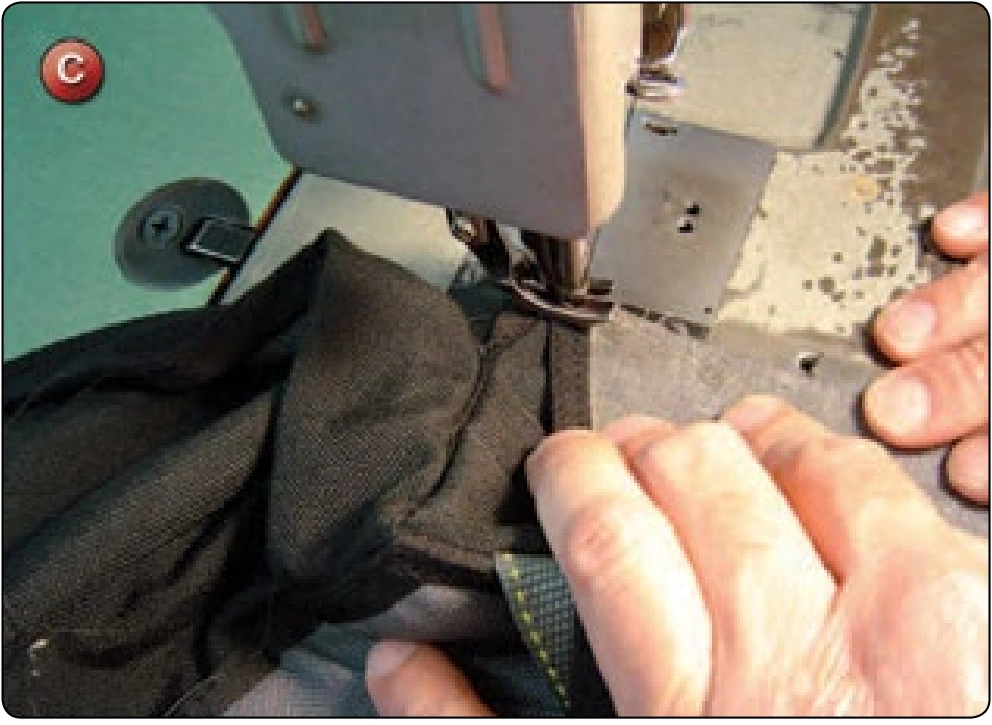
- Stitch around the perimeter of the pocket with the single-needle machine. Backstitch at the corners for reinforcing. [Figure C]