
Chapter 7
Repairs, Alterations, and Manufacture
- Take the marking pencil and mark the points of the stitch pattern for the reassembly. [Figure C] Most chest straps are installed with a 3-point WW in a horizontal orientation, but the rigger should duplicate the original design.
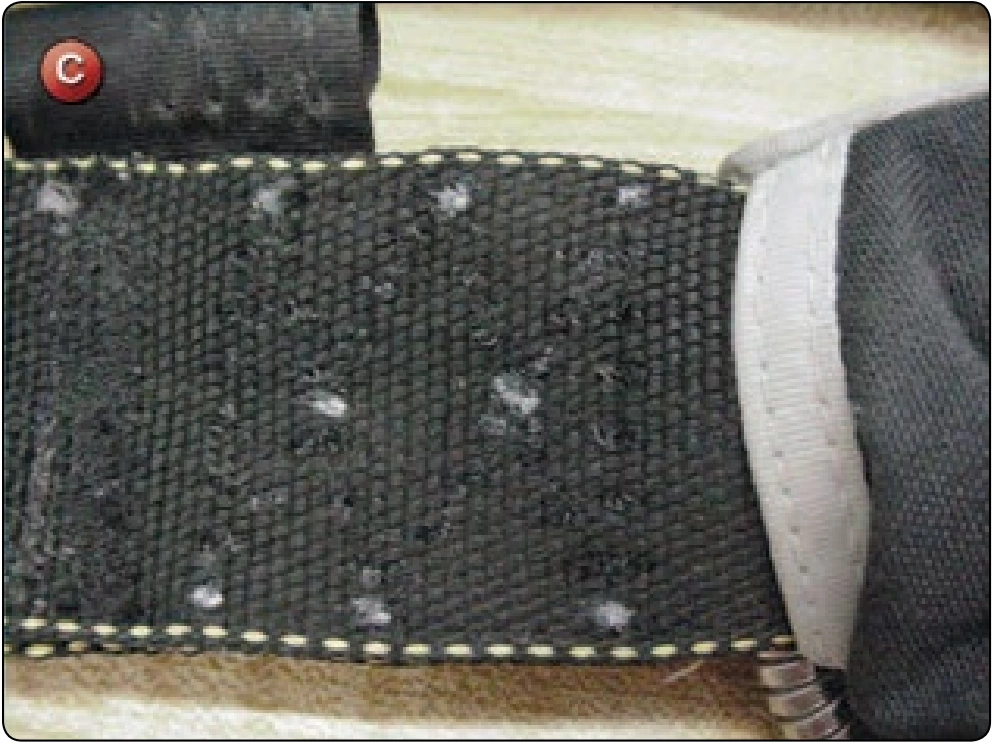
- If the procedure is a replacement of a damaged chest strap, then it should be replaced to the original length. If so, then remove the rolled stop end so that the finished length may be determined. If the chest strap is to be lengthened, then an appropriate length of webbing needs to be determined. The finished length should be measured from the outside of the main lift web plus 3.50 inches. [Figure D]
Reassembly
- Cut a piece of webbing to the appropriate length. If needed, cut the MLW end of the strap at an angle. [Figure E]
- Insert the end of the webbing into the MLW junction. Align the end of the chest strap with the outside edge of the MLW. Insert the housing loop back into the junction as well. Lightly glue the MLW to the chest strap. [Figure F] Do not use too much glue.
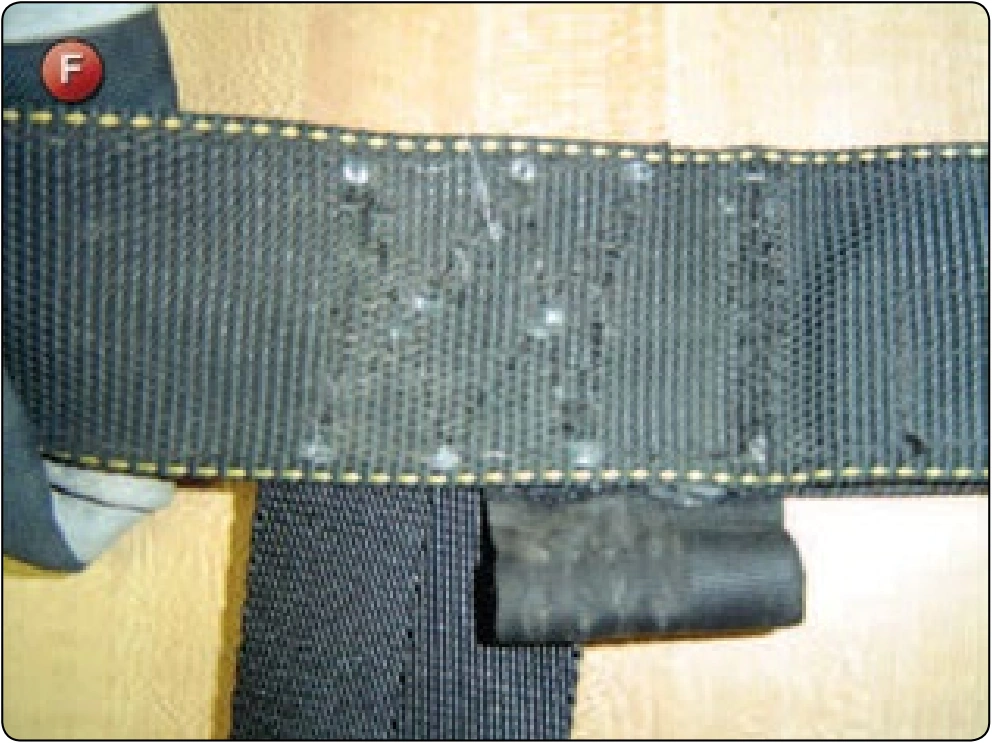
- Some harnesses are pre-sewn along the edges with a medium duty machine and E thread. If so, duplicate this.
- Using the harness machine and 5-cord nylon thread, sew the junction as marked with the original pattern. [Figure G]
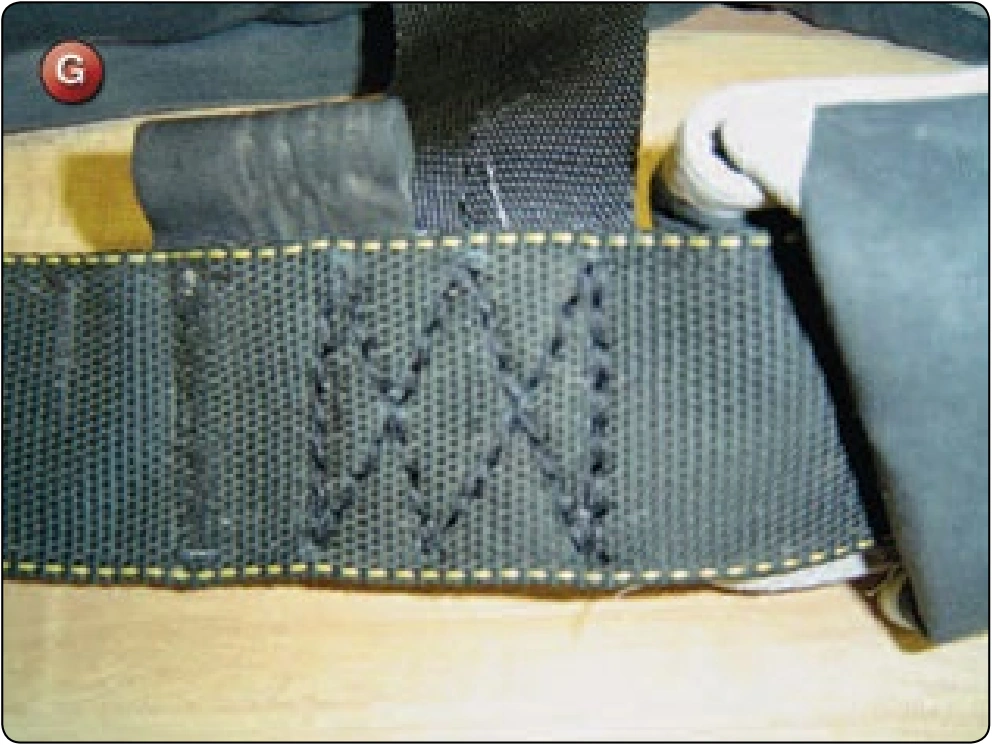
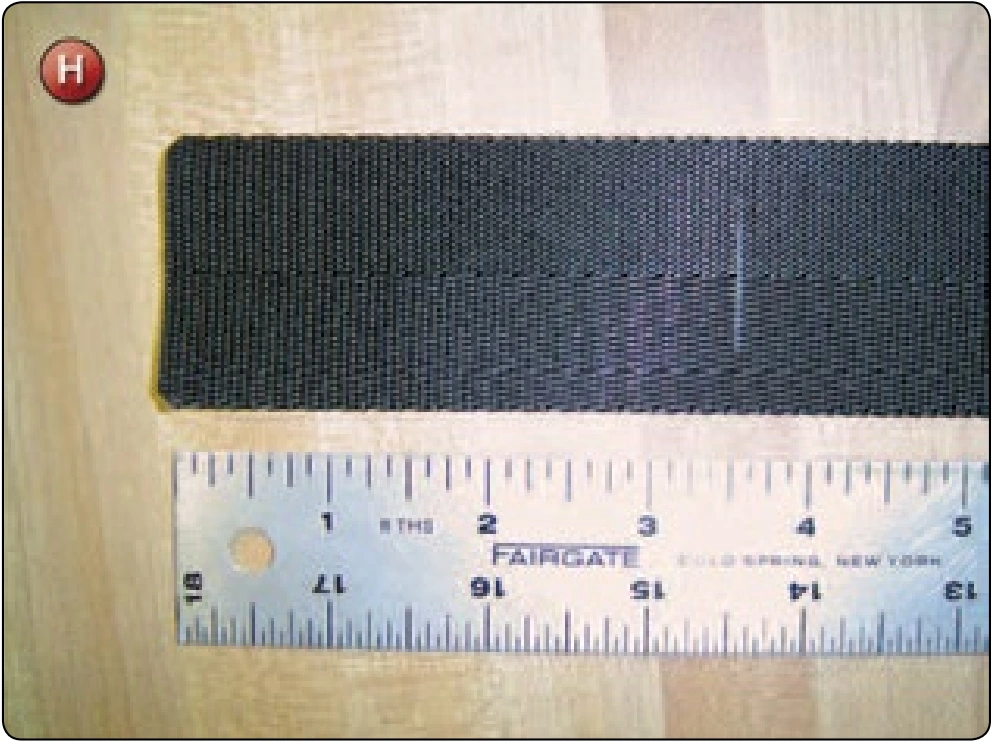
- Mark the length of the chest strap to include enough needed for the stop end. If the chest strap is to be configured for a thread-thru adapter, an additional 3.50 inches is needed for the roll back.
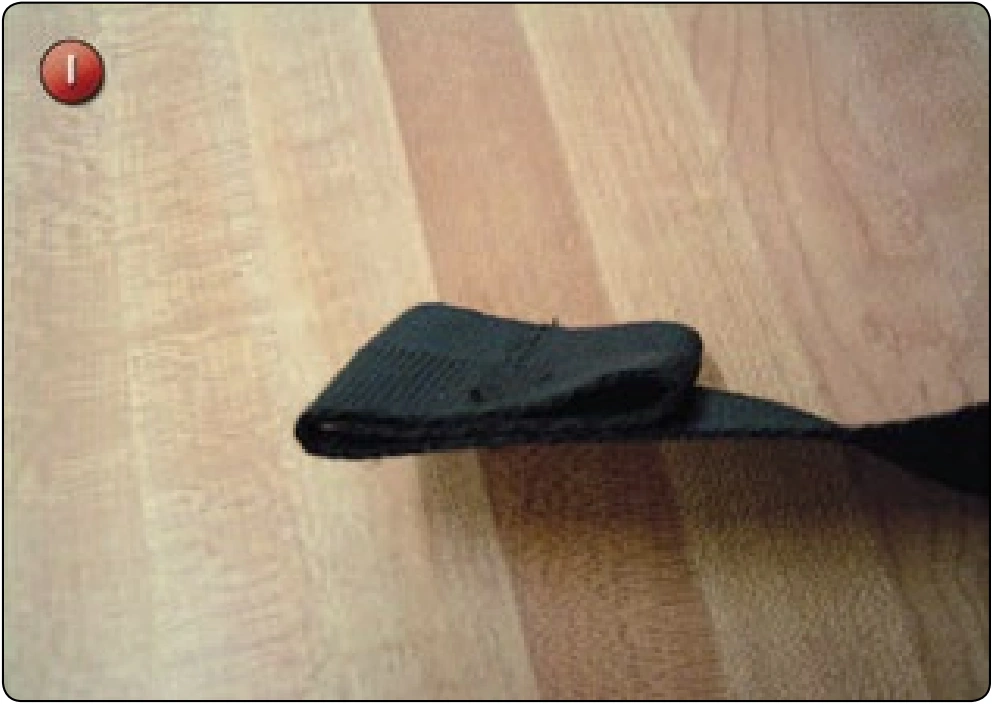
- After determining the cut length, place a mark at 3.50 inches on the BACK side of the chest strap. Fold to this mark and then fold the webbing one more time for three layers. [Figures H and I]
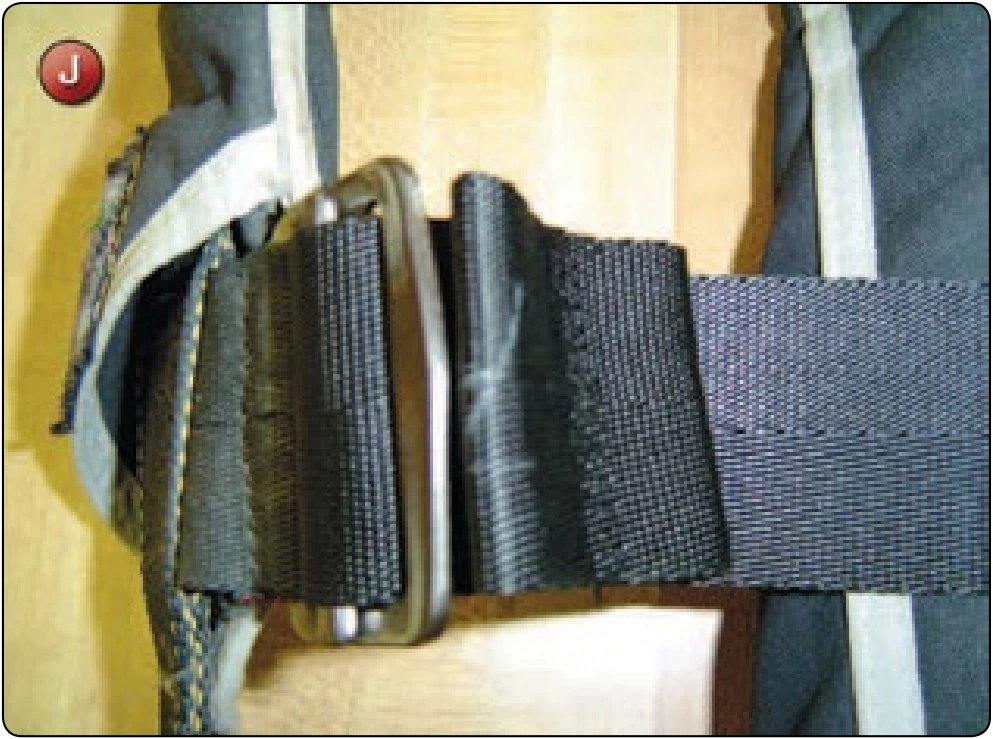
- Using the zigzag machine, sew across the center of the stop end fold. This results in a loose fold that jams against the adapter in the event of slippage of the chest strap. [Figure J]
- If the MLW was attached to the backpad assembly, reattach as per the original configuration. If the backpad is attached in such a manner that does not allow inspection of the back side of the MLW, inspect the stitching at this time before reattaching the backpad.
- Reinstall the ripcord housing and secure.
Inspection
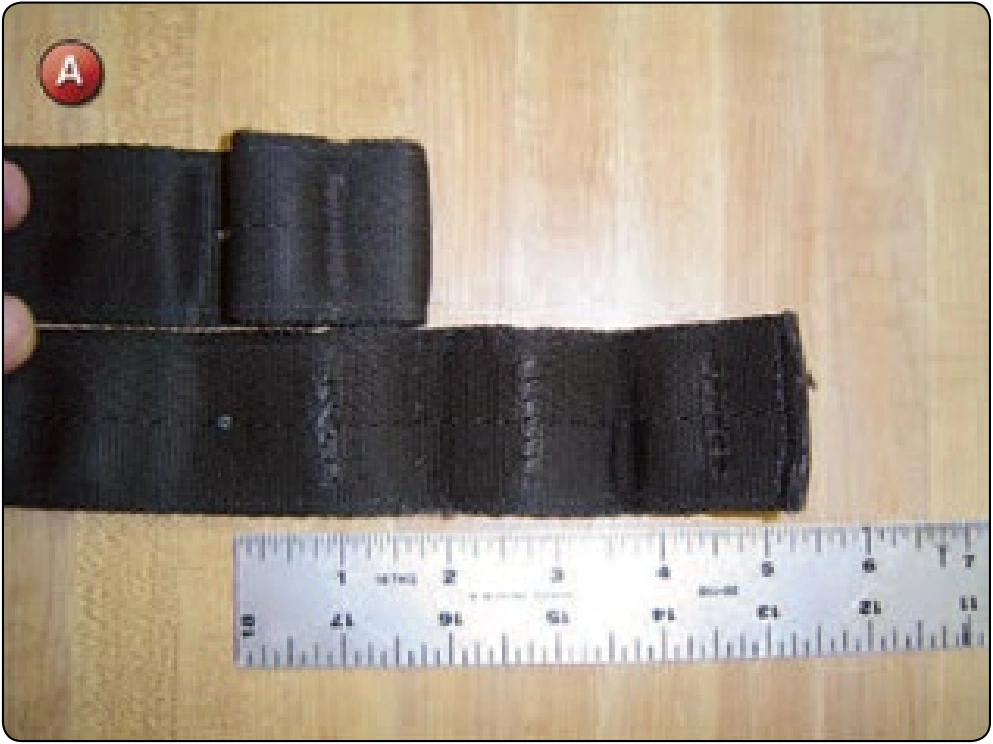
- Inspect the harness stitching for correct stitch length, tension, and appropriate pattern.
- Reattach the MLW to the backpad as needed.
- The stop end must be sewn and oriented correctly.
- Verify the chest strap is the correct length.
- The ripcord housing must be reinstalled and tacked.
Lower Leg Strap Shortening
- Applicable products: All harness configurations
- Description: Shortening of the lower leg straps
- Authorized repairmen: FAA Master Parachute Rigger
- Materials: 5-cord nylon thread—color to match original
- Machines: Heavy-duty harness machine—Singer 7–33 or equivalent 5–7 SPI
- Equipment: Seam ripper or scalpel, marking pencil, ruler, and hot knife