
Chapter 7
Repairs, Alterations, and Manufacture
Procedure
The shortening of the leg strap, while a relatively straightforward process, is an extremely important procedure.
If done improperly, it could result in the harness fitting improperly or the leg straps to come unthreaded and the user to fall out during opening.
Disassembly
- If the leg strap is of the thread-thru configuration, unthread the webbing from the leg adapter. If the leg strap has an adjustable “V” ring used in conjunction with a snap, disconnect the “V” ring from the snap. Lay the leg strap out flat.
- Remove the harness stitching from the rolled end of the webbing.
- Measure the required distance from the end of the strap that is required for shortening and mark accordingly. [Figure A]
- Trim the webbing at the mark using the hot knife.
Reassembly
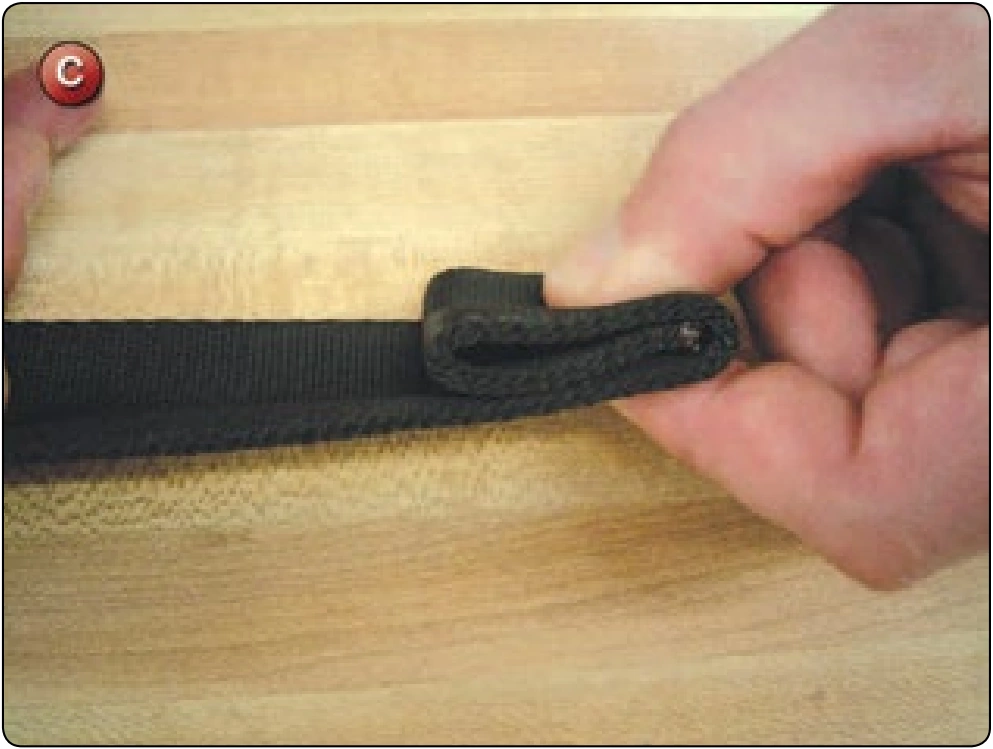
- For the thread-thru configuration, place a mark at 3.50 inches from the end of the webbing on the bottom of the webbing. [Figure B] This is the “fold to” mark for the first fold of the webbing. Fold one more time for a total of three layers of webbing. [Figure C]
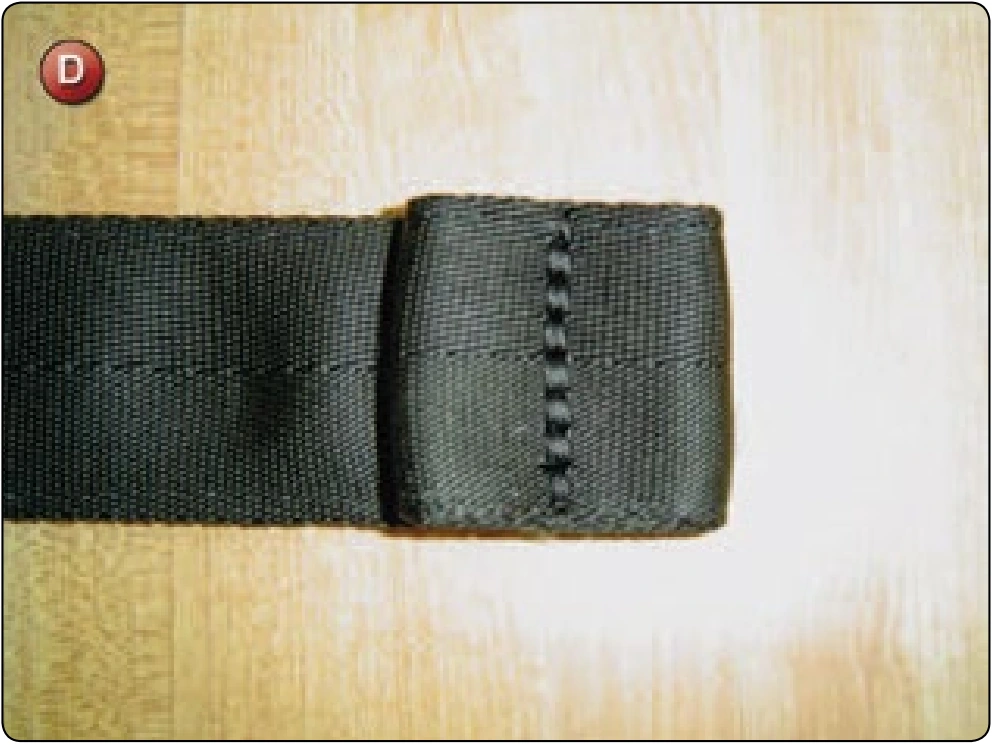
- Sew the rolled stop end according to Figure D with the harness machine.
- For the “V” ring configuration, place a mark at 2 inches from the top end of the webbing. This is also the “fold to” mark for the first fold. Make two additional folds for a total of four layers.
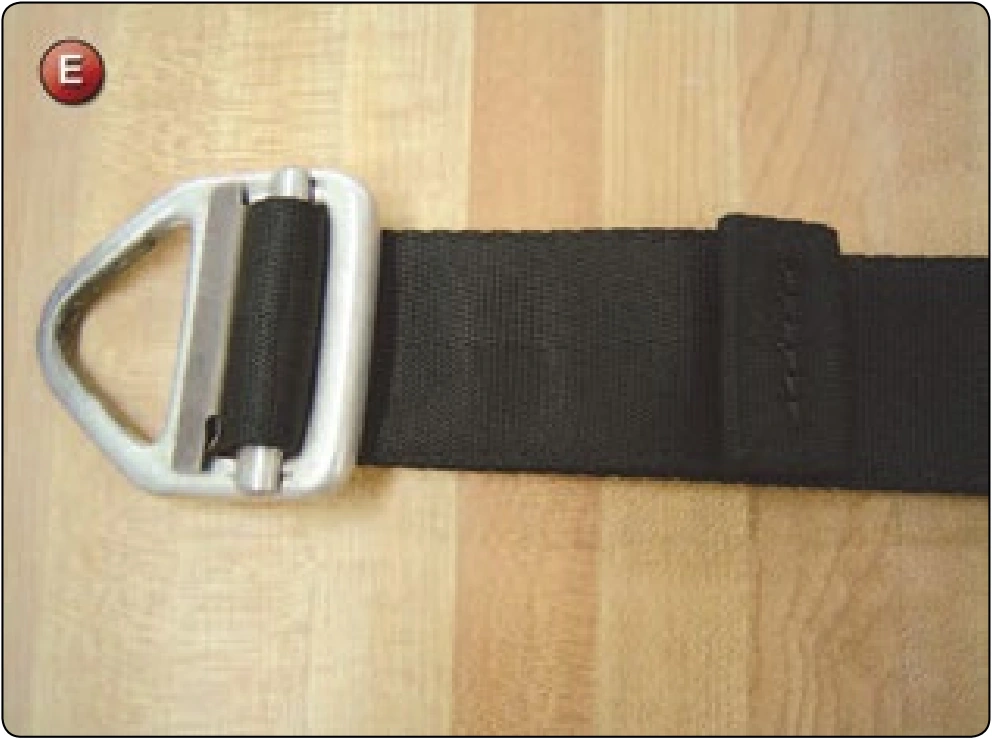
- Sew the rolled stop end according to Figure E with the harness machine.
Inspection
- Check the stitching for the correct pattern and thread tension.
- For the thread-thru configuration, make sure there is no twist to the leg strap and thread the webbing through the leg adapter. The rolled end should face outward.
- For the “V” ring configuration, connect the “V” ring to the snap. The rolled stop end should also face outward.
Ripcord Pocket Velcro® Replacement
- Applicable products: Any harness configuration with a Velcro® style ripcord pocket configuration
- Description: Replacement of the Velcro® of the ripcord pocket
- Authorized repairmen: FAA Senior or Master Parachute Rigger
- Materials: E thread—color to match original; hook and loop Velcro®—width and length to match original
- Machines: 301 straight stitch—medium duty 7–11 SPI and 308 zigzag—medium duty 7–11 SPI
- Equipment: Scissors, seam ripper or scalpel, marking pencil, 6-inch ruler, and glue gun
Procedure
Disassembly
- Depending on the configuration, it may be necessary to remove the ripcord housing from its attachment point on the harness for access to the pocket. If the harness is attached to the backpad, disconnect this as well.
- Remove the E thread stitch pattern that forms the pocket on the MLW. [Figure A]
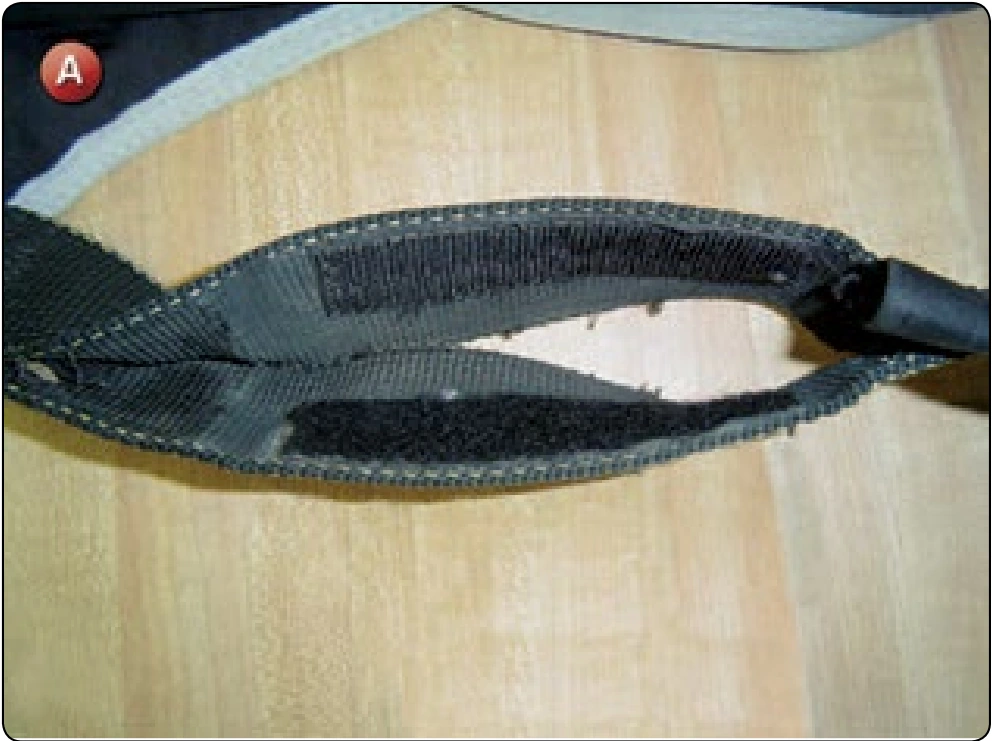
- Mark the ends of the old Velcro® and remove from the inside of the webbing. Note which side of the webbing the hook and loop are located.