Chapter 7
Repairs, Alterations, and Manufacture
- Applicable products: Most standard harness configurations

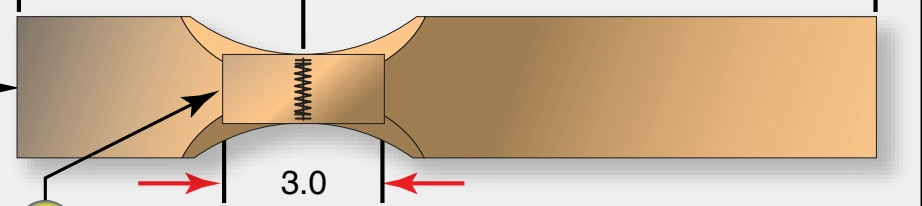
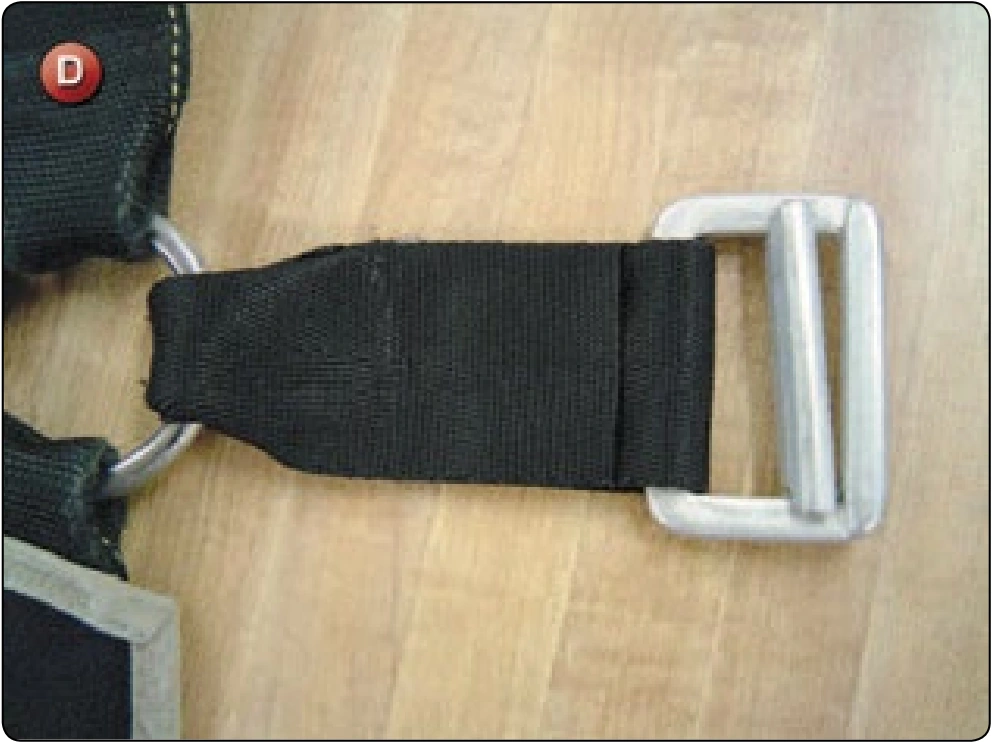
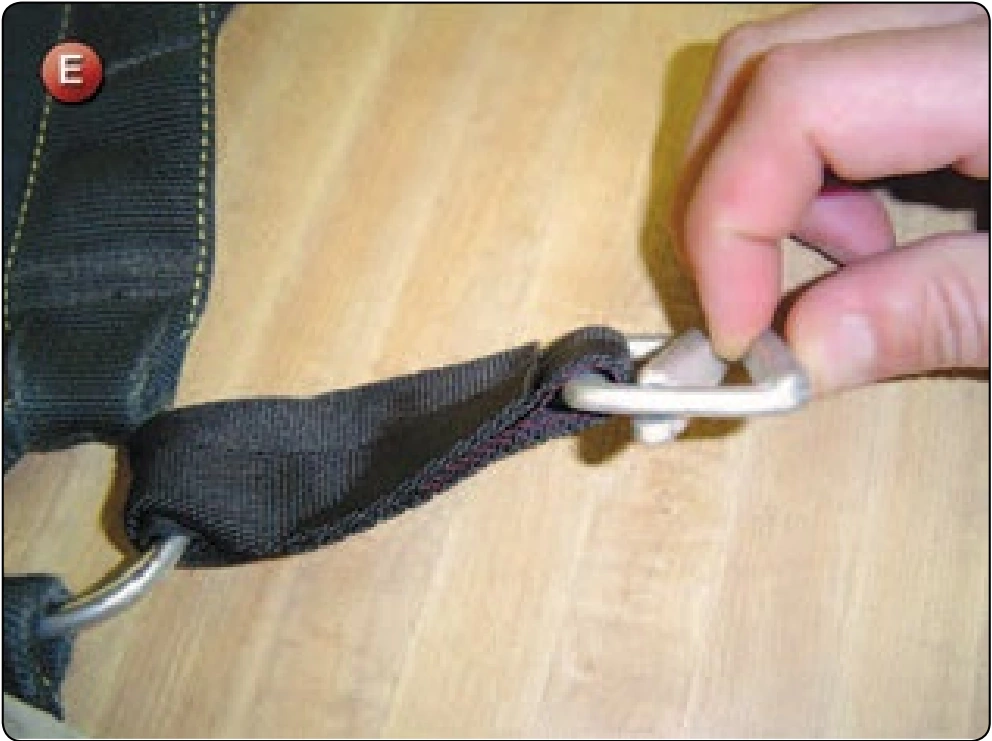
- Description: Complete replacement of one side of a standard harness main lift web
- Authorized repairmen: FAA Master Parachute Rigger
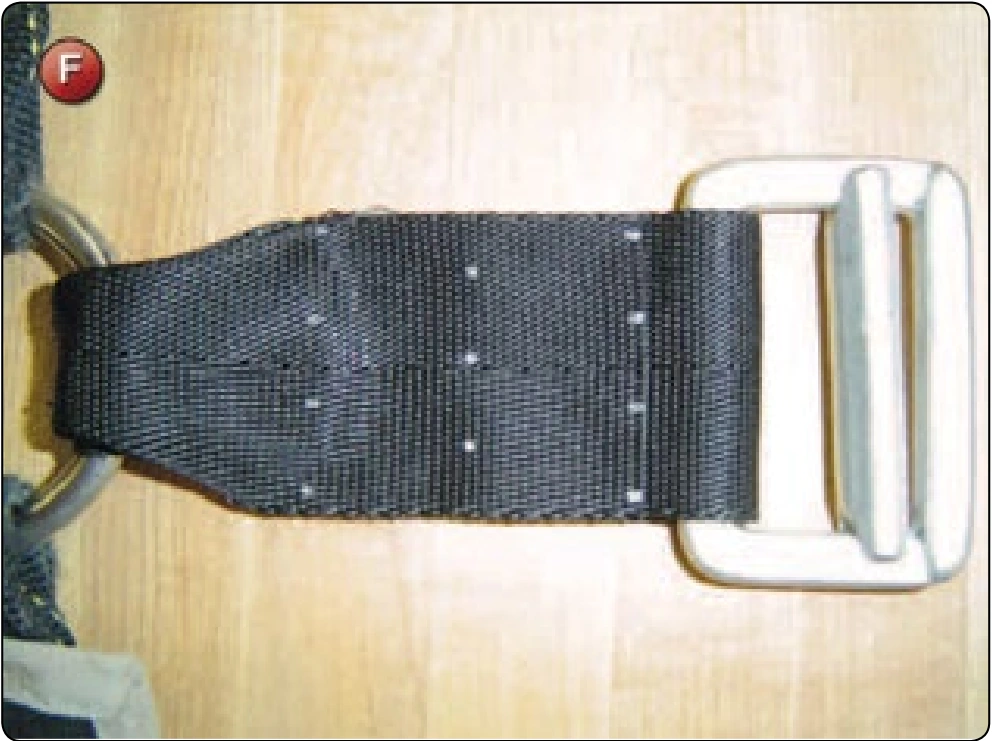
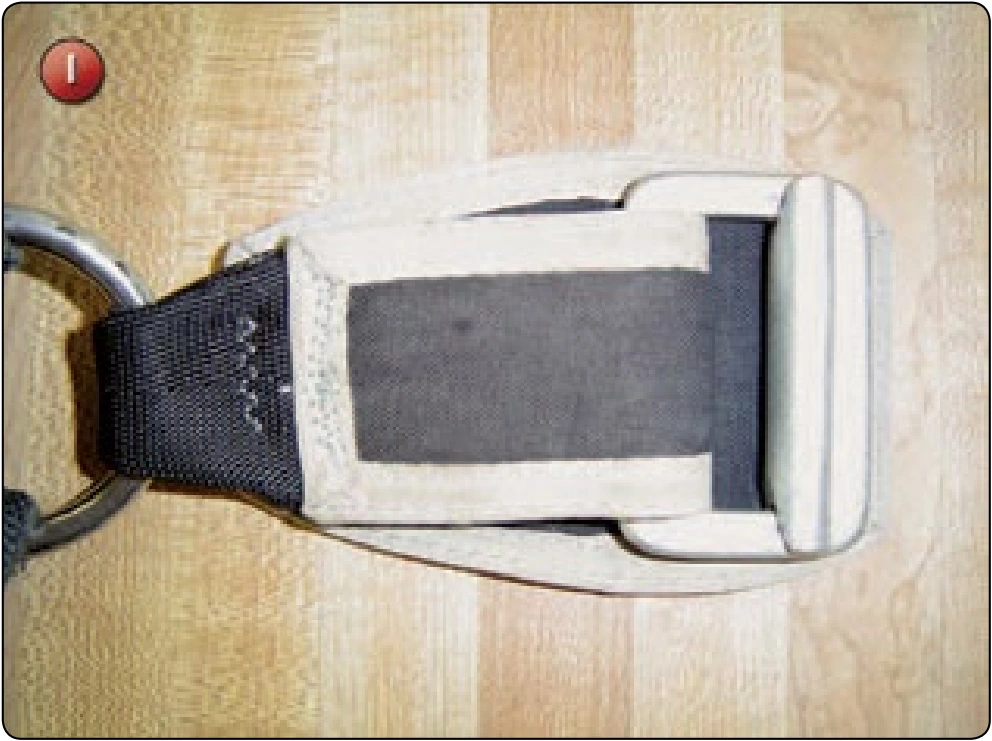
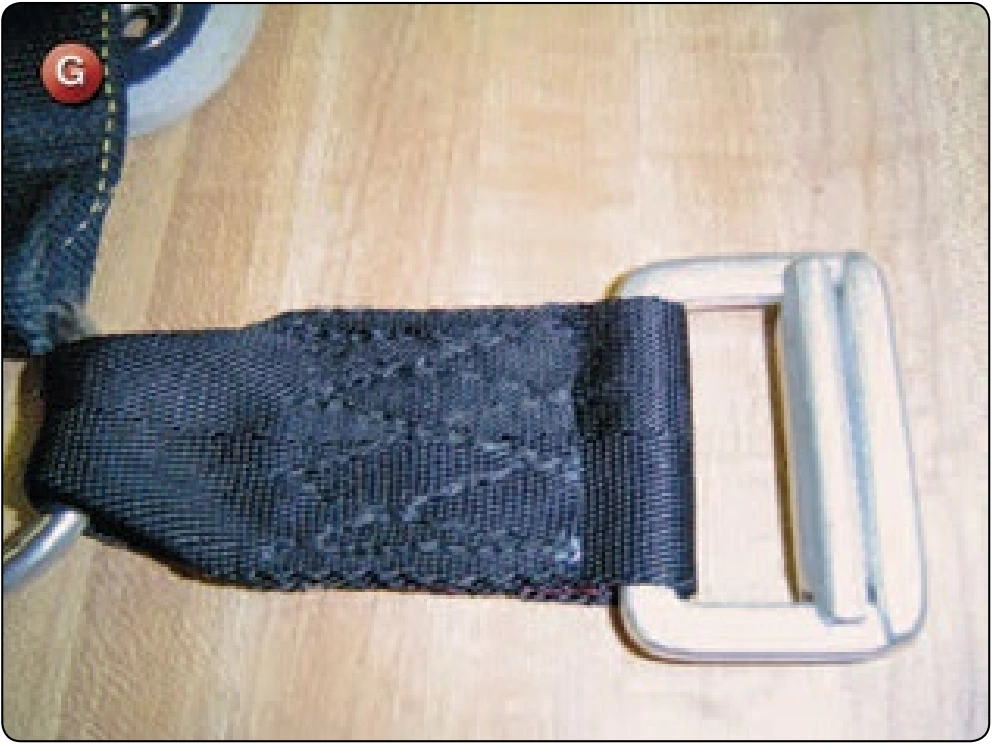
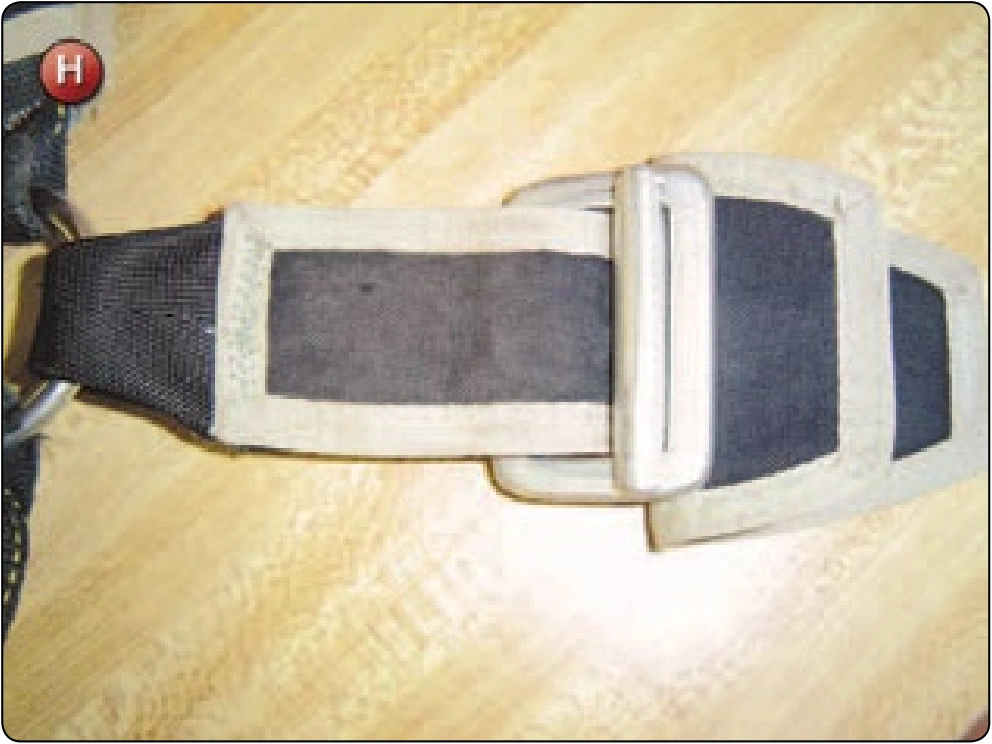
- Materials: E thread—color to match; 5-cord nylon thread—color to match; Type-7 webbing—color to match; Type-8 webbing—color to match; Type-12 webbing—color to match
- Machines: 301 straight stitch—medium duty 7–11 SPI, 308 zigzag—medium duty 7–11 SPI, and heavy-duty harness machine—Singer 7–33 or equivalent 5–7 SPI
- Equipment: Hot knife and cutting glass, hot glue gun, measuring rulers: 6, 18, and 36 inch, sewing pattern templates, marking pencils, scissors and thread snips, Exacto® knife or scalpel, hemostats, Type-4 1-inch tape—color to match; Type-3 tape—color to match; 1½ inch Velcro®—hook and loop, and 1-inch Velcro®—hook and loop
Background
The following steps provide an overview of the procedure to follow:
Step One
The first thing the rigger must do is to inspect the parachute harness to identify the make and model and determine the extent of the damage. In some cases, particularly for older designs, it may not be practical or economically feasible to repair the harness. If the rigger determines that repair is practical, he or she must then establish a repair plan for the project. There are two reasons for this: one, that the project is done logically and efficiently and two, if not having done this type of repair before, having contacted the manufacturer for guidance, the rigger can explain what he or she intends to do to affect the repair.
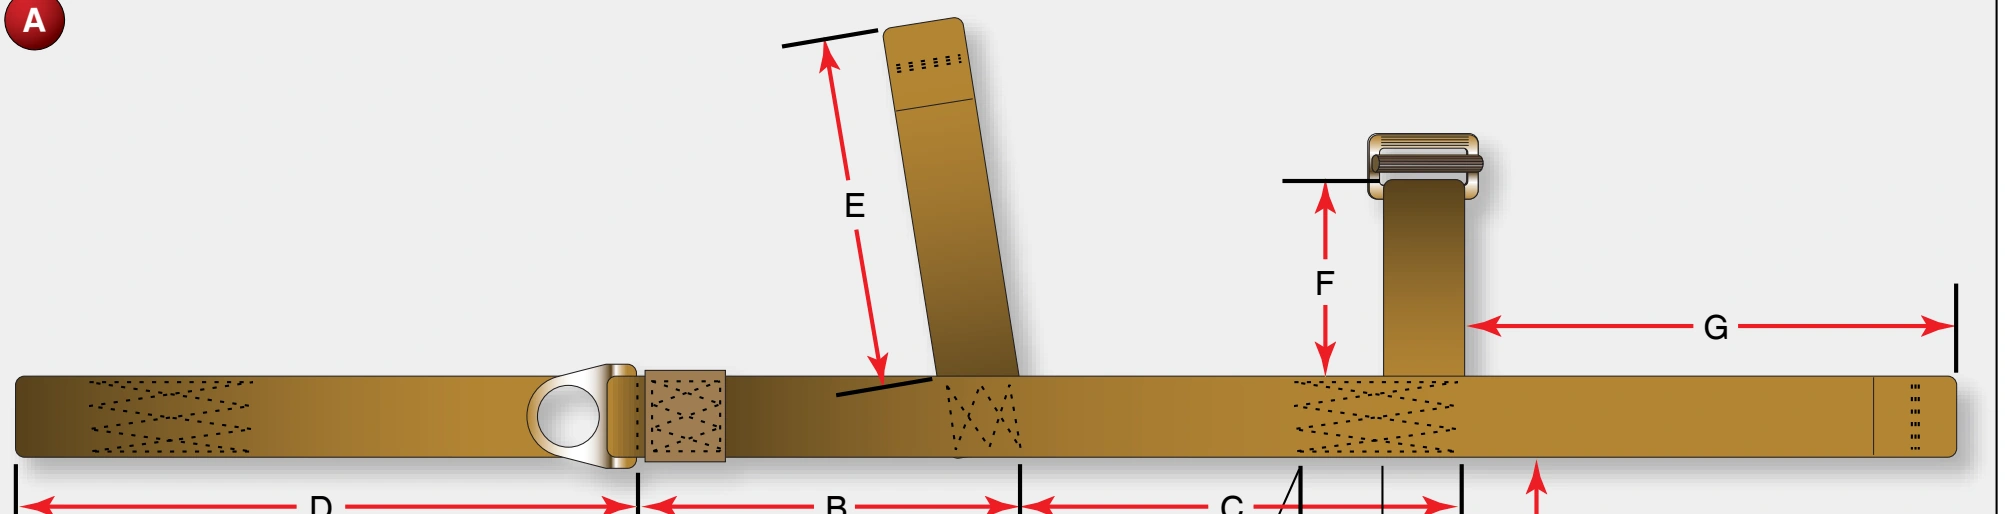
The rigger must make detailed measurements of the harness.
Figure A shows a typical harness configuration and the needed dimensions. On a situation where one side of the harness is intact and can be used for reference, the rigger still needs dimensions to work against to determine how much material to order or bill to the job. If both sides of the harness are damaged, great care must be taken to ensure the correct measurements of the final repair.
Step Two
Teardown and cleanup is the second most important part of the process. It is important that all the old thread, glue, and damaged webbing are removed. Leaving any of these in place and sewing over them results in a poor appearance. Also, it is not uncommon to find additional damage or wear at this point that was not identified during the initial inspection process.