
Chapter 7
Repairs, Alterations, and Manufacture
- Remove the lower MLW. [Figure C]
Reassembly
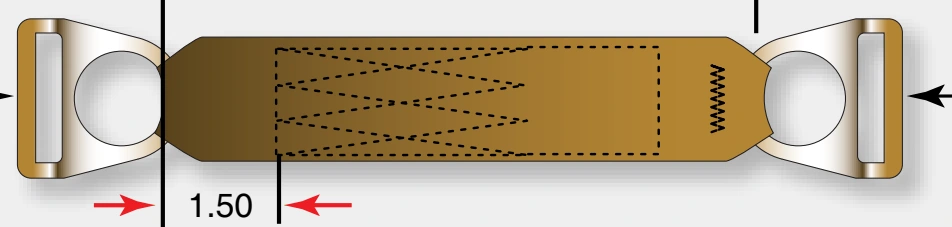
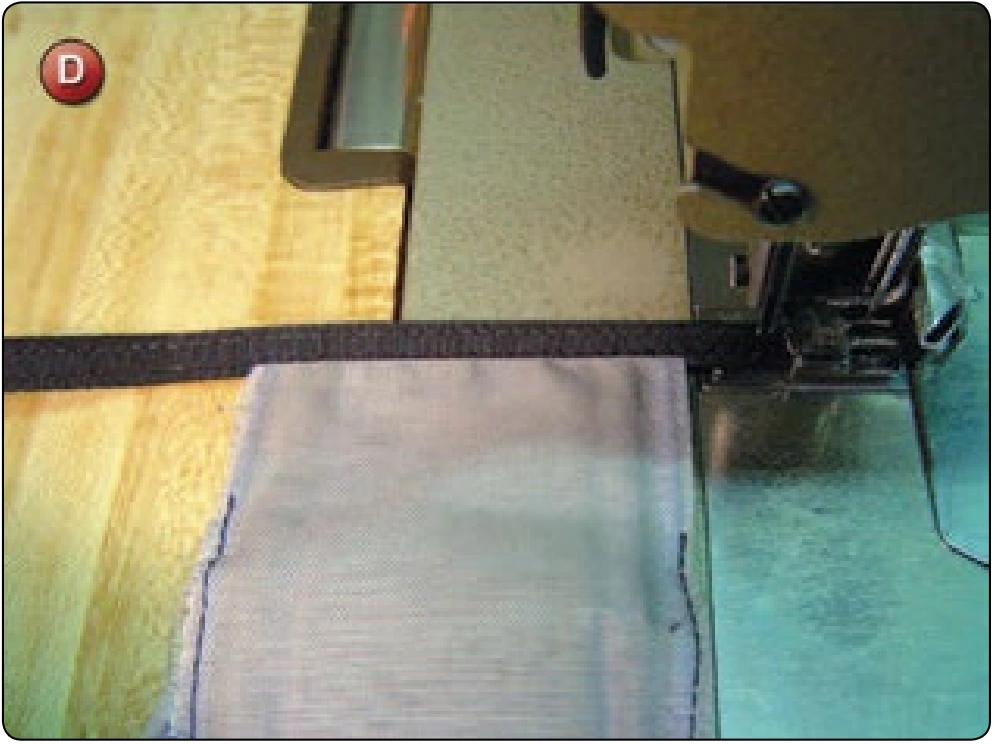
- Measure the webbing for the lower main lift web. [Figure D]
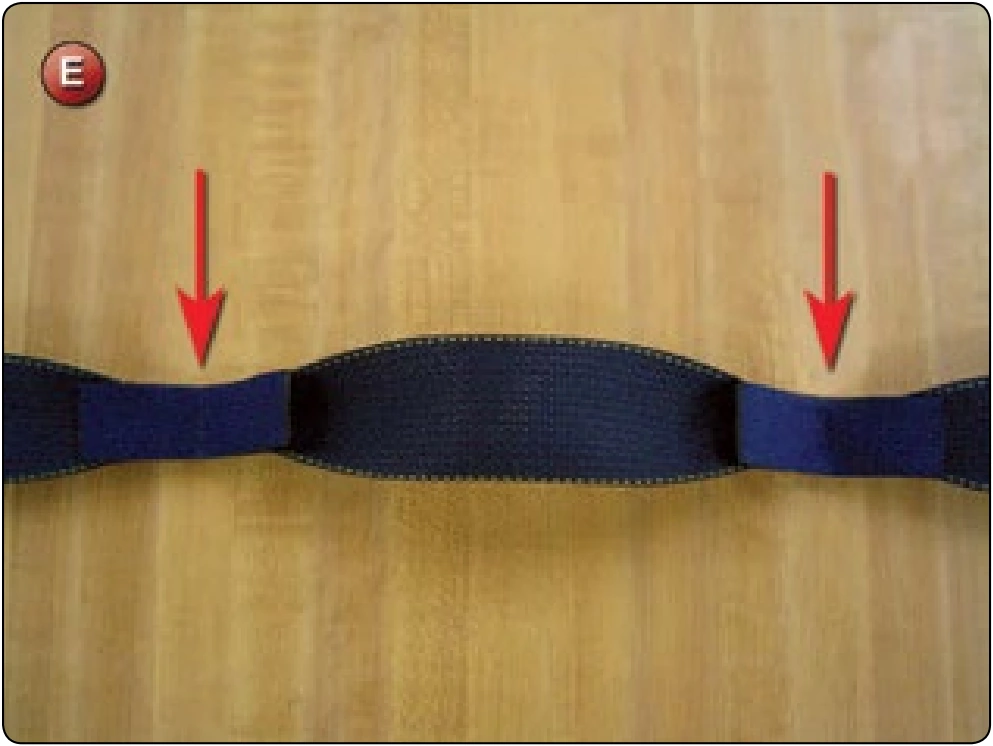
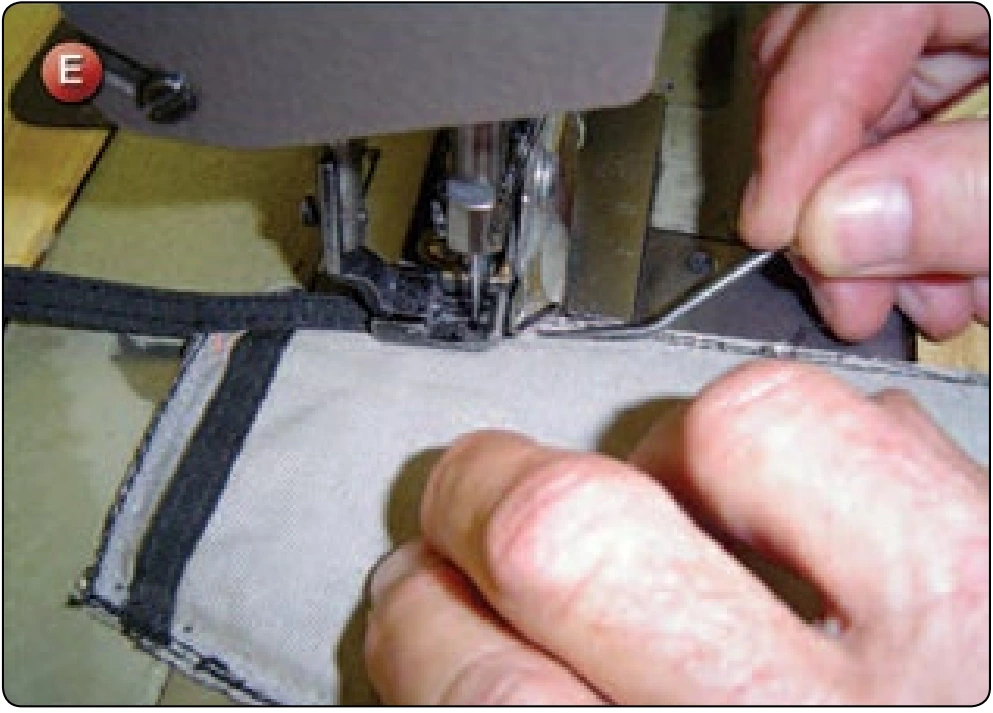
- Zigzag the bowtie folds as marked including the Type-4 buffers. [Figure E]
- Glue the MLW in place. Make sure that the open end of the webbing is on the rear and oriented up towards the chest strap.
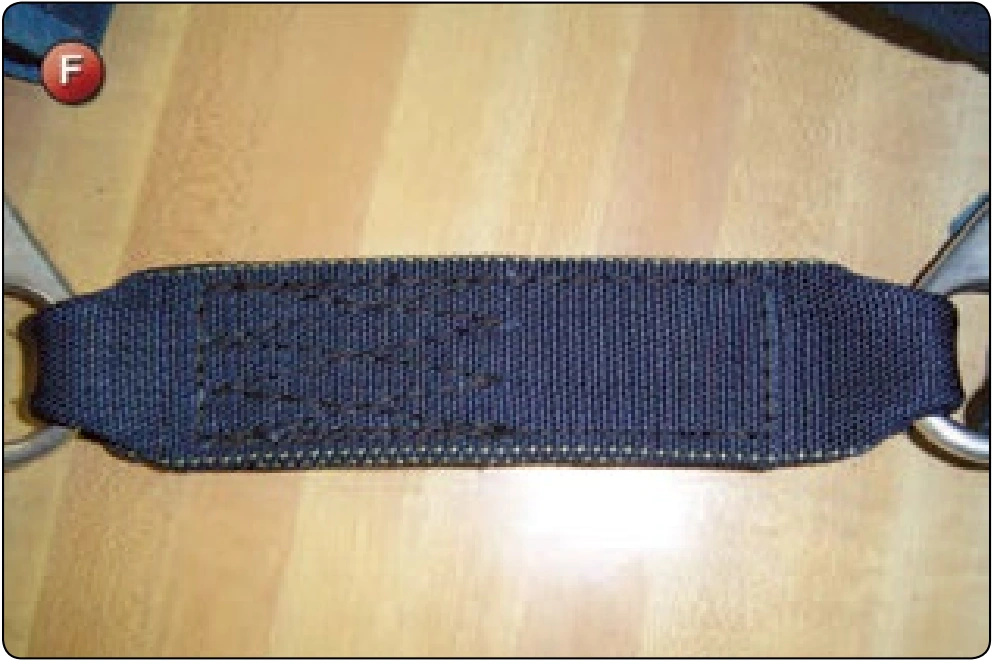
- Mark the stitch pattern on the MLW and sew with the harness machine. Use a 3 inch W-W pattern at the top as shown in Figure F. Include a box pattern on the lower section of the MLW.
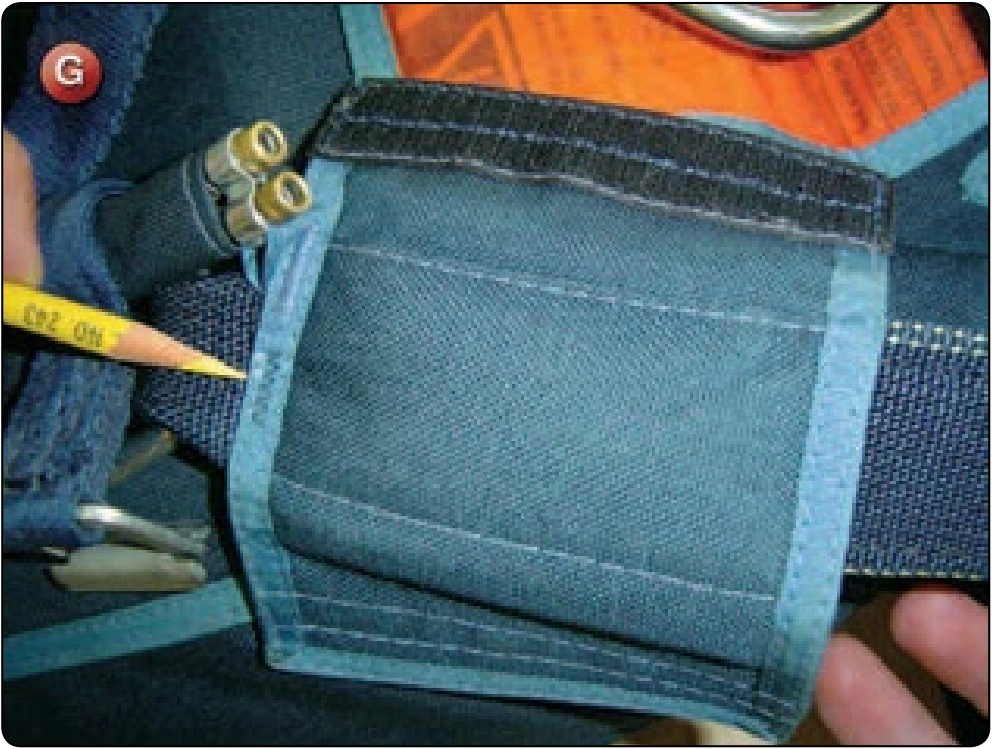
- Reattach the ripcord pocket/MLW cover. [Figure G]
Inspection
- Check that the new harness dimensions are correct and symmetrical.
- Verify the harness stitching is correct for SPI and tension.
- The ripcord pocket/MLW cover must be reattached.
Leg Pad Resizing
- Applicable products: Most harness leg pad configurations
- Description: Shortening the length of the leg pad
- Authorized repairmen: FAA Senior or Master Parachute Rigger
- Materials: E thread
- Machines: 301 straight stitch—medium duty 7–11 SPI, 301 double needle with tape folder 7–11 SPI, and 1 inch × 42 stitch bar tack
- Equipment: Scissors, seam ripper or scalpel, marking pencil, 6-inch ruler, and hot knife

Procedure
Disassembly
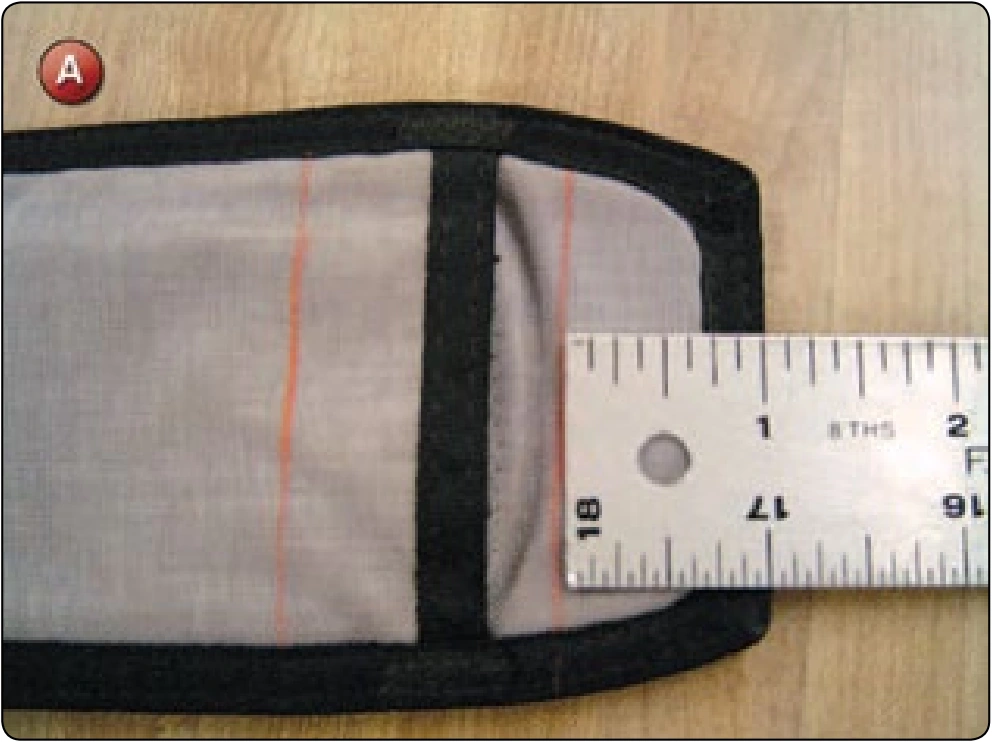
- Measure the amount that the pad is to be shortened and mark on the sleeve of the pad. [Figure A]
- Remove all bar tacks or zigzag stitching from the binding.
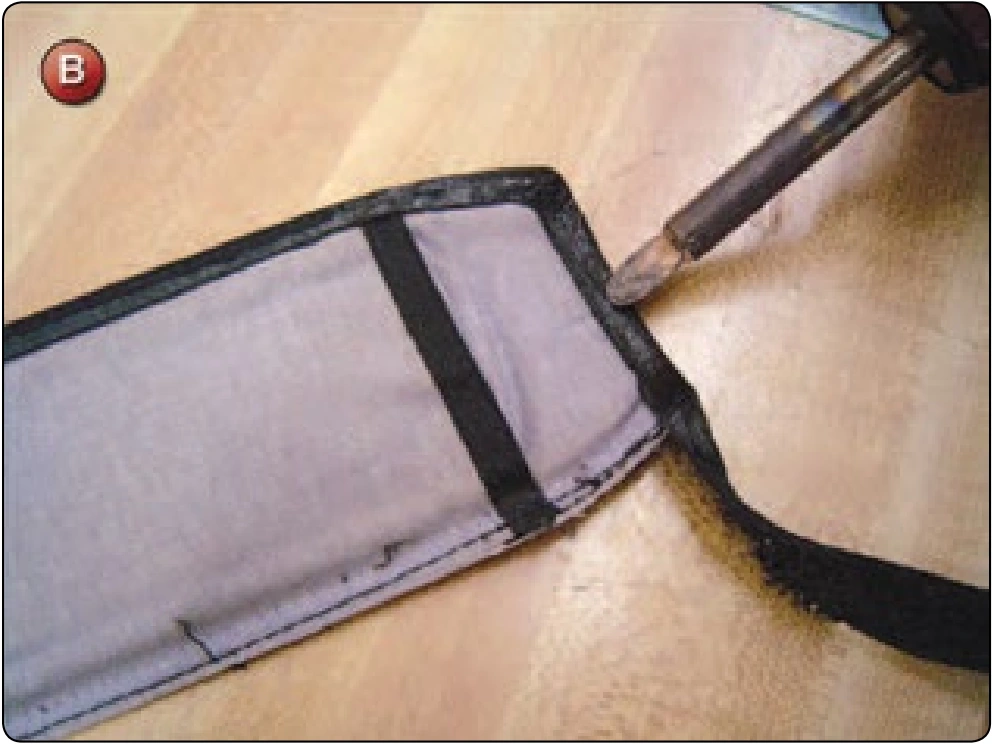
- Using the hot knife, remove the binding from the pad. [Figure B]
- Unpick the sleeve from the body of the pad. Fold the pad under and using the hot knife, shorten the sleeve by the required amount.
- Measure the pad and mark. Trim with the hot knife. [Figure C]