Chapter 7
Repairs, Alterations, and Manufacture
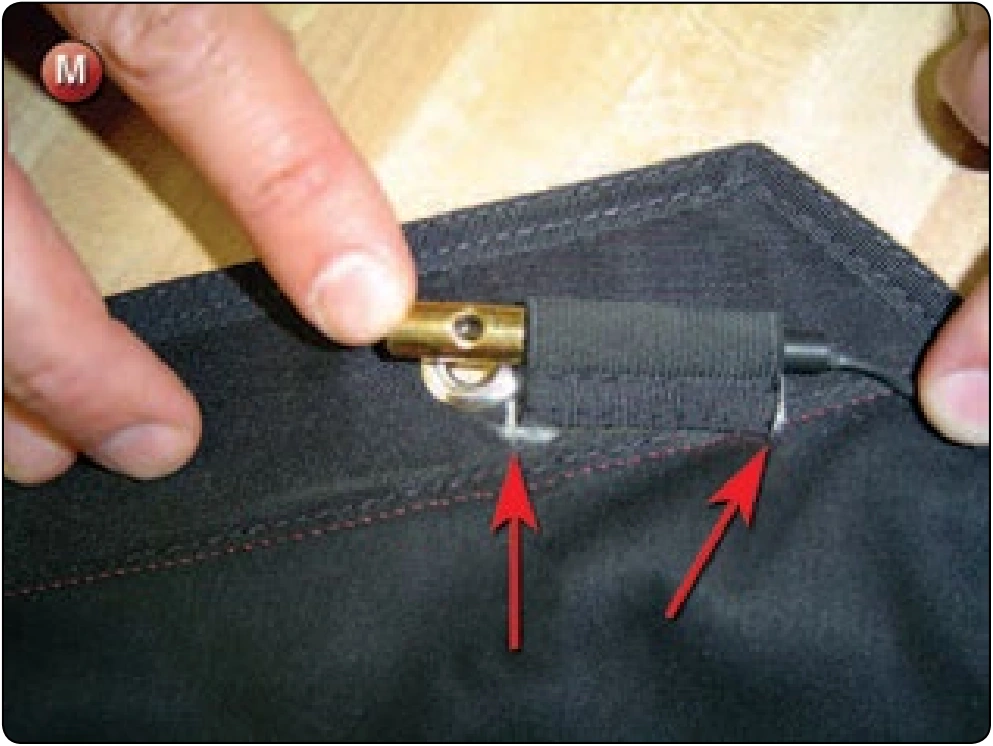
- Remove the CYPRES® from the container completely. Position the elastic sleeve to the marks and sew in place with the zigzag machine. [Figure N]
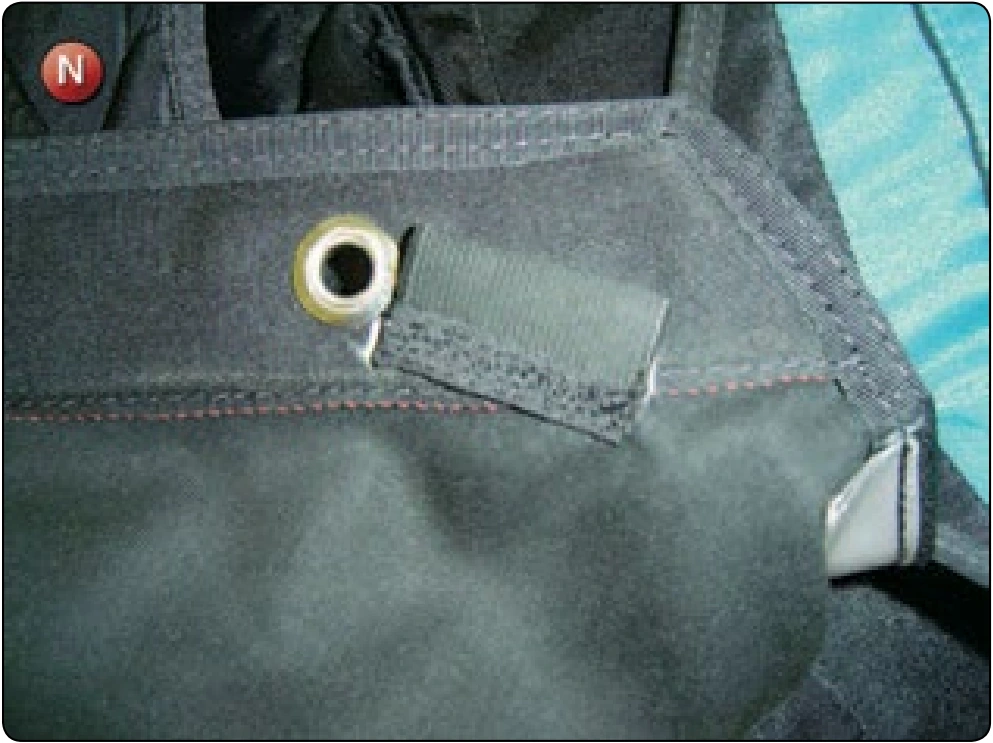
- Re-close the corner of the reserve container as per the original.
Inspection
- Verify the CYPRES® pocket is sewn with the Spandex® pocket centered on the wall.
- Control cable channel must be installed.
- Control unit pocket must be installed.
- Cutter cable channel must be installed.
- Cutter elastic must be installed.
- Verify the reserve container corner is closed, as necessary.
- Check the fit of CYPRES® in the entire installation.
- Log installation data on the packing data card. Remember, this is an alteration.
Section 6, Manufacturing
There might come times when it is more practical for the rigger to manufacture replacement parts in order to return a system to operation. The items listed in this section are those that are either main component parts or the reserve closing loop, which is simple to make and usually within the purview of the senior rigger to do so. It is important for the rigger to recognize just what parts are legal to make. One item some riggers make, but one in which they are not usually approved to do so, is the Safety Stow™ for the reserve free bag. As part of the TSO-C23d component, it is manufactured from approved materials and under an approved Quality Control system. As simple as this item is, if it is not manufactured according to the original configuration. There is a very good chance for a failure of the reserve deployment system. The best rule of thumb to follow is this: If the component is part of the approved assembly, then it is probably not something that may be manufactured in the field. The common exception to this rule is the reserve closing loop.
The rigger who is undertaking the manufacture of these components needs to have, at the minimum, the following sewing machines: medium duty, single-needle, double needle machine with a binding attachment and a zigzag machine. In addition, the rigger needs grommet setting tools and a basic selection of webbings, materials, and fabrics.
The following are outlines of construction procedures for the manufacture of the listed items found in Section 6, Manufacturing:
- Main and reserve closing loop manufacture
- Main deployment bag
- Bottom of Container (BOC) pocket
Main and Reserve Closing Loop Manufacture
- Applicable products: All harness and containers that utilize a fabric closing loop configuration
- Description: Fabrication of fabric closing loops
- Authorized repairmen: FAA Senior or Master Parachute Rigger
- Materials: E thread, loop material—725# Spectra®
- Machines: 301 straight stitch—medium duty 7–11 SPI, 308 zigzag—medium duty 7–11 SPI, and 1 inch × 42 stitch bar tack (optional)
- Equipment: Scissors, seam ripper or scalpel, marking pencil, 18-inch ruler, hot knife, finger-trapping needle or fid, and finger-trapping wire
Procedure
The terms “locking loops” and “closing loops” are synonymous and used interchangeably. Fabric locking loops have become the preferred method of closing most modern parachute containers. Dating from the mid 1970s, the most common material was Type-III suspension line. It was soon recognized that other materials, such as Dacron® were superior for this use. Today, Spectra® is widely used for reserve locking loops while Dacron® has remained preferred for main loops due to its durability. The following technique demonstrates the fabrication of a 1-pin and a 2-pin loop.
Preparation: 1-Pin Loop
- Measure the length of the original loop. If the stop knot is too tight to untie, allow extra length (you can always cut it down, but you cannot glue it back on).
- Cut an appropriate length of material and hot knife one end on an angle.
Fabrication
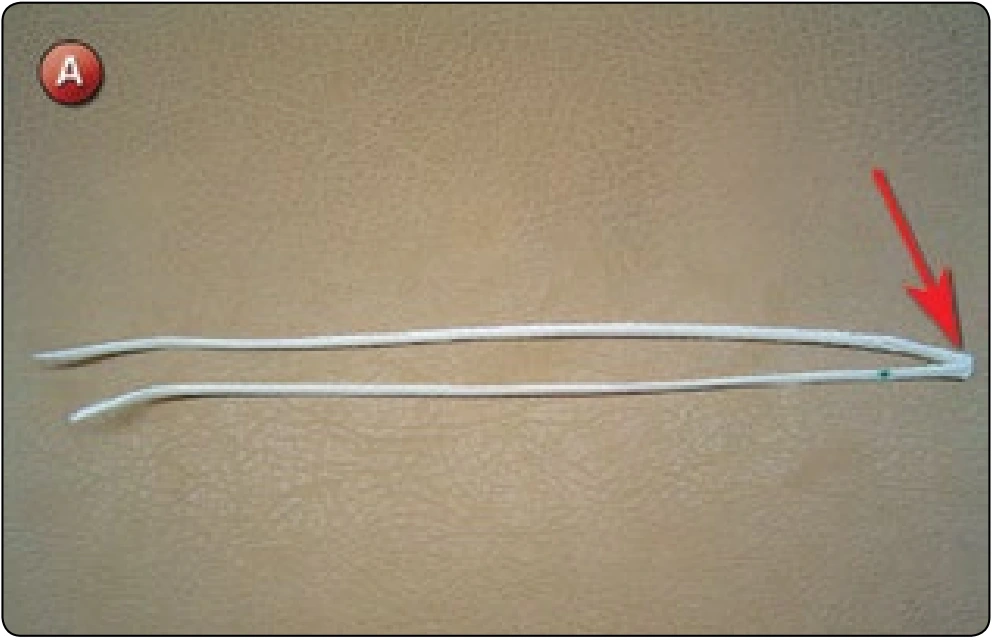
- Fold the line in half and mark the center. [Figure A]